Irrigatia IRR-SOL-C120 User manual

Irrigatia Ltd, Norwoods, Long Drax, Selby, YO88NH, UK
01904 202243, support@irrigatia.zendesk.com
www.irrigatia.com
User Instructions for Irrigatia IRR-SOL-C120
Positioning
Mount the controller close to the water source and
low down so that the pump inlet is below the water
line in the tank (Fig 1). The controller case is weather
resistant but can be mounted inside if desired. The
solar panel should be mounted, facing the midday sun
within 5m of the controller’s location. The panel can
be plugged in to the socket on the base of the
controller. The screw collar on the cable is for use
where an extension cable is required if the panel must
be more than 5m away.
Water inlet strainer and level sensor
Insert the inlet tube with the water strainer on the end so that the
tube is vertical in the tank and the strainer is resting on the bottom
(fig 2). The water level sensors should be attached to this so that one
is 2 -3 cm above the inlet hole, one hanging well below it (fig 3).
During operation, if one of the sensors is out of the water the pump will stop
and the beeper will sound. If the beeper is a nuisance it can be silenced by
unplugging it from the circuit board.
Water outlet tube & filter
to protect the drippers from sediment, there is a fine
mesh filter. This can be fitted on either side of the
pump, (fig 1) but a valve must be fitted between it and
the tank to turn off the water flow while cleaning.
(Valve 3 in fig 1)
Figure 3
Figure 2
Figure 1
Figure 4

Irrigatia Ltd, Norwoods, Long Drax, Selby, YO88NH, UK
01904 202243, support@irrigatia.zendesk.com
www.irrigatia.com
Anti-siphon device
The anti-siphon is needed to stop the water flow when the pump has
stopped if the first emitter is lower than top of the water source. It should
be fitted in the delivery tube to the emitters,(it is number 8 in fig1). It can
be fitted by making a hole with the punch provided and pushing the blue
part of the anti-siphon directly into the tube, threaded end first.
Supplement feed pump
The C120 has 2 pumps. As well as the water pump there is a
small supplement pump which runs for intermittently to
dose at a rate of about 1:100. (Your feed concentrate needs
to be 100x the strength you wish to apply to your plants).
This can be used to dose your water only with 100% soluble
supplements. Connect a piece of small bore tube with the
filter on the end to the pump inlet and connect the outlet
tube to the delivery line before the first off take (see fig 6).
Use a valve for this connection. If you wish to turn it off
unplug the pump from the circuit board (pump 1) and close
the valve.
Irrigation kits
You can use up to 180 drippers with any of the tank range (C60/120/180). With the C180
you will get a full irrigation unit (equivqlent to the water usage of 1 large tomato plant) from
each one, but the C60 output will be 1/3 and C120 output 2/3 of an irrigation unit from each
dripper if you do.
To attach the kits use the hole punch and connector
nipple or 4mm valve to connect the small bore tube
in the kit. Use the tees and stoppers provided to split
and close the pipe ends as necessary.
Dripper kits – 12 or 20 each of drippers, tees and
stakes, and 15m of small bore tube. Cut and join the
pipe using the tees to make a network which
reaches all of your plants. Remember the rules for
even watering apply especially where there are
Figure 6
Figure 5

Irrigatia Ltd, Norwoods, Long Drax, Selby, YO88NH, UK
01904 202243, support@irrigatia.zendesk.com
www.irrigatia.com
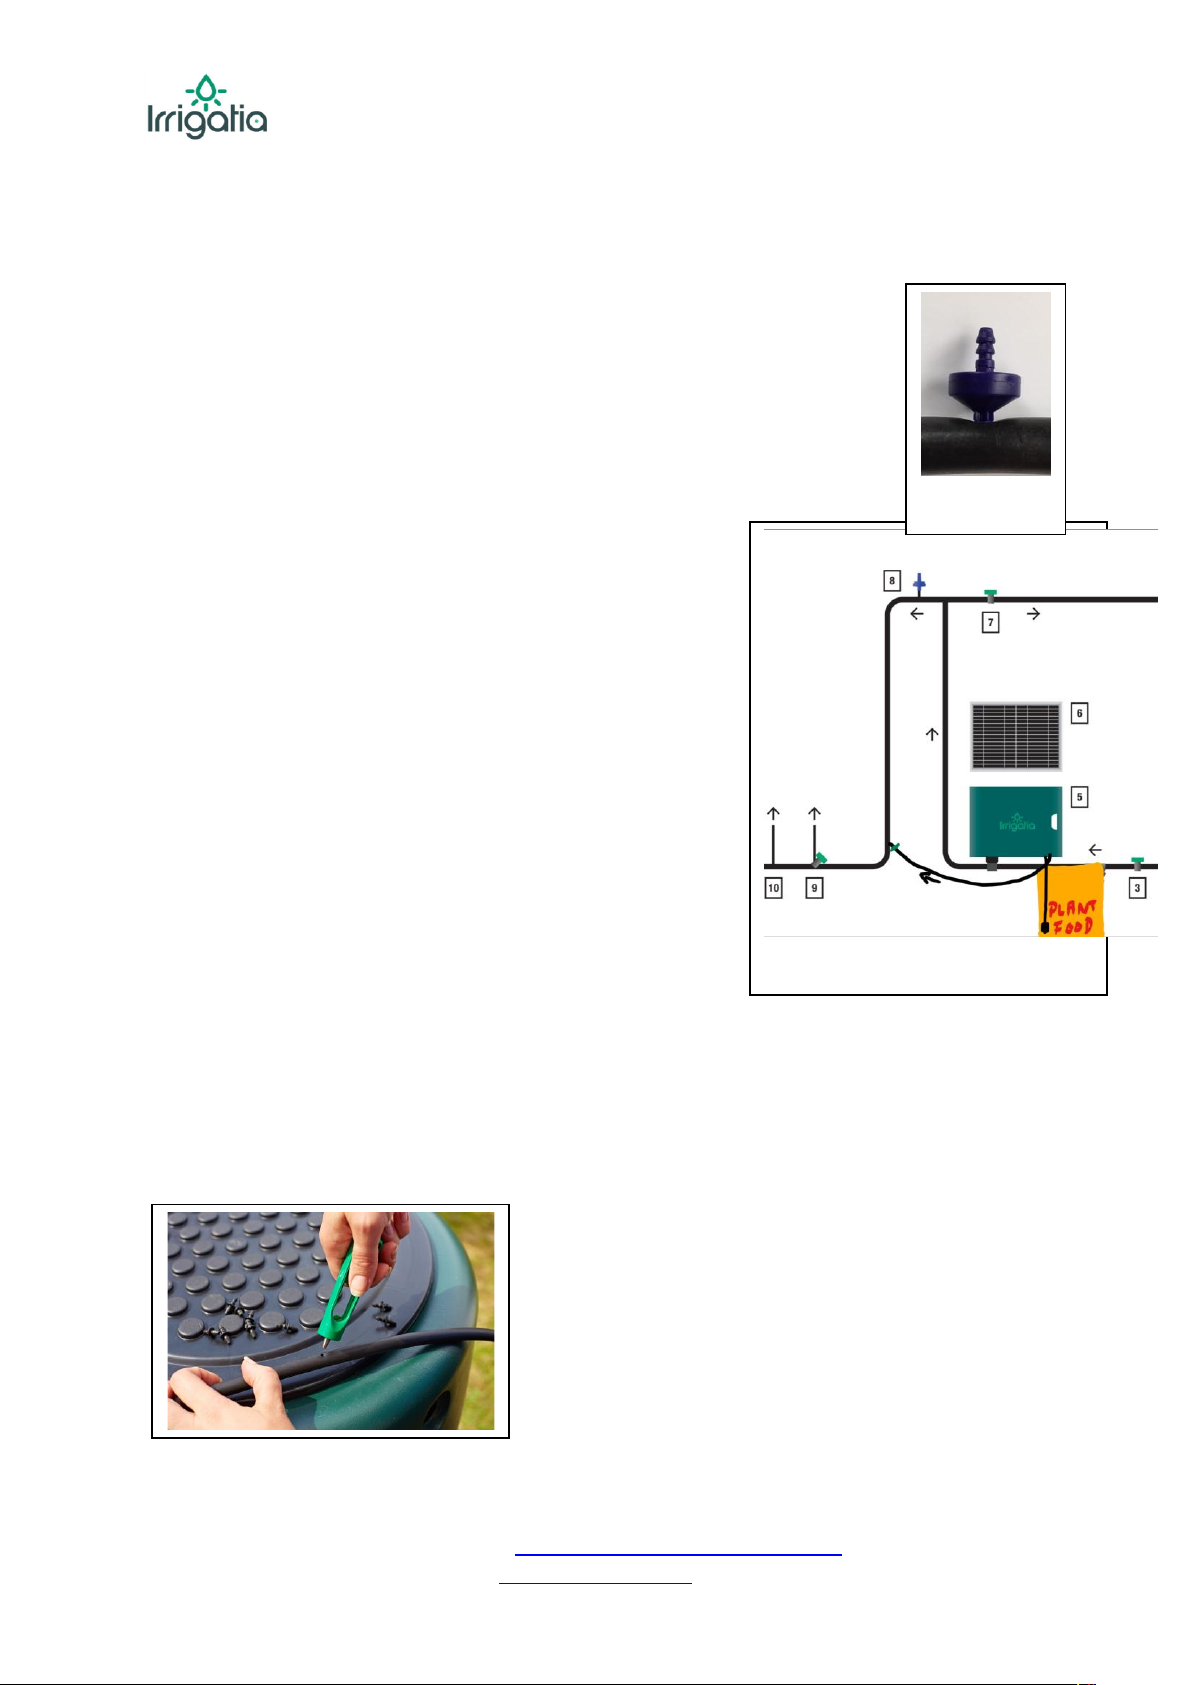
more than 12 drippers per outlet.
Seep hose kits
Seep hose can be plugged onto individual drippers with a stopper at the other end in
lengths of up to 1m, 2m where connected to a dripper at both ends. They will not change
the water output, but they spread it out more which is useful for seedlings and small plants.
Works best slightly buried.
Micro-porous hose emits water along its whole
length, but unlike seep hose is best used in long
lengths. Follow the kit instructions plus use the
punch and connector nipple to connect with
the distribution pipe.
Starting up
Open valve 7 in Fig 1 fully – handle in line with tube.
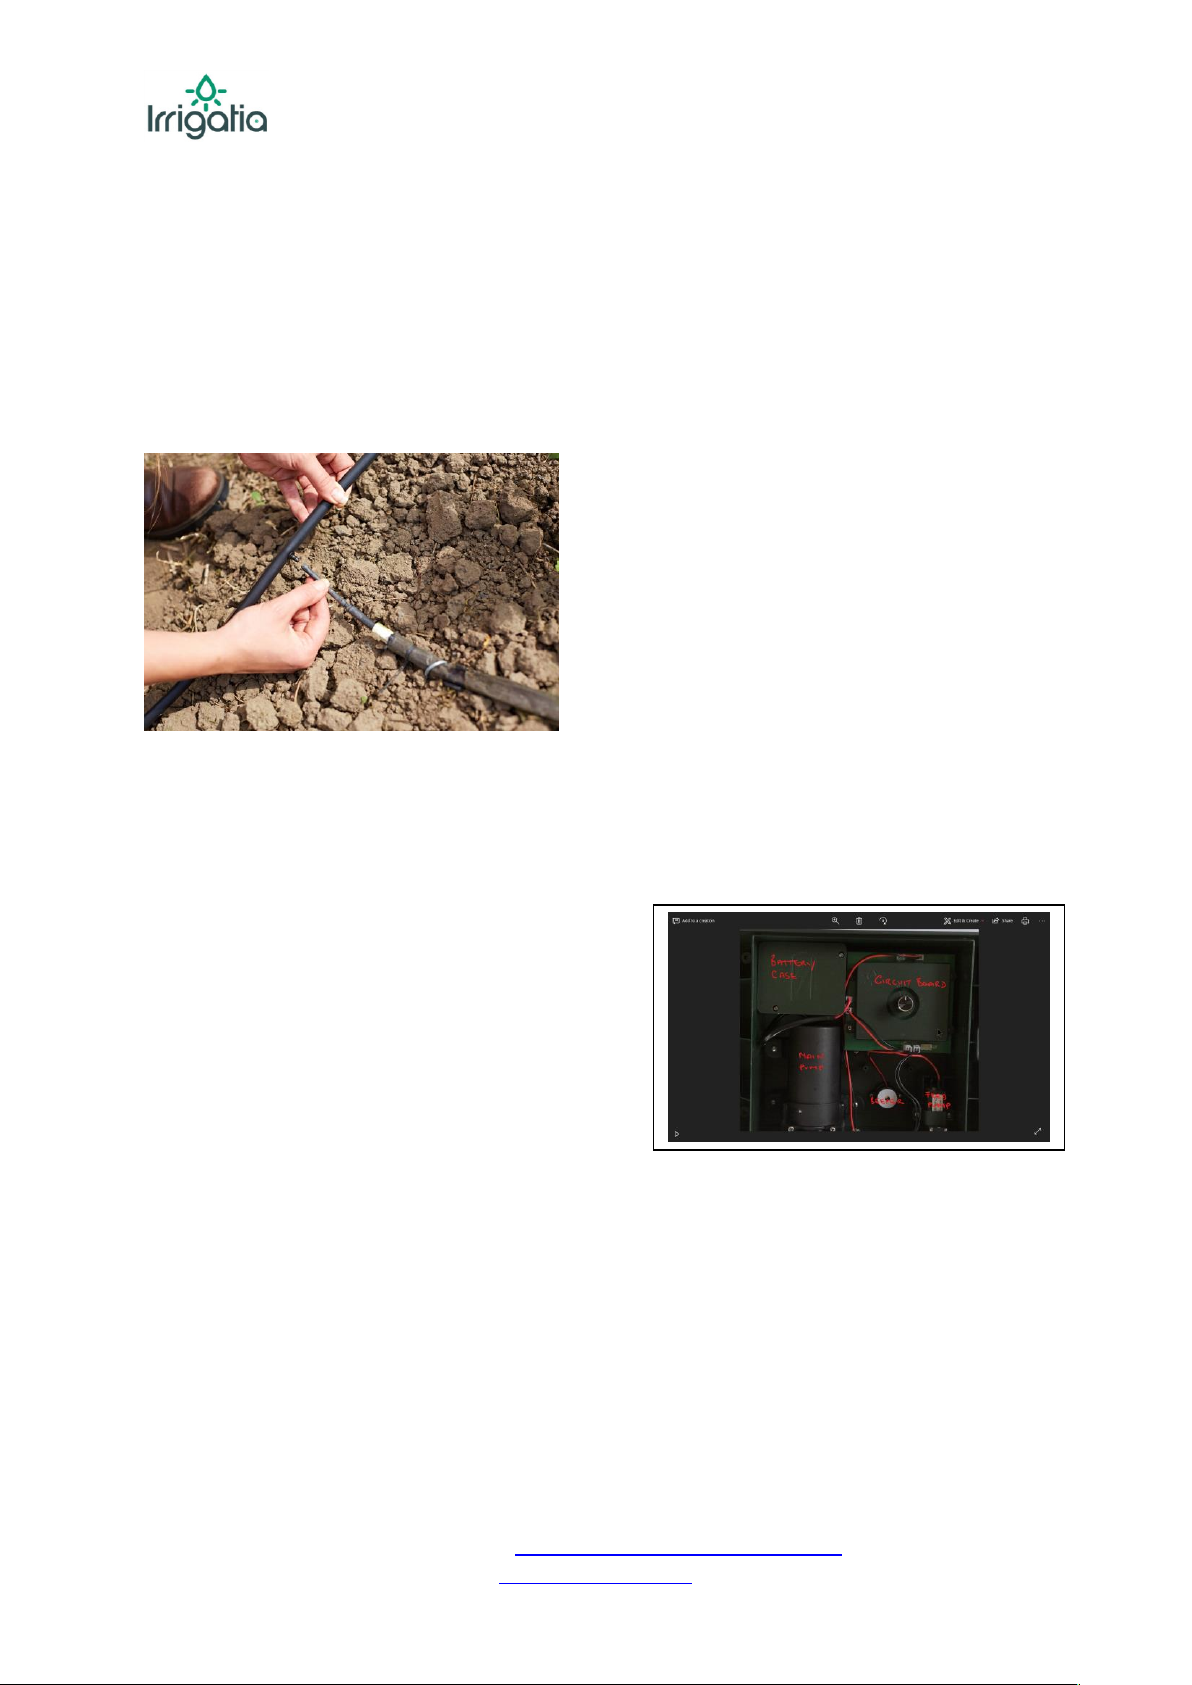
Open the case
•Unplug the feed pump from the circuit
board – marked as pump 1 on the board.
•Make sure the switch is in the off position.
•Remove 2 screws, open the battery case,
install battery, replace lid and plug in
connector to terminal marked bat on the
circuit board.
•Plug the solar panel in the socket on the
bottom of the case.
•Switch on to position 3. If it is reasonable daylight and the water sensors are in water
the pump should start.
•As the bypass valve (Valve 7 in fig 1) is wide open most of the water pumped should
return to the tank. Wait until all the air has cleared from the system before VERY
SLOWLY starting to close the bypass valve. This will push more water towards the
drippers. The valve should be gradually closed until the drippers are dripping about
once per second, or the microporous hose is full of water but soft, like a soft bicycle
tyre. If you are using micro-porous tube, check the adjustment every few days after
installation as when it is wetted up it will emit less water than when newly installed.
•Check whole system is working properly and for leaks.

Irrigatia Ltd, Norwoods, Long Drax, Selby, YO88NH, UK
01904 202243, support@irrigatia.zendesk.com
www.irrigatia.com
•The duration of the first watering is likely to be long, the pump will not switch off
until the batteries fall to 10v, this may take several hours, but after that proper
control should be established. If the excess water is likely to be a problem the bypass
valve can be opened until this has happened.
Adjusting the application.
•The switch on the circuit board controls the solar panel. This is charging the battery
on a 5 minute cycle. On switch positions 1,2,3,4,5, the solar panel is turned on for
1,2,3,4,5 minutes respectively. Changing the switch position will not affect the
current run time or flow rate, but will control the amount of charge available for the
subsequent watering cycle, thereby affecting the pumping duration. The application
can be fine-tuned with small adjustments to the bypass valve.
Supplementary pump – if the main pump is running, this should intermittently to dose the
water with feed.
After 24-48 hours the unit should have settled down. Monitor the water application, turn
the switch up or down accordingly. Once it is set up it will adjust itself for light intensity but
you will need to readjust it for your plants as they grow.

Irrigatia Ltd, Norwoods, Long Drax, Selby, YO88NH, UK
01904 202243, support@irrigatia.zendesk.com
www.irrigatia.com
Contents
C120 controller with main pump with 13mm connectors and secondary feed pump with
3.5mm connectors, water level sensor, 5, 10 or 15w Solar Panel with 5m lead for C60, C120
or C180 respectively, 1 x inlet strainer, 1 x filter with 2 x 13mm adaptors, 1 x 25m roll of
13mm tube, 1 x 4mm punch, 12 x 4mm joiners, 12 x 4mm valves, 2 x 13mm t piece, 4 x
13mm end plug, 4 x 13mm elbow, 2 x 13mm valves, 10 x 13mm stakes, 5 x 13mm clamps, 1
x 12v battery pack (2200mA for C60 and C120, 4400mAh for C180)
Table of contents