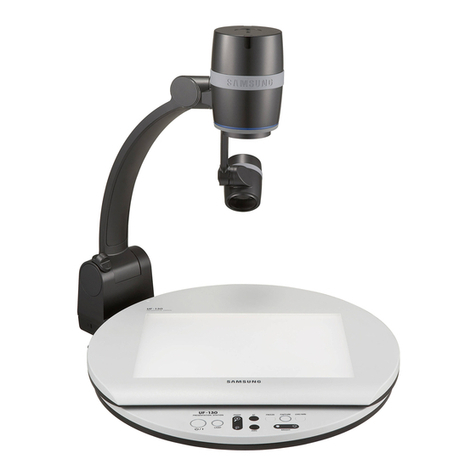
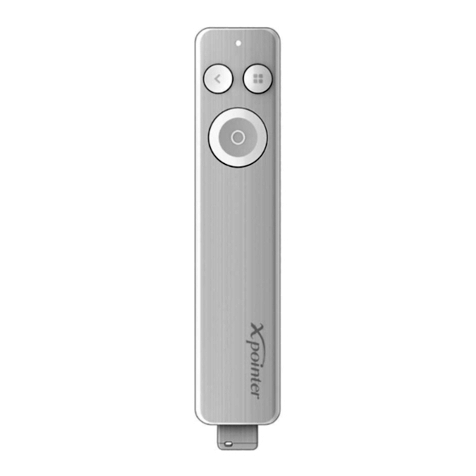
ISCommunications U-Pointer User manual

U-Pointer for Presentation
User Manual
Ver 1.2.7.3

U-POINTER USER MANUAL
ISCommunications.Co., Ltd.
2
Contents
1. Preface
1-1 What’s in the package
1-2 Hardware description
1-3 CD
1-4 Cautions
2. Overview
2-1 Installation
2-2 Usability
2-3 Set-up
3. Mounting U-Pointer
3-1 Mounting using Adhesive Tape
3-2 Mounting at Screw Hole
3-3 Mounting below ceiling
4. U-Pointer Pen
5. Initial Software
5-1 Installing U-Pointer Software
5-2 Start Wizard
5-2-1 Configuration
5-2-2 Alignment
5-2-3 Calibration
6. Running U-Pointer
6-1 Running U-Pointer
6-2 Menu Description
6-2-1 Configuration
6-2-1 Start Wizard
6-2-3 Calibration
6-2-4 Executing I-Pro
6-2-5 Virtual Keyboard
7. Trouble Shooting

U-POINTER USER MANUAL
ISCommunications.Co., Ltd.
3
1. Preface
1-1 What’s in the package
Thank you for purchasing U-Pointer. Please find the U-Pointer and accessories in the box. Contact sales if
anything is missing.
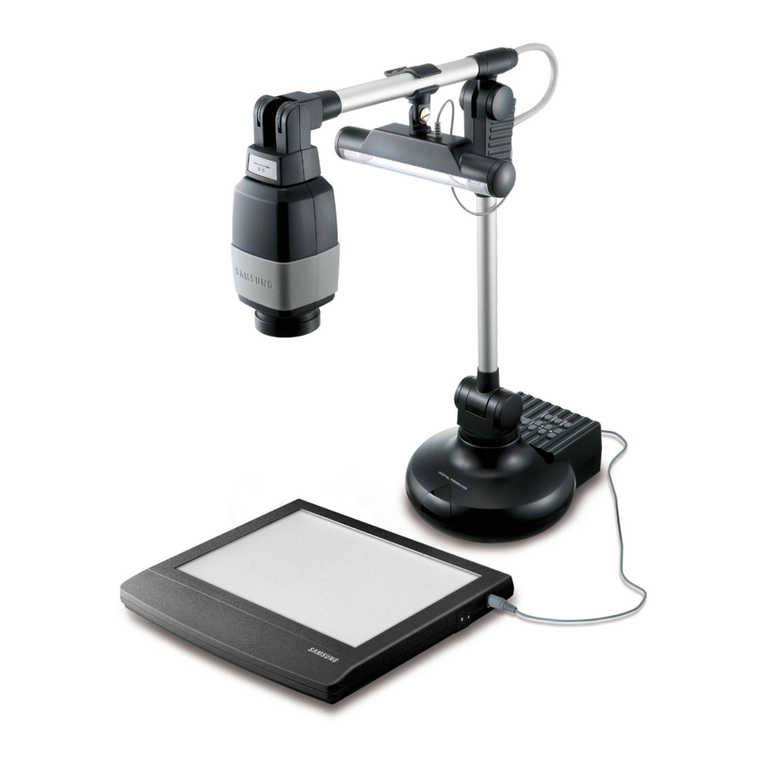
1-2 Hardware description
The instructions in this manual, is referring to the below parts.
Front Cover
Vertical knob
Horizontal knob
USB connector
Supporter
Screw hole

U-POINTER USER MANUAL
ISCommunications.Co., Ltd.
4
1-3 The CD
On the CD please find the U-Pointer driver software, I-Pro application software and User’s manual. Before
using U-Pointer, you should install the driver and U-Pointer software. After this, you can use U-Pointer as
a wireless interactive mouse on the screen. To further enhance your experience of the virtual electronic
board, I-Pro should be installed.
1-4 Caution
- Clean the Front surface of the U-Pointer regularly. Use only fabric and exclusive cleaning liquid for glass.
- Do not press the U-Pointer Pen heavily. Just touch smoothly like drawing on a whiteboard.
- Be careful not to drop the U-Pointer Pen.
- Energy saving lamp may cause abnormal operation of the U-Pointer. Prevent light from energy saving
lamps to light directly into the U-Pointer.
- U-Pointer is utilized a precise designed optical unit. Do not open disassemble.
1-5 Minimum system requirements
- Hardware requirements
CPU: higher than Pentium
RAM: higher than 512MB
Hard Disk: higher than 20MB
USB: USB 2.0
CD-ROM: higher than 8x
- Operating system requirements
Windows XP, Vista, Window 7
Tip
Front Cap
Body
Rear Cap

U-POINTER USER MANUAL
ISCommunications.Co., Ltd.
5
2. Overview
2-1 Installation
Both the U-Pointer and a projector are needed during installation. You may use any projector as long as it
is connected to the computer running the U-Pointer program.
2-2 Usability
For a minimum installation you may use the U-Pointer pen as wireless interactive mouse. This will allow
basic operation of screen as operated with a standard mouse.
For access to the extended functions please start I-Pro. The I-Pro program may be started only after U-
Pointer is active.
2-3 Set-up
Configuration: Set the working conditions for the U-Pointer. This is normally only done once during initial
installation.
Start wizard: Same as above, but adds physical alignment of the U-Pointer
Calibration: Calibration of the U-Pointer. This is used whenever mounting, calibration and alignment
conditions has changed.

U-POINTER USER MANUAL
ISCommunications.Co., Ltd.
6
3. Mounting U-Pointer
Mount the U-Pointer close to the projector. A closer mounting to the projector will give optimal performance
and decrease optical misalignment.
The U-Pointer may be mounted with the supplied adhesive tape or fixed with a suitable screw.
3-1 Mounting with Adhesive Tape
Attach the circular shaped double sided adhesive tape to the bottom of the stand. Before mounting U-
Pointer, clean the surface to where the U-Pointer will be mounted.
3-2 Mounting at Screw Hole
The threaded hole at the U-Pointer stand is of standard size as used for ordinary camera tripods. You may
use this method to secure the U-Pointer to a mini camera tripod placed on a table.
3-3 Mounting below ceiling
If the projector is installed below the ceiling, it is necessary to mount the U-Pointer on the projector or
close to the projector. If the U-Pointer is mounted upside down, the configuration of the U-Pointer must
reflect this in the U-Pointer program. See detail chapter 5-3-1.

U-POINTER USER MANUAL
ISCommunications.Co., Ltd.
7
4. U-Pointer Pen
the U-Pointer Pen provides Five mouse actions, Click, Double Click, Right button, Drag and Drawing.
Click : Touch an icon or a menu on the screen.
Double Click : Touch an icon or a menu on the screen two times.
Right button : Touch object 1.5 seconds or more.
Drag : Touch and drag an object on the screem
Drawing : Same as pen writing.
Caution
When inserting battery into the U-Pointer Pen, make sure the battery polarity is correct.

U-POINTER USER MANUAL
ISCommunications.Co., Ltd.
8
5. Installing software
Insert the U-Pointer CD into your CD/DVD-ROM driver. The Installation assistant will run automatically. Follow
the instructions in the installation assistant. If the assistant does not run automatically, double click the “
setup.exe” under CD/DVD-ROM directory and the Installation assistant will run.
Caution : On initial installation do not connect the U-Pointer USB cable.

U-POINTER USER MANUAL
ISCommunications.Co., Ltd.
9
5-1. Installing U-Pointer Software
1. Click Install U-Pointer in the installation assistant.
2. Select a language and click OK.
3. The installation dialog box will appear. Click next.
During installation, it is recommended to close other applications.

U-POINTER USER MANUAL
ISCommunications.Co., Ltd.
10
4. Click Install, installation begins.
5. Installation ends. A program entry is added to the menu and if previous selected, a U-Pointer icon will
be created on the desktop. Double click the U-Pointer icon to run the program. At first start the U-Pointer
Start Wizard will help you setting up the U-Pointer configuration.

U-POINTER USER MANUAL
ISCommunications.Co., Ltd.
11
5-2. Start Wizard
To use the U-Pointer, the proper setting of the U-Pointer configuration is needed. The Start Wizard will
help you to set-up U-Pointer correct. At first start of the U-Pointer software after installation, the Start
wizard will automatically appear. Thereafter the Start Wizard will not appear.
5-2-1. Configuration
Click the U-Pointer icon
1. Select the U-Pointer mode: The choice is based on the actual placing of the U-Pointer distance to the
screen.
2. Select Default if the U-Pointer is located more than 1 meter from the screen. (this mode is Default)
3. Select “Short through mode” if the U-Pointer is located less than 1 meter from the screen.
4. If you want the U-Pointer to start when the computer starts check the “Registering to Start Program
Group”
5. Mounting the U-Pointer on a ceiling : When you mount the U-Pointer upside down, check this
selection.
Caution : Before running the Start wizard, connect the U-Pointer and a projector to your
computer.

U-POINTER USER MANUAL
ISCommunications.Co., Ltd.
12
5-2-2. Alignment
During the alignment process, align the direction and angle of the U-Pointer by moving the head up and
down and twisting the direction.
1. Click "Start Alignment". The screen captured by U-Pointer is shown.
2. Unlock the U-Pointer vertical and horizontal knob. Adjust the U-Pointer body vertically and horizontally
until the beamed screen is placed at the center of captured frame.
3. When the center alignment is completed, lock the knobs of the U-Pointer clockwise. Click next.
Important Notice :
The U-Pointer sensitivity is influenced by the size of the captured screen image. To use the
U-Pointer with the best sensitivity, place the U-Pointer close to the screen.
Be careful: The captured image must stay within the black bars of the capture frame!

U-POINTER USER MANUAL
ISCommunications.Co., Ltd.
13
5-2-3 Calibration
1. Click “Start Calibration” and then calibration window will be projected to your screen.
2.Click the U-Pointer pen on the calibration cursor until next cursor appears.
3.When the U-Pointer recognizes the U-Pointer Pen , the cursor will be moved to the next calibration
point. The number of the calibration point is nine. After completing all nine points click “Finish”.
Configuration and calibration data is stored on your computer.

U-POINTER USER MANUAL
ISCommunications.Co., Ltd.
14
6. Running U-Pointer
This chapter provides basic information about running the U-Pointer. Please notice that any movement of the
U-Pointer will void the calibration. In this case you should realign and calibrate the U-Pointer for accurate
usage.
6-1 Running U-Pointer
To run the U-Pointer, click U-Pointer icon or click U-Pointer icon in the iscom directory. When the U-
Pointer is running, you can use the U-Pointer as a wireless interactive mouse on the screen.
When the U-Pointer is running, please find the U-Pointer icon in the tray area. To display the menu, press
the U-Pointer icon for a few seconds with the U-Pointer pen.
6-2 Menu description
6.2.1 Configuration
The configuration menu must be used when U-Pointer mode or the mounting of the U-Pointer has
changed. Click the configuration menu and follow the step 5-2-1.
6.2.2 Start wizard
If the U-Pointer is moved, calibration and alignment will be broken. In this case, you should run start
wizard and repeat the alignment and calibration process. Click the start wizard menu and follow step
5-2.
6.2.3 Calibration
During normal use of the U-Pointer, the cursor position of the U-Pointer Pen and the contact position
of the U-Pointer may not be same. In this case, you have to recalibrate the U-Pointer again. Click on

U-POINTER USER MANUAL
ISCommunications.Co., Ltd.
15
the calibration menu and follow the step 5-2-3
6.2.4 Executing I-Pro
There are two ways to start I-Pro. The first is to click I-Pro icon and the other is to click menu of the U-
Pointer. In each case the I-Pro window will appear and you can use the full function of the I-Pro.
Please be aware that the U-Pointer should be running before the I-Pro program is started.
6.2.5 Virtual keyboard
If keyboard input is needed during a presentation, click on the “Virtual Keyboard” in the U-Pointer
menu. A keyboard will appear on the screen. Clicking on the keys using the U-Pointer pen will
resemble pressing a standard keyboard key.
7. Trouble Shooting
At the ISCommunications’s homepage, usage tips and trouble shooting methods are provided. Please
visit our homepage at http://eng.iscom.co.kr/
Other manuals for U-Pointer
1
Table of contents