Contents
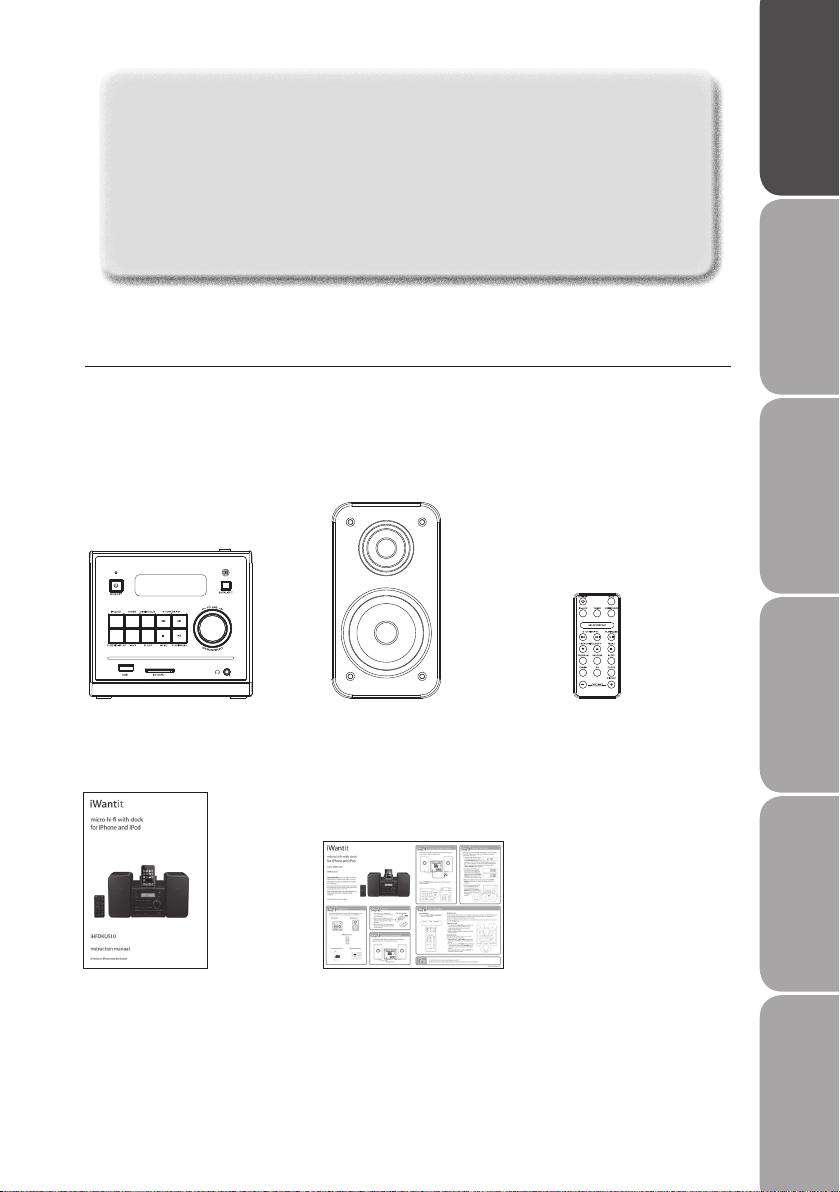
Unpacking.............................................................................................................................5
Product Overview.................................................................................................................6
Front View .......................................................................................................................................................6
Rear View.........................................................................................................................................................6
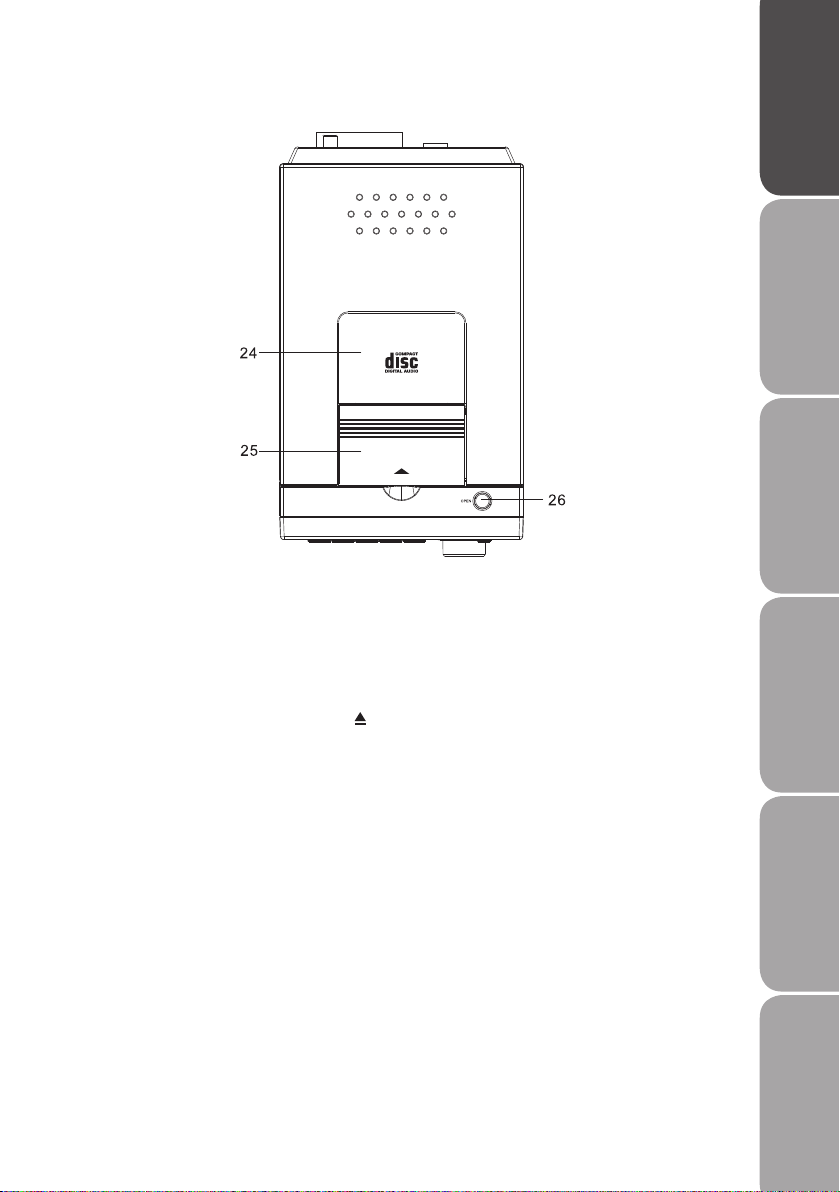
Top View ..........................................................................................................................................................7
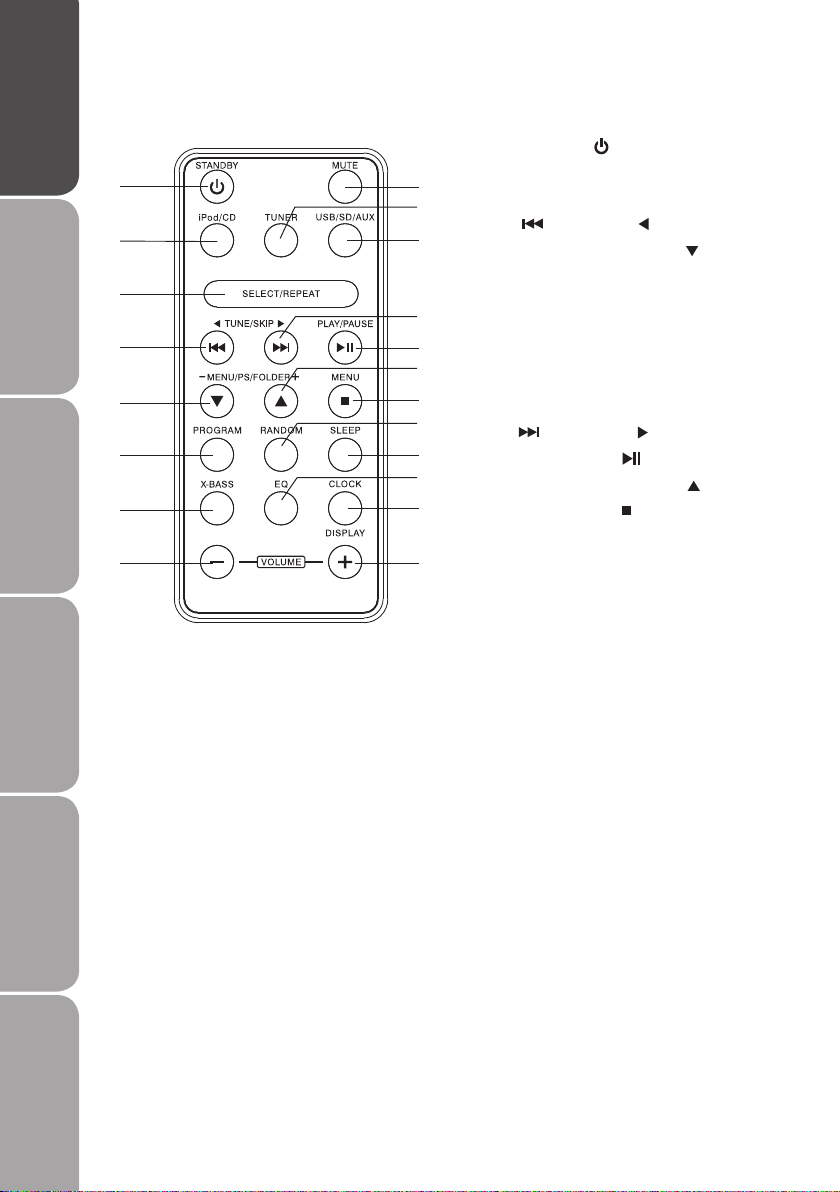
Remote Control.............................................................................................................................................8
Battery Installation for the Remote Control........................................................................................9
Handling the Battery..............................................................................................................................9
Handling the Remote Control.............................................................................................................9
Remote Control Operation Range....................................................................................................... 10
LCD Display Window................................................................................................................................ 10
Connections ........................................................................................................................11
Speaker Connections............................................................................................................................... 11
Connecting to the Mains Socket ........................................................................................................ 11
For Personal Listening ............................................................................................................................. 11
Operation ............................................................................................................................12
Powering ON/OFF ..................................................................................................................................... 12
Selecting Modes........................................................................................................................................ 12
Adjusting the Volume.............................................................................................................................. 12
Clock Setting............................................................................................................................................... 12
Sleep Function............................................................................................................................................ 13
Timer Function ........................................................................................................................................... 13
Preset EQ (remote control only)........................................................................................................... 14
X-Bass Function (remote control only).............................................................................................. 14
Mute Function (remote control only)................................................................................................. 14
Backlight Function.................................................................................................................................... 14
Factory Reset............................................................................................................................................... 14
Radio Operation .................................................................................................................15
Automatic Tuning...................................................................................................................................... 15
Manually Tuning ........................................................................................................................................ 15
Programming Preset Stations (remote control only) ................................................................... 15
Selecting the Preset Stations (remote control only)..................................................................... 15