iZone Airstream User manual

Wi-Fi & Home Automation Module
Installation and User
Manual

Table of contents
Section Description Page No.
1.0 Installation 3
1.1 Standard wiring layout for Wi-Fi control 3
1.2 Standard wiring layout for Home Automation interface 4
1.3 Installation instructions 5
2.0 System initialisation 6
3.0 Wi-Fi configuration 7
3.1 Network type, scan type, security 8
3.2 Network name 9
3.3 IP address 10
3.4 Network password 11
3.5 Wi-Fi connection 12
3.6 Smart phone configuration 13
3.7 Home automation integration 14
3.8 Further assistance 15

1.1 Standard wiring layout for Wi-Fi control
CCPU, CNEM
or CACUM
CCTS CNEM
CHAM
Home Automaon Module
000 969 552
CBC1

1.2 Standard wiring layout for Home Automation interface
CCPU, CNEM
or CACUM
CCTS
CNEM
Home
Automaon
System
RS 2 2 or RS 485 control cable.
CHAM
Home Automaon Module
000 969 552

1.3 Installation instructions
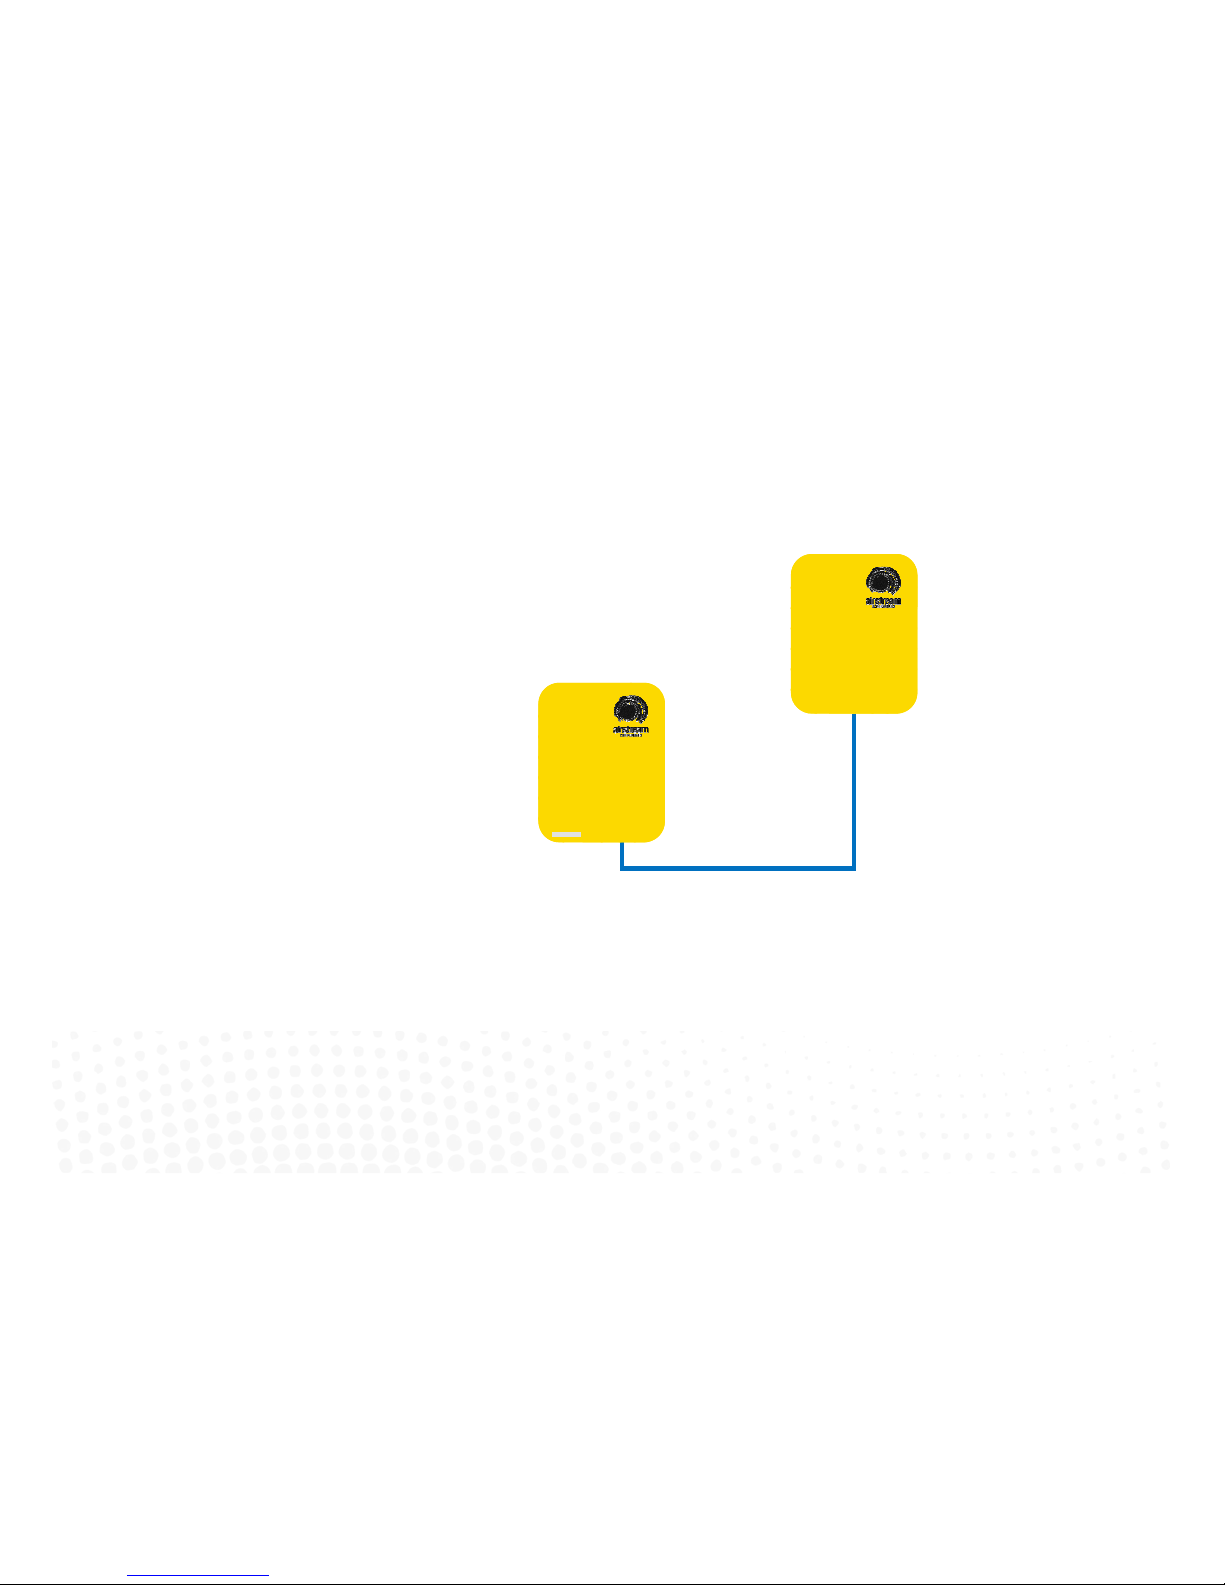
1. The Home Automation Module (CHAM) can be installed on top of the indoor fan coil unit. However, if there is interference due to the
building structure and the Wi-Fi connection is unreliable, the CHAM should be relocated adjacent to the home Wi-Fi module / router and a
longer RJ45 cable installed.
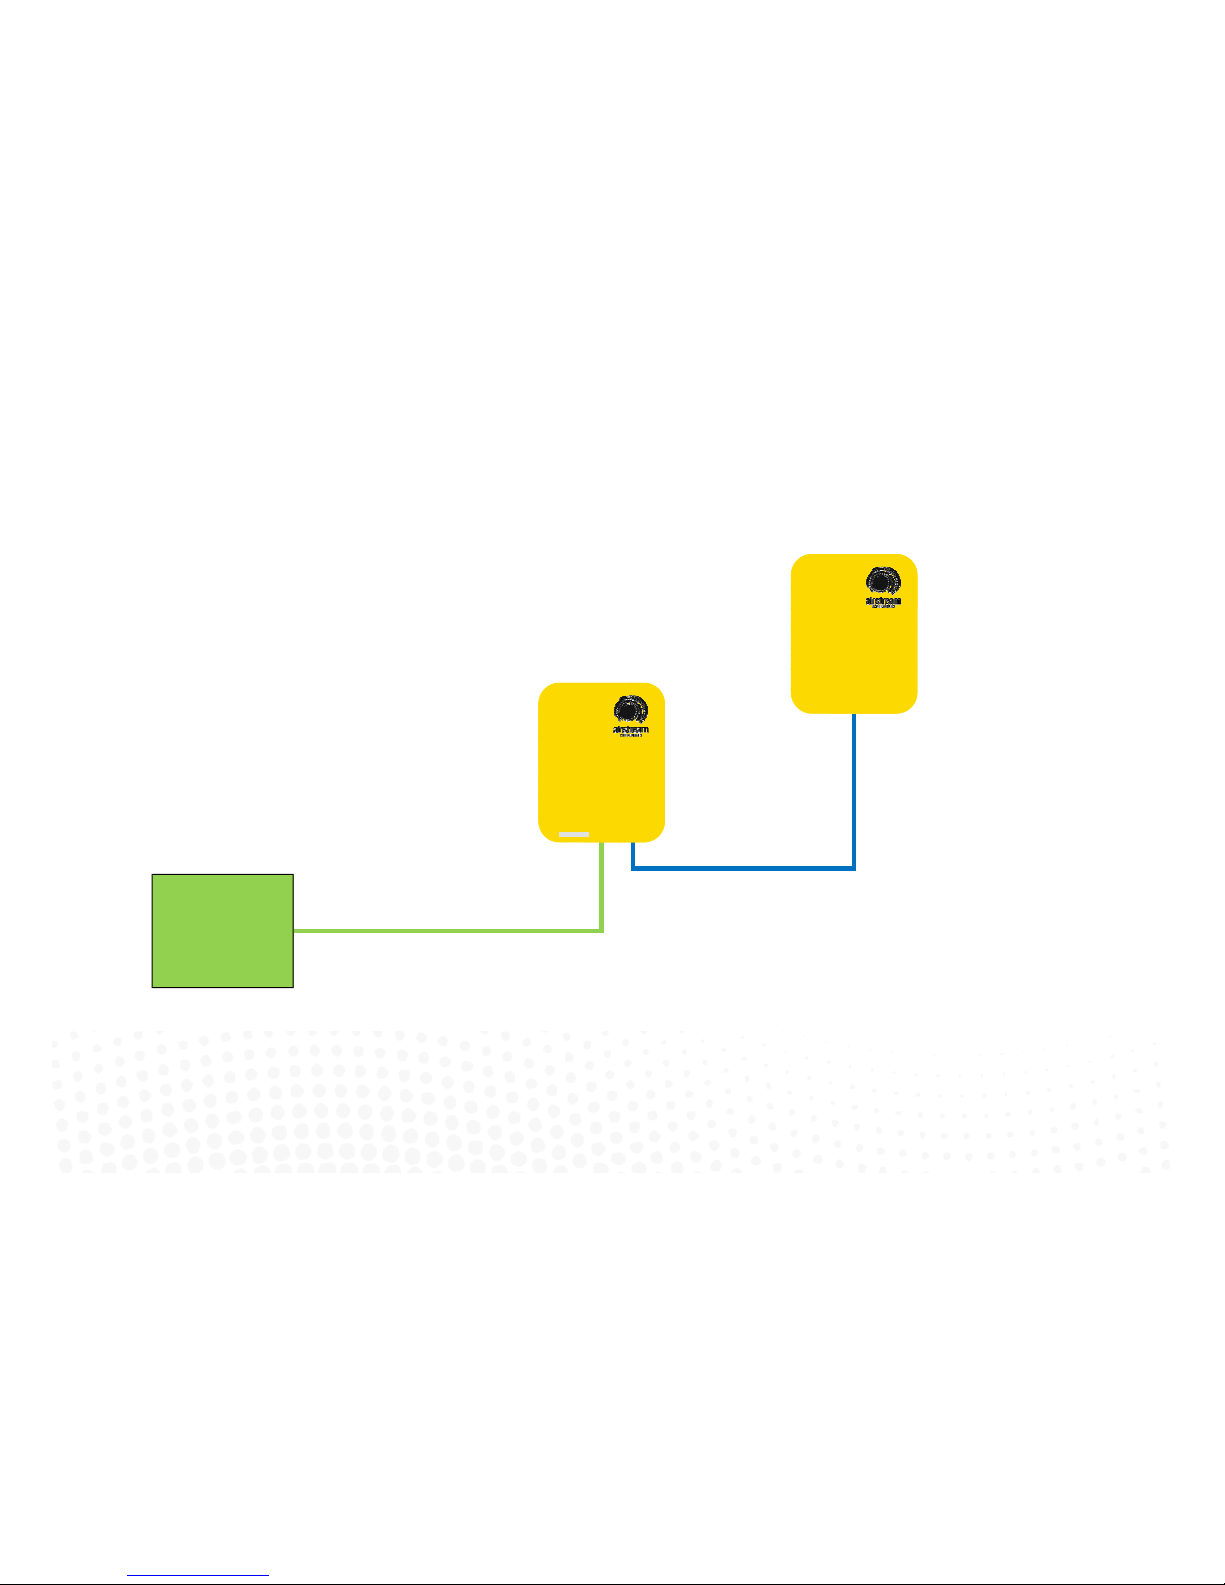
2. Do not run the blue network cables alongside 240 Volt wiring.
3. When installing network cables down wall cavities or chasing network cables into walls, tape up and protect the RJ45 connector to avoid
damage to the connectors.
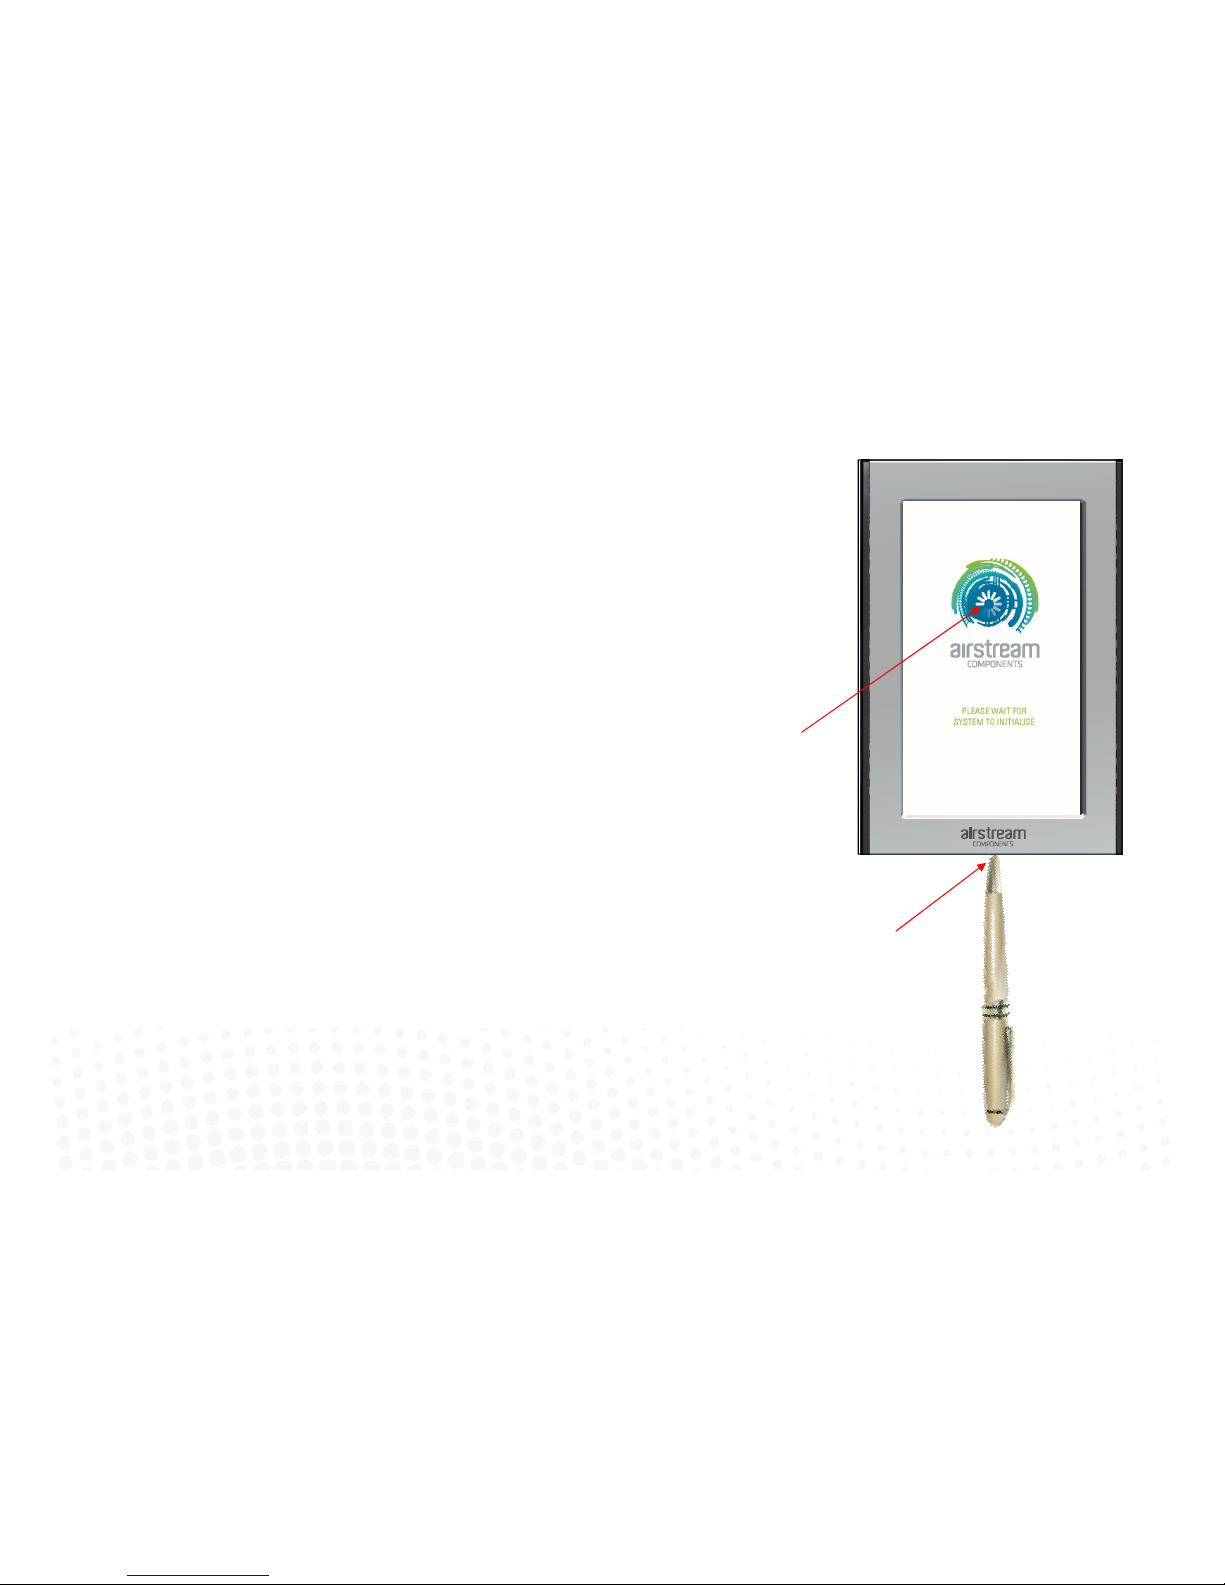
4. Ensure the colour touch screen CCTS installed on the system has the Wi-Fi software installed to enable Wi-Fi setup. If not return to
Airstream for reprogramming.
5. If connecting the iZone system to a Home Automation system use an RS 232 or RS 484 serial connector.

2.0 System initialisation
All new or modified systems must be initialised prior to system configuration.
To initialise the system press the button on the underside of any colour touch
screen. This button is recessed so you will need to use a pen to press the button.
The time to initialise the system will vary depending on the number of motors
connected.
The system will also initialise when power is restored after a power failure.

3.0 Wi-Fi configuration
WARNING ! Only qualified iZone installers should configure the iZone System. Incorrect configuration could result in damage to your
air conditioning unit and system.
2.1 To configure your Wi-Fi connection click on the System Config icon on the home page.
Enter the system password “wamfud” and press the enter button. The enter button must always be touched to save
changes.
2.2-2.5 You will now be in the System Configuration area:
iZone
Inventive
.
Intelligent
.
Intuitive
Inventive . Intelligent . Intuitive
iZone
AC Unit Control
WiFi Confi

3.1 Network type, scan type and security
iZone
Inventive
.
Intelligent
.
Intuitive
AC Unit Control
iZone
Inventive
.
Intelligent
.
Intuitive

3.2 Network name
iZone
Inventive
.
Intelligent
.
Intuitive
Network Name

3.3 IP address
iZone
Inventive
.
Intelligent
.
Intuitive
AC Unit Control
iZone
Inventive
.
Intelligent
.
Intuitive

3.4 Network password
iZone
Inventive
.
Intelligent
.
Intuitive
Password

3.5 Wi-Fi connection

3.6 Smart Phone Configuration
You will need to download the iZone App onto your smart phone. When using Wi-Fi from inside the home / office you will not be
required to enter a password just press login.
If you want to access the system using your smart phone from outside the Wi-Fi range you will need to subscribe to iZone World
Wide. Go to http://www.air-stream.com.au/izone-world-wide-service.html
To subscribe you will need the serial number that is printed on your CHAM this is a nine digit number.
You will also be asked for a password which you should remember as you will need this password to access your system when you
are trying to access your system from further afield.
To reduce the data usage there may be a slight delay between changing a function on your phone, and the system updating, when
using iZone World Wide.

3.7 Home automation integration
iZone systems can be integrated into any home automation system that has an RS 232 or RS485 serial interface. The iZone home
automation module is fitted as standard with RS 232 and RS 485 connectors for serial interface.
For serial interface specifications please download a copy of Airstream’s Technical Catalogue at
http://www.air-stream.com.au/images/airstream_technical_catalogue.pdf
Your home automation integrator will need to write the suitable code to control your AC system. This service is not provided by
Airstream or iZone.

3.8 Further assistance
1. If you require warranty or maintenance on your air conditioning system or iZone system you should contact your installation company.
2. If you want to add more zones or temperature control to any zone you should contact your installation company.
3. If your require assistance setting up or operating your iZone Home Automation Module contact:
Airstream Components
www.air-stream.com.au
Phone 08 6254 2408
Table of contents