manuals.online logo
Brands
  1. Home
  2. •
  3. Brands
  4. •
  5. j5 create
  6. •
  7. Adapter
  8. •
  9. j5 create JLA160 User manual

j5 create JLA160 User manual

2017-03-V1
English Español Francais
STOP! If you have any problems with
this product please contact
our technical support team
before returning it to the store.
Premium Audio Adapter/Cable
Lightning Connector
JLA163
JLA160
TECHNICAL SUPPORT
Customer Service :
888-988-0488
Technical Support :
888-689-4088
Email :
ser[email protected]
Service Hours :
Mon. - Fri. 10:00 - 18:00 E.S.T
Live Chat :
www.j5create.com/livechat
Support Ticket :
tickets.j5create.com
クイックインストールガイド
日本語 :
快速安裝手冊
繁中文 :
Guide D'installation Rapide
FR:
Quick Installation Guide
E
N
:
Guía De Instalación Rápida
E
S
:
Kurzanleitung Für Installation
D
E:
SOPORTE TÉCNICO
Número gratuito : +1-888-988-0488
Horario de atención :
Lun-Vier. 10:00-18:00 U.S.A-E.S.T
Email : [email protected]
TECHNISCHER SUPPORT
Kostenloser Anruf bei :+1-888-988-0488
Sprechstunden :
Mon. – Frei. 10.00-18.00 U.S.A-E.S.T
E-mail : [email protected]
SUPPORT TECHNIQUE
Numéro gratuit : +1-888-988-0488
Heures d’ouverture :
lun. - Ven. 10:00 - 18:00 U.S.A-E.S.T
Email : [email protected]
テクニカルサポート
お客様相談センター:03-4590-7650
電子メール:j5[email protected]
テクニカルサポートやその他のご相談は下記
の時間にくださいますようお願い申し上げます
営業時間:
平日:9:30˜11:30/13:30˜17:30
技術支援資訊
美國客服專線 : +1-888-988-0488
台灣客服專線 : +886-2-2269-5533#19
客服時間 :
星期一至星期五10:00-18:00(台灣時間)
Email信箱 : [email protected]
Hardware Installation
System Requirements
App for Device Upgrade
Follow the steps below to upgrade your firmware for optimal
compatibility and sound enhancement.
• IOS9 or above
• Works with all devices that have a lightning
connector (perfect for iPhone 7/7 plus)
• 3.5mm aux port for earphones, headphones or speakers
Step 1 & 2
Find the “Premium Audio” app, tap the “GET” button
followed by the “INSTALL” button to install the app.
Step 3 & 4
Enter your Apple ID and password to download the app.
After installation has completed, tap on the “Premium
Audio” app icon on the home screen to start the app.
With the app installed, connect the JLA160/JLA163 . Then
open the “Premium Audio” app to accept the firmware
upgrade.
Step 1 Step 2 Step 3 Step 4
Premium Audio
Lightning Audio
0.66 ft / 20 cm
iPhone
Microphone
(On the back)iPad HeadphonesEarphones Speakers
Siri®/ / /
Lightning Audio
iPhoneiPad Headphones Speakers
3.3 ft / 100 cm 0.33 ft / 10 cm
Siri/ / / ®
JLA160
JLA163
Boot Image Found
Please Update FW
Start FW Update
Product ICT
Microphone
(On the back)
Instalación de hardware
Requisitos del sistema
App para actualización del dispositivo
Siga los pasos que se indican a continuación para actualizar
el firmware Compatibilidad y mejora de sonido.
• IOS9 o superior
• Funciona con todos los dispositivos que tienen un
lightning conector (perfecto para iPhone 7/7 más)
• Puerto auxilar de 3.5 mm para audifonos y altavoces
Paso 1 & 2
Encuentra la aplicación "Premium Audio", toque el botón
"GET" seguido del botón "INSTALL" para instalar la
aplicación.
Paso 3 & 4
Ingrese su ID de Apple y contraseña para descargar la
aplicación. Una vez finalizada la instalación, toca el ícono
de la aplicación "Audio Premium" en la pantalla de inicio
para iniciar la aplicación.
Con la aplicación instalada, conecte el Cable de JLA160/
JLA163. A continuación, abra la aplicación "Premium Audio"
para aceptar la actualización del firmware.
Paso 1 Paso 2 Paso 3 Paso 4
Premium Audio
Lightning Audio
0.66 ft / 20 cm
iPhone
Microphone
(On the back)iPad HeadphonesEarphones Speakers
Siri®/ / /
Lightning Audio
iPhoneiPad Headphones Speakers
3.3 ft / 100 cm 0.33 ft / 10 cm
Siri/ / / ®
JLA160
JLA163
Microphone
(On the back)
Installation matérielle
Environnement requis
App pour la mise à niveau de l'appareil
Suivez les étapes ci-dessous pour mettre votre micrologiciel
à niveau pour une compatibilité optimale et amélioration du son.
• IOS9 ou supérieur
• Fonctionne avec tous les appareils dotés d'un
 connecteur Lightning (parfait pour iPhone 7/7 plus)
• Port auxiliaire de 3.5 mm pour écouteurs, casques ou
haut-parleurs
Étape 1 & 2
Trouvez l'application "Premium Audio", appuyez sur le
bouton "GET" suivi du bouton "INSTALL" pour installez
l'application.
Étape 3 & 4
Entrez votre ID Apple et votre mot de passe pour
télécharger l'application. Une fois l'installation terminée,
appuyez sur l'icône de l'application "Premium Audio" sur
l'écran d'accueil pour lancer l'application.
Avec l'application installée, branchez le câble JLA160/
JLA163. Ensuite, ouvrez l'application "Premium Audio" pour
accepter la mise à jour du micrololgiciel.
Étape 1 Étape 2 Étape 3 Étape 4
Premium Audio
Lightning Audio
0.66 ft / 20 cm
iPhone
Microphone
(On the back)iPad HeadphonesEarphones Speakers
Siri®/ / /
Lightning Audio
iPhoneiPad Headphones Speakers
3.3 ft / 100 cm 0.33 ft / 10 cm
Siri/ / / ®
JLA160
JLA163
Microphone
(On the back)
Boot Image Found
Please Update FW
Start FW Update
Product ICT
Boot Image Found
Please Update FW
Start FW Update
Product ICT
繁中文 Limited Warranty
j5create offers a limited 1-year warranty. User’s wear & tear damage is
not included.
The user shall call or e-mail j5create's customer service with information
regarding the defect(s) of the product and obtain a return authorization
number. Users are responsible for one way return freight cost and we
will take care of one way freight back. In order to obtain a return
authorization number, users should have the following information
handy when calling or emailing the service team:
(i) a copy of the original purchase invoice to verify your warranty
(ii) a product serial number
(iii) a description of the problem
(iv) customer’s name, address, and telephone number
j5create does not warrant that the operation of the product will be
uninterrupted or error-free. j5create is not responsible for damage
arising from failure to follow instructions relating to the product’s use.
This warranty does not apply to: (a) consumable parts, unless damage
has occurred due to a defect in materials or workmanship; (b) cosmetic
damage, including but not limited to scratches, dents and broken plastic
on ports; (c) damage caused by use with non-j5create products; (d)
damage caused by natural disasters (flood, fire, earthquake, lighting
strike, typhoon etc.,); (e) damage caused by human misuse (lost,
accident, abuse, misuse or other external causes); (f) damage caused by
operating the product outside the permitted or intended uses described
by j5create; (g) damage caused by service (including upgrades and
expansions) performed by anyone who is not a representative of
j5create or a j5create Authorized Service Provider; (h) a product or part
that has been modified to alter functionality or capability without the
written permission of j5create; or (i) if any j5create serial number on the
product has been removed or defaced. If such a situation occurs,
j5create will calculate the cost of materials and repair for your reference.
This warranty is given by j5create in lieu of any other warranties
expressed or implied.
Copyright© 2017 j5create. All rights reserved. All trade names are
registered trademarks of their respective owners. Features and
specifications are subject to change without notice. Product may not be
exactly as shown in the diagrams.
Deutsch
Hardware-Installation
System Anforderungen
App für Geräte-Upgrade
Führen Sie die folgenden Schritte aus, um Ihre Firmware
optimal zu aktualisieren Kompatibilität und Klangverbesserung.
• IOS9 oder höher
• Funktioniert mit allen Blitzgeräten
 Anschluss (ideal für iPhone 7/7 plus)
• 3.5-mm-Aux-Anschluss für Kopfhörer, Kopfhörer oder
Lautsprecher
Schritt 1 & 2
Finden Sie die "Premium Audio" App, tippen Sie auf die
"GET" -Taste gefolgt von der "INSTALL" -Taste, um die App
zu installieren.
Schritt 3 & 4
Geben Sie Ihre Apple ID und Ihr Passwort ein, um die App
herunterzuladen. Tippen Sie nach Abschluss der Installation
auf das App-Symbol "Premium Audio" auf dem Startbild-
schirm, um die App zu starten.
Verbinden Sie das JLA160/JLA163 mit der App installiert.
Öffnen Sie dann die App "Premium Audio", um das
Firmware-Upgrade zu akzeptieren.
Schritt 1 Schritt 2 Schritt 3 Schritt 4
Premium Audio
Lightning Audio
0.66 ft / 20 cm
iPhone
Microphone
(On the back)iPad HeadphonesEarphones Speakers
Siri®/ / /
Lightning Audio
iPhoneiPad Headphones Speakers
3.3 ft / 100 cm 0.33 ft / 10 cm
Siri/ / / ®
JLA160
JLA163
Microphone
(On the back)
ハードウェアのインストール
必須環境
Appのデバイスアップグレード
最適化のためにファームウェアをアップグレードするには、以下の手順に
従ってください互換性とサウンドの強化。
• IOS9以上
• 雷が発生しているすべてのデバイスで動作する
󳎃󳎃 コネクタ(iPhone 7/7 plusに最適)
• イヤホン、ヘッドフォンまたはスピーカー用の3.5mm AUXポート
手順 1 & 2
「プレミアムオーディオ」アプリを見つけ、「インストール」ボタンをタップして
「インストール」ボタンをタップしてアプリをインストールします。
手順 3 & 4
Apple IDとパスワードを入力してアプリをダウンロードします。 インストー
ルが完了したら、ホーム画面の「プレミアムオーディオ」アプリアイコンをタ
ップしてアプリを起動します。
「Premium Audio」アプリをインストールした状態でJLA160/JLA163
を接続します。 次に、アプリを開いてファームウェアのアップグレードを受
け入れます。
手順 1 手順 2 手順 3 手順 4
Premium Audio
Lightning Audio
0.66 ft / 20 cm
iPhone
Microphone
(On the back)iPad HeadphonesEarphones Speakers
Siri®/ / /
Lightning Audio
iPhoneiPad Headphones Speakers
3.3 ft / 100 cm 0.33 ft / 10 cm
Siri/ / / ®
JLA160
JLA163
Microphone
(On the back)
硬體安裝
使用環境需求
設備升級App
按照以下步驟升級軟體以獲得最佳性能相容性且提高聲音品質。
• IOS9或更高版本
• 適用於所有具有lightning的設備
(適用於iPhone 7/7 plus)
• 3.5mm Aux音源線埠,用於耳機、耳罩式耳機或喇叭
步驟 1 & 2
找到“ Premium Audio”應用程式,點擊“下載”按鈕,然後點擊
”安裝”按鈕進行App安裝。
步驟 3 & 4
輸入您的Apple ID和密碼以下載應用程式。 安裝完成後,點擊主
屏幕上的“Premium Audio”應用程式啟動應用程式。
安裝應用程式後,連接JLA160/JLA163, 然後打開“Premium
Audio”應用程式接受軟體升級。
步驟 1 步驟 2 步驟 3 步驟 4
Premium Audio
Lightning Audio
0.66 ft / 20 cm
iPhone
Microphone
(On the back)iPad HeadphonesEarphones Speakers
Siri®/ / /
Lightning Audio
iPhoneiPad Headphones Speakers
3.3 ft / 100 cm 0.33 ft / 10 cm
Siri/ / / ®
JLA160
JLA163
Microphone
(On the back)
Boot Image Found
Please Update FW
Start FW Update
Product ICT
Boot Image Found
Please Update FW
Start FW Update
Product ICT
Boot Image Found
Please Update FW
Start FW Update
Product ICT
修改日期:2017-03-23
製作版本:A版
單  號:
客戶名稱:j5create
產品名稱:JLA160/163
需求內容:QIG
展開尺寸:340X220mm
成型尺寸:85x110mm
材  質:70p模造紙,
黑白雙面印刷
W型折再對折

This manual suits for next models

1

Other j5 create Adapter manuals

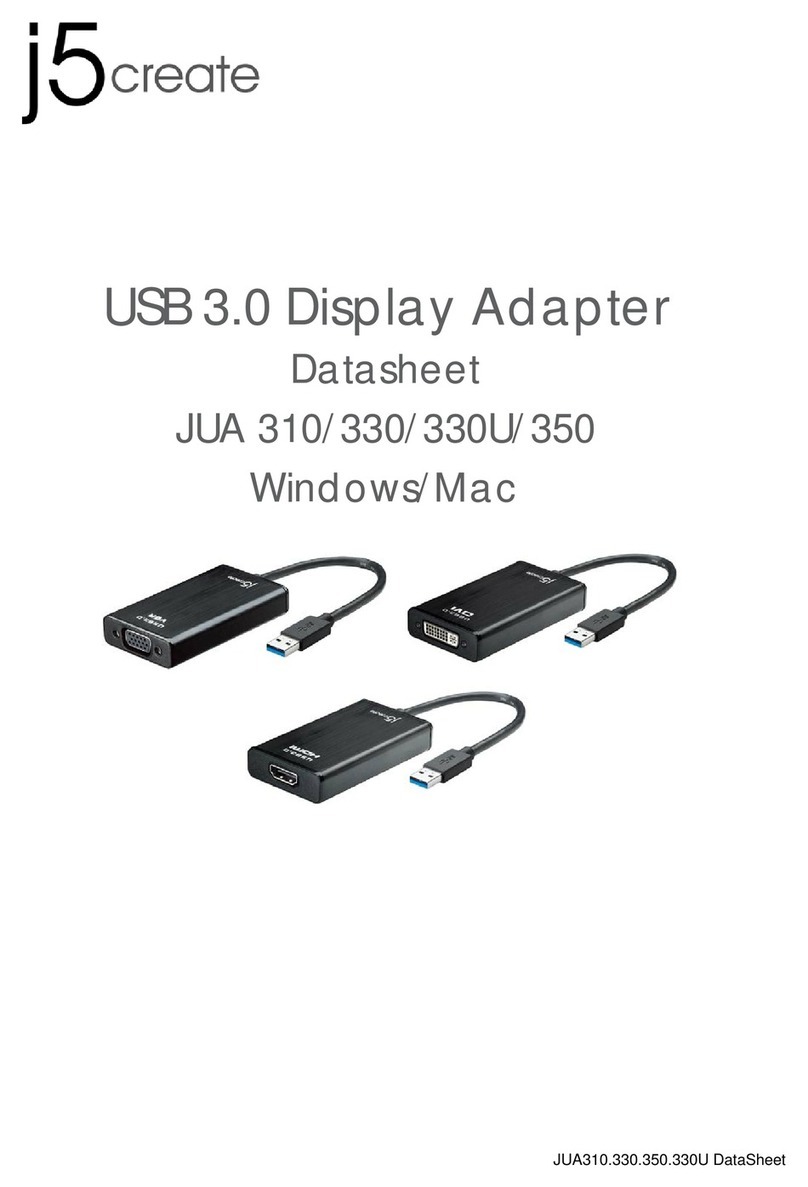
j5 create USB VGA/DVI Display Adapter User manual

j5 create

j5 create USB VGA/DVI Display Adapter User manual

j5 create JUH450 User manual

j5 create

j5 create JUH450 User manual

j5 create JUH470 User manual

j5 create

j5 create JUH470 User manual

j5 create JUH470 User manual

j5 create

j5 create JUH470 User manual

j5 create JUA210 User manual

j5 create

j5 create JUA210 User manual

j5 create JDA213 User manual

j5 create

j5 create JDA213 User manual

j5 create JUA375 User manual

j5 create

j5 create JUA375 User manual

j5 create JCA374 User manual

j5 create

j5 create JCA374 User manual

j5 create JUA210 User manual

j5 create

j5 create JUA210 User manual

j5 create JUE303 User manual

j5 create

j5 create JUE303 User manual

j5 create JCA111 User manual

j5 create

j5 create JCA111 User manual

j5 create JUH450 User manual

j5 create

j5 create JUH450 User manual

j5 create JCC111 User manual

j5 create

j5 create JCC111 User manual

j5 create JUH410 User manual

j5 create

j5 create JUH410 User manual

j5 create JUH470 User manual

j5 create

j5 create JUH470 User manual

j5 create JUA210 User manual

j5 create

j5 create JUA210 User manual

j5 create JUA310 User manual

j5 create

j5 create JUA310 User manual

j5 create JUA370 User manual

j5 create

j5 create JUA370 User manual

j5 create Display Adapter User manual

j5 create

j5 create Display Adapter User manual

j5 create ScreanCast JVAW56 User manual

j5 create

j5 create ScreanCast JVAW56 User manual

j5 create JUC600 User manual

j5 create

j5 create JUC600 User manual

j5 create JCH471 User manual

j5 create

j5 create JCH471 User manual

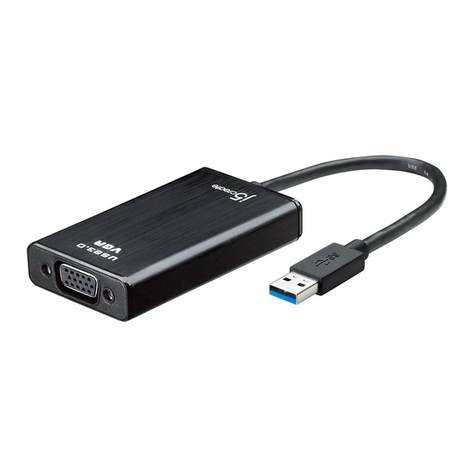
j5 create USB VGA Display Adapter User manual

j5 create

j5 create USB VGA Display Adapter User manual

j5 create JUA350 User manual

j5 create

j5 create JUA350 User manual

Popular Adapter manuals by other brands

Belkin 802.11g Wireless Ethernet Bridge user manual

Belkin

Belkin 802.11g Wireless Ethernet Bridge user manual

Dixon BAYCO DBA Series REPAIR & REBUILD INSTRUCTIONS

Dixon

Dixon BAYCO DBA Series REPAIR & REBUILD INSTRUCTIONS

Abocom WUG2700 user manual

Abocom

Abocom WUG2700 user manual

TRENDnet TU-ET100C - datasheet

TRENDnet

TRENDnet TU-ET100C - datasheet

ZyXEL Communications PLA-400 Specifications

ZyXEL Communications

ZyXEL Communications PLA-400 Specifications

SVS Sound Revolution SoundPath Wireless Audio Adapter owner's manual

SVS Sound Revolution

SVS Sound Revolution SoundPath Wireless Audio Adapter owner's manual

Motorhead MH-03-BA-B1-USB-1 instruction manual

Motorhead

Motorhead MH-03-BA-B1-USB-1 instruction manual

Barrette WEB-REV 6.21 installation instructions

Barrette

Barrette WEB-REV 6.21 installation instructions

Sony VPCL232FX Safety information

Sony

Sony VPCL232FX Safety information

TP-Link Archer T600U Plus user guide

TP-Link

TP-Link Archer T600U Plus user guide

ST UM0532 user manual

ST

ST UM0532 user manual

AAxeon 1394b FireWire 800 installation guide

AAxeon

AAxeon 1394b FireWire 800 installation guide

Intellinet 524766 install guide

Intellinet

Intellinet 524766 install guide

D-Link DWA-520 Quick installation guide

D-Link

D-Link DWA-520 Quick installation guide

D-Link D DPH-50U DPH-50U Quick installation guide

D-Link

D-Link D DPH-50U DPH-50U Quick installation guide

Supermicro AOC-A100G-b2CG user guide

Supermicro

Supermicro AOC-A100G-b2CG user guide

Edimax EN-9230TX-32 user manual

Edimax

Edimax EN-9230TX-32 user manual

LG-Nortel ARIA SOHO Feature description and operation manual

LG-Nortel

LG-Nortel ARIA SOHO Feature description and operation manual

manuals.online logo
manuals.online logoBrands
  • About & Mission
  • Contact us
  • Privacy Policy
  • Terms and Conditions

Copyright 2025 Manuals.Online. All Rights Reserved.