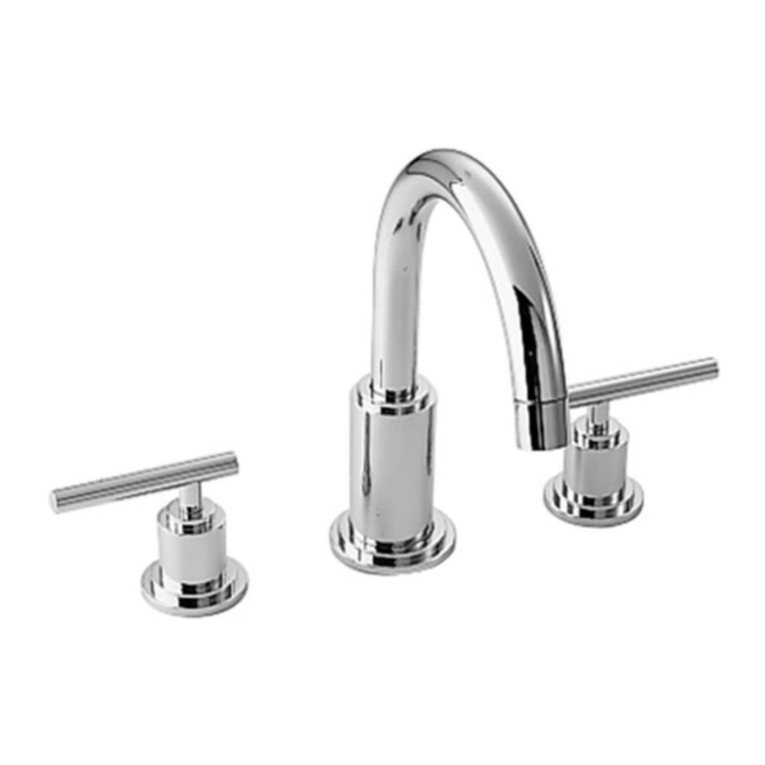
JADO Savina 845/004 Series User manual

Installation Instructions
To ensure that your installation proceeds smoothly--please
read these instructions carefully before you begin.
©JADO USA 2010
Products Luxury Faucets and Accessories
H965851
JADO USA
6615 West Boston
Chandler, AZ 85226
Phone: (8OO) 227-2734
Fax: (8OO) 552-JADO (5236)
www.jadousa.com
Product Numbers
845/004/...
845/144/...
Three Hole Bidet Set
with Vacuum Breaker
with Vacuum Breaker
Savina

H965851
Three Hole Bidet Set
with Vacuum Breaker
1Turn off hot and cold water
supplies before beginning.
CAUTION
ROUGHING-IN DIMENSIONS
32mm
(1-1/4"MAX.)
102mm
(MAX 4")
178mm
(MAX 7")
51mm
(MAX 2")
54mm
(2-1/8" DIA.)
SPRAY
29mm
(1-1/8 D.)
29mm
(1-1/8 D.)
62mm
(2-7/16" D.)
330mm
(MAX 13")
DIVERTER
AND VACUUM
BREAKER
LIFT ROD
CONNECTIONS ARE FOR1/2" IPS
FLEXIBLE SUPPLIES or 3/8" O.D.
BULL-NOSE RISERS
Plumbers' Putty or Caulking
Adjustable Wrench
Phillips Screwdriver
Channel Locks
RECOMMENDED TOOLS
Tubing Cutter Regular Screwdriver
Teflon Tape
32mm OD
(1-1/4 OD)
(6" TO 12" MAX.)
152mm TO 305mm MAX.
2
FRONT
4
1
3
5
6
7
8
9
APPLY SEALANT
OR TEFLON TAPE
43.5mm
(1-3/4")
92.8mm
(3-5/8")
50mm
(2)"
92.8mm
(3-5/8")
REMOVE HANDLE ASSEMBLIES FROM VALVE BODIES
1
HANDLE ASSEMBLIES (1) are installed on
VALVE BODIES (2) and must be removed to
install VALVE BODIES (2) into mounting holes.
To remove HANDLE ASSEMBLY (1), pull out
INDEX (3) and remove HANDLE SCREW (4).
Pull off HANDLE (8). Unthread BONNET NUT
(5) and ESCUTCHEON (6). Remove STOP
RING (7) and SEAL WASHER (9).
8
4
3
6
7
9
5
2
2
1Turn off hot and cold water
supplies before beginning.
CAUTION
INSTALL TRANSFER VALVE
Apply sealant or Teflon tape to threads of SPRAY ELL (1) and install
into TRANSFER VALVE (2). Note: Arrow on SPRAY ELL (1) points
down, see illustration.
Install "Y" HOSE ADAPTER (3) with SEAL (4) to bottom nipple of
TRANSFER VALVE (2) and tighten to make a water tight seal.
Install LOWER CONE SEAL (5) onto TRANSFER VALVE (2) and insert
TRANSFER VALVE (2) from under side of Bidet into the center diverter hole.
Install UPPER CONE SEAL (6), FRICTION WASHER (7) and
MOUNTING NUT (8) onto TRANSFER VALVE (2). Tighten
MOUNTING NUT (8) to secure the TRANSFER VALVE (2)
and make a water tight seal.
Thread TRANSFER VALVE ESCUTCHEON (9) onto
MOUNTING NUT (8) until snug against bidet ledge.

H965851
Three Hole Bidet Set
with Vacuum Breaker
FRONT
3
4
4
1
2
COLD
HOT
BIDET
MOUNTING
SURFACE
10˚
VALVE
STEM
10˚
1
1-1/4 MAX.
RED DOT
6
5
3
1
2
Thread LOCKNUT (1) to bottom of VALVE BODY (2). Make sure RUBBER WASHER (3) and METAL WASHER (4)
are installed. Insert VALVE BODY (2) through mounting hole from underside of bidet mounting surface.
Note: VALVE BODY marked Hot (RED DOT) is installed in the left mtg. hole, VALVE BODY marked Cold (BLUE DOT)
in the right when facing front of fitting.Maximum mounting surface thickness is 1-1/4".
From top install STOP RING (5). Thread ESCUTCHEON (6) with seal
washer onto VALVE BODY (2) until tight against it's internal stop.
Set VALVE BODIES (2, 2a) so that their outlets are facing toward
DIVERTER (2) on about a 10 degree angle. Tighten LOCKNUT (1)
using 35mm or adjustable wrench to secure the valve body.
Repeat above steps for cold VALVE BODY (2a).
BIDET
MOUNTING
SURFACE
RED DOT BLUE DOT
2a
6
5
COLD
Thread BONNET NUTS (1) clock-wise onto VALVE BODY
THREADS (2) until seated tightly against ESCUTCHEON (3).
Turn VALVE STEMS (5) to off position. Align HANDLES (4, 4a)
as shown or as desired. Push HANDLES (4, 4a) onto VALVE
STEMS (5). Tighten with HANDLE SCREWS (6). Install
INDEXES (7). (HOT on the left, Cold on the right).
2
5
1
4
4a
7
6
INSTALL VALVE BODIES
2INSTALL HANDLES
2
3

H965851
Three Hole Bidet Set
with Vacuum Breaker
POP-UP DRAIN
Tighten TAILPIECE (4) on DRAIN BODY before
installing DRAIN BODY. Fig. B.
3
4
2
REMOVE FLANGE
Thread FLANGE (1) counter-clockwise and remove
FLANGE (1) and FOAM GASKET (2) from drain
body. Fig. A.
Thread LOCKNUT (3) clock-wise to bottom of
drain body. Push GASKET (4) down against
LOCKNUT (3). Fig. B.
Remove CLEAR PLASTIC COVER (1).
Remove CARDBOARD SPACER (2) from under
DRAIN POP-UP (3).
2
3
1
4
Fig. B.
Fig. A. Fig. B.
7
5
FLANGE GASKET
Check DRAIN FLANGE in BIDET to ensure that WHITE
FOAM GASKET (1) is fully compressed and not visible.
Fig. A. DRAIN
FLANGE
1WHITE FOAM
GASKET
NOT VISIBLE
Insert LIFT ROD GUIDE (1) and CABLE CONNECTOR (2)
through rear hole, making sure SEAL WASHER (3) is
properly seated. Fig. B.
From below slip slot in MOUNTING NUT (4) over CABLE (5).
Thread NUT (4) onto lift rod guide shank to secure ROD
GUIDE (1) to bidet. Hand tighten only. Fig. B.
1
2
4
5
3
ILLUSTRATION
SHOWN LESS
VALVES
SLOTTED
MOUNTING
NUT
POP-UP ROD ASSEMBLY
TIGHTEN LOCKNUT
1
Fig. A. Fig. B.
Tighten LOCKNUT (1) firmly with Adjustable
Wrench or Channel Locks.
INSTALL DRAIN FROM
BELOW FIXTURE 6
From under side of BIDET
install DRAIN BODY (1) up
through drain outlet.
Note: No plumber’s putty
or caulk is required.
The CABLE ATTACHMENT
POINT (2) must face towards
the rear of the BIDET.
Install FOAM GASKET (3) and
FLANGE (4) onto drain body
from above BIDET and tighten
FLANGE (4) firmly.
DRAIN
BODY
4
2
DRAIN
OUTLET
1
4
3
2
3
1
Fig. A.

H965851
Three Hole Bidet Set
with Vacuum Breaker
SMALL
END
LARGE
END
LARGE
END
VALVE
OUTLET
VALVE
OUTLET
PUTTY
1
2
3
INSTALL SUPPLY HOSES
INSTALL SPRAY BODY
Connect small end of SUPPLY HOSES (1) TO "Y" ADAPTER (2)
and larger end to each VALVE OUTLET.
Important: Loop SUPPLY HOSES (1) as illustrated
so they do not kink.
Connect one end of SPRAY HOSE (7) to HOSE ADAPTER
(8) and the other end to shank of SPRAY BODY (3). Tighten
hose connections to make a water tight seal.
JADO
JADO
1
Apply putty to the underside of SPRAY BODY
FLANGE (3) and install SPRAY BODY (3) into
spray hole of Bidet.
From underside of Bidet install RUBBER WASHER (4),
FIBER WASHER (5) and LOCKNUT (6) onto shank of
SPRAY BODY (3). Tighten LOCKNUT (6) to make water
tight seal.
4
8
5
6
7
7
9
9a
HOT
FRONT
COLD
Connect HOT water supply to inlet of left SHANK and COLD water supply to right
SHANK using sealant, appropriate connectors, and COUPLING NUTS.
Connect 1-1/4” O.D. tailpiece on POP-UP DRAIN to waste outlet.
10
Connect water supply to VALVE BODIES (9,9a) with
1/2" IPS FLEXIBLE SUPPLIES (10) or 3/8" O.D. BULL-NOSE
RISERS (11). Use adjustable wrench to tighten connections.
Do not over tighten. Be careful not to kink copper supply when
bending. Use tubing cutter to cut to proper length.
NOTE: FLEXIBLE SUPPLIES OR BULL-NOSE RISERS
NOT INCLUDED AND MUST BE PURCHASED SEPARATELY. FERRULE
COMPRESSION
NUT
COUPLING NUT
FLEXIBLE
SUPPLIES
3/8 O.D.
BULL-NOSE
RISERS
1/2" PIPE
THREAD
3/8 COMPRESSION
CONNECTION
CONNECT TO
WASTE OUTLET
10
11
POP-UP KNOB (1) must be fully
down. Fig. A.
Thread CABLE CONNECTOR (1)
clockwise onto DRAIN BODY
CONNECTION (2) and hand
tighten. Fig. B.
Your new POP-UP DRAIN
installation is now complete.
Fig. C.
Note: Tailpeice on pop-up drain
is 1-1/4” O.D. Fig. C.
Fig. B.
ATTACH CABLE
CONNECTOR
8
Operate LIFT KNOB (1) to verify that STOPPER (2)
opens and closes.
Note: If STOPPER (2) does not open and close properly
then refer to the “troubleshooting section” of these
instructions.
CHECK OPERATION OF POP-UP
INSTALL DIVERTER KNOB
9
Fig. C.
1-1/4” O.D.
1
3
1
1
2
2
WATER SUPPLY CONNECTION
4
2
3
DOWN
Fig. A.
For Diverter handle: Install DIVERTER HANDLE (1)
onto VALVE STEM (2) of DIVERTER.
Secure with DIVERTER HANDLE SCREW (3).
Thread HANDLE CAP (4) onto DIVERTER HANDLE (1).

11 TEST INSTALLED FITTING AND
CONNECTIONS FOR LEAKS
With FAUCET HANDLES in OFF position, turn on
WATER SUPPLIES (1) and check all connections
for leaks.
Operate both handles to flush water lines thoroughly.
Turn diverter to rim wash and bidet spray.
Operate LIFT ROD (2) and fill bidet with water. DRAIN
STOPPER (3) should make a good seal and retain water
in bidet. If DRAIN STOPPER (3) does not make a water
tight seal see “Troublingshooting Guid” section in
these instructions
Release DRAIN STOPPER (3) and check all drain
connections and "P" trap for leaks. Tighten if
necessary.
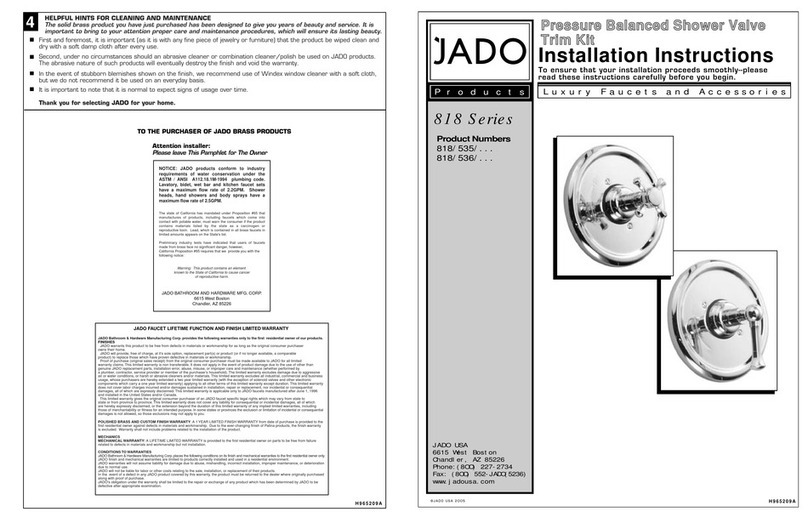
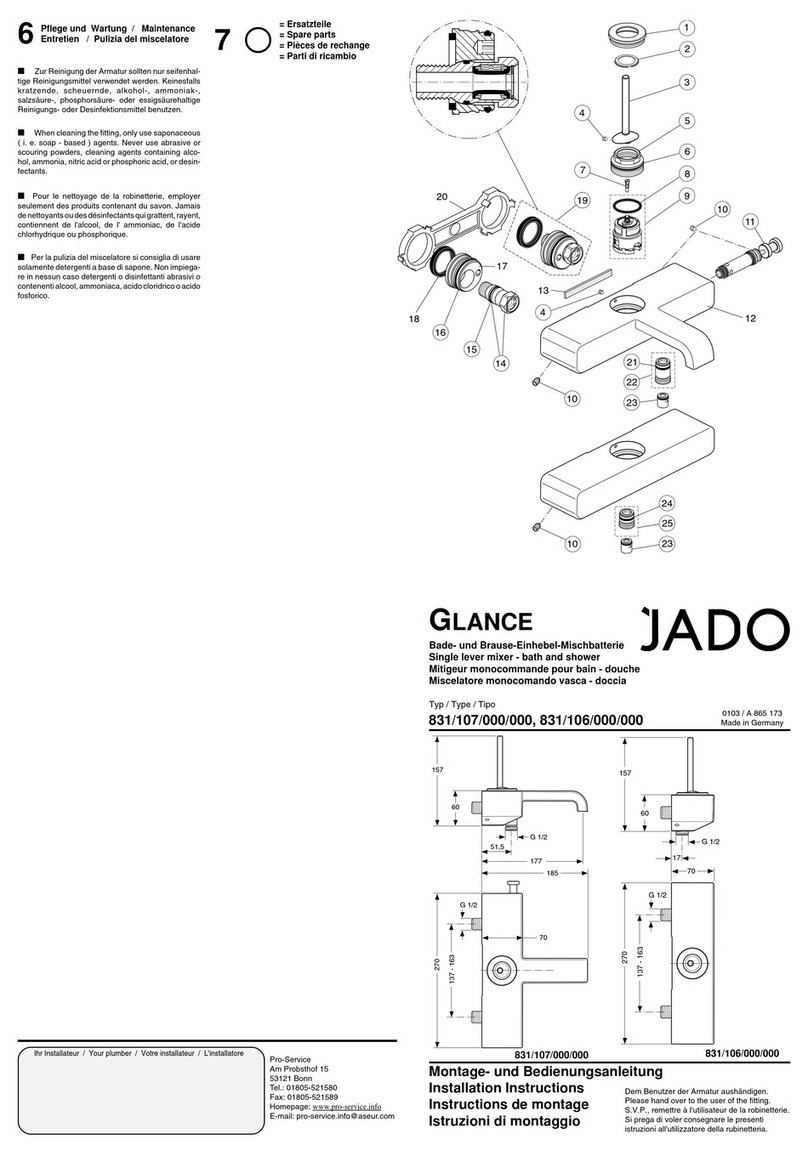
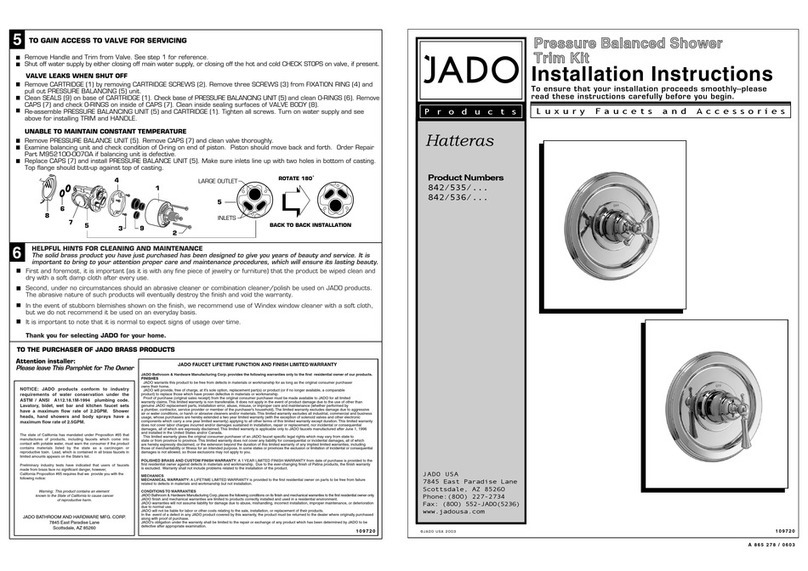
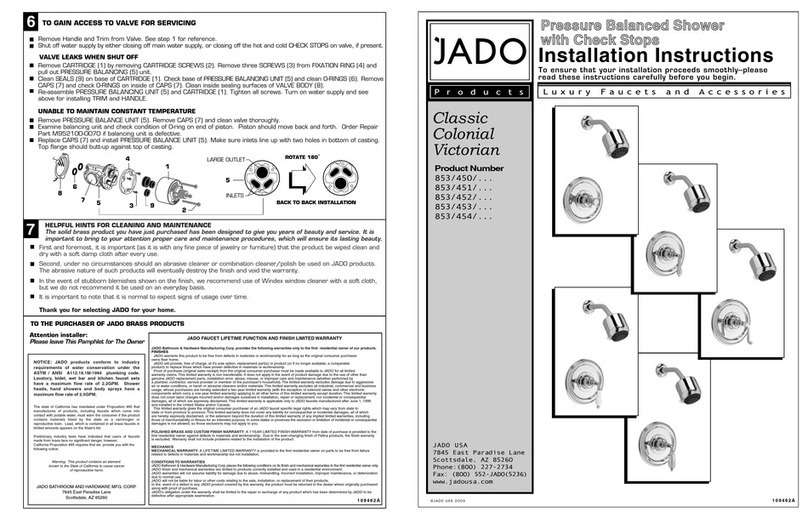
12 HELPFUL HINTS FOR CLEANING AND MAINTENANCE
The solid brass product you have just purchased has been designed to give you years of beauty and service. It is
important to bring to your attention proper care and maintenance procedures, which will ensure its lasting beauty.
First and foremost, it is important (as it is with any fine piece of jewelry or furniture) that the product be wiped clean and
dry with a soft damp cloth after every use.
Second, under no circumstances should an abrasive cleaner or combination cleaner/polish be used on JADO products.
The abrasive nature of such products will eventually destroy the finish and void the warranty.
In the event of stubborn blemishes shown on the finish, we recommend use of Windex window cleaner with a soft cloth,
but we do not recommend it be used on an everyday basis.
It is important to note that it is normal to expect signs of usage over time.
Thank you for selecting JADO for your home.
JADO
JADO
1
1
3
TO THE PURCHASER OF JADO BRASS PRODUCTS
Attention installer:
Please leave This Pamphlet for The Owner
POLISHED BRASS AND CUSTOM FINISH WARRANTY: A 1 YEAR LIMITED FINISH WARRANTY from date of purchase is provided to the
first residential owner against defects in materials and workmanship. Due to the ever-changing finish of Patina products, the finish warranty
is excluded. Warranty shall not include problems related to the installation of the product.
MECHANICS
MECHANICAL WARRANTY: A LIFETIME LIMITED WARRANTY is provided to the first residential owner on parts to be free from failure
related to defects in materials and workmanship but not installation.
CONDITIONS TO WARRANTIES
JADO Bathroom & Hardware Manufacturing Corp. places the following conditions on its finish and mechanical warranties to the first residential owner only.
JADO finish and mechanical warranties are limited to products correctly installed and used in a residential environment.
JADO warranties will not assume liability for damage due to abuse, mishandling, incorrect installation, improper maintenance, or deterioration
due to normal use.
JADO will not be liable for labor or other costs relating to the sale, installation, or replacement of their products.
In the event of a defect in any JADO product covered by this warranty, the product must be returned to the dealer where originally purchased
along with proof of purchase.
JADO's obligation under the warranty shall be limited to the repair or exchange of any product which has been determined by JADO to be
defective after appropriate examination.
The state of California has mandated under Proposition #65 that
manufactures of products, including faucets which come into
contact with potable water, must warn the consumer if the product
contains materials listed by the state as a carcinogen or
reproductive toxin. Lead, which is contained in all brass faucets in
limited amounts appears on the State's list.
Preliminary industry tests have indicated that users of faucets
made from brass face no significant danger, however,
California Proposition #65 requires that we provide you with the
following notice:
NOTICE: JADO products conform to industry
requirements of water conservation under the
ASTM / ANSI A112.18.1-2005 plumbing code.
Lavatory, bidet, wet bar and kitchen faucet sets
have a maximum flow rate of 2.2GPM. Shower
heads, hand showers and body sprays have a
maximum flow rate of 2.5GPM.
Warning: This product contains an element
known to the State of California to cause cancer
of reproductive harm.
JADO BATHROOM AND HARDWARE MFG. CORP.
6615 West Boston
Chandler, AZ 85226
JADO warrants this product to be free from defects in materials or workmanship for as long as the original consumer purchaser
owns their home.
JADO will provide, free of charge, at it’s sole option, replacement part(s) or product (or if no longer available, a comparable
product) to replace those which have proven defective in materials or workmanship.
Proof of purchase (original sales receipt) from the original consumer purchaser must be made available to JADO for all limited
warranty claims. This limited warranty is non transferable. It does not apply in the event of product damage due to the use of other than
genuine JADO replacement parts, installation error, abuse, misuse, or improper care and maintenance (whether performed by
a plumber, contractor, service provider or member of the purchaser’s household). The limited warranty excludes damage due to aggressive
air or water conditions, or harsh or abrasive cleaners and/or materials. This limited warranty excludes all industrial, commercial and business
usage, whose purchasers are hereby extended a two year limited warranty (with the exception of solenoid valves and other electronic
components which carry a one year limited warranty) applying to all other terms of this limited warranty except duration. This limited warranty
does not cover labor charges incurred and/or damages sustained in installation, repair or replacement, nor incidental or consequential
damages, all of which are expressly disclaimed. This limited warranty is applicable only to JADO faucets manufactured after June 1, 1996
and installed in the United States and/or Canada.
This limited warranty gives the original consumer purchaser of an JADO faucet specific legal rights which may vary from state to
state or from province to province. This limited warranty does not cover any liability for consequential or incidental damages, all of which
are hereby expressly disclaimed, or the extension beyond the duration of this limited warranty of any implied limited warranties, including
those of merchantability or fitness for an intended purpose. In some states or provinces the exclusion or limitation of incidental or consequential
damages is not allowed, so those exclusions may not apply to you.
JADO Bathroom & Hardware Manufacturing Corp. provides the following warranties only to the first residential owner of our products.
FINISHES
FAUCET LIFETIME FUNCTION AND FINISH LIMITED WARRANTY
NOTE: Diverter valve is not a positive shut-off to rim wash.
H965851
Three Hole Bidet Set
with Vacuum Breaker
4
2

H965851
Three Hole Bidet Set
with Vacuum Breaker
Speed Connect®Drain
Troubleshooting Guide
Disconnect the Cable from the Drain by threading the Cable Connector (1) counter-clockwise. Fig. A.
Look at the area on the Drain Body where the Cable was attached and locate the component labeled
as “Cam” and “Cam Cap” in the illustration. Fig. B.
Use fingers or small screwdriver under either side of the Cam Cap to pry it out from the Drain. Fig. D.
Remove the Cam by pulling it straight out while wiggling gently to loosen the Rubber Seal. Fig. E.
The Stopper can now be removed by lifting it out of the Drain. Fig. F.
CAM
CAM CAP
CABLE ADJUSTMENT PROCEDURE
If sink does not hold water even though Stopper is in the “down” position:
• Follow CABLE ADJUSTMENT PROCEDURE.
If Stopper does not raise up fully or sink drains too slowly:
• Follow CABLE ADJUSTMENT PROCEDURE.
If you need to remove the Stopper:
• Follow STOPPER REMOVAL PROCEDURE.
If you would like the ability to remove your Stopper simply by lifting it out of the drain:
• Follow STOPPER INSTALLATION PROCEDURE for “Unlocked” mode.
Fig. B.Fig. A.
REMOVE
CAM
Fig. E.
Disconnect the Cable from the Drain by threading the Cable Connector (1) counter-clockwise. Fig. A.
Look at the area on the Drain Body where the Cable was attached and locate the component labeled as
“Cam” in the illustration. Fig. B.
Use a small screwdriver to rotate the Cam in the clockwise direction as far as it will go. At this point the
Stopper should be in the UP position. Fig. B, C.
Push DOWN on the Lift-Knob to make sure it is fully down. Fig. C.
Re-attach the Cable to the Drain Body Connection (2) by threading the Cable Connector (1) clockwise onto the
Drain Body Connection (2) and hand-tighten. Fig. A.
STOPPER REMOVAL PROCEDURE
2
1
RE-ATTACH
DISCONNECT
Fig. D.
REMOVE
CAM CAP
Fig. C.
STOPPER
DOWN
1
5
Fig. F.

H965851
Three Hole Bidet Set
with Vacuum Breaker
6
STOPPER INSTALLATION PROCEDURE
Locked Mode:
Look at the Plastic Loop at the bottom of the Stopper and notice
that the Loop is on one side of the Stopper. Fig. G.
To install the stopper in “Locked” mode, insert the Stopper into
the Drain so that the Plastic Loop is facing toward the rear of the
Sink. Rotate Stopper slightly if necessary so that the Stopper slides
all the way down.Fig. G.
Re-install the Cam into the Drain, rotating the Cam if necessary
to make sure it is fully inserted. Fig. J.
Re-install the Cam Cap, making sure the guide teeth are facing
outward. If the Cam Cap does not “snap” into place, then rotate
the Cam to make sure it is fully inserted. Fig. K.
Re-attach Cable. See “CABLE ADJUSTMENT PROCEDURE” in
Troubling Shooting Guide to complete installation. Stopper will be
in “Locked” mode and not be removable.
Unlocked Mode:
Look at the Plastic Loop at the bottom of the Stopper and notice
that the Loop is on one side of the Stopper. Fig. H.
To install the stopper in “Unlocked” mode, insert the Stopper into
the Drain so that the Plastic Loop is facing toward the front of the
Sink. Rotate Stopper slightly if necessary so that the Stopper slides
all the way down. Fig. H.
Re-install the Cam into the Drain, rotating the Cam if necessary
to make sure it is fully inserted. Fig. J.
Re-install the Cam Cap, making sure the guide teeth are facing
outward. If the Cam Cap does not “snap” into place, then rotate
the Cam to make sure it is fully inserted. Fig. K.
Re-attach Cable. See “CABLE ADJUSTMENT PROCEDURE” in
“Troublingshooting Guide” to complete installation. Stopper will be
in “Unlocked” mode and removable.
Fig. J. Fig. K.
INSTALL
CAM CAP
CAM
INSTALL CAM
The Stopper can be installed two ways, “Locked” Mode (Stopper cannot be
removed) or “Unlock” Mode (Stopper is removable).
Locked Mode
(Vandal Proof)
Unlocked Mode
DRAIN
Fig. G.
LOOP TOWARD
REAR OF BIDET
180˚
DRAIN
Fig. H.
LOOP TOWARD
FRONT OF BIDET
This manual suits for next models
7
Table of contents
Other JADO Bathroom Fixture manuals

JADO
JADO 853/535 Series User manual

JADO
JADO Glance 031/010 Series User manual

JADO
JADO 818/535 Series User manual

JADO
JADO New Haven 826/003/ Series User manual

JADO
JADO Swan 865/752 Series User manual

JADO
JADO Glance 831/999 Series User manual

JADO
JADO Classic Victorian 859/023 Series User manual

JADO
JADO 853/450 Series User manual

JADO
JADO Hatteras 842/535 Series User manual

JADO
JADO Hatteras 842 027 Series User manual