manuals.online logo
Brands
  1. Home
  2. •
  3. Brands
  4. •
  5. Jandy
  6. •
  7. Swimming Pool Heater
  8. •
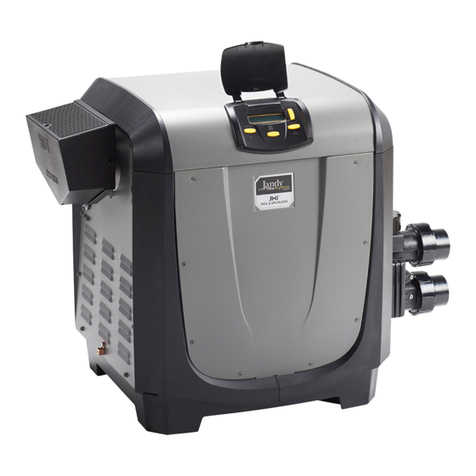
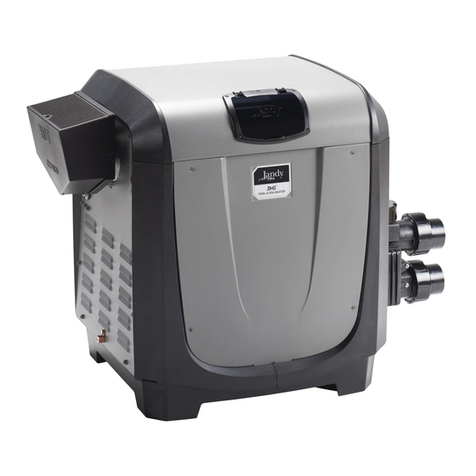
  9. Jandy Legacy R0491601-05 User manual

Jandy Legacy R0491601-05 User manual

WARNING
SHOCK HAZARD!
Turn off all switches and the main breaker in the
pool/spa heater electrical circuit before starting the
replacement procedure. Failure to comply may cause
a shock hazard resulting in severe personal injury or
death.
Installation Instructions
Legacy™Pool/Spa Heaters Vent Cap and Draft Hood
Installation Instructions
WARNING
FOR YOUR SAFETY - This product must be installed and serviced by personnel qualied in pool/spa
heater installation. Improper installation and/or operation can create carbon monoxide gas and ue gases
which can cause serious injury, property damage, or death. For indoor installations, as an additional
measure of safety, Zodiac Pool Systems, Inc. strongly recommends installation of suitable Carbon
Monoxide detectors in the vicinity of this appliance and in any adjacent occupied spaces. Improper
installation and/or operation will void the warranty.
These instructions are to be used with the following Jandy®Replacement Kits:
R0491601-05 -- Vent Cap Assembly, Legacy, Replacement Kit
R0499601-05 -- Draft Hood, Indoor, Legacy, Replacement Kit
WARNING
If the information in these instructions is not followed exactly, a re or explosion may result causing
property damage, personal injury or death.
This document gives instructions for installing/
replacing the Vent Cap and Draft Hood in all Jandy
Legacy model pool/spa heaters. The instructions must
be followed exactly.
These instructions were written with safety as the
priority. Not following the written procedure or taking
short cuts may increase the risk of personal injury. Read
through the instructions completely before starting the
procedure.
Before starting the procedure, use the parts list at
the back of these instructions to identify the parts that
are in your kit. If any parts are missing from the kit,
please call your local Jandy distributor for assistance.
For technical assistance, please contact our Technical
Service Department at (800) 822-7933.
A. Install the New Vent Cap or Draft Hood
H0322000-
WARNING
Flue gases can be very hot and can contain carbon
monoxide which can cause property damage, severe
injury or death. Make sure the unit is off and cool to
the touch before attempting these instructions.
1. Turn off the electrical power to the heater. Turn off
the main gas supply to the heater at the meter or
the manual gas cock outside the heater.
2. Remove the vent top cover (stamped "HOT" and
"CHAUD") by removing all three (3) screws on
top. See Figure 1.
3. Remove the three (3) vent top cover brackets by
removing three (3) screws holding brackets in
place to the top enclosure. See Figure 2.
4. Remove the top enclosure by removing four (4)
screws, two (2) on each side of heater, holding top
enclosure in place to heater. See Figure 2.
5. Remove the vent cap or draft hood and accessories
from the carton.
6. Placethetransitionplatesecurelyontopofue
collector so gas will not leak. Make sure transition
plateisplacedsothattheventpipeangeis
located towards the rear of the heater. See
Figure 3.
NOTE When installing a new pool heater that will connect to existing venting, some adaptation of the vent system will
be required. This is due to variations in venting centerlines with the replacement heaters. In the USA, refer to
the National Fuel Gas Code (ANSI Z223.1/NFPA 54) and all local codes. In Canada, refer to the Natural Gas
and Propane Installation Code (CSA B149.1) and all local codes.
NOTE Jandy ships the heater with the low-prole top for an outdoor installation. Follow these procedures to install
either the Jandy draft hood (a draft hood is required on all indoor installations) or the vent cap (outdoor
installations).
Page 2
7. Use the four (4) holes in the transition plate as
guides to drill four (4) 1/8" diameter holes, to
fastentransitionplatetotopuecollectorusing
four (4) screws supplied in the kit. See Figure 4.
8. Replace the heater top enclosure and secure using
four (4) screws, two (2) on each side of heater. See
Figure 5. Check the alignment of the transition
plate hole and the hole in the top enclosure.
Figure 1. Remove the Vent Top Cover
Figure 2. Remove the Top Enclosure
Figure 3. Installation of Transition Plate and Vent Pipe
Flange
Figure 4. Installation of Transition Plate to Flue to Top
Flue Collector
Figure 5. Installation Heater Top Enclosure
Vent Top
Cover
Vent Top Cover
Brackets (3)
Top Enclosure
5.89” from the back
edge of the flue
collector to the
center of the vent
Transition Plate
Screws
Top Flue Collector
9. Place the stack extension (or draft hood bottom)
throughthetopenclosureventholeandtthe
stackextensiononthetopofthecollaroftheue
transition plate. See Figure 6.
10. Attach the three (3) clips to the top enclosure using
three (3) screws supplied the kit. See Figure 6.
11. Secure the vent cap stack to the clips with three (3)
screws supplied in the kit. Align slotted holes in
clips to the holes on the vent cap stack and fasten
using the screws supplied in the kit. See Figure 6.
Detail
Clips
Screws
Vent Cap
Stack
Figure 6. Installation of the Vent Cap Stack
Page 3
12. When installing a draft hood or a painted vent
cap use the slotted holes in the clips as guides to
drill three (3) 1/8" diameter holes in the stack. Be
sure stack is seated properly to the transition plate
before drilling the holes into place.
13. Figure7showsacross-sectionofthenished
installation.
14. Restore the main gas supply to the heater. Turn on
electrical power to the heater.
15. Test the heater for proper operation before leaving
the job site.
Replacement Kit List
DESCRIPTION R0491601-05* R0499601-05
Vent Stack Pipe 1 --
Vent Cap 1 --
Draft Hood -- 1
Clip, Vent Cap / Draft Hood 3 3
Plate, Flue Transition 1 1
Screw, 10-16 X 5/8, Steel, Hex
Washer Head
10 10
Instructions 1 1
* If your R0491601-05 kit is supplied with a painted vent cap,
the kit will not require the vent stack pipe.
F. Replacement Kit List
The following table is for your reference. To order
additional parts, please contact your local Jandy
Distributor.
Vent Cap Stack
Top Enclosure
Vent Cap
Transition Plate
Flue Collector
Figure 7. Cross-Section of Assembled Installation
Page 4
H0322000-
Zodiac Pool Systems, Inc.
6000 Condor Drive, Moorpark, CA USA 93021 •800.822.7933 FAX 877.327.1403
Litho in U.S.A. © Zodiac Pool Systems, Inc. 0909

This manual suits for next models

1

Other Jandy Swimming Pool Heater manuals

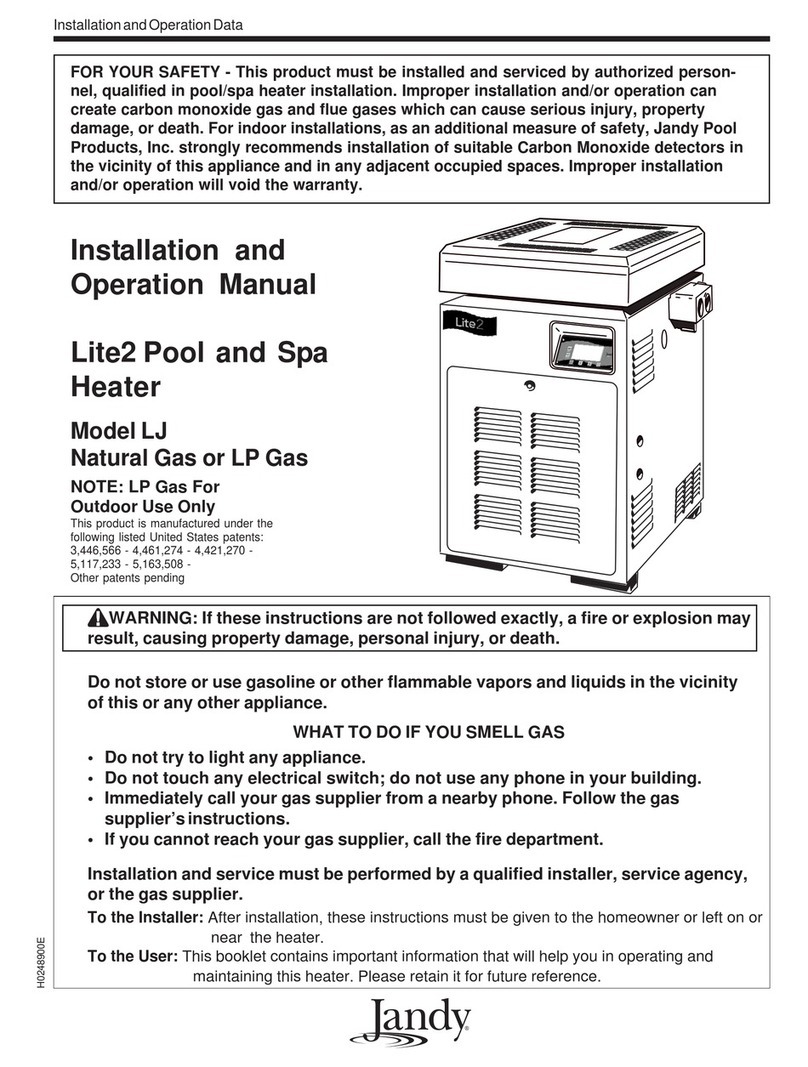
Jandy 200 User manual

Jandy

Jandy 200 User manual

Jandy LJ User manual

Jandy

Jandy LJ User manual

Jandy LD User manual

Jandy

Jandy LD User manual

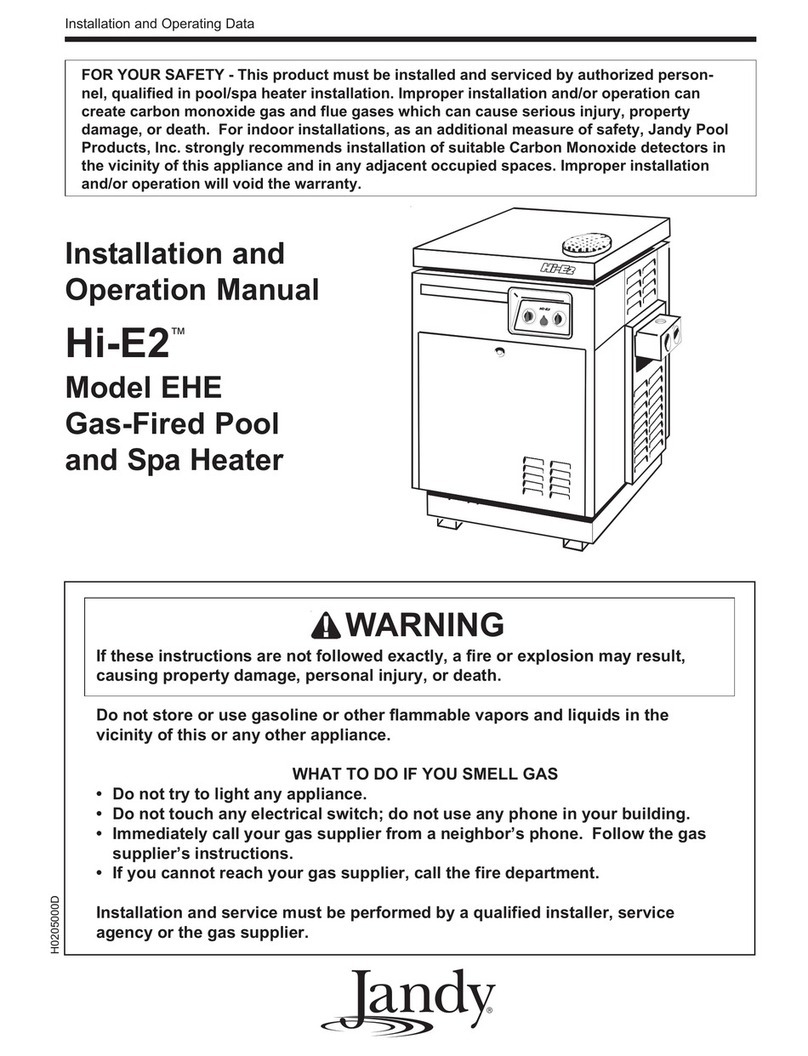
Jandy HI-E2 Quick start guide

Jandy

Jandy HI-E2 Quick start guide

Jandy LJ User manual

Jandy

Jandy LJ User manual

Jandy EHE User manual

Jandy

Jandy EHE User manual

Jandy LG125 User manual

Jandy

Jandy LG125 User manual

Jandy Hi-E2 EHe User manual

Jandy

Jandy Hi-E2 EHe User manual

Jandy Laars Lite 2 LG User manual

Jandy

Jandy Laars Lite 2 LG User manual

Jandy PRO Series JXI200 User manual

Jandy

Jandy PRO Series JXI200 User manual

Jandy LRZ Electronic User manual

Jandy

Jandy LRZ Electronic User manual

Jandy pool/spa heater User manual

Jandy

Jandy pool/spa heater User manual

Jandy JXi 200 User manual

Jandy

Jandy JXi 200 User manual

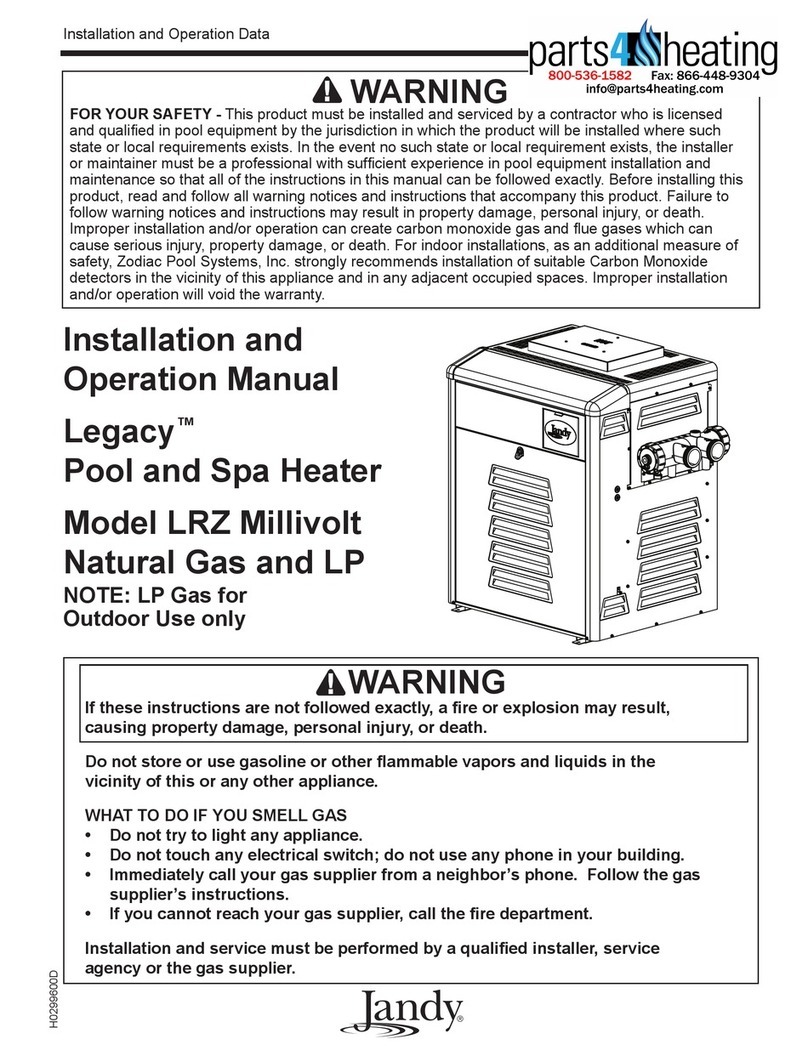
Jandy Legacy LRZM User manual

Jandy

Jandy Legacy LRZM User manual

Jandy LRZ Electronic User manual

Jandy

Jandy LRZ Electronic User manual

Jandy LXi User manual

Jandy

Jandy LXi User manual

Jandy LXi User manual

Jandy

Jandy LXi User manual

Popular Swimming Pool Heater manuals by other brands

Bestway 58259 owner's manual

Bestway

Bestway 58259 owner's manual

UTC ICP HMP-03 Installation instructions and homeowner's manual

UTC

UTC ICP HMP-03 Installation instructions and homeowner's manual

BriskHeat TOT Series instruction manual

BriskHeat

BriskHeat TOT Series instruction manual

Pentair MASTERTEMP 125 Installation and user guide

Pentair

Pentair MASTERTEMP 125 Installation and user guide

Ecostealth Heat Pump Pool and Spa Heater operating instructions

Ecostealth

Ecostealth Heat Pump Pool and Spa Heater operating instructions

Blue Lagoon ProfiHeater 1kW manual

Blue Lagoon

Blue Lagoon ProfiHeater 1kW manual

DLP 30HPRA-E-410 owner's manual

DLP

DLP 30HPRA-E-410 owner's manual

Raypak 131 Service instructions

Raypak

Raypak 131 Service instructions

Raypak Raytherm P-1826 Installation & operating instructions

Raypak

Raypak Raytherm P-1826 Installation & operating instructions

Purex Pool Equipment Tropic Isle C120 Installation & operation manual

Purex Pool Equipment

Purex Pool Equipment Tropic Isle C120 Installation & operation manual

Amerec Pro 12.0 user manual

Amerec

Amerec Pro 12.0 user manual

Roland HU-740 user manual

Roland

Roland HU-740 user manual

Hayward H100ID1 quick guide

Hayward

Hayward H100ID1 quick guide

Gree GRS-CP11Pd/NhA-D owner's manual

Gree

Gree GRS-CP11Pd/NhA-D owner's manual

Pentair Pool Products MiniMax 250 Operating & installation manual

Pentair Pool Products

Pentair Pool Products MiniMax 250 Operating & installation manual

Pentair Pool Products 175K BTU Operations & installation guide

Pentair Pool Products

Pentair Pool Products 175K BTU Operations & installation guide

Elecro Engineering IN-LINE+ Installation & operating manual

Elecro Engineering

Elecro Engineering IN-LINE+ Installation & operating manual

Pentair Pool Products MiniMax NT Low NOx Series Operation & installation manual

Pentair Pool Products

Pentair Pool Products MiniMax NT Low NOx Series Operation & installation manual

manuals.online logo
manuals.online logoBrands
  • About & Mission
  • Contact us
  • Privacy Policy
  • Terms and Conditions

Copyright 2025 Manuals.Online. All Rights Reserved.