manuals.online logo
Brands
  1. Home
  2. •
  3. Brands
  4. •
  5. Jandy
  6. •
  7. Swimming Pool Heater
  8. •
  9. Jandy LXi User manual

Jandy LXi User manual

H0294700 Rev C
WARNING
FOR YOUR SAFETY: This product must be installed and serviced by a contractor who is licensed and qualified in
pool equipment by the jurisdiction in which the product will be installed where such state or local requirements
exists. In the event no such state or local requirement exists, the installer or maintainer must be a professional with
sufficient experience in pool equipment installation and maintenance so that all of the instructions in this manual
can be followed exactly. Before installing this product, read and follow all warning notices and instructions that
accompany this product. Failure to follow warning notices and instructions may result in property damage, personal
injury, or death. Improper installation and/or operation can create carbon monoxide gas and flue gases which can
cause serious injury, property damage, or death. For indoor installations, as an additional measure of safety, Zodiac
Pool Systems, Inc. strongly recommends installation of suitable Carbon Monoxide detectors in the vicinity of this
appliance and in any adjacent occupied spaces. Improper installation and/or operation will void the warranty.
Jandy Pro Series
LXi™ Maintain Heat Relay
Spare Parts Installation Instructions
These instructions are to be used with the following Jandy Pro Series Spare Parts:
R0467200 -- Jandy Pro Series LXi™ Maintain Heat Relay Installation Kits
WARNING
If the information in these instructions is not followed exactly, a fire or explosion may result causing property damage,
personal injury or loss of life.
This document gives instructions for installing the
Maintain Heat relay in all Jandy® LXi™ model pool/spa
heaters. The instructions must be followed exactly. These
instructions were written with safety as the priority. Not
following the written procedure or taking short cuts may
increase the risk of personal injury. Read through the
instructions completely before starting the procedure.
Before starting the procedure, use the parts list at the
back of these instructions to identify the parts that are
in your kit. If any parts are missing from the kit, please
call your local Jandy distributor for assistance. For
technical assistance, please contact our Technical Support
Department at (800) 822-7933.
NOTE Maintain Heat Relay has a 24 VAC coil.
A. Installing the Maintain Heat Relay
WARNING
SHOCK HAZARD!
Turn off all switches and the main breaker in the pool/spa
heater electrical circuit before starting the replacement
procedure. Failure to comply may cause a shock hazard
resulting in severe personal injury or death.
1. Turn off the electrical power to the heater. Turn off
the main gas supply to the heater at the meter or the
manual gas cock outside the heater.
2. Be sure that the lter pump is OFF and that it will
remain off during the entire procedure.
3. Remove the front panel (door).
4. Install the maintain heat (pump) relay in the location
as indicated in Figure 1. Secure it with the mounting
screws provided with the replacement kit.
5. Remove connector J3 from the universal power
interface board. See Figure 1.
6. Insert the orange wire (from the kit) into the
connector at pin six (6) and connect the other end to
the pump relay coil as shown in Figure 1.
7. Using the wiring diagram (Figure 2) as a reference,
double check that the location of the installed orange
wire is in the correct position.
8. Install the connector J3 back into the universal
controller power Interface Board. See Figure 1.
9. Install one end of the yellow ground wire to the
ground screw and the other end of the wire to the
pump relay coil. See Figure 1.
10. Wire the maintain heat (pump) relay contacts in
parallel with the lter pump motor time clock wiring.
See Figure 3.
11. Switch the main breaker to the ON position.
Page 2 Jandy® Pro Series, LXi Maintain Heat Relay | Installation Kit Instructions
L1
F1
ACN1
ACH1
L2
F2
G
R
BK
240 VAC
HEATER
POWER
SUPPLY
BLOWER
MOTOR
W
BK
BL
R
O
IGNITION CONTROL
F1 F2 24
VAC
FV+ FV-
IGN
120 L1 L2
IGN
FS WGNDVAL
BK
W
BK
BL R
GY BK
24 VAC
R
Y
HOT SURFACE
IGNITER
W
GY
W
FLAME SENSE
TRANSFORMER
BK
WATER
TEMP
GAS
VALVE
USER
INTERFACE1
BK O BL R
HIPRESS/
HILIMIT
LOPRESS/
FUSELINK
WATER
PRESS
REMOTE
SPA POOL COM
REV
VALVE
24VAC
PUMP
COMP/
IGN
FAN/
LOUVER
UNIVERSAL
CONTROLLER
POWER INTERFACE
UNIVERSAL
CONTROLLER
USER INTERFACE
POWER
INTERFACE
BK O BL R
AIR FLOW
SWITCH
GAS VALVE
WATER
TEMP
SENSOR
BL
W
BK
TO PUMP STARTER
CONTACTS (IF USED)
TO COMBUSTION
AIR
LOUVER STARTER
(IF
USED)
W
FUSE
R
Y
O
BK/Y
O
Y/BK
OBR Y
BR Y
R
BL
BK
BK
BK
W
BK
BL
BR
Y
BK BK
BK
BL O VGY
BK
BK
PSW
Y/BK
CNO
NC
Y/BK
COIL/AIR
TEMP
O
J3
J7
Factory Wired 24V
Factory Wired 120V/240V
BK - BLACK
BK/Y - BLACK WITH YELLOW TRACE
BL - BLUE
BR - BROWN
G - GREEN
GY - GRAY
O - ORANGE
R - RED
V - VIOLET
W - WHITE
Y - YELLOW
Y/BK - YELLOW WITH BLACK TRACE
H0287800 Rev M
- - - - - -
NOTES: IF ANY OF THE ORIGINAL WIRE AS SUPPLIED
WITH THE HEATER MUST BE REPLACED, APPLIANCE
WIRING MATERIAL RATED FOR 105°C MUST BE USED.
WHERE MARKED THUS - - - - - , APPLIANCE WIRING
MATERIAL RATED FOR 200°C MUST BE USED.
120 VAC
HEATER
POWER
SUPPLY
Alternate 120V Wiring*
G
R
BK
NEUTRAL
HOT
Voltage Selector Card Must Be Rotated.
LIMIT
SWITCH
55˚C
(130˚F)
LIMIT
SWITCH
65˚C
(150˚F)
ROLL-OUT
(FUSIBLE
LINK)
152˚C
(306˚F)
WATER
PRESS
SWITCH
VENT
TEMPERATURE
LIMIT
240˚C
(464˚F)
J3
Connector J3 - Detail
Pin 6
Connect Orange Wire Here
Connect Yellow
Ground Wire Here
Relay
Connect Yellow Ground
Wire Here
Connect Orange
Wire From Pin 6 of
Connector J3 Here
Figure 2. LXi Wiring Diagram
Figure 1. Control Panel.
Page 3
Jandy® Pro Series, LXi Maintain Heat Relay | Installation Kit Instructions
INTERMATIC® MODEL T104 MECHANICAL TIMER
(NOT PROVIDED IN THIS KIT)
INTERMATIC MODEL T104 (NOT PROVIDED WITH HEATER OR KIT) WIRE CONNECTIONS SHOWN AS AN EXAMPLE,
OTHER MODELS MAY HAVE DIFFERENT CONNECTIONS. CONSULT TIMER MANUFACTURER FOR PROPER CONNECTIONS.
FIELD INSTALLED COMPONENTS
OPTIONAL HEATER COMPONENTS
MAINTAIN HEAT (PUMP) RELAY
(SEE HEATER WIRING DIAGRAM)
240 VAC PUMP
CLOCK
MOTOR
NOTE:
EQUIPMENT
GROUND
L2
L1
1
3
2
4
SPA
MENU
POOL
GAS HEATER IS OFF
PRESS POOL OR SPA
Figure 4. Main Control Panel
B. Congure the Universal Controller for
the Maintain Heat Feature
1. Maintain Temperature
a. Make sure the control is in the OFF mode. See
Figure 4.
b. To enter the Service Setup mode, press and hold
the MENU, POOL and SPA buttons for ve (5)
seconds.
NOTE The display will revert back to OFF after one (1)
minute since the last key press.
c. When connected, this option allows the heater
to control the pump even if the time clock
has turned the pump off. To select Maintain
Temperature, use the Up or Down button to
display MAINTAIN TEMP.
Press the MENU button. The DISABLE (default
mode) appears, use the Up or Down button to
scroll to ENABLE, press the MENU button to
select. Press POOL or SPA to exit the Service
Setup mode.
2. Maintain Temperature Delay
a. Make sure the control is in the OFF mode.
b. To enter the Service Setup mode, press and hold
the MENU, POOL and SPA button for ve (5)
seconds.
NOTE The display will revert back to OFF after one (1)
minute since the last key press.
c. The maintain temperature delay is used when
MAINTAIN TEMP is connected. This feature
allows for a time delay before the pump is
turned on. To select Maintain Temperature
Delay, use the Up or Down button to scroll
through to display MAINTAIN TEMP DELAY.
Press the MENU button. The 01:00 HRS
(default time) appears, use the Up or Down
button to scroll to display the desired time delay,
press the MENU button to select. Press POOL
or SPA to exit the Service Setup mode.
Figure 3. Maintain Heat (Pump) Relay
Zodiac Pool Systems, Inc.
2620 Commerce Way, Vista, CA 92081
1.800.822.7933 | www.ZodiacPoolSystems.com
ZODIAC® is a registered trademark of Zodiac International, S.A.S.U., used under license.
All trademarks referenced herein are the property of their respective owners.
©2012 Zodiac Pool Systems, Inc. H0294700 Rev C 1207
Page 4 Jandy® Pro Series, LXi Maintain Heat Relay | Installation Kit Instructions
C. Testing the Maintain Heat Operation
1. Replace the front panel (door).
2. Turn on the gas supply at the heater.
3. Test the heater/pump operation by running them.
Make sure that all of the pool heaters’s functions
are working properly.
D. Replacement Kit List
The following table is for your reference. To order
additional parts, please contact your local distributor.
Parts List for Maintain Heat Relay Kit
Description Qty
Maintain Heat Relay 1
Wire, Yellow (ground) 1
Wire, Orange 1
Screw #10-5/8" 2
Instructions 1
3. Pool Mode - Maintain Heat
If connected, the Maintain Heat mode allows the heater
to monitor the temperature of the water 24 hours a day
by turning the pool pump on and sampling the water
temperature. When the water temperature drops below
the programmed temperature set point, the control will
start the heater.
To operate in pool mode with the Maintain Heat feature,
press POOL, then press MENU, press the Down button
until MAINTAIN POOL HEAT is displayed, press the
MENU button.
The associated left green LED indicator will light and
the unit will display SET:XXX°. Change the temperature
set point by pressing the Up or Down button until the
desired set point is displayed. After ve (5) seconds of
inactivity, the new set point is stored in memory.
4. Spa Mode - Maintain Heat
If connected, the Maintain Heat mode allows the heater
to monitor the temperature of the water 24 hours a day.
When the water temperature drops below the
programmed temperature set point, the control will start
the heater.
To operate in spa mode with the Maintain Heat feature,
press SPA, then press MENU, press the Down button
until MAINTAIN SPA HEAT is displayed, press the
MENU button. The associated left green LED indicator
will light and the unit will display SET:XXX°. Change
the temperature set point by pressing the Up or Down
button until the desired set point is displayed. After ve
(5) seconds of inactivity, the new set point is stored in
memory.

Other manuals for LXi

2

Other Jandy Swimming Pool Heater manuals

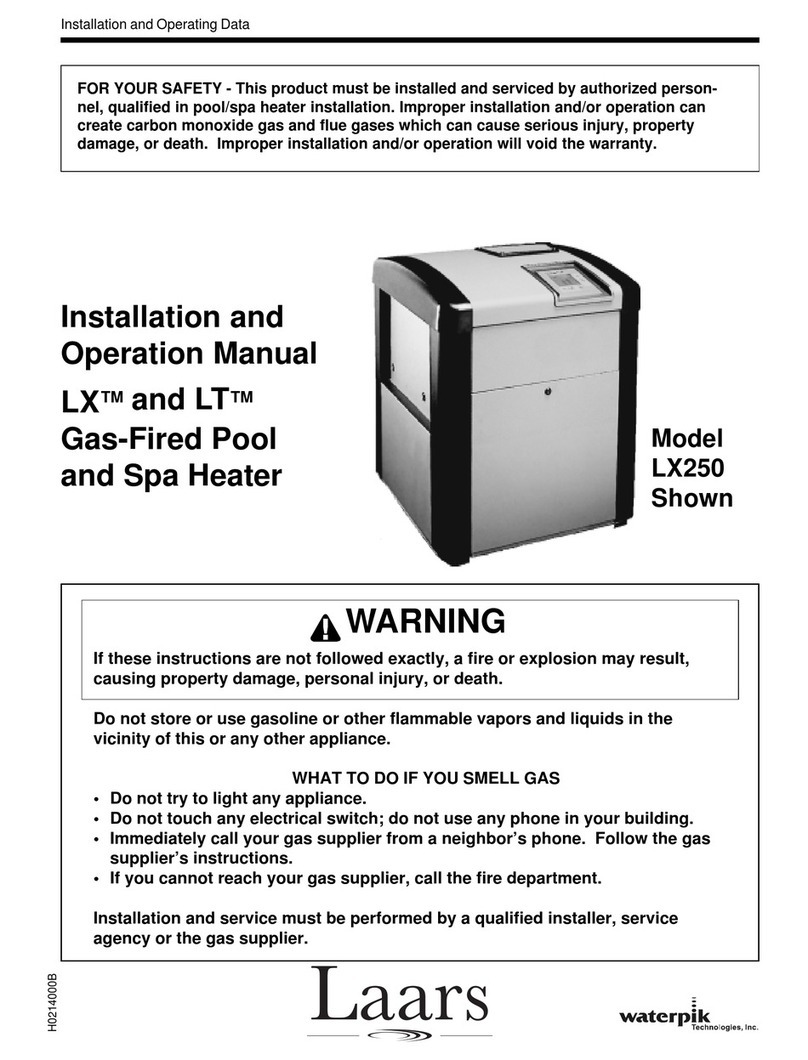
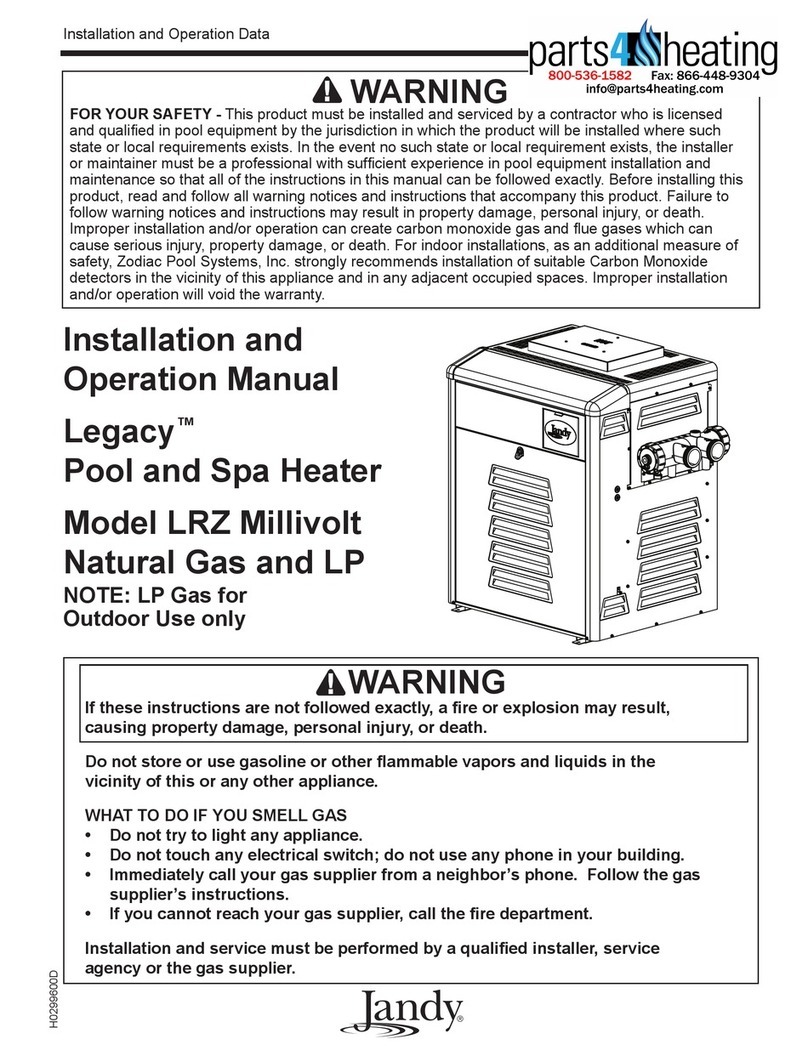
Jandy pool/spa heater User manual

Jandy

Jandy pool/spa heater User manual

Jandy LJ User manual

Jandy

Jandy LJ User manual

Jandy LJ User manual

Jandy

Jandy LJ User manual

Jandy HI-E2 Quick start guide

Jandy

Jandy HI-E2 Quick start guide

Jandy 200 User manual

Jandy

Jandy 200 User manual

Jandy Legacy LRZM User manual

Jandy

Jandy Legacy LRZM User manual

Jandy EHE User manual

Jandy

Jandy EHE User manual

Jandy LG125 User manual

Jandy

Jandy LG125 User manual

Jandy LRZ Electronic User manual

Jandy

Jandy LRZ Electronic User manual

Jandy LD User manual

Jandy

Jandy LD User manual

Jandy Legacy R0491601-05 User manual

Jandy

Jandy Legacy R0491601-05 User manual

Jandy LXi User manual

Jandy

Jandy LXi User manual

Jandy LRZ Electronic User manual

Jandy

Jandy LRZ Electronic User manual

Jandy Hi-E2 EHe User manual

Jandy

Jandy Hi-E2 EHe User manual

Jandy JXi 200 User manual

Jandy

Jandy JXi 200 User manual

Jandy PRO Series JXI200 User manual

Jandy

Jandy PRO Series JXI200 User manual

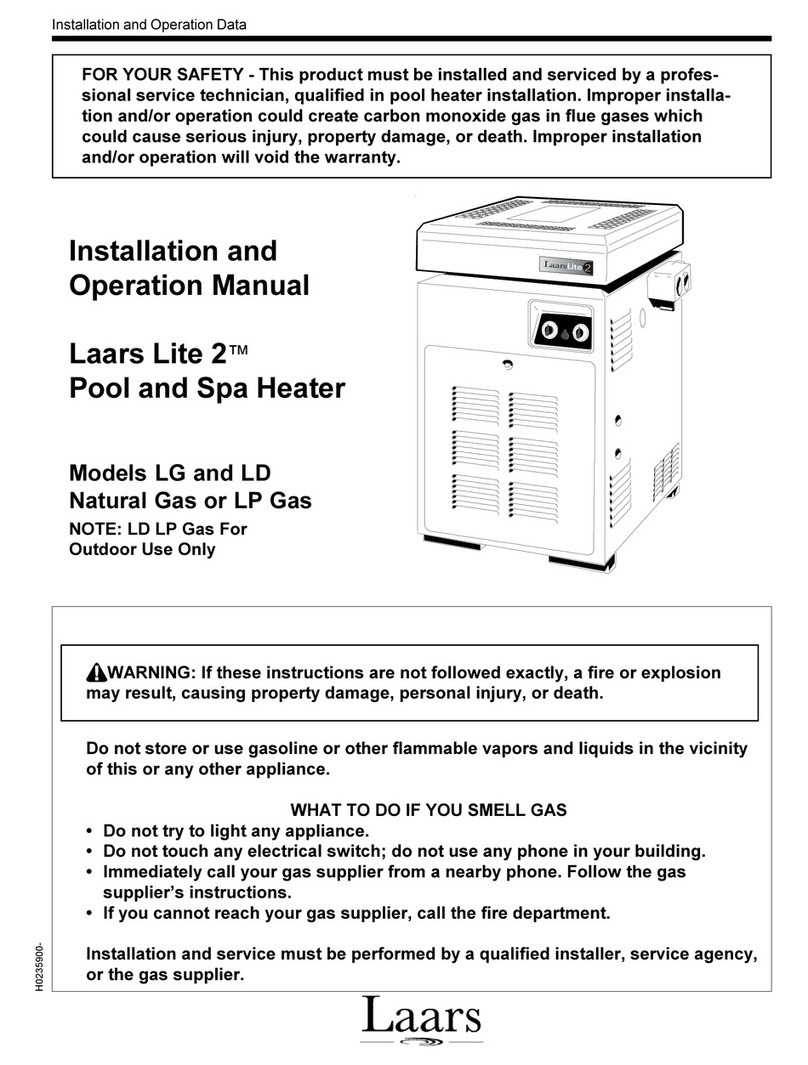
Jandy Laars Lite 2 LG User manual

Jandy

Jandy Laars Lite 2 LG User manual

Popular Swimming Pool Heater manuals by other brands

HCW PASHW030 Installation instructions manual

HCW

HCW PASHW030 Installation instructions manual

Hayward HP55TR Installation instructions manual

Hayward

Hayward HP55TR Installation instructions manual

Teledyne LLD owner's manual

Teledyne

Teledyne LLD owner's manual

Unidare WMX706N Installation and operating instructions

Unidare

Unidare WMX706N Installation and operating instructions

Hayward H-Series Installation, operation & service procedures

Hayward

Hayward H-Series Installation, operation & service procedures

Prem-I-Air EH1372 owner's manual

Prem-I-Air

Prem-I-Air EH1372 owner's manual

Steinbach 049100 instruction manual

Steinbach

Steinbach 049100 instruction manual

Pentair MiniMax 525 Operation & installation manual

Pentair

Pentair MiniMax 525 Operation & installation manual

GAME SolarPRO XB owner's manual

GAME

GAME SolarPRO XB owner's manual

Alfalaval AquaPool-7 Installation, commissioning and maintenance manual

Alfalaval

Alfalaval AquaPool-7 Installation, commissioning and maintenance manual

Blue Wave FlowXtreme NS1003 manual

Blue Wave

Blue Wave FlowXtreme NS1003 manual

Astral Pool ECO ELECTRICHEAT Start-up and operation

Astral Pool

Astral Pool ECO ELECTRICHEAT Start-up and operation

Aquathem 10001-5 installation manual

Aquathem

Aquathem 10001-5 installation manual

Valor Fires 870 hydroflame Dream Installer and owner guide

Valor Fires

Valor Fires 870 hydroflame Dream Installer and owner guide

Thermomart DTH101 quick start guide

Thermomart

Thermomart DTH101 quick start guide

HydroTherm 42 installation instructions

HydroTherm

HydroTherm 42 installation instructions

Bryan Boilers Heat Exchanger Type Pool Heater Brochure & specs

Bryan Boilers

Bryan Boilers Heat Exchanger Type Pool Heater Brochure & specs

Raypak VERSA 185B Replacement parts

Raypak

Raypak VERSA 185B Replacement parts

manuals.online logo
manuals.online logoBrands
  • About & Mission
  • Contact us
  • Privacy Policy
  • Terms and Conditions

Copyright 2025 Manuals.Online. All Rights Reserved.