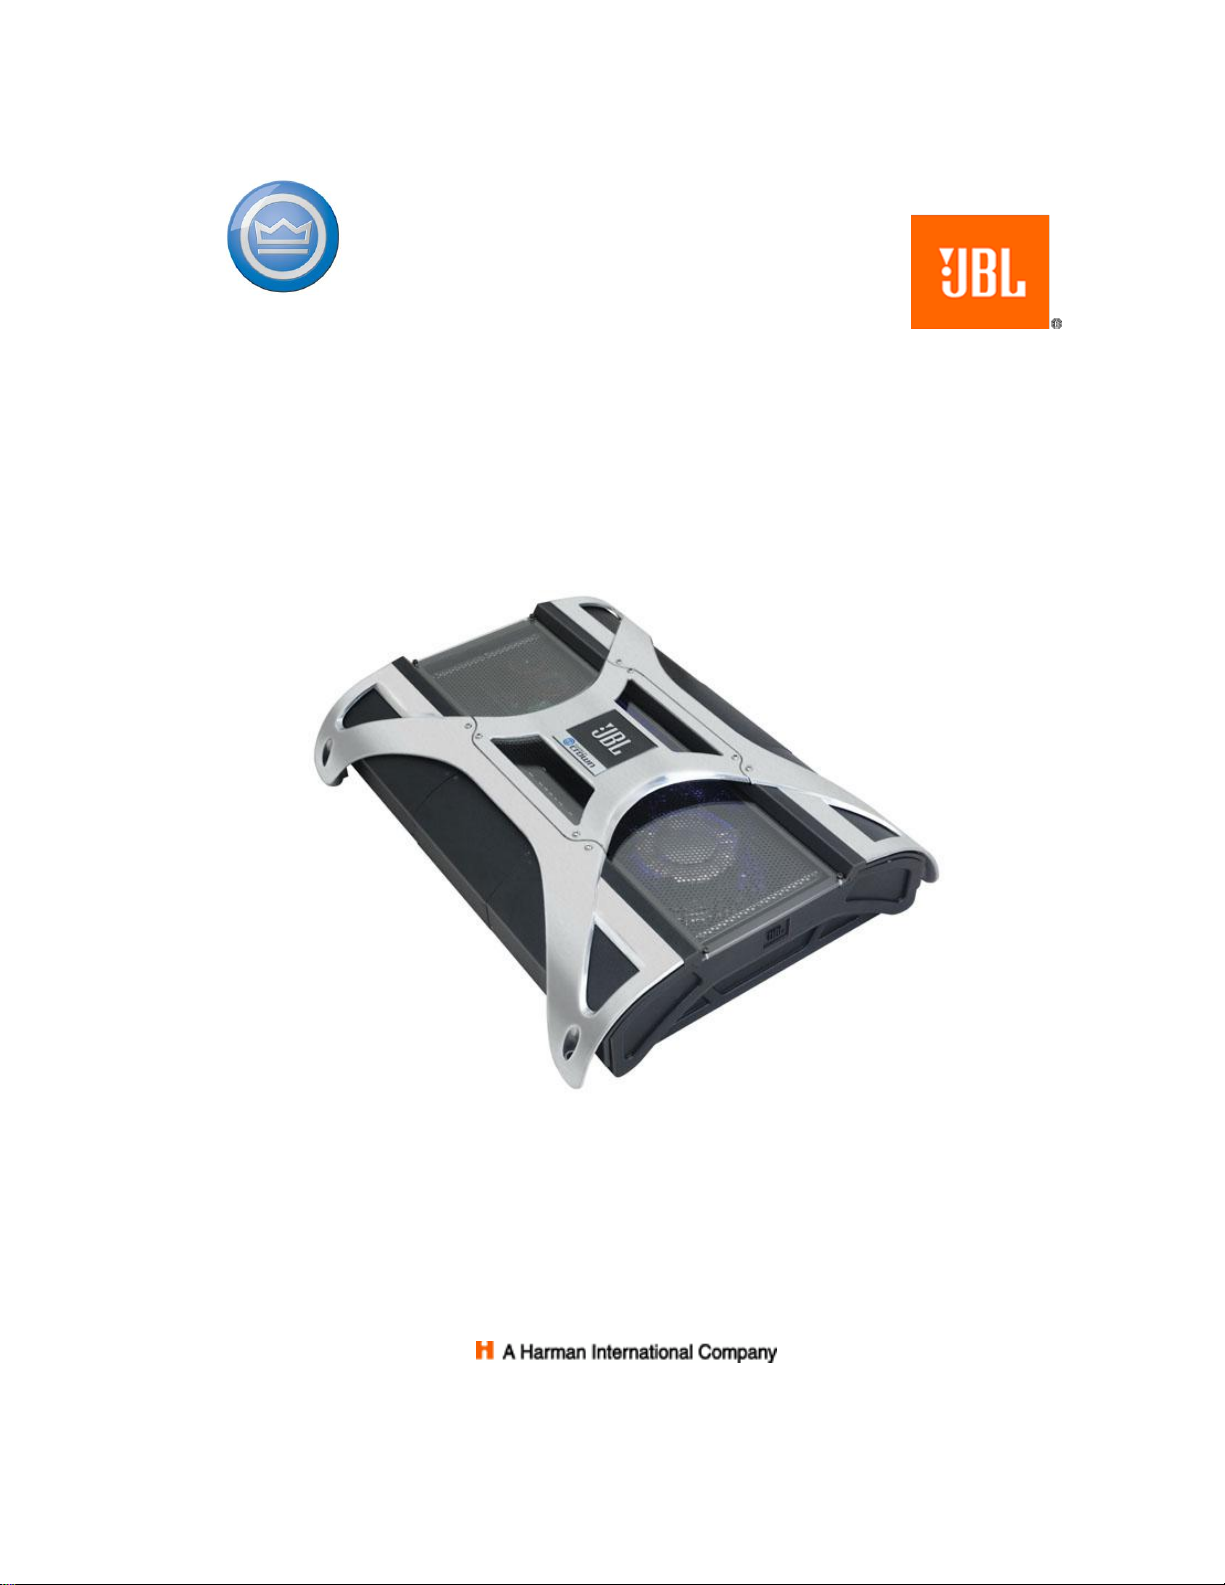
137159-1 Rev. 1 A6000GTi Service Manual
2003 Crown Audio, Inc. V
Table of Contents
1. INTRODUCTION ..................................................................................................... 1-1
1.1. THE A6000GTI CAR AMPLIFIER ........................................................................... 1-1
1.2. SCOPE............................................................................................................... 1-1
1.3. WARRANTY......................................................................................................... 1-1
2. SPECIFICATIONS................................................................................................... 2-1
2.1. OUTPUT POWER ................................................................................................. 2-1
2.2. PERFORMANCE................................................................................................... 2-1
2.3. CONTROLS &CONNECTORS................................................................................. 2-2
2.4. INDICATORS........................................................................................................ 2-2
2.5. INPUT/OUTPUT.................................................................................................... 2-2
2.6. PROTECTION ...................................................................................................... 2-3
3. THEORY OF OPERATIONS ................................................................................... 3-1
3.1. AUDIO SIGNAL PATH............................................................................................ 3-1
3.1.1. Input Stage................................................................................................ 3-1
3.1.2. Error Amplifier............................................................................................ 3-2
3.1.3. Modulator .................................................................................................. 3-2
3.1.4. Triangle Generator..................................................................................... 3-2
3.1.5. Output........................................................................................................ 3-3
3.1.6. Output Filter............................................................................................... 3-4
3.2. PROTECTION AND CONTROL CIRCUITRY ................................................................ 3-5
3.2.1. Current Monitor.......................................................................................... 3-5
3.2.2. Current Limiter........................................................................................... 3-5
3.2.3. Display Circuitry......................................................................................... 3-5
3.2.4. Thermal Limit Control (TLC) ...................................................................... 3-6
3.3. POWER SUPPLY.................................................................................................. 3-7
3.3.1. Switching Power Supply Operation............................................................ 3-7
3.3.2. Switching Power Supply Protection Circuit ................................................ 3-7
3.3.3. (LVPS) Low Voltage Power Supply Operation ........................................... 3-7
4. MAINTENANCE ...................................................................................................... 4-1
4.1. WHERE TO BEGIN................................................................................................ 4-1
4.2. SURFACE MOUNT TECHNOLOGY........................................................................... 4-1
4.3. DISASSEMBLY FOR INSPECTION &SERVICE............................................................ 4-2
4.3.1. Top Cover Removal................................................................................... 4-2
4.3.2. Power Supply Discharge............................................................................ 4-4
4.3.3. Power Connection Housing Removal ........................................................ 4-5
4.3.4. Pip Assembly Removal.............................................................................. 4-6
4.3.5. Power Supply Assembly Removal............................................................. 4-7
4.3.6. BCA Assembly Removal............................................................................ 4-7
4.3.7 BCA Disassembly...................................................................................... 4-8
4.4. TROUBLESHOOTING............................................................................................. 4-9
4.4.1. Power Supply ............................................................................................ 4-9
4.4.2. Audio Section Trouble Shooting............................................................... 4-10