manuals.online logo
Brands
  1. Home
  2. •
  3. Brands
  4. •
  5. JBL
  6. •
  7. Speakers
  8. •
  9. JBL Control One User manual

JBL Control One User manual

This manual suits for next models

1

Other JBL Speakers manuals

JBL RM10 User manual

JBL

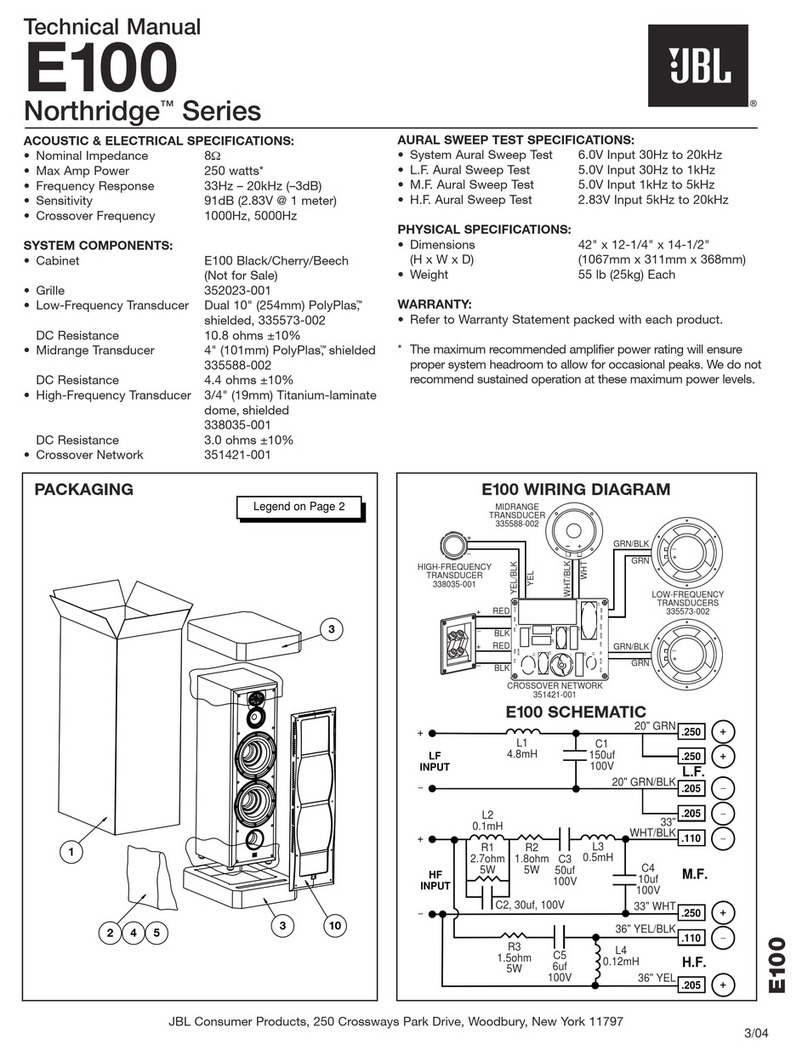
JBL RM10 User manual

JBL Project K2 S9800 User manual

JBL

JBL Project K2 S9800 User manual

JBL Harman Clip 2 User manual

JBL

JBL Harman Clip 2 User manual

JBL VRX932LA-WH User manual

JBL

JBL VRX932LA-WH User manual

JBL FLIP User manual

JBL

JBL FLIP User manual

JBL IS5 User manual

JBL

JBL IS5 User manual

JBL CHARGE 5 User manual

JBL

JBL CHARGE 5 User manual

JBL SYNTHESIS FOUR S4Ai User manual

JBL

JBL SYNTHESIS FOUR S4Ai User manual

JBL EON15 G2 Operating manual

JBL

JBL EON15 G2 Operating manual

JBL Control 30 User manual

JBL

JBL Control 30 User manual

JBL JRX112M User manual

JBL

JBL JRX112M User manual

JBL A/B Studio S38II User manual

JBL

JBL A/B Studio S38II User manual

JBL Synthesis SCL-2 User manual

JBL

JBL Synthesis SCL-2 User manual

JBL SCL-3 User manual

JBL

JBL SCL-3 User manual

JBL SC305 User manual

JBL

JBL SC305 User manual

JBL CINEMA SB200 User manual

JBL

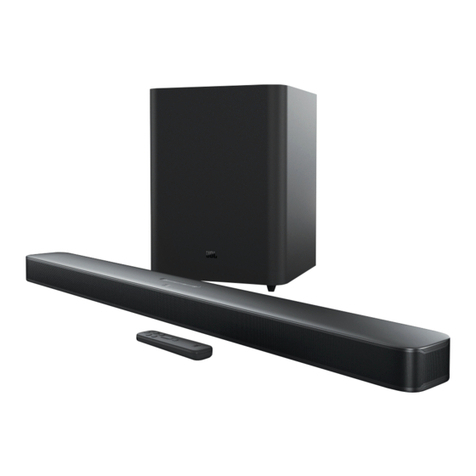
JBL CINEMA SB200 User manual

JBL L110 User manual

JBL

JBL L110 User manual

JBL VRX932LAP User manual

JBL

JBL VRX932LAP User manual

JBL TLX271P User manual

JBL

JBL TLX271P User manual

JBL Charge 2 User manual

JBL

JBL Charge 2 User manual

JBL Harman Clip 2 User manual

JBL

JBL Harman Clip 2 User manual

JBL S412PII User manual

JBL

JBL S412PII User manual

JBL AM7212/00-WH User manual

JBL

JBL AM7212/00-WH User manual

JBL XTREME3 User manual

JBL

JBL XTREME3 User manual

Popular Speakers manuals by other brands

Electro-Voice LR4S engineering data

Electro-Voice

Electro-Voice LR4S engineering data

Definitive Technology Sound Cylinder user guide

Definitive Technology

Definitive Technology Sound Cylinder user guide

AudioSource LS545 user manual

AudioSource

AudioSource LS545 user manual

Paso C402-T Instructions for use

Paso

Paso C402-T Instructions for use

Altec Lansing 416-8C LF SPEAKER manual

Altec Lansing

Altec Lansing 416-8C LF SPEAKER manual

Kenwood KFC-1072 Servise manual

Kenwood

Kenwood KFC-1072 Servise manual

Peavey ProSys 112 user guide

Peavey

Peavey ProSys 112 user guide

Aura STORM-8 owner's manual

Aura

Aura STORM-8 owner's manual

Oontz ANGLE 3 PLUS quick start guide

Oontz

Oontz ANGLE 3 PLUS quick start guide

Electro-Voice LR4A engineering data

Electro-Voice

Electro-Voice LR4A engineering data

Rave RK-650-ICA-B owner's manual

Rave

Rave RK-650-ICA-B owner's manual

Flux Reference Series installation manual

Flux

Flux Reference Series installation manual

Lanzar AQAWBS64BK installation manual

Lanzar

Lanzar AQAWBS64BK installation manual

DAPAudio DCS-6230 manual

DAPAudio

DAPAudio DCS-6230 manual

Aluratek ABS03F quick start guide

Aluratek

Aluratek ABS03F quick start guide

Kenwood KES-5A instruction manual

Kenwood

Kenwood KES-5A instruction manual

Sonance ORIGINAL SERIES instruction manual

Sonance

Sonance ORIGINAL SERIES instruction manual

Empire S-5000 user manual

Empire

Empire S-5000 user manual

manuals.online logo
manuals.online logoBrands
  • About & Mission
  • Contact us
  • Privacy Policy
  • Terms and Conditions

Copyright 2025 Manuals.Online. All Rights Reserved.

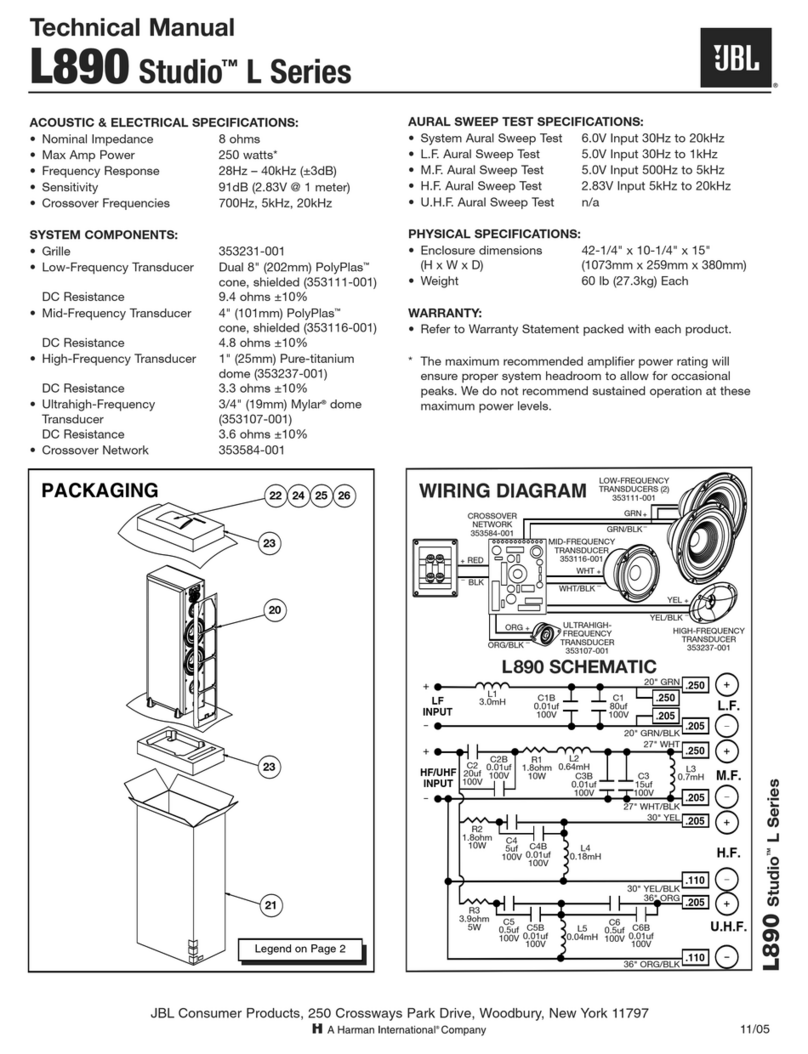
ACOUSTIC & ELECTRICAL SPECIFICATIONS:
• Nominal Impedance 8 Ohms
• Max Amp Power 80 Watts*
• Frequency Response 80Hz – 20kHz
• Sensitivity 89dB (2.83V @ 1 meter)
• Crossover Frequency 4000Hz
SYSTEM COMPONENTS:
• Cabinet Control 1X/1Xtreme/One
(Not for Sale)
• Grille Black (C1004X)
Silver (C1004X-S)
• High-Frequency Transducer 1/2" (12.7mm) Titanium-
laminate, shielded (C1002X)
DC Resistance 3.3 Ohms, ±10%
• Low-Frequency Transducer 4" (101.6mm) Shielded
(C1003X)
DC Resistance 2.4 Ohms, ±10%
• Crossover Network (C1006X)
AURAL SWEEP TEST SPECIFICATIONS:
• System Aural Sweep Test 6.0V Input 80Hz to 20kHz
• L.F. Aural Sweep Test 5.0V Input 80Hz to 5kHz
• H.F. Aural Sweep Test 2.83V Input 3kHz to 20kHz
PHYSICAL SPECIFICATIONS:
• Enclosure Dimensions 9" x 6-1/16" x 5-7/16"
(228mm x 155mm x 139mm)
• Weight 10.4 lb/4.7kg (sold in pairs)
WARRANTY:
• Refer to Warranty Statement packed with each product.
* The maximum recommended amplifier power rating will
ensure proper system headroom to allow for occasional
peaks. We do not recommend sustained operation at these
maximum power levels.
Technical Manual
Control®1X/1Xtreme/One
Wall Bracket
Control One – C10034A
Control One SI – C10034S
Customer-Reply Card
Beauty Carton
Control One – C10029A
Control One SI – C10029S
Control 1X – C1007X
Control 1Xtreme –
C10029X or C10031X
Control One C1008A
C1008X
Foamed PS
End Padding
(2)
Limited-Warranty Card
Owner’smanual
visit www.jbl.com
Harman Consumer Group, Inc., 250 Crossways Park Drive, Woodbury, New York 11797
5/08
CONTROL 1X/1XTREME/ONE SCHEMATIC
EVA Gasket
Black
C1006X
Crossover Network
Nut, M4x0.7Px3t
mm Zinc-Plated
Nut
M5x0.8mm
Zinc-Plated
Die-Cast Alum.
Safety Ring, Black
Spring
Washer
C1004X
Metal Grille, Black
C1004X-S
Metal Grille, Silver
Tweeter
Diffuser
Control 1X – C1005X
Control 1Xtreme – C10028X
Control One C10028A
Logo Badge
on Grille
Front Baffle
Black
Control 1X/1Xtreme/One
(NOT for SALE)
Grille Holding Ring
Black
C1003X
4-1/2" Woofer
C1002X
Tweeter
Screw
4x8mm
Black-Plated
Screw
T4x35mm
Black-Plated
Screw
3.5x10mm
Black-Plated
Screw
4x18mm
Black-Plated
Control®1X/1Xtreme/One
Technical Manual
Control®1X/1Xtreme/One
EXPLODED VIEW
Harman Consumer Group, Inc., 250 Crossways Park Drive, Woodbury, New York 11797
5/08
TO SERVICE THE CONTROL 1X/1XTREME/ONE
1. Remove the grille.
2. Remove all (6) 1-3/8" Allen-head screws holding the front baffle to the enclosure.
3. Separate the front baffle w/drivers from the enclosure.
DRIVER REMOVAL – Both woofer and tweeter are bonded to the front baffle with adhesive.
Unclip FASTON connectors from both woofer and tweeter.
a) Woofer removal:
Remove all (4) machine screws; rear nut can be held by long-nosed pliers while screws are turned.
Apply heat gun (750°) to area around woofer basket until adhesive softens enough to extract the woofer.
b) Tweeter removal:
Remove both (2) Phillips screws.
Apply heat gun (750°) to area around inside of cavity until adhesive softens enough to extract the tweeter.
After removal, take care not to lose or misplace the small clear plastic diffuser should it become dislodged.
CAUTION: Too much heat applied in one area too long could warp the front baffle.
DRIVER REPLACEMENT
Both woofer and tweeter must have a bead of adhesive applied to the outer rim only upon reassembly.
Silicone sealer or rubber-to-metal cement is recommended.