2
THANK YOU FOR CHOOSING THIS JBL®PRODUCT
For more than 60 years, JBL®engineers have been involved in every aspect of music and film recording and
reproduction, from live performances to the recordings you play on the go and in your home, car or office.
We’re confident that the JBL system you have chosen will provide every note of enjoyment you expect – and that when
you think about purchasing additional audio equipment for your home, car or office, you will once again choose JBL
products.
Please take a moment to register your new product on our Web site, www.jbl.com. Registering enables us to keep
you posted on our latest advancements and helps us to understand our customers and build products that meet their
needs.
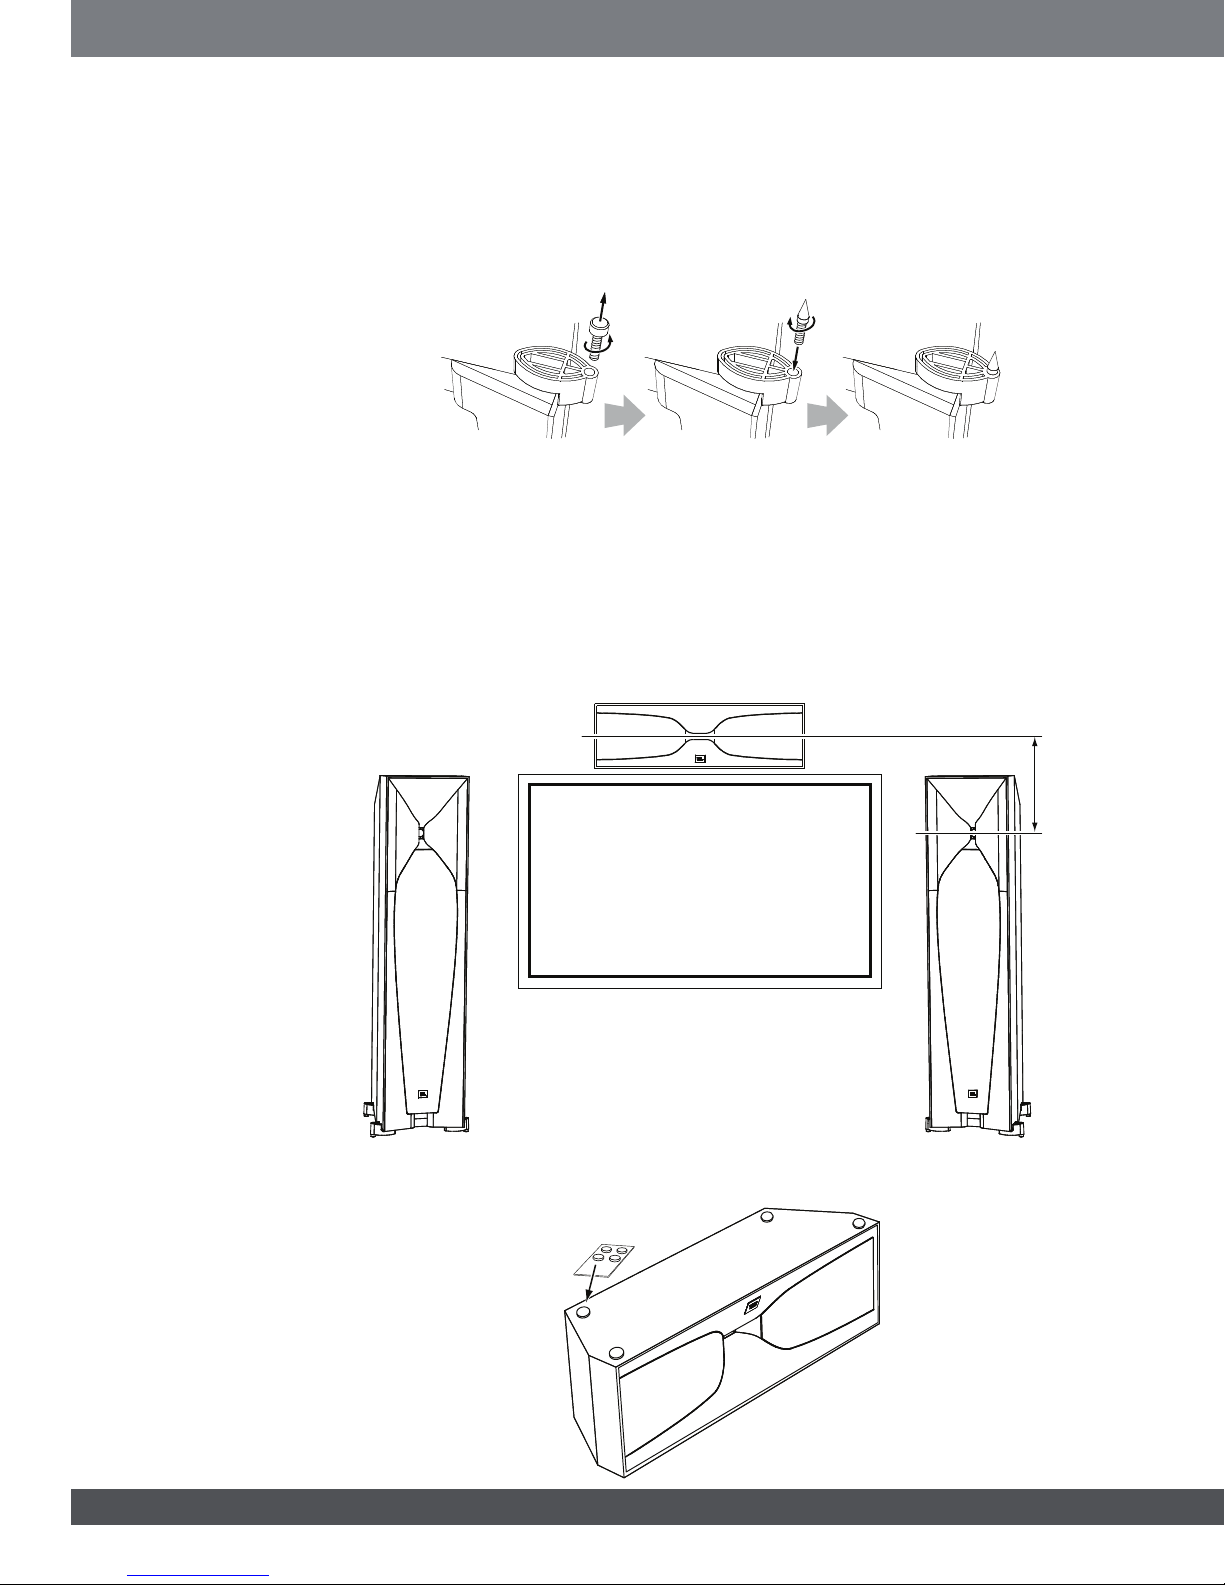
INCLUDED ITEMS
Studio 590
One Studio 590 speaker; one
horn cover; two port tube
inserts; four metal spikes Studio 580
One Studio 580 speaker; one
horn cover; one port tube
insert; four metal spikes
Studio 570
One Studio 570 speaker; one
horn cover; one port tube
insert; four metal spikes
Studio 530
Two Studio 530 speakers;
two horn covers; two port
tube inserts; two cards with
adhesive rubber feet
Studio 520C
One Studio 520C speaker;
two horn covers; one grille
removal tool; one card with
adhesive rubber feet