INSTALLATION OF APPLIANCE
The installation of this appliance must conform with local TopV_,wLO_RCONT,OLP_EL
codesor, intheabsenceofiocalcodes, withtheNational __
FuelGas Code,ANSI Z223.1-Latest Edition, or, in Canada,
CAN/CGA-B149 Installation Code, Latest Edition.
This appliance, when installed, must be electrically
grounded in accordance with localcodes or, in theabsence
of localcodes, with the NationalElectricalCodeANSI/NFPA
No. 70-Latest Edition,or, in Canada, current CSA Standard
C22.1 Canadian Electrical Code, Part 1. FIGURE6
All supply piping, except as noted, should use common
NationalPipeThread (N.P.T.).For all pipeconnections use Position unitinthe Countertop Cutout.MainControl Panel
an approved pipe joint compound resistant to the action of should overlaptop of LowerControl Panelas shown (Figure
LP gas.7).
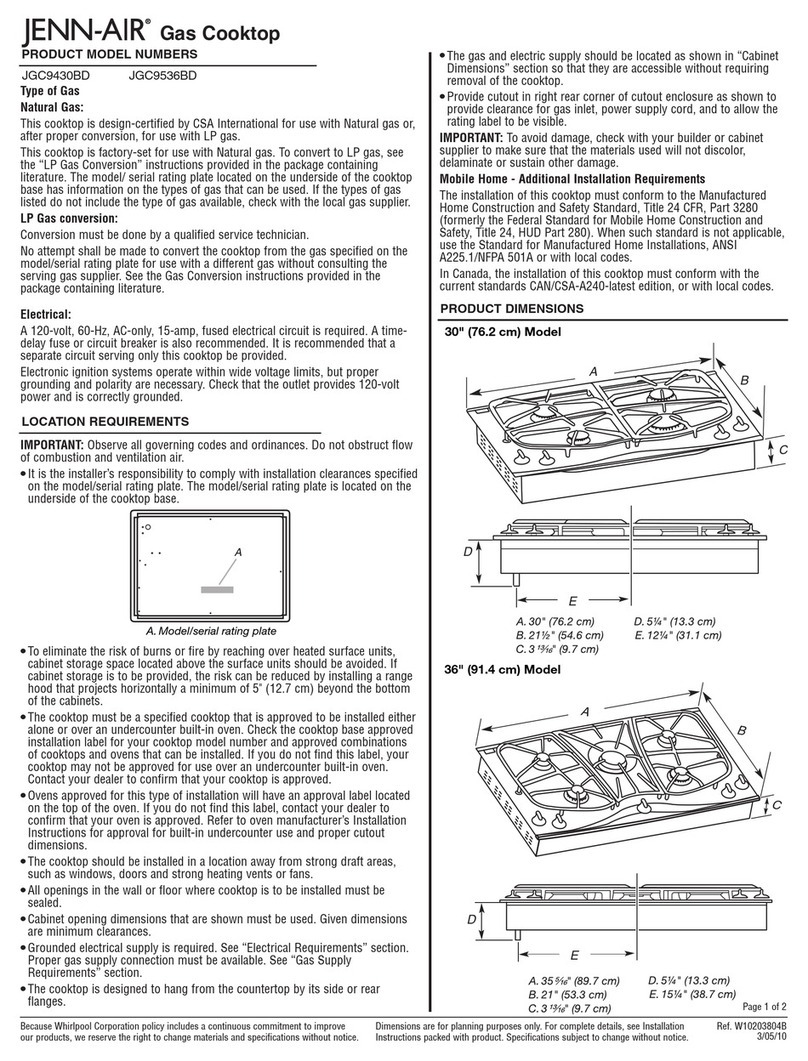
This appliance is designed for use with the appliance gas
pressure regulator supplied with this appliance. It must be
installed inthe gasway ahead ofthe gas manifoldentrance.
It is preset for usewith natural gas and must be converted II
for use with LP gas.iiii
This appliance is designed to operate at a pressure of 5
inches ofwater column onnaturalgas or,ifconvertedforuse
with LP gas (propane or butane), 10 inches water column. /
Make sure this appliance is supplied with and adjusted for \\
thetypeofgasforwhichitisdesigned./\ i J!
This appliance was adjusted at the factory for use with _ ,_-_
natural gas. If, at anytime, this appliance is to be used with
a different type of gas, all of the conversion adjustments FIGURE7
must be made by a qualified service technician before
attempting to operate the cooktop on that gas.Natural gas
should besupplied to the appliance pressure regulator at a Reach through Lower Cabinet Doors and check Control
line pressure between 6 and 14 inches of water column or, Panel alignment bolts to be sure they are snug. If loose,
if converted for LP gas, between 11 and 14 inches, tighten to 1/2 turn past hand tight (Figure 8).
WARNING
If the linepressuresupptying the appliance pressure
regulator exceeds 14" W.C. (any gas), an external
regulator must be installed in the gas line ahead of the
appliance regulator to reduce the pressure to no more
than 14"W.C.Failureto do thiscan result in malfunction
and damage to the appliance.
Insurethis appliance isadjusted forthe type ofgas supplied
to it and that the gas supply pressure to the appliance
regulator iswithin the proper pressure range.
Do not remove protective cap from pipe stub at manifold RGURE8
entrance until ready to join gas supply piping to appliance.NOTE: For some cabinet styles, it may be necessary to
TheCountertopCutoutandCabinetFrontCutoutshouldbereinforcethefrontofthecabinetbyattachinga bracefrom
preparedaccordingtotheillustrationonpage1and 2. fronttorear insidethe cabinetundertheBurnerBox.
Installthe LowerControlPanelinthebottomof theCabinet
Cutout asshown usingscrews from Hardware pack(Figure
6).
4

