Analog Dispenser User's Manual
Jensen Global’s compact analog shot meter allows for reproducible
deposits of a wide range of thin or viscous materials and provides
ergonomic relief.
Items included with this system are:
A foot switch with 6 ft. cord that actuates the unit
3 cc, 5 cc, 10 cc, and 30cc XHP adapters with 3 feet of 5/32”
tubing and a push to connect fitting
2 each of our luer lock air barrels and stoppers
A sample kit, which contains a variety of dispensing tips
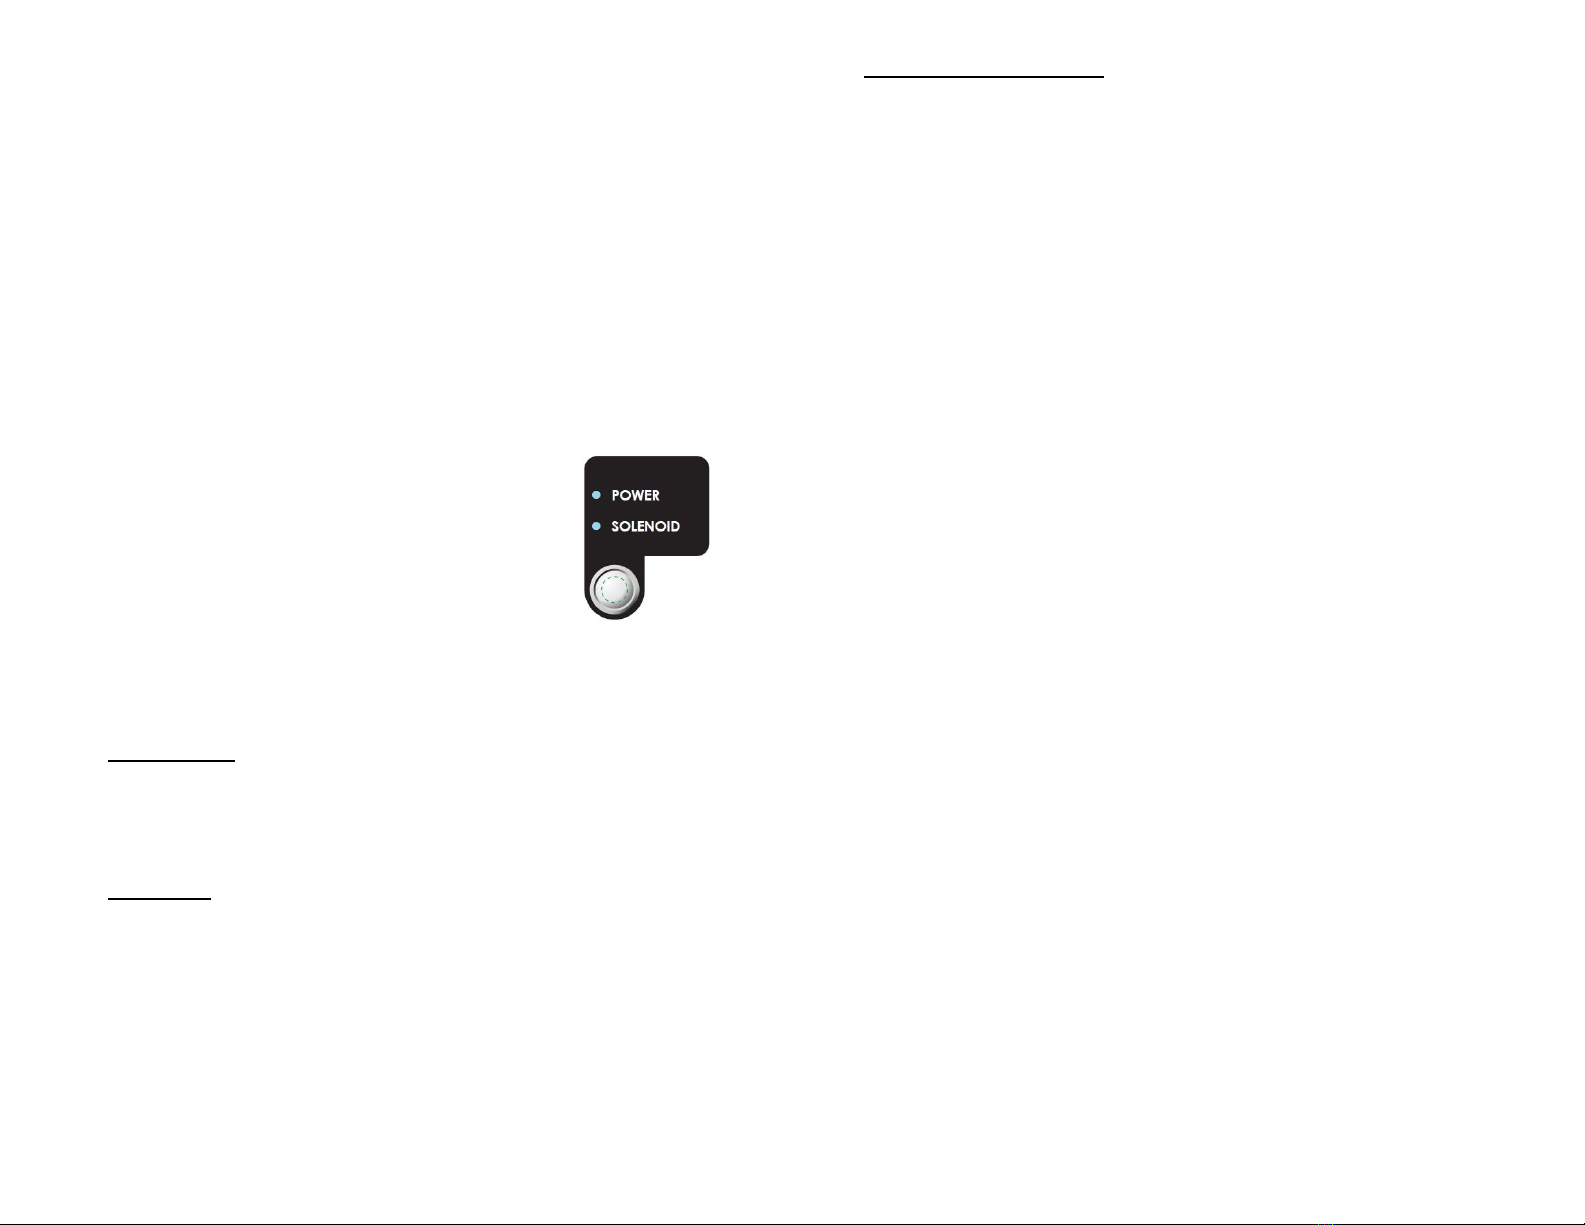
This system has two LED indicators:
Top LED is the Power Indicator
o Off – unit’s power is off
o Red - unit is in Manual mode
o Green – unit is in Auto mode
Bottom LED is the Solenoid Indicator
o Red – solenoid is on
o Off – solenoid is off
To switch between Manual and Auto Mode, press the white button below
the solenoid indicator.
Manual Mode
Press the pedal down on the foot switch to start dispensing. Hold the
pedal down to continue dispensing. Release the pedal to stop. The
solenoid indicator light mirrors the dispensing of product.
Auto Mode
In this mode, the user can preset a time for dispensing. To set or change
the desired time for dispensing, simply rotate the timer knob in directions
following the + or - sign. The 0-100% is calibrated to the maximum time
selected (See Maximum Time Selection on next page).
Time Range Adjustments
The dispenser is defaulted at a time range or .01 – 10 seconds.
You can change the timer to any of the ranges listed below by
holding the white button located above the timer knob while
powering on. Continue to hold for 10 seconds until both LEDs
light up amber.
Release the button and the LEDs will display one of 7 options
using combinations of on, off, red, and green.
Press the white button after powering on cycles through the 7
time options below:
1 sec -- top green, bottom off
5 sec – top off, bottom green
10 sec – top green, bottom green – default
20 sec – top red, bottom off
30 sec – top off, bottom red
60 sec – top red, bottom red
120 sec – top green, bottom red
Turning the power off while the time option chosen is displayed
will select that option as the new default when powering on.
Troubleshooting
1) Dispenser does not turn on.
Check the power connector on the back and make sure it is
pushed in completely.
2) I hear air leaking.
The vacuum may be on. Turn the vacuum knob on the front
of the unit clockwise until the hissing stops. Also check your
air connector fitting in the back of the unit for a tight fit. Use
Teflon™ tapes if necessary.
3) Everything is on and seems to be working, but no
material dispenses out of the syringe.
Check the white adapter fitting that connects to the center
left of the dispenser, ensuring it is pushed in all the way.
Also check to see that you have air pressure and the gauge
is reading above 0 psi.
Continued on next page.


