CONTENTS
Contrast ---------------------------------------------------------------
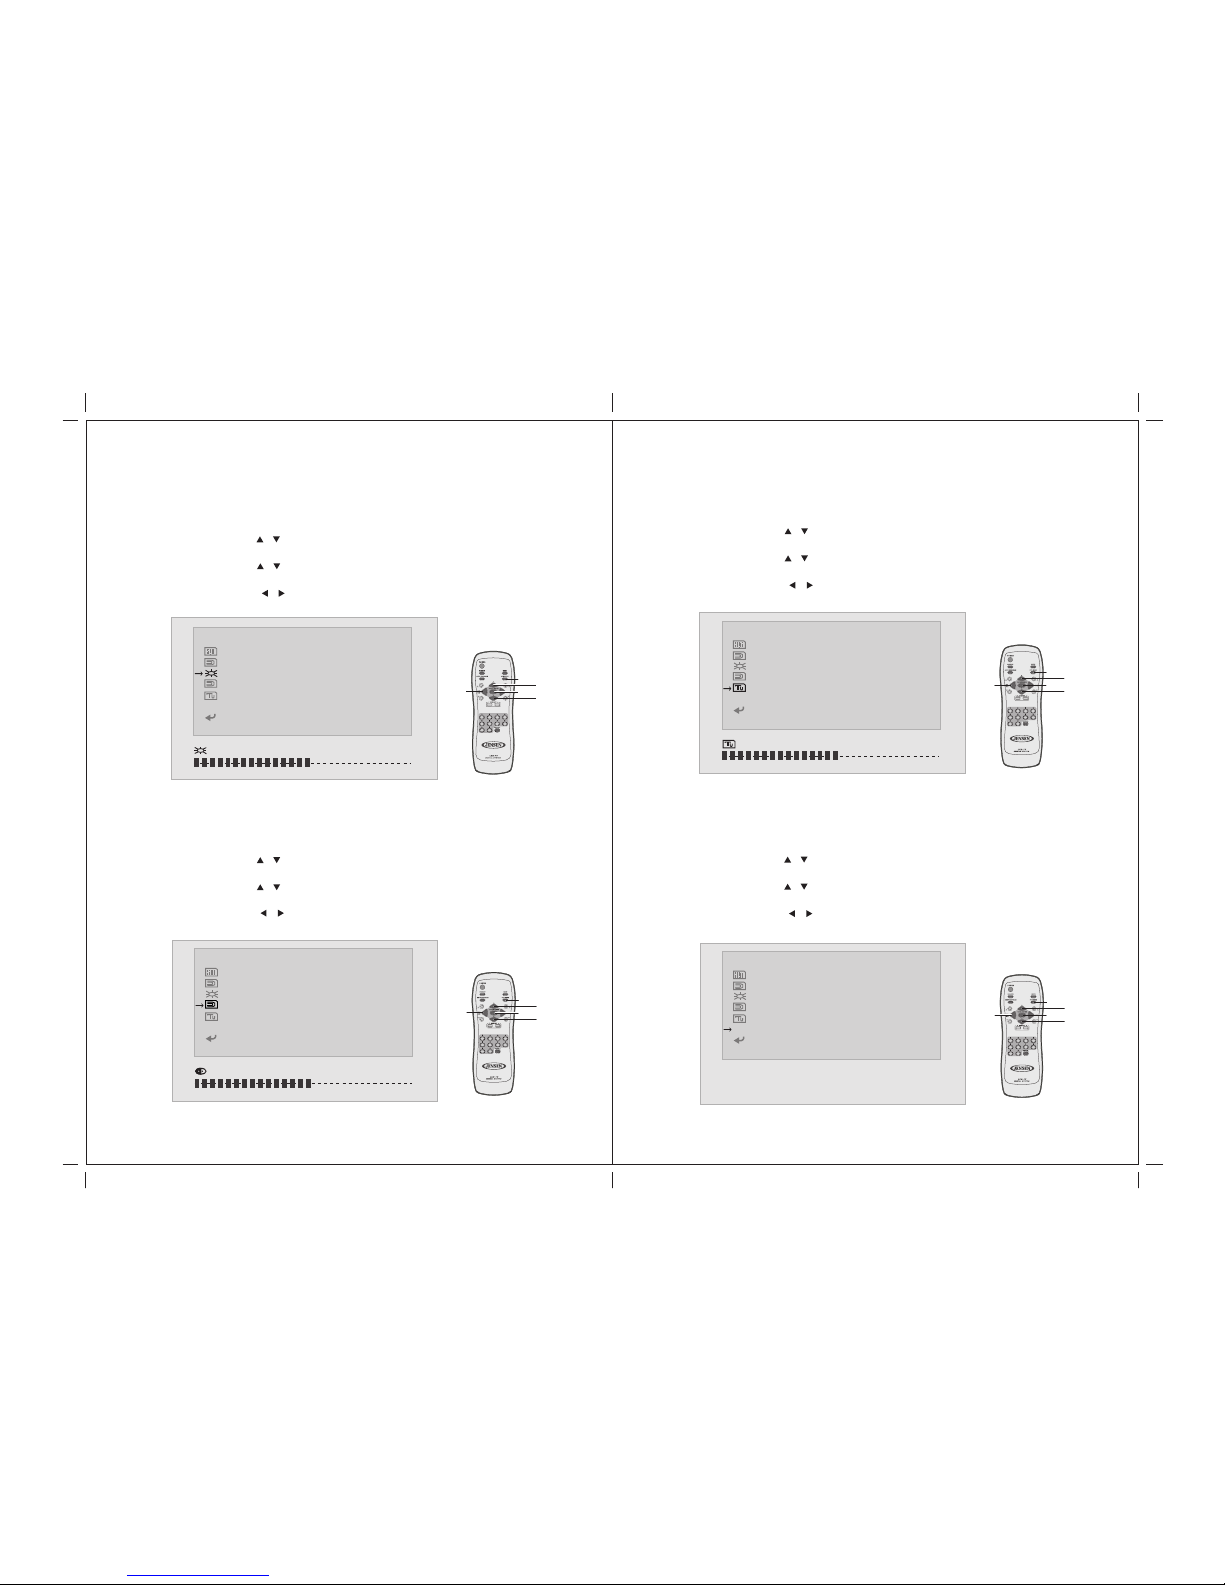
Tint ---------------------------------------------------------------------
Preset ------------------------------------------------------------------
Exit ---------------------------------------------------------------------
Audio Setting
Type --------------------------------------------------------------------
Bass --------------------------------------------------------------------
Treble ------------------------------------------------------------------
Balance ---------------------------------------------------------------
Return ------------------------------------------------------------------
CLOSED CAPTION Setting ---------------------------------------
V-CHIP BLOCK Setting --------------------------------------------
FORMAT Setting -----------------------------------------------------
Others
Language -------------------------------------------------------------
Channel Scan --------------------------------------------------------
TV Source Setting ---------------------------------------------------
External Setting -----------------------------------------------------
Speaker Setting -----------------------------------------------------
Return ------------------------------------------------------------------
7. ANNEX A
LCD Maintenance -----------------------------------------------------
8. ANNEX B
Troubleshooting -------------------------------------------------------
Common Problems ----------------------------------------------------
9. SPECIFICATIONS -------------------------------------------------
14
15
15
16
17
17
18
18
19
19
20
21
21
22
22
23
23
24
25
26
26
27
1. INTRODUCTION
Overview :
New technology in LCD monitor allows enjoyment of more high quality
picture display and higher brightness; lighter in weight and slimmer body
design, power saving capabilities and low radiation, giving you a safe, relax
and environmental-friendly NEW visual enjoyment.
Our product uses high quality original imported 22 inches 16:9 (Wide)
colored "Active Matrix TFT". The Active Matrix TFT high decoding
capabilities enable display of complicated or high quality images, presenting
a vivid visual reproduction and beautiful visual display. Incorporated with a
user-friendly menu, allowing easy customization to user preferences.
The unit comes with built-in screen display controls when used with the
remote control, allowing you to make changes to the settings. It even
support the use of wireless headphones, therefore you do not need to worry
that the volume coming out from the monitor will disturb other people. The
Digital True Surround Sound capabilities’ from the 3D Stereo Speaker brings
you the ultimate enjoyment of audiovisual effects. Digital output function,
when connected to other audiovisual devices, gives you the best enjoyment
in entertainment relaxation.
01