manuals.online logo
Brands
  1. Home
  2. •
  3. Brands
  4. •
  5. Jensen
  6. •
  7. Remote Control
  8. •
  9. Jensen REMVR185KIT User manual

Jensen REMVR185KIT User manual

Other Jensen Remote Control manuals

Jensen JR300 User manual

Jensen

Jensen JR300 User manual

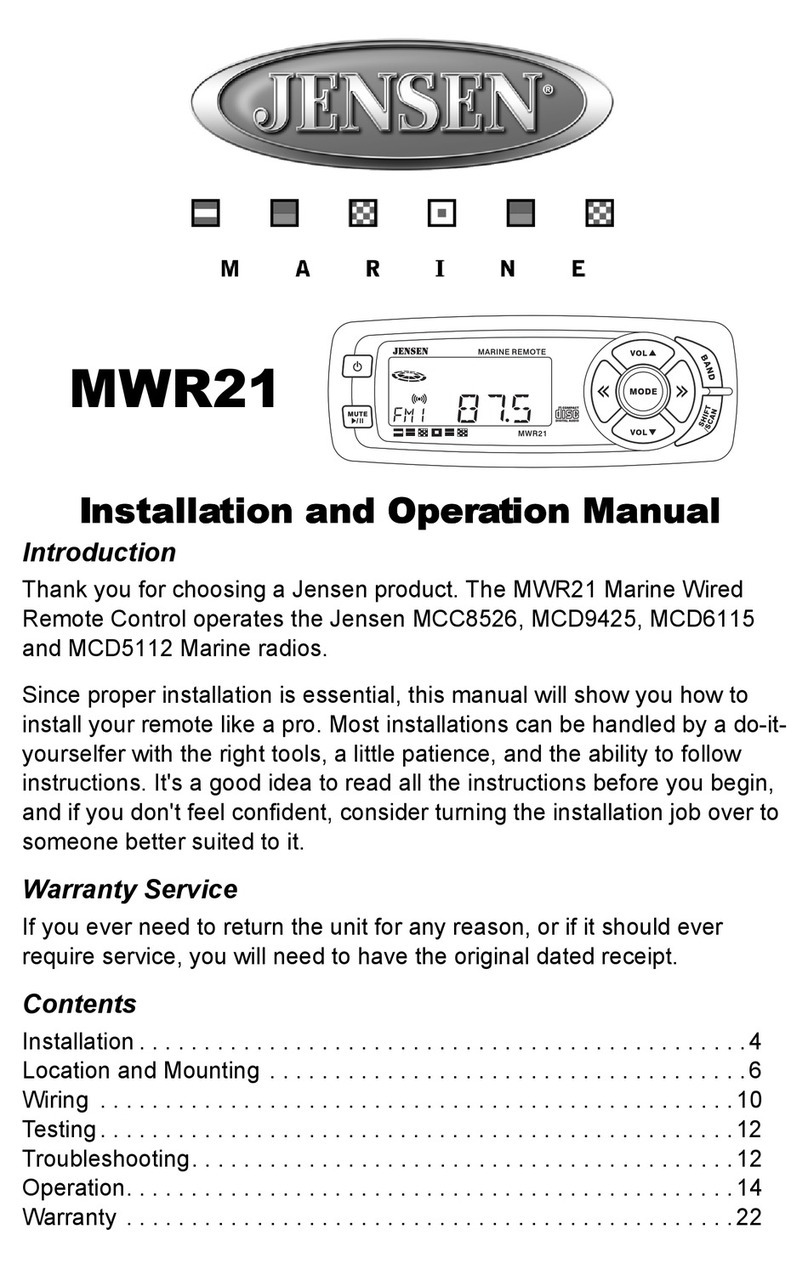
Jensen MWR21 User manual

Jensen

Jensen MWR21 User manual

Jensen MWR75 User manual

Jensen

Jensen MWR75 User manual

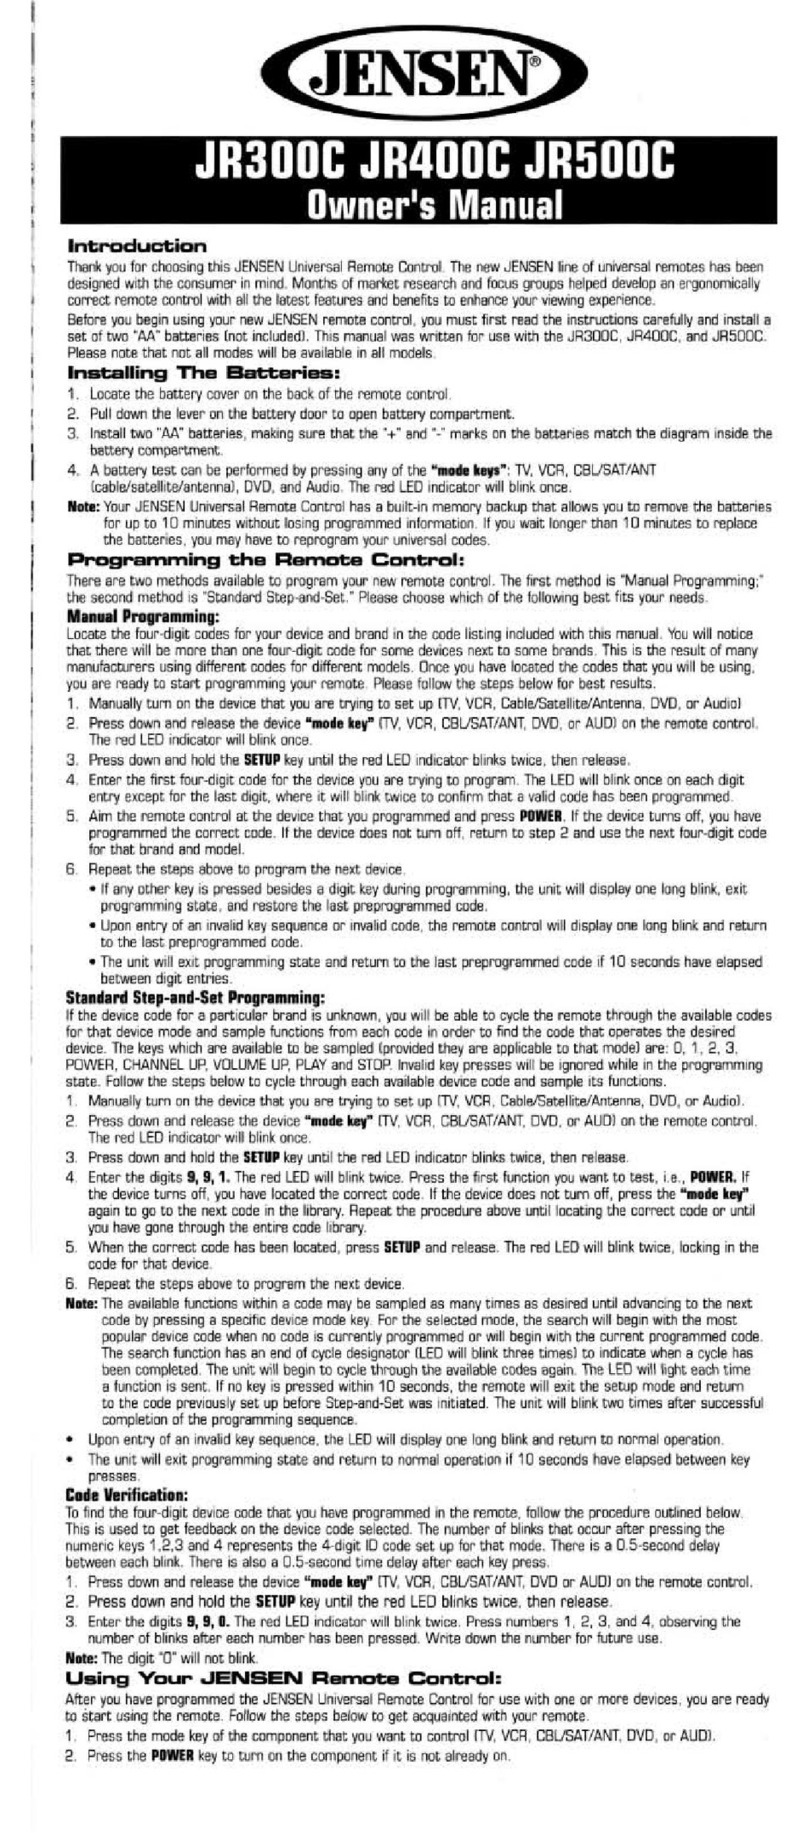
Jensen JR300C User manual

Jensen

Jensen JR300C User manual

Jensen JWR200 User manual

Jensen

Jensen JWR200 User manual

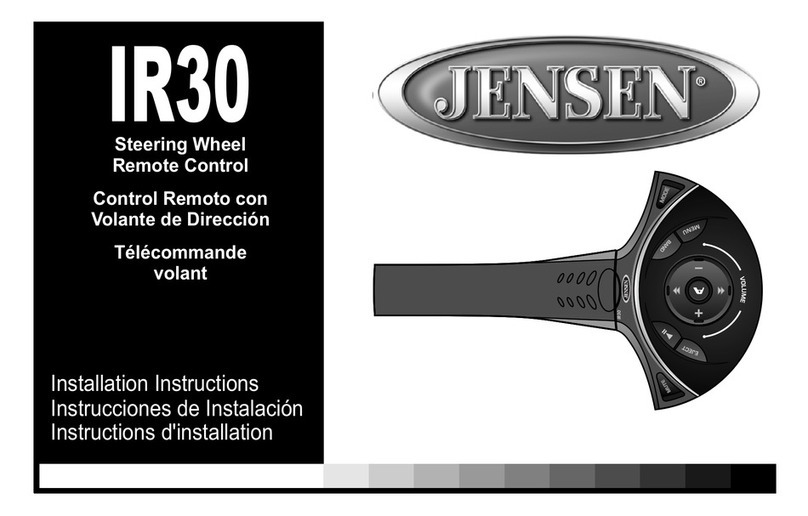
Jensen IR30 User manual

Jensen

Jensen IR30 User manual

Jensen SC330 User manual

Jensen

Jensen SC330 User manual

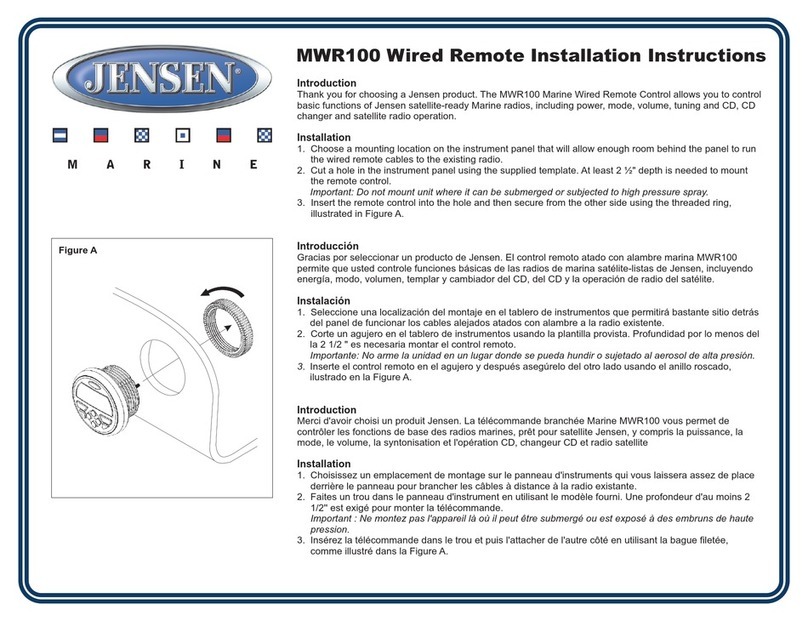
Jensen MWR100 User manual

Jensen

Jensen MWR100 User manual

Jensen MWR43 Guide

Jensen

Jensen MWR43 Guide

Jensen JHDHBCB User manual

Jensen

Jensen JHDHBCB User manual

Jensen MRF27RTL User manual

Jensen

Jensen MRF27RTL User manual

Jensen MWR32 User manual

Jensen

Jensen MWR32 User manual

Popular Remote Control manuals by other brands

Bircher Reglomat RC Duo 2 user guide

Bircher Reglomat

Bircher Reglomat RC Duo 2 user guide

Emerson RCBT100 owner's manual

Emerson

Emerson RCBT100 owner's manual

BILDA Element-6 user manual

BILDA

BILDA Element-6 user manual

Absima CR7P manual

Absima

Absima CR7P manual

Mitsubishi Electric PAR-32MAAG Instruction book

Mitsubishi Electric

Mitsubishi Electric PAR-32MAAG Instruction book

RCA RCRTBL08BE1 quick start guide

RCA

RCA RCRTBL08BE1 quick start guide

US Electronics NOVARI user guide

US Electronics

US Electronics NOVARI user guide

Panasonic EUR7622KB0 Operation guide

Panasonic

Panasonic EUR7622KB0 Operation guide

Bang & Olufsen Beo4 user manual

Bang & Olufsen

Bang & Olufsen Beo4 user manual

Marantz RC101 user guide

Marantz

Marantz RC101 user guide

FUTABA 9ZAP - PART2 manual

FUTABA

FUTABA 9ZAP - PART2 manual

HR Matic HR MULTI 3 quick start guide

HR Matic

HR Matic HR MULTI 3 quick start guide

Anritsu MP1777A Operation manual

Anritsu

Anritsu MP1777A Operation manual

Niles WVC100 Installation & operating guide

Niles

Niles WVC100 Installation & operating guide

Bang & Olufsen BEO6 Getting started

Bang & Olufsen

Bang & Olufsen BEO6 Getting started

GE 94901 instruction manual

GE

GE 94901 instruction manual

FUTABA R7108SB Full manual

FUTABA

FUTABA R7108SB Full manual

Invacare G91S user manual

Invacare

Invacare G91S user manual

manuals.online logo
manuals.online logoBrands
  • About & Mission
  • Contact us
  • Privacy Policy
  • Terms and Conditions

Copyright 2025 Manuals.Online. All Rights Reserved.

Strap
WB
VOL TUN/CH
MODE
BND SAT
Screw
Mounting the Base
1. Detach remote from base/strap by pressing the release button and pull-
ing up.
2. Remove the two screws on the base that appear when the remote is
removed.
3. Position strap around steering wheel, and pull tight. Replace plate and
screws.
4. Insert battery (Lithum 2032 3-volt) into remote contol, and reinstall the
remote onto the base/strap.
REMVR185KIT
Remote Control Kit
VR185
Infrared Sensor
3.5 mm Jack
(21/64 hole or 9.2 mm drill
Installing the IR Sensor
Select a mounting location close to the steering wheel, and drill a 21/64 hole for the 3.5
mm. jack to pass through. Route the infrared sensor wire through the hole, secure the sen-
sor with double-sided sticky tape and connect to the car radio via the 3.5 mm. jack on the
back of the unit.
WB
VOL TUN/CH
MODE
BND SAT
Weather Band Tuning/Channel
Band
Volume
Mode
Satellite
Release Button
Strap
Steering Wheel Remote Control
This remote control mounts to the steering wheel and operates the basic functions of the car
radio, including volume, tuning, mode, band, satellite and weather band.
This warranty does not extend to the elimination of externally
generated static or noise, to the correction of antenna problems, to
costs incurred for removal or reinstallation of the product, or to
damage to any tapes, cd's, dvd's, speakers, accessories, or
electrical systems.This warranty does not apply to any product or
part thereof which, in the opinion of the Company, has been
damaged through alteration, improper installation, mishandling,
misuse, neglect, or accident.
THE EXTENT OF THE COMPANY'S LIABILITY UNDER THIS
WARRANTY IS LIMITED TO THE REPAIR OR REPLACEMENT
PROVIDED ABOVE, AND, IN NO EVENT, SHALL THE
COMPANY'S LIABILITY EXCEED THE PURCHASE PRICE PAID
BY THE PURCHASER FOR THE PRODUCT.
This warranty is in lieu of all other express warranties or liabilities.
ANY IMPLIED WARRANTIES, INCLUDING ANY IMPLIED
WARRANTY OF MERCHANTABILITY, SHALL BE LIMITED TO
THE DURATION OF THIS WARRANTY. ANY ACTION FOR
BREECH OF ANY WARRANTY HEREUNDER INCLUDING ANY
IMPLIED WARRANTY OF MERCHANTABILITY MUST BE
BROUGHT WITHIN A PERIOD OF 30 DAYS FROM THE DATE OF
ORIGINAL PURCHASE. IN NO CASE SHALL THE COMPANY BE
LIABLE FOR ANY CONSEQUENTIAL OR INCIDENTAL
DAMAGES FOR BREECH OF THIS OR ANY OTHER WARRANTY,
EXPRESS OR IMPLIED WHATSOEVER.
No person or representative is authorized to assume for the
Company any liability other that expressed herein in connection with
the sale of this product.
Some states do not allow limitations on how long an implied
warranty lasts or the exclusion or limitation of incidental or
consequential damages so the above limitations or exclusions may
not apply to you. This warranty gives you specific legal rights and
you may also have other rights which vary from state to state.
ASA Electronics Corporation
www.asaelectronics.com
© 2005 ASA Electronics Corporation
v.041205
POWER
MOD
VOL
TUNE/CH
VOL
AMS
SCAN
RPTENTER
SEL
BAND
SHUF PAUSE
T/F
SAT
123
456
Power Mode
Volume
Weather Band
Band
Tuning
Scan
Volume
Tuning
Sound Adjustment
& Menu Operation
Automatically Store
Repeat
Random Shuffle
AUX
WB
DISC/CAT
Track Select
Auxiliary Input
Display Priority
Pause
Enter
Satellite
Infrared Remote Control
This hand-held remote control also operates the basic functions of the car radio. Install the battery
(Lithum 2032 3-volt) and infrared sensor (see below) before first use.
Limited Warranty
(90 Day / 12 Month)
AUDIOVOX SPECIALIZED APPLICATIONS, LLC (the Company) warrants to the original retail
purchaser of this product that should this product or any part thereof, under normal use and conditions,
be proven defective in material or workmanship within 90 days from the date of original purchase, such
defect(s) will be repaired or replaced (at the Company's option) without charge for parts and repair
labor. After the initial 90 day period and for a period of 12 months from the date of the original
purchase, the Company will supply at no charge a replacement for any defective part(s)
To obtain repair or replacement within the terms of this warranty, the end user should contact the
O.E.M. The product is to be delivered to the OEM or original place of purchase, with proof of warranty
coverage (e.g. dated bill of sale, and serial number of the unit, and vin#), specification of defect(s),
transportation prepaid, to an approved warranty station.