manuals.online logo
Brands
  1. Home
  2. •
  3. Brands
  4. •
  5. JL Audio
  6. •
  7. Subwoofer
  8. •
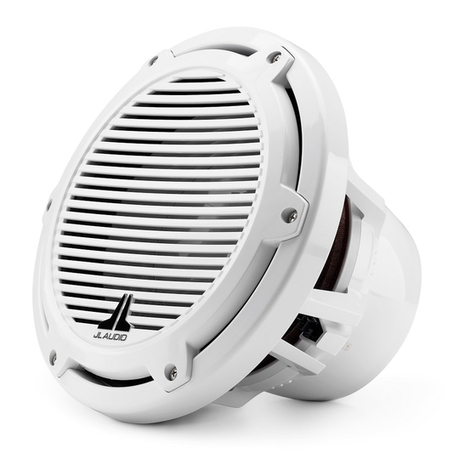
  9. JL Audio M103EWS-CG-WH-R User manual

JL Audio M103EWS-CG-WH-R User manual

INSTALLATION GUIDE
for the
M103EWS-CG-WH-R/M103EWS-CG-WH-L
SKU#90136/90137
We strongly recommend that you have your new Enclosed 3-Way Weatherproof Subwoofer/Satellite system installed
by your authorized JL Audio dealer. The installation professionals employed by your dealer have the necessary tools
and experience to mount the enclosure properly. If you choose to attempt the installation yourself, please read this
installation guide completely before beginning the process.
If you choose to perform the installation yourself, it is absolutely vital that the
enclosure be properly mounted according to these instructions. Failure to
mount the enclosure properly presents two problems:
1) The sub-bass performance will suffer due to the movement of the enclosure
caused by the force exerted by the woofer(s).
2) A loose enclosure presents a serious safety hazard in the event of a collision
or other such accident.
STEP 1
Determine the desired location for the Enclosed Subwoofer/
Satellite then decicide on which surface would be the
best location for the universal mounting bracket. It can
be installed on any side of the enclosure to fit a variety of
applications. Here the bracket is shown on the top.
Continued on Next Page
STEP 2
Align the template on the enclosure. The line on the
template can be used as a guide to help center the bracket
around the notch on the top of the enclosure.
Tape the template in place, if needed.
STEP 3
Mark the center of both mounting holes on the enclosure,
and remove the template.
M103EWS-CG-WH-R/L INSTR_SKU# 90136/90137
INSTALLATION
DIFFICULTY:
25
OUT
OF
ESTIMATED TIME:
1 HOUR
M103EWS-CG-WH-R/L INSTR_SKU# 90136/90137
STEP 7
Align the bolts on the bracket with the holes in the
enclosure. Using the supplied hardware, secure the
enclosure to the bracket as outlined in Step 8.
STEP 6
Permanantly mount the bracket in place with the
appropriate hardware.
Before drilling, always make sure that you are not
going to be drilling into any gas lines, brake lines,
tires, transmission lines, electrical wiring, exhaust
systems or anything else that might cause a
reduction in your weekly pay.
Always wear eye protection when drilling!
STEP 5
Using a 9/16” drill bit, carefully drill the two mounting holes
marked in Step 3.
Before drilling, always make sure that you are not
going to be drilling into anything that might cause a
reduction in your weekly pay.
Always wear eye protection when drilling!
STEP 4
Remove the 12 Phillips head screws around the subwoofer
and speaker, then remove both speakers from the enclosure.
From inside the larger subwoofer enclosure, drill a hole into
the smaller speaker chamber for the speaker cable.
Before drilling, always make sure that you are not
going to be drilling into anything that might cause a
reduction in your weekly pay.
Always wear eye protection when drilling!
Page 2 • JL Audio, Inc 2010
STEP 9
Route speaker cable into the enclosure, and connect both
speakers. Reinstall the subwoofer and speaker into the
enclosure, and connect the speaker cables to the amplifier.
The subwoofer should be crossed over between 80-120 Hz.
STEP 8
From inside the enclosure, place a fender washer, a split lock
washer, and a hex nut over each of the studs, and tighten
firmly.
SPLIT LOCK WASHER
FENDER WASHER
ENCLOSURE WALL
HEX NUT
MOUNTING BRACKET
CROSS-SECTIONAL VIEW OF MOUNTING ASSEMBLY
( INSIDE ENCLOSURE )
All specifications are subject to change without notice. “JL Audio®”and the JL Audio logo are registered trademarks of JL Audio, Inc. “Ahead of
the Curve”and its respective logo is a trademark of JL Audio, Inc.
JLA-SKU# 90136/90137 08.03.2010 • Printed in USA • ©2010 JL Audio, Inc. • U.S. PATENTS: #5,734,734 #5,949,898 #6,118,884 #6,229,902
#6,243,479 #6,294,959 #6,501,844 #6,496,590 #6,441,685 #5,687,247 #6,219,431 #6,625,292 #D472,891 #D480,709 Other U.S. & Foreign
patents pending. For more detailed information please visit us online at www.jlaudio.com.
(954) 443-1100
www.jlaudio.com
10369 NORTH COMMERCE PARKWAY • MIRAMAR, FLORIDA • 33025 • USA
STEP 9
CONGRATULATIONS!
You have completed the installation for this model!
Enjoy your new 3-Way Weatherproof Subwoofer/Satellite
Enclosure.
This manual suits for next models

1

Other JL Audio Subwoofer manuals

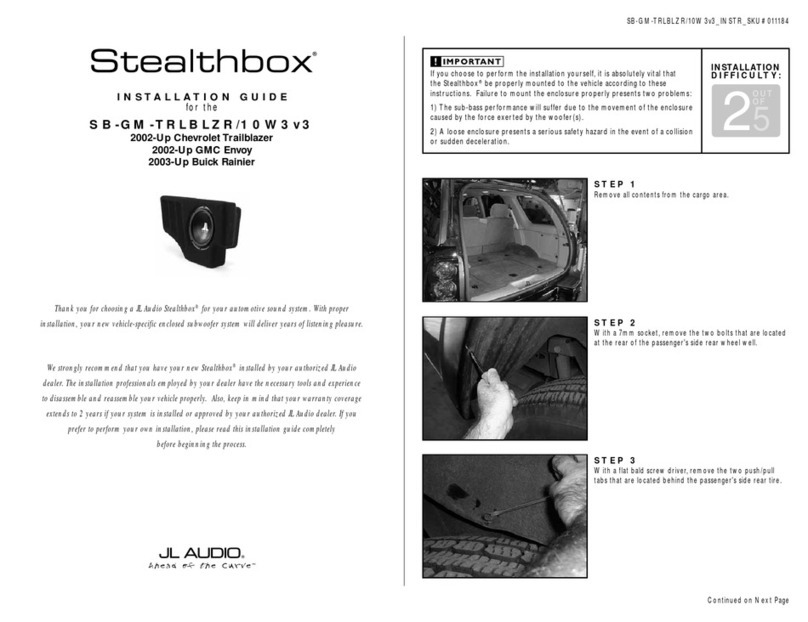
JL Audio Stealthbox SB-GM-BURBCNSL/10W3v2 User manual

JL Audio

JL Audio Stealthbox SB-GM-BURBCNSL/10W3v2 User manual

JL Audio e110 User manual

JL Audio

JL Audio e110 User manual

JL Audio Stealthbox SB-T-4RNR/10W User manual

JL Audio

JL Audio Stealthbox SB-T-4RNR/10W User manual

JL Audio MX10IB3 User manual

JL Audio

JL Audio MX10IB3 User manual

JL Audio C5-650x User manual

JL Audio

JL Audio C5-650x User manual

JL Audio 10TW1-4 User manual

JL Audio

JL Audio 10TW1-4 User manual

JL Audio 300/2 User manual

JL Audio

JL Audio 300/2 User manual

JL Audio 13TW5v2-2 User manual

JL Audio

JL Audio 13TW5v2-2 User manual

JL Audio M12IB6 User manual

JL Audio

JL Audio M12IB6 User manual

JL Audio Stealthbox SB-T-TACDC/10W1v3 User manual

JL Audio

JL Audio Stealthbox SB-T-TACDC/10W1v3 User manual

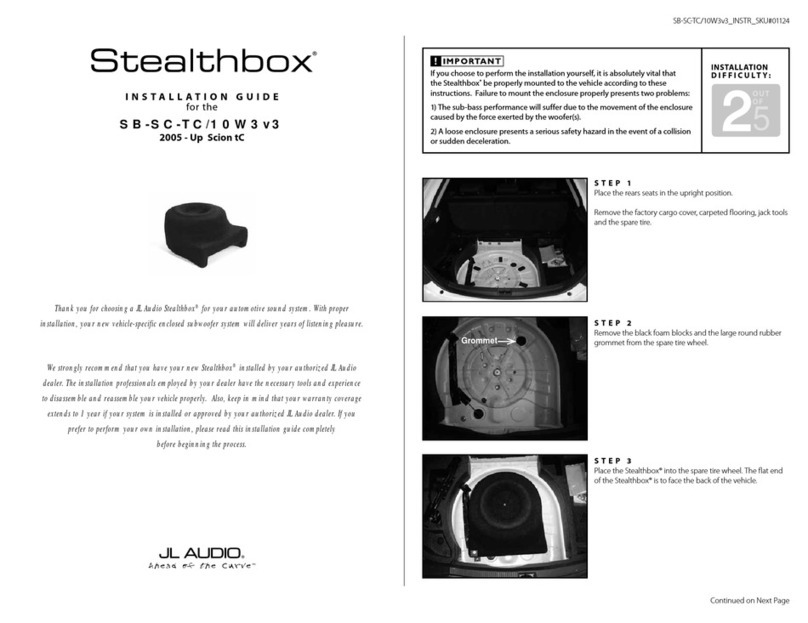
JL Audio Stealthbox SB-SC-TC/10W3v3 User manual

JL Audio

JL Audio Stealthbox SB-SC-TC/10W3v3 User manual

JL Audio Stealthbox SB-GM-SLVEXT/12W3 User manual

JL Audio

JL Audio Stealthbox SB-GM-SLVEXT/12W3 User manual

JL Audio 10TW3 User manual

JL Audio

JL Audio 10TW3 User manual

JL Audio Stealthbox SB-H-CIVCPE3/10W6v2 User manual

JL Audio

JL Audio Stealthbox SB-H-CIVCPE3/10W6v2 User manual

JL Audio Stealthbox SB-GM-CAM/10W3v3 User manual

JL Audio

JL Audio Stealthbox SB-GM-CAM/10W3v3 User manual

JL Audio 10W3 User manual

JL Audio

JL Audio 10W3 User manual

JL Audio M6-10IB User manual

JL Audio

JL Audio M6-10IB User manual

JL Audio Stealthbox SB-SMRT-4-2/8W3v3 User manual

JL Audio

JL Audio Stealthbox SB-SMRT-4-2/8W3v3 User manual

JL Audio Stealthbox SB-SC-XBG1/10W1v2 User manual

JL Audio

JL Audio Stealthbox SB-SC-XBG1/10W1v2 User manual

JL Audio Fathom IWS-SYS-2 User manual

JL Audio

JL Audio Fathom IWS-SYS-2 User manual

JL Audio Fathom IWS User manual

JL Audio

JL Audio Fathom IWS User manual

JL Audio 15W1-4 User manual

JL Audio

JL Audio 15W1-4 User manual

JL Audio 12W1v2-4 User manual

JL Audio

JL Audio 12W1v2-4 User manual

JL Audio 8W1v3-4 User manual

JL Audio

JL Audio 8W1v3-4 User manual

Popular Subwoofer manuals by other brands

Diamond Audio Technology M5102.4 owner's manual

Diamond Audio Technology

Diamond Audio Technology M5102.4 owner's manual

BASSFACE SDC.3 instruction manual

BASSFACE

BASSFACE SDC.3 instruction manual

Sound Storm Fd10 user manual

Sound Storm

Sound Storm Fd10 user manual

Eton USB 6 AR instruction manual

Eton

Eton USB 6 AR instruction manual

BASSFACE IndyA12/4 instruction manual

BASSFACE

BASSFACE IndyA12/4 instruction manual

MB QUART MBQ12SB4 installation manual

MB QUART

MB QUART MBQ12SB4 installation manual

BASSFACE IndyS12/2 instruction manual

BASSFACE

BASSFACE IndyS12/2 instruction manual

JBL PSW1000 owner's manual

JBL

JBL PSW1000 owner's manual

Denon HEOS owner's manual

Denon

Denon HEOS owner's manual

Samson Auro D1200 owner's manual

Samson

Samson Auro D1200 owner's manual

Radio Shack 40-1024A user manual

Radio Shack

Radio Shack 40-1024A user manual

Meridian Active Subwoofer M1500 Technical specifications

Meridian

Meridian Active Subwoofer M1500 Technical specifications

Renkus-Heinz CFX101LA user manual

Renkus-Heinz

Renkus-Heinz CFX101LA user manual

TECNARE Sub Series Operation manual

TECNARE

TECNARE Sub Series Operation manual

JVC CS-BGS5120 instructions

JVC

JVC CS-BGS5120 instructions

Kicker Solo-Baric L5 owner's manual

Kicker

Kicker Solo-Baric L5 owner's manual

Philips HTL7140B user manual

Philips

Philips HTL7140B user manual

Audio Pro SW-10 user manual

Audio Pro

Audio Pro SW-10 user manual

manuals.online logo
manuals.online logoBrands
  • About & Mission
  • Contact us
  • Privacy Policy
  • Terms and Conditions

Copyright 2025 Manuals.Online. All Rights Reserved.