manuals.online logo
Brands
  1. Home
  2. •
  3. Brands
  4. •
  5. JLG
  6. •
  7. Lifting System
  8. •
  9. JLG G6-42A Guide

JLG G6-42A Guide

Other manuals for G6-42A

1

Other JLG Lifting System manuals

JLG 680S Installation and user guide

JLG

JLG 680S Installation and user guide
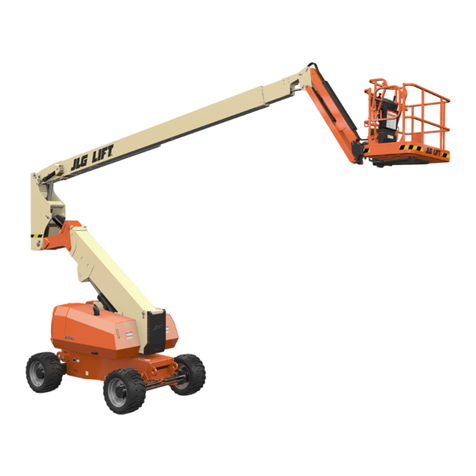
JLG E400A Narrow Use and care manual

JLG

JLG E400A Narrow Use and care manual

JLG 1532E3 Use and care manual

JLG

JLG 1532E3 Use and care manual

JLG 19AMI Use and care manual

JLG

JLG 19AMI Use and care manual

JLG 3513PS Use and care manual

JLG

JLG 3513PS Use and care manual

JLG AM Series Use and care manual

JLG

JLG AM Series Use and care manual

JLG 600AJ Installation and user guide

JLG

JLG 600AJ Installation and user guide

JLG Toucan 12E Use and care manual

JLG

JLG Toucan 12E Use and care manual

JLG 1250AJP User manual

JLG

JLG 1250AJP User manual

JLG 1930ES Use and care manual

JLG

JLG 1930ES Use and care manual

JLG 1230ES Installation and user guide

JLG

JLG 1230ES Installation and user guide

JLG 600A Use and care manual

JLG

JLG 600A Use and care manual
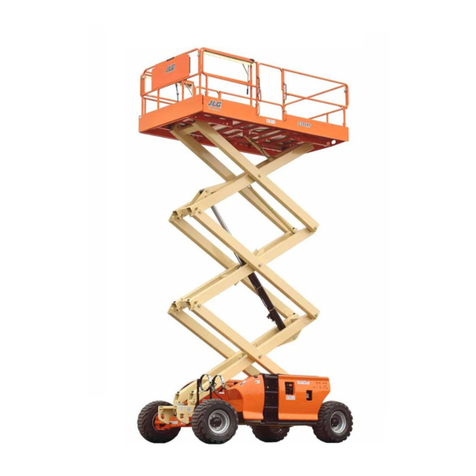
JLG 600SC Instruction Manual

JLG

JLG 600SC Instruction Manual
JLG 10msp Installation and user guide

JLG

JLG 10msp Installation and user guide
JLG T350 Installation and user guide

JLG

JLG T350 Installation and user guide

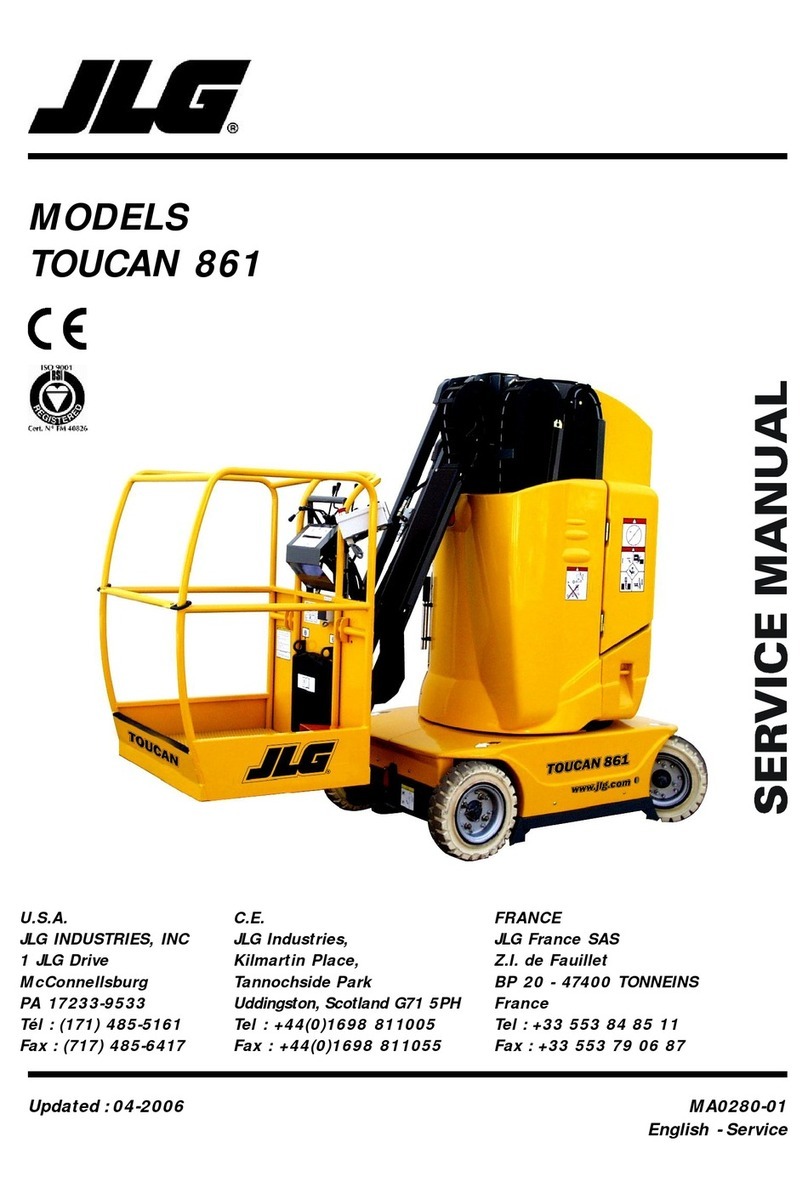
JLG TOUCAN 861 User manual

JLG

JLG TOUCAN 861 User manual

JLG 450A II Series Installation and user guide

JLG

JLG 450A II Series Installation and user guide

JLG TH336 User manual

JLG

JLG TH336 User manual

JLG 4108AN Use and care manual

JLG

JLG 4108AN Use and care manual

JLG 3369electric Installation and user guide

JLG

JLG 3369electric Installation and user guide

JLG sky trak mmv User manual

JLG

JLG sky trak mmv User manual

JLG 260MRT User manual

JLG

JLG 260MRT User manual

JLG G5-18A User manual

JLG

JLG G5-18A User manual

JLG E300AJ Use and care manual

JLG

JLG E300AJ Use and care manual

Popular Lifting System manuals by other brands

probst SDH-H-15 operating instructions

probst

probst SDH-H-15 operating instructions

Bruno OUTDOOR ELITE CRE-2110E Operator's manual

Bruno

Bruno OUTDOOR ELITE CRE-2110E Operator's manual

matev FPS Mounting Assembly Installation Guide

matev

matev FPS Mounting Assembly Installation Guide

Vestil CYL-HLT Series instruction manual

Vestil

Vestil CYL-HLT Series instruction manual

Butts Tools BXS0002 operating instructions

Butts Tools

Butts Tools BXS0002 operating instructions

Safelift MoveAround MA60 Original instructions

Safelift

Safelift MoveAround MA60 Original instructions

Terex Genie Z452513A-48153 Service and repair manual

Terex

Terex Genie Z452513A-48153 Service and repair manual

Granberg InDIago 510 Operating and care instructions

Granberg

Granberg InDIago 510 Operating and care instructions

EUFAB Bike Lift operating instructions

EUFAB

EUFAB Bike Lift operating instructions

morse 82H-124 Operator's manual

morse

morse 82H-124 Operator's manual

Braun NL955 Series Operator's manual

Braun

Braun NL955 Series Operator's manual

Protekt AT 252 instruction manual

Protekt

Protekt AT 252 instruction manual

R. Beck Maschinenbau HS 600 operating manual

R. Beck Maschinenbau

R. Beck Maschinenbau HS 600 operating manual

Nova Technology International, LLC NAS Series quick start guide

Nova Technology International, LLC

Nova Technology International, LLC NAS Series quick start guide

Genie Z-60/34 Operator's manual

Genie

Genie Z-60/34 Operator's manual

Screen Technics INTERFIT Vertical Up Lift instructions

Screen Technics

Screen Technics INTERFIT Vertical Up Lift instructions

Drive DUPONT SAMERY Hermes user manual

Drive

Drive DUPONT SAMERY Hermes user manual

Custom Equipment Hy-Brid 3 Series MAINTENANCE & TROUBLESHOOTING MANUAL

Custom Equipment

Custom Equipment Hy-Brid 3 Series MAINTENANCE & TROUBLESHOOTING MANUAL

manuals.online logo
manuals.online logoBrands
  • About & Mission
  • Contact us
  • Privacy Policy
  • Terms and Conditions

Copyright 2025 Manuals.Online. All Rights Reserved.

1
31200680
1.1 GENERAL GUIDELINES
•This repair procedure provides repair information for
a specific discrepancy. It is the responsibility of the
entity performing the repairs to determine if the
discrepancy can be corrected by this procedure. This
repair is only for the replacement of the rear axle
weldment.
•After inspection, if only weld cracks and NO plate
deflection is found, refer to instructions 31212011.
•After inspection, if weld cracks AND plate deflection
is found, complete the Rear Axle Block Weldment
Replacement Instructions.
1.2 WELD REPAIR GUIDELINES
•All welding must be in accordance with ANSI/AWS
D1.1 Standard.
•Disconnect the battery of the machine being repaired
prior to welding.
•Ground only to the component being welded. Do not
ground to any adjacent component or allow pins,
wear pads, wire ropes, bearings, gears, seals,
valves, electrical wiring, or hoses to be between the
grounding position and the area to be welded.
1.3 TOOLS & EQUIPMENT REQUIRED
1. Stands and lifting equipment capable of lifting/
supporting the affected components
2. Hand-held power grinder
3. Air carbon-arc equipment
4. Electric welding equipment
5. AWS 70 grade, low hydrogen rod or wire
6. Standard welder tools
7. Standard mechanic tools
8. Paint
1.4 PERSONNEL REQUIRED
1. Qualified JLG Equipment Mechanic
2. Certified Welder
1.5 PARTS LIST
1.6 REAR AXLE BLOCK WELDMENT
REPLACEMENT
1. Remove any attachment from the machine.
2. Park the machine on a firm, level surface with the
machine level, retract and level the boom. Place the
transmission control lever in the (N)
NEUTRAL position and engage the
parking brake. Shut the engine OFF.
3. Place a Do Not Operate Tag on both the
ignition key switch and the steering
wheel, stating that the machine should
not be operated.
4. Open the engine cover. Allow system
fluids to cool.
5. Properly disconnect the battery.
6. Properly support the frame to alleviate
pressure or stress at the affected repair
area.
7. Remove components as required to
facilitate repair. Refer to the machine
Service Manual for proper disassembly
procedures.
NOTICE
Reference the Service Manual for safe and proper
disassembly/assembly procedures.
NOTICE
Failure to comply with the above weld repair guidelines
may result in component damage.
P/N Qty Description
91476013 1 Rear Axle Weldment Block
G6-42A
Rear Axle Block Weldment
Replacement Instructions
For Kit 1001126991
B
7/14
31200680
An Oshkosh Corporation Company
2 31200680
G6-42A Rear Axle Block Weldment Replacement Instructions For Kit 1001126991
8. Protect any hoses, wires and hydraulic cylinder rods
before preparing or welding in the axle mount area.
9. Use air carbon-arc equipment or a portable power
grinder to remove the damaged rear axle mount
weldments (4) from the frame weldment.
10. Inspect the affected areas for cracks. If any
discrepancies are evident, notify a certified welder for
further evaluation.
11. Prepare the repair area (5) for the installation of the
new rear axle weldment.
12. Locate the Axle Weldment (6) P/N 91476013 using
1.6.1 “Rear Axle Weldment Welding Locations” on
page 3. Tack weld into position.
13. Weld the rear axle weldment into place using the
recommended weld material.
14. Inspect welds using the magnetic particle or dye-
penetrant inspection methods to assure there are no
cracks or deformities. If any cracks or deformities
exist, grind to remove affected area(s) and repeat the
weld and inspection procedures.
15. Remove the weld bars (7) from the rear axle
weldment.
16. Clean, prime and paint the affected areas.
17. Install previously removed components. Refer to the
machine Service Manual for proper assembly
procedures.
18. Remove all protective coverings from any hoses,
wires and hydraulic cylinder rods.
19. Properly connect the battery.
20. Close and secure the engine cover.
21. Cycle the drive, steer and frame level functions a
minimum of five times.
22. Verify proper clearance between the frame, rear axle,
hydraulic hoses and electrical wires.
23. Install the previously removed attachment.
24. Remove the Do Not Operate Tag from the ignition
key switch and the steering wheel.
25. Return machine to service.
NOTICE
Do not damage the parent metal during this procedure.
MY5230
4
MY5250
5
NOTICE
Do not damage the rear axle weldment during this
procedure.
MY4420
6
7
3
31200680
G6-42A Rear Axle Block Weldment Replacement Instructions For Kit 1001126991
1.6.1 Rear Axle Weldment Welding Locations
A. 1.0 in (25,4 mm)
5/16
WELD ALL AROUND EXCEPT AGAINST REAR PLATE
3/8
A
MY5260
4 31200680
G6-42A Rear Axle Block Weldment Replacement Instructions For Kit 1001126991
This Page Intentionally Left Blank