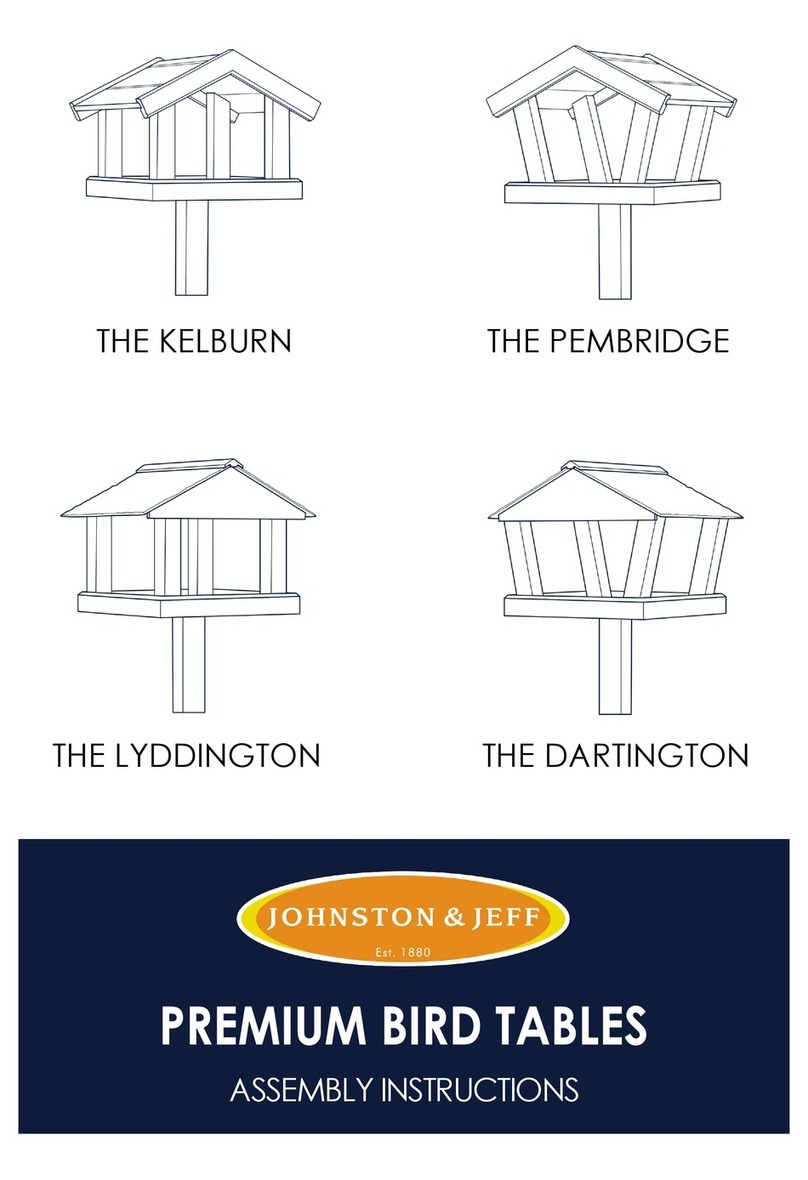
Johnston & Jeff The Dalby User manual

Assembly Instructions
To get the best from this product, please read these instructions fully before assembly.
Please see the back of the instructions, for places to find a video on
how to assemble The Dalby.

Safety and Care Advice
•Check you have all the components and fittings listed, on the next two pages.
•Keep children and small animals away from the work area, small parts may cause harm if swallowed.
•Ensure you have enough space to lay out all the parts prior to assembly.
•Assemble on a soft level surface, preferably covered with a towel, to avoid damaging the table or your floor.
•This product has been dipped using water-based and non-toxic wood stains, which are not harmful to the
birds.
•If you wish to re-treat your Dalby Bird Table, please use a bird safe, non-toxic treatment.
•We recommend cleaning the table regularly, using a bird-safe disinfectant.

Components
This piece
has one
hole in the
half lap
joint.
This piece
has three
holes in the
half lap joint.
These pieces have
a rebate along the
edge.
These pieces have
a flat edge.
1. The Foot
2. The Foot
3. Post x2
4. Stays x4
5. The Post-top
6. The Table-top Base
7. Pillars x4
8. Gable Ends x2
9. The Roof Ridge
10. Upper Roof x2
11. Lower Roof x2

Fittings
A.
30mm Screw x21
B.
Connecting Screw x2
C.
80mm Screw x1
D.
40mm Screw x10
E.
Bolts x2
F.
Washer x2
G.
Wingnut x2

Assembly Instructions
The Post
Step 1 –The Foot
You will need:
-The Foot Components (1 & 2)
-2x 40mm pozi screws (D)
The Foot is made up of two components (1 & 2)
Cross the two components over, ensuring that the three holes (2) remain on top.
Fix together using 2x screws (D), in the outer holes.
IMPORTANT: Do not fix together using the central hole, at this point.
Step 2 –The Post
You will need:
-The post sections (3)
-2x Connecting Screws (B)
The post is made up of two sections (3), each with a half lap joint and two holes.
Place the two sections together, as per the diagram, and fix together using 2x screws
(B)
Tighten the connecting screws together using a cross head type screwdriver. You will
need a second such screwdriver, to hold the bolt in place on the other side.

Step 3 –Joining the Pole to the Feet.
You will need:
-1x 80mm Screw (C)
Turning the foot and the post gently on its side, align the two together. This can be
done more easily over the end of a table or workbench.
Through the central hole in the foot (1 & 2) tighten the two sections together using
screw (C).
Step 4 –Fixing the Stays.
You will need:
-4x Stays (4)
-8x 40mm Screws (D)
Place the stay on the foot and align it with the post.
IMPORTANT: ensure the two ends of the stay are central and flat against the
post and the foot, before tightening.
Tighten the stay on using 2x screws (D), one into the post and one into the
foot.
Repeat this with each stay, replicating the diagram.

Step 5 –The Post Top
You will need:
-The Post Top (5)
-3x 30mm Screws (A)
IMPORTANT: Before fully tightening –ensure the post top (5) is aligned square to the post.
Attach the post top (5) to the top of the post using 3x screws (A).
Fix the central screw first, followed by the outer screws.
You have now completed the post assembly of The Dalby.
Head Assembly
Step 6 –The Pillars
You will need:
-The Table-top Base (6)
-4x Pillars (7)
-4x 30mm Screws (A)
Each pillar has a small rebate which must be placed at the top –
as shown in the diagram.
Firstly, layout the pillars to determine where and how they are
placed, prior to fixing.
IMPORTANT: It is not essential to replicate the diagram, so long as the pillars mirror each other, and the rebate is
facing outwards. You can always use the brush-off point as a guide.
Once you have worked out the placement of the pillars –remove three and hold the fourth in place. Fix the two
sections (6 & 7) together, using screw (A), into the pre-drilled hole underneath the table-top base (6).
Repeat this with all four pillars (7).
Rebate:
Brush-off Point

Step 7 –The Gable Ends
You will need:
-2x Gable Ends (8)
-4x 30mm Screws (A)
Inside each gable end, there is a small rebate on both the left and right-hand sides.
These align with the rebates on the pillars (7) and will easily slide on to match.
Tighten together with 2x screws (A), at either side, using the pre-drilled holes in the gable ends (8), as a guide.
Step 8 –The Roof Ridge
You will need:
-The Roof Ridge (9)
-2x 30mm Screws (A)
Using screw (A), fix each end of the Roof Ridge (9) to the top of the gable ends, using the pre-drilled holes as a
guide.
IMPORTANT: Do not fully tighten the screws until Step 9 is complete.

Step 9 –The Roof: Part 1
You will need:
-2x Upper Roof Panels (10)
-4x 30mm Screws (A)
Taking the upper roof parts (10), slide them underneath the Roof Ridge (9).
At this point you may need to slacken the screws in the roof ridge to achieve this.
Once both parts meet the inside of the roof ridge you can now securely fasten it (9) down.
Using the pre-drilled holes as a guide, fix the upper roof panels on to the gable ends with screw (A), at each side.
Step 10 –The Roof: Part 2
You will need:
-2x Lower Roof Panels (11)
-4x 30mm Screws (A)
Slide the lower roof panels (11) underneath the upper roof
panels (10) to fit. The narrow edge will tuck under the rebate of
the upper roof panel (10).
Using the pre-drilled holes as a guide, fasten the lower roof
panels on to the gable ends with screw (A), at each side.
You have now completed the assembly of the Head. Now to put the sections together.
These panels have a
rebated edge.
These panels have a flat edge.

Step 11 –Attaching the Table to the Base.
You will need:
-2x Bolts (E)
-2x Washers (F)
-2x Wing Nuts (G)
Line up the two larger holes in table-top base (6) to the holes on the post top (5).
Place a bolt (E) through each of the holes and then fasten together, from underneath, with the washer (F) and
wing nut (G).
You have now completed the assembly of the Dalby Bird Table.

To ensure the birds get the best nutrition, we recommend feeding one of our many wild bird blends or individual
seeds. Perfect for The Dalby are;
Selected Wild Bird Food
An all year-round blend
with a high proportion of
black oil sunflower seeds.
This feed is designed to
be nutritionally correct;
attracting the widest
variety of birds.
Superior Wild Bird Food –
Husk Free
A husk free mix means no
mess around the feeding
area. More importantly, it
means a higher nutrient
level and energy intake
for the birds.
Premium Wild Bird Food
–Wheat Free, Husk Free
with Suet
An outstanding, energy
rich and easily digestible
all year-round feed. No
wheat and no husks = no
waste.
High Energy No Mess
This blend will give wild
birds everything they need
and want. A balanced,
high protein and high
energy feed. Perfect for
when they are pushed to
their limits.
Essential Blend for Spring
& Summer
A special mix of essential
ingredients that help
towards; a healthy
breeding condition, egg
production and, skeletal
and tissue growth.
Robin and Songbird Mix
Specifically designed for
Robins, this mix can also
be fed as an all year-
round high energy feed
for all birds.
Black Oil Sunflower
Seeds
Sourced generally from
Europe and the UK, this is
high oil black sunflower,
which has also been
selected and correctly
harvested to produce the
maximum oil content.
Sunflower Hearts
These are bakery grade
kernels produced from
black oil sunflower seeds
–therefore, they contain
the highest levels of oil
and energy.

For a video on how to assemble The Dalby:
•Search ‘The Dalby’ on YouTube
•Follow this link;
•Or scan this QR Code
Johnston & Jeff Ltd
Baltic Buildings, Gateway Business Park, Gilberdyke, Yorkshire HU15 2TD
T: 01430 449444 E: mail@johnstonandjeff.co.uk www.johnstonandjeff.co.uk
https://youtu.be/N35QK3Zu2NI
Table of contents
Other Johnston & Jeff Pet Care Product manuals
Popular Pet Care Product manuals by other brands

AmazonBasics
AmazonBasics B06X6J3L65 Guide

juwel
juwel Lido 120 instruction manual

METROPOLITAN VACUUM CLEANER CO
METROPOLITAN VACUUM CLEANER CO QD-1 instruction manual

WaterDog Adventure Gear
WaterDog Adventure Gear WAG Boarding Steps PM-6H owner's manual

sparklypets
sparklypets VEH41D user manual

Innotek
Innotek FS-602E Operation guide