DVR8L1 - DVR16L1 Rev. 01
4
4. Features
•MPEG-4 real-time compression format
•multiplex: allows live display, recording, playback and backup
•backup function: supports USB 2.0 flash drive and network backup
•intelligent motion trigger recording
oadvanced motion detection
oscheduled motion detection recording (with 3 adjustable parameters)
•system auto recovery after power reconnected
•supports daylight-saving function
•supports manual / timer / motion / alarm recording functions
•multi-language OSD: English, French, Dutch, German, Portuguese, Spanish, Czech, Hungarian,
Greek, Chinese and Vietnamese
•user manual: English
•hard disks in option: 500GB (HD500GB/S) or 750GB (HD750GB/S) (not included)
•high resolution recording:
DVR8L1
oframe: 720 x 480 pixels with 60 IPS / 720 x 576 pixels with 50 IPS
oCIF: 352 x 240 pixels @ 240 IPS / 352 x 288 pixels @ 200 IPS
DVR16L1
oframe: 720 x 480 pixels with 120 IPS / 720 x 576 pixels with 100 IPS
oCIF: 352 x 240 pixels @ 480 IPS / 352 x 288 pixels @ 400 IPS
5. Overview
Refer to the illustrations on page 2 of this manual.
Front panel
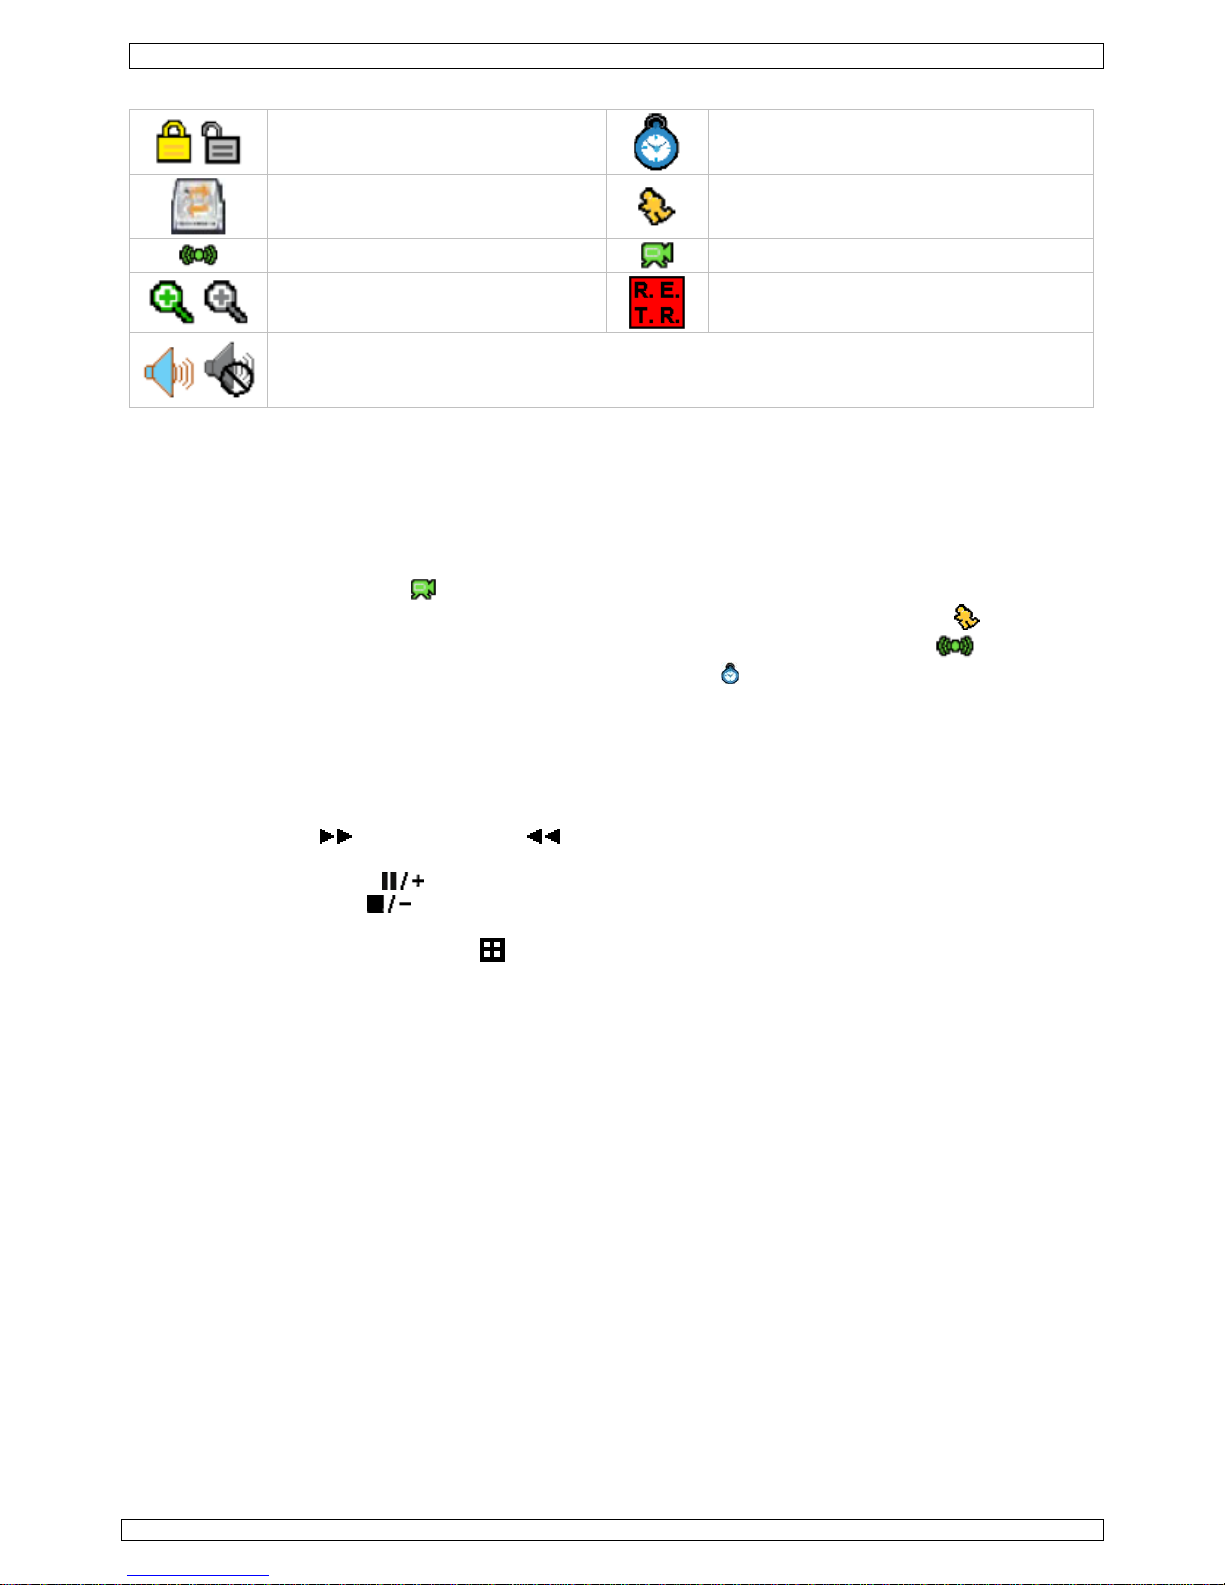
LED
indications
(left to right)
HDD reading or recording activities on the hard disk
ALARM an alarm was triggered
TIMER timed recording is enabled
PLAY the DVR is in playing mode
POWER DVR power is on
MENU Press to enter the main menu.
LIST
ALARM List the information of the alarm-trigger-recorded files.
MANUAL List the information of the manual-recorded files. A separate file is
created for each manual recording.
MOTION List the information of the motion-trigger-recorded files.
SYSTEM List the information of the system-recorded files. The DVR system will
save one recorded file every hour.
TIMER List the information of the timer-recorded files.
SLOW In playback mode, press to play the recorded file slowly.
SEQ Press to activate the call monitor function, and press again to quit.
ENTER Press to confirm settings.
PLAY Press to play the recorded video.
ZOOM In live or playback mode, press to enlarge the image of the selected channel.
8CH: press to show the 4/9 channel display mode.
16CH: press to show the 4/9/16 channel display mode.
POWER Press and hold to switch off the DVR.
1 ~ 8
1 ~ 16
Press a button to select the corresponding channel.
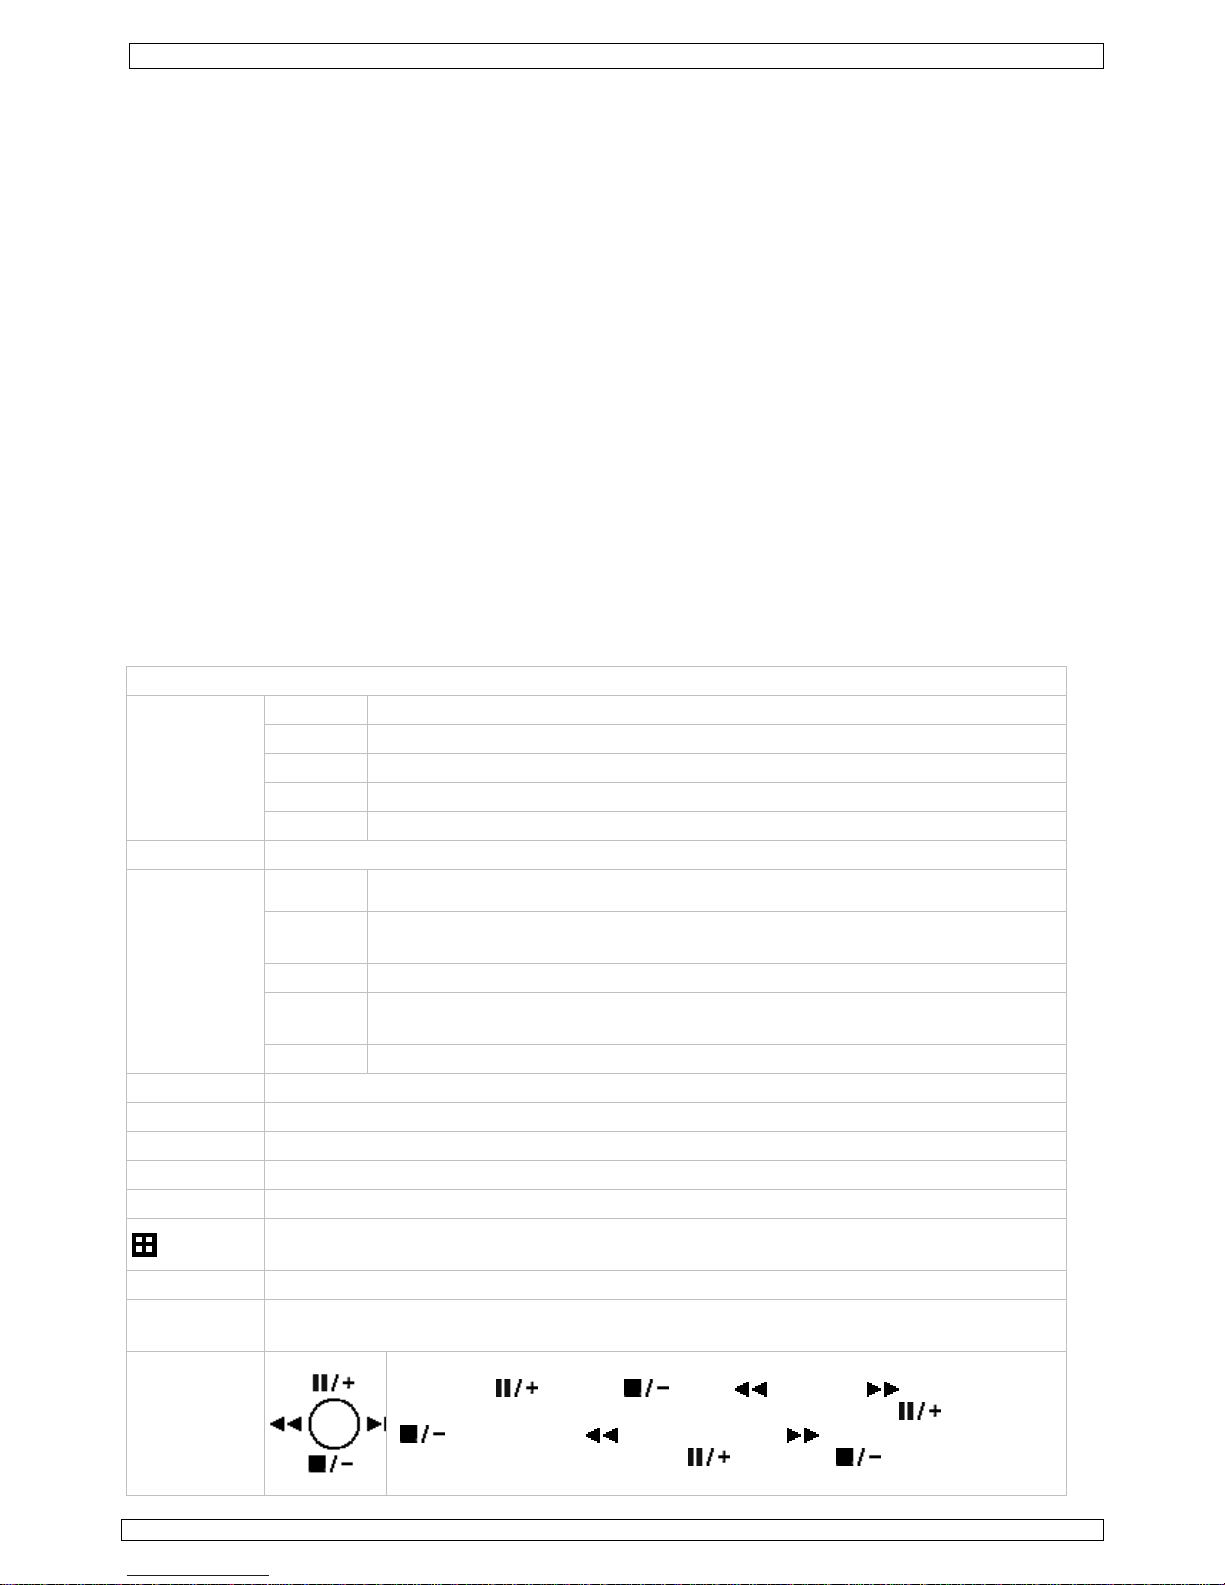
NAVIGATE
Press one of the four positions on the navigate button to move the
cursor up ( ), down ( ), left ( ) or right ( ).
In play-back mode, press the buttons to play/pause ( ), stop
(), fast rewind ( ) or fast forward ( ) the play-back file.
In setting mode, press the up ( ) or down ( ) button to change
the setting in the menu.