6
IMPRESSA C5 – Quick Reference Guide
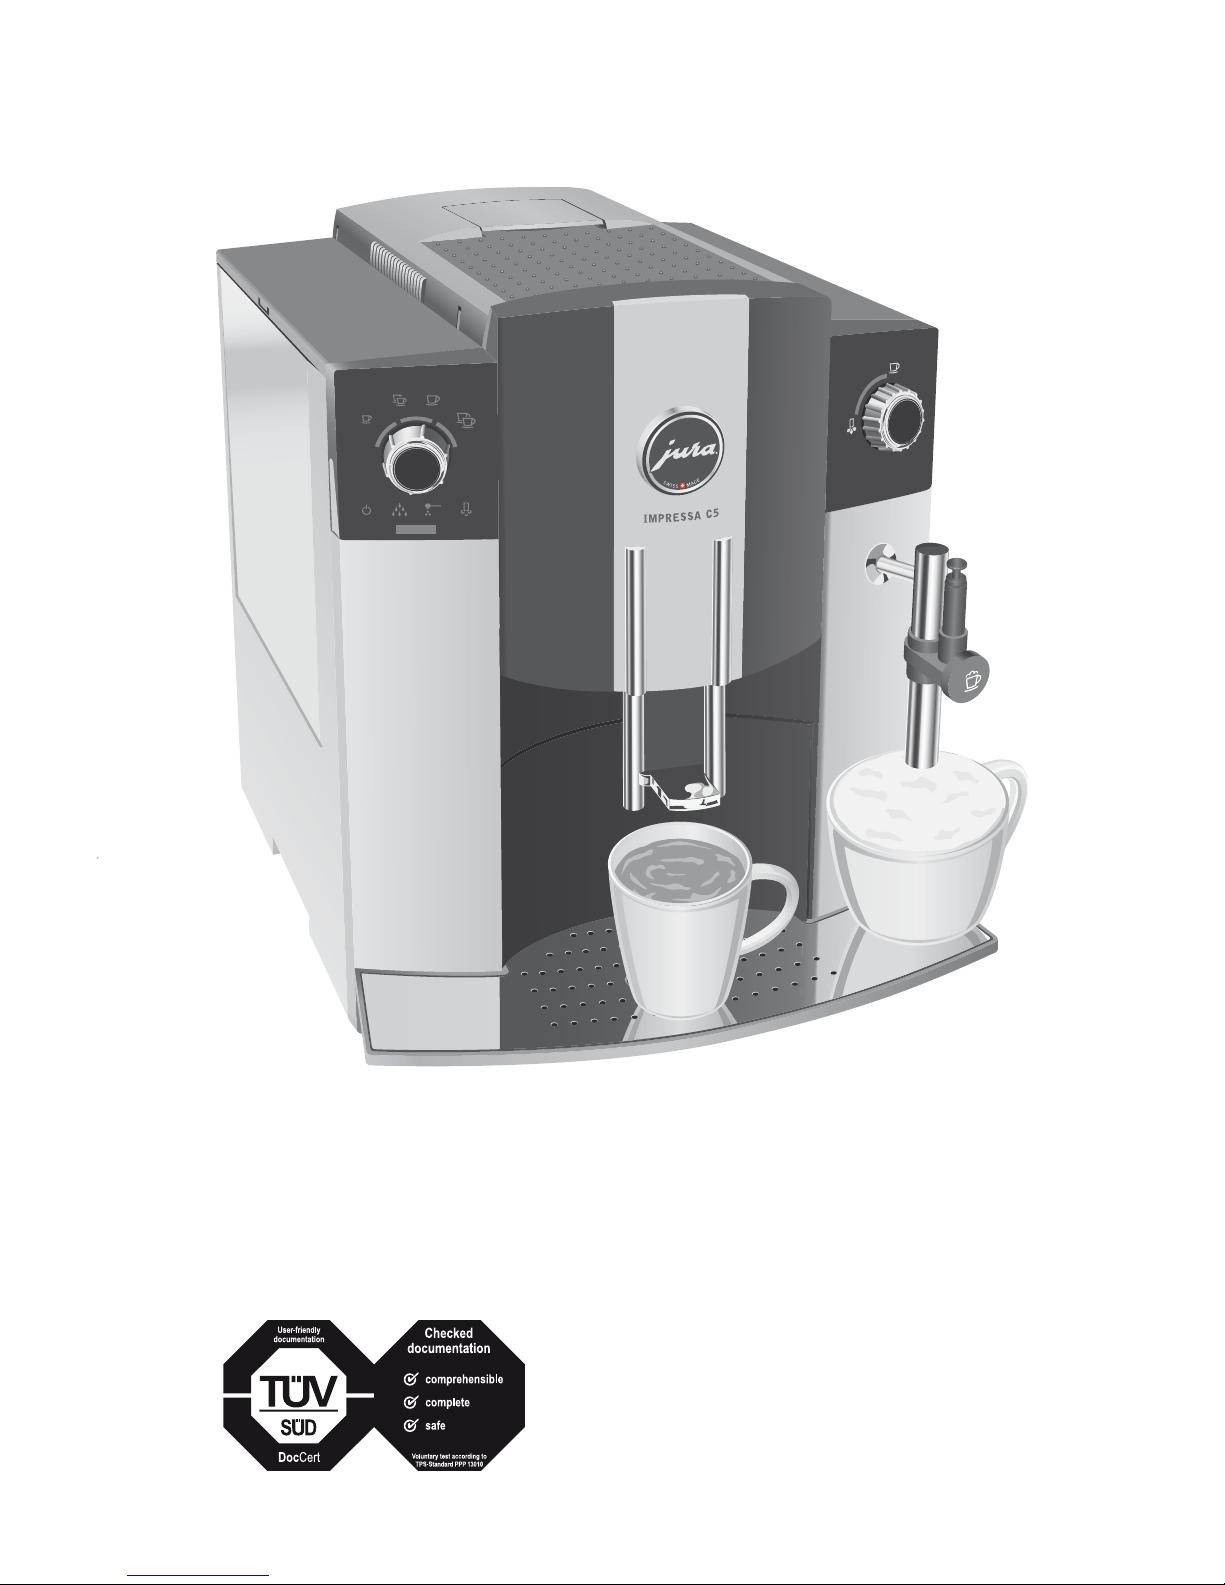
Lift the cartridge holder.
Take out the old CLARIS plus filter cartridge.
Insert the new CLARIS plus filter cartridge into the water
tank, pressing it lightly.
Close the cartridge holder.
It will lock into place audibly.
Fill the water tank with cold, fresh tap water and reinsert
.
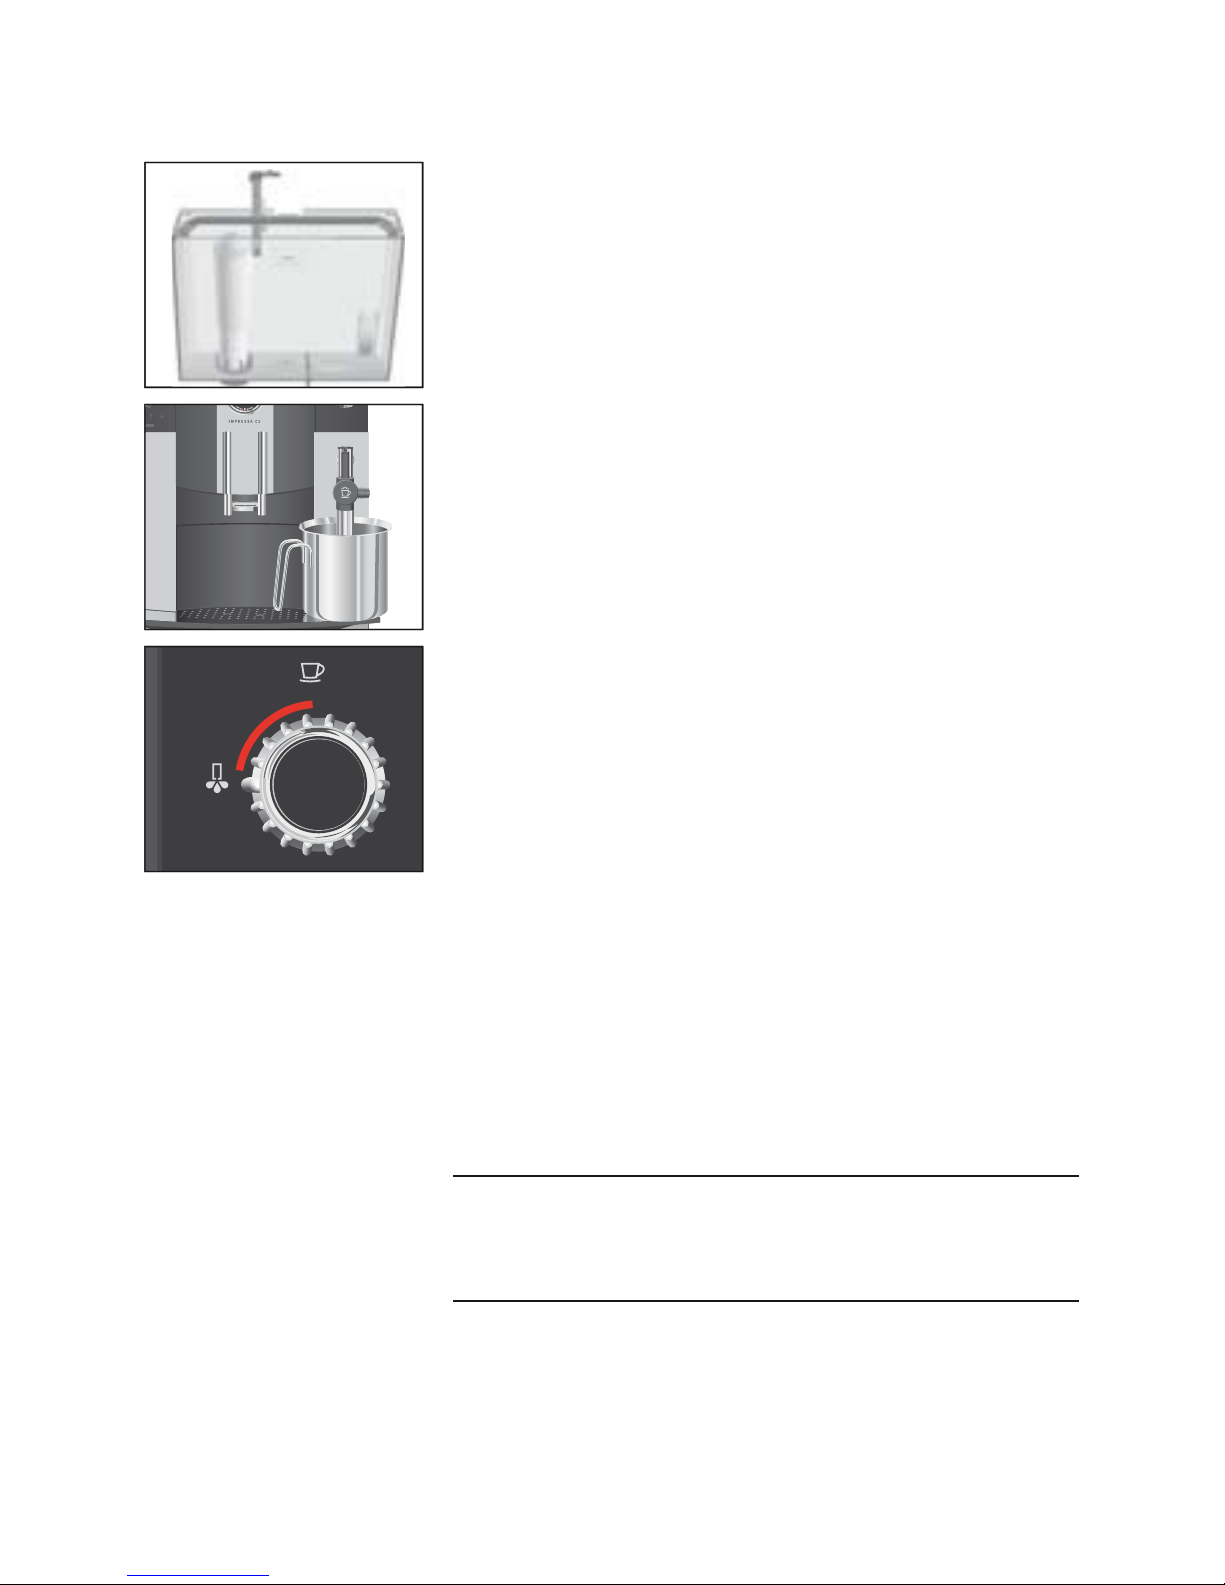
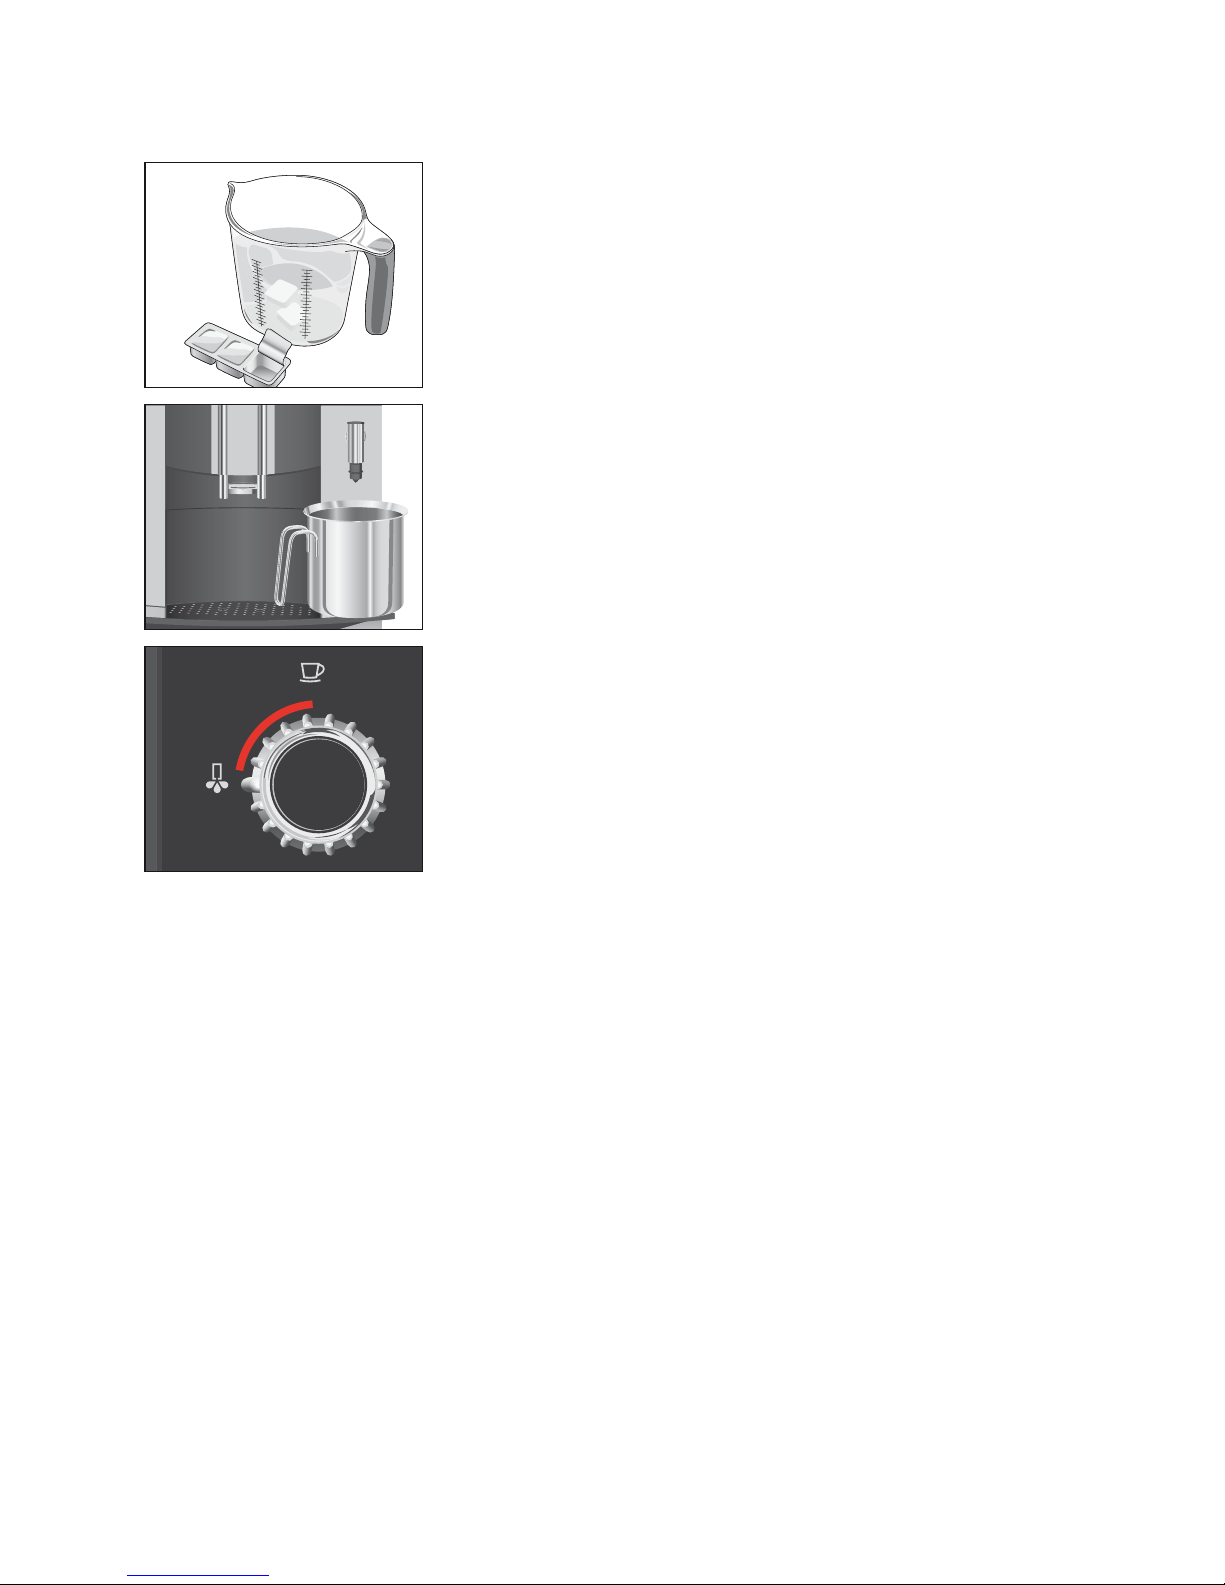
Place a receptacle (containing at least 500 ml) under the
Easy Cappuccino Frother.
If the milk pipe is connected, remove it.
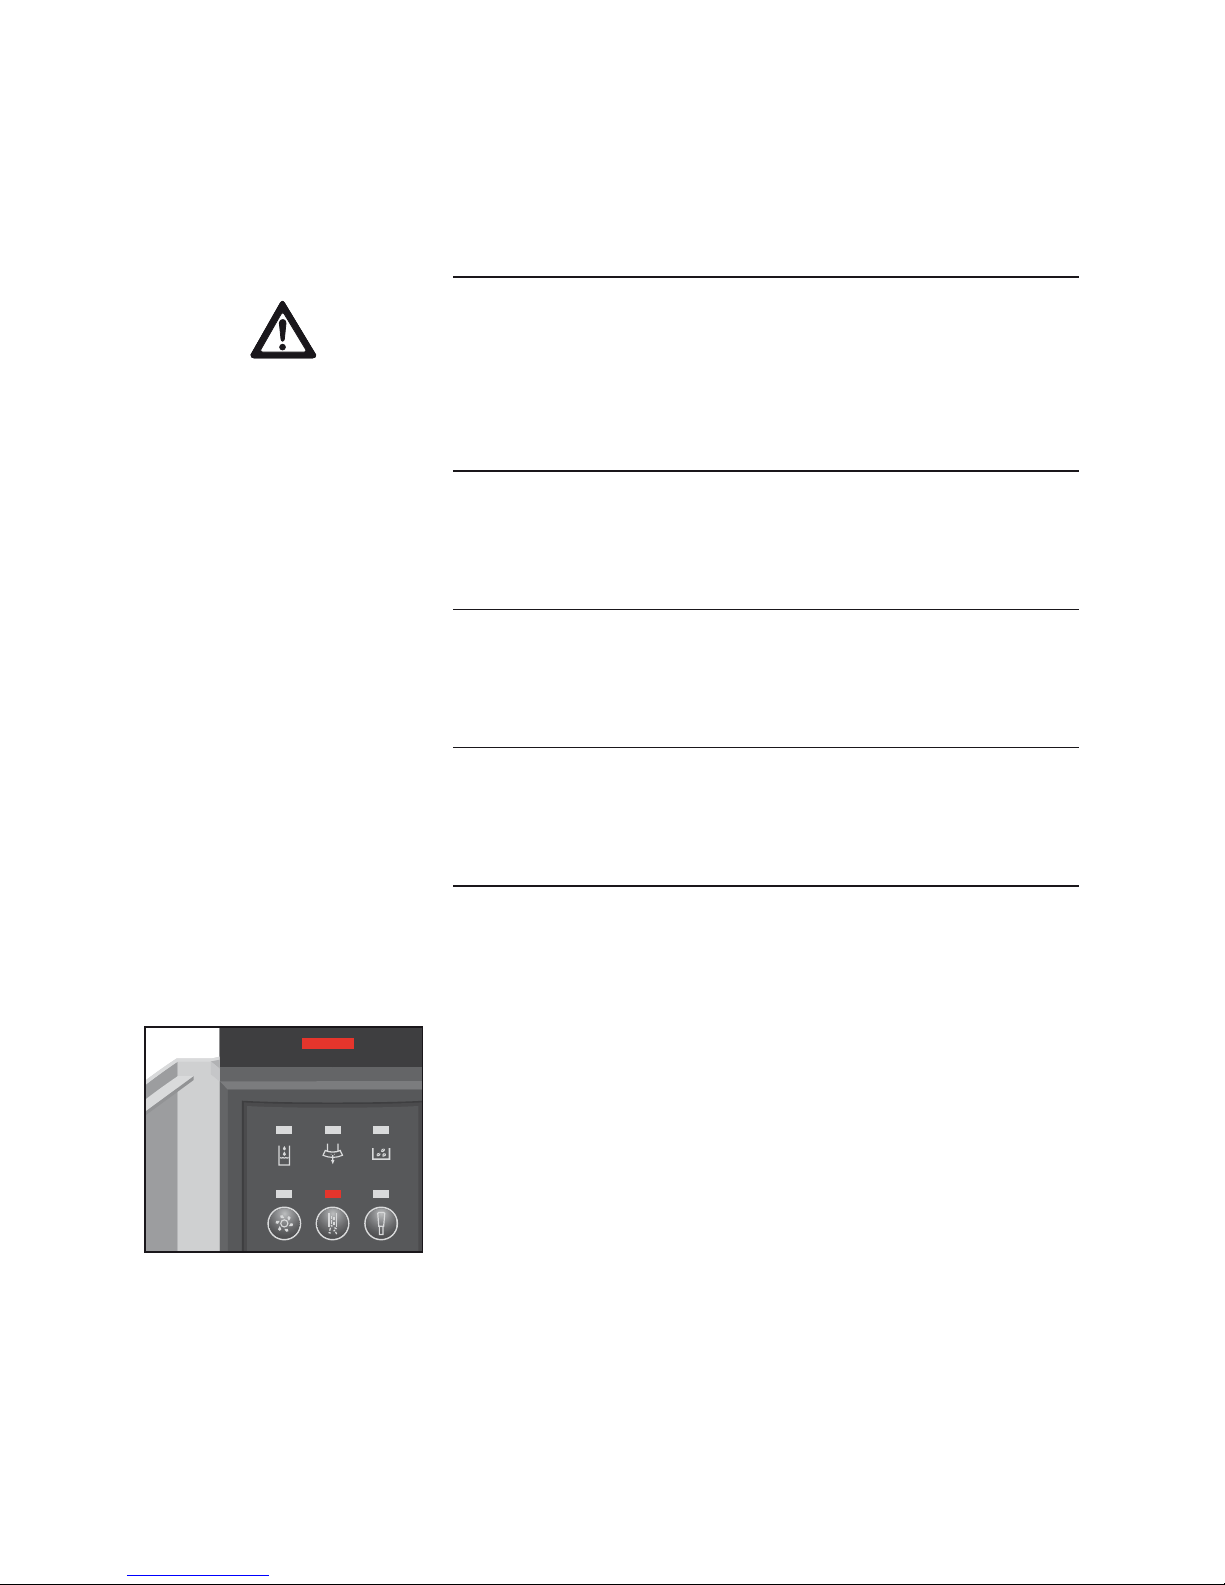
n l Hold down the Filter button until the Filter indicator n
flashes.
The light segment by the switch will now flash.
r l Turn the switch in the anticlockwise direction.
Rinsing of the filter will now begin. The light segment by the
switch will now light up.
The water could be slightly discoloured. This is not harmful to
health, nor does it affect the taste.
Rinsing of the filter will automatically stop after approx.
500 ml, and the light segment by the switch will then flash.
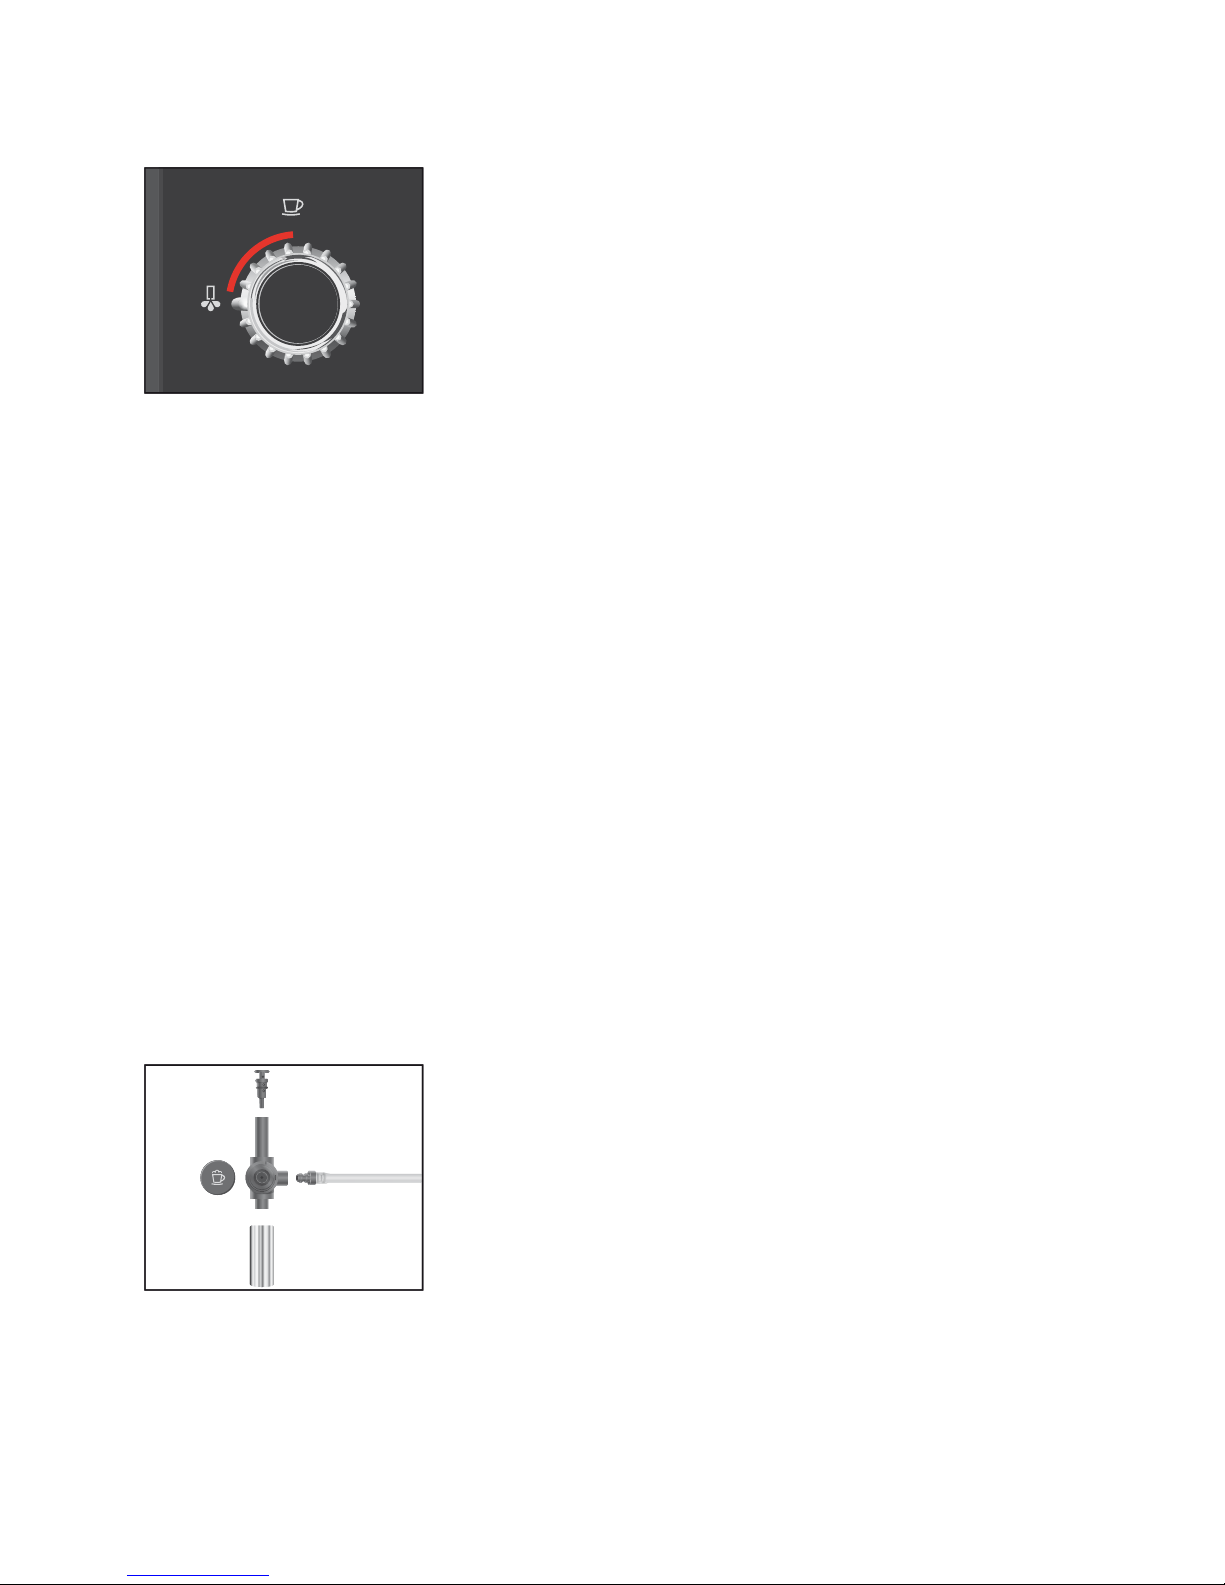
t l Turn the switch in the clockwise direction.
The Maintenance symbol hflashes, the IMPRESSA heats up
and is once again ready for use.
After dispensing 200 cups of coffee or performing 80 switch-on
rinses, the IMPRESSA will prompt you to clean it.
If the wrong cleaning agent is used, the machine could be damaged
and/or traces of detergent could be left behind in the water.
Use only original JURA care products.
The cleaning program only lasts about 15 minutes.
Do not interrupt the cleaning program, as this will impair the
quality of cleaning.
Your dealer will stock JURA cleaning tablets.
l
l
l
l
l
l
l
o
l
o
o
o
Cleaning the machineCleaning the machine
CAUTIONCAUTION