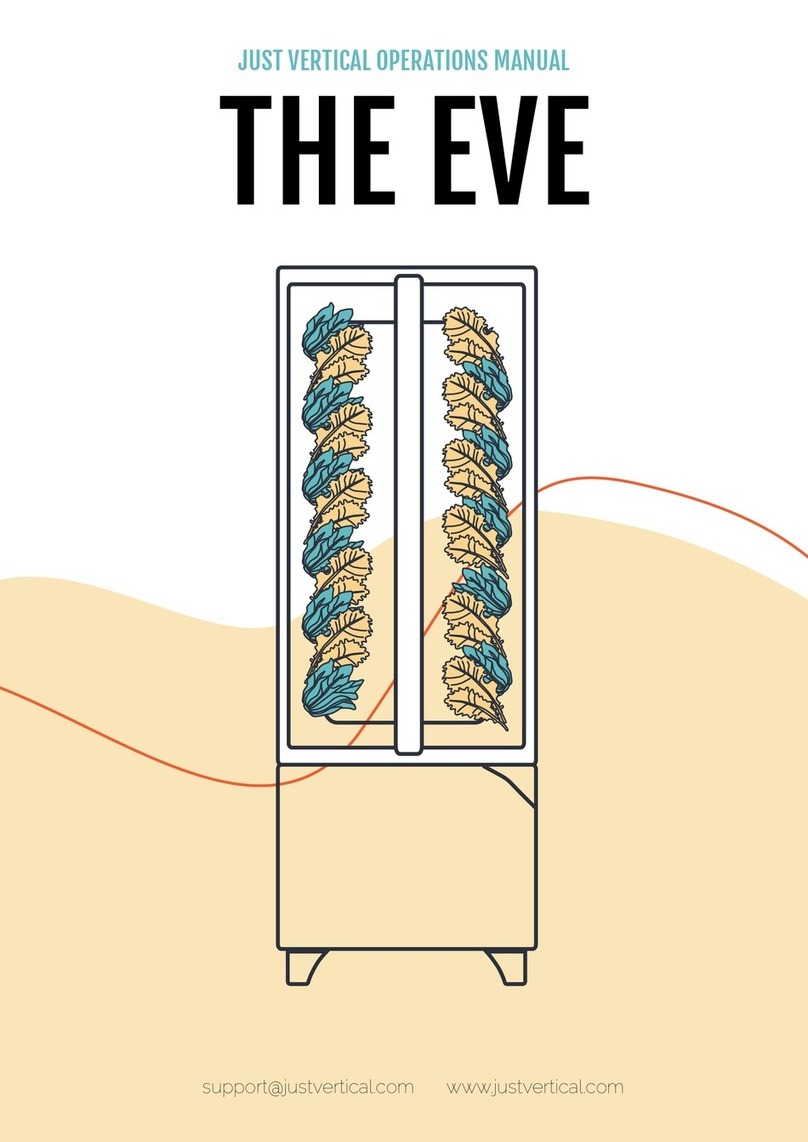
JUST VERTICAL AEVA User manual

The Ultimate Grower’s
Guide
Welcome to the food revolution! You are embarking on a journey towards a healthier
and happier home. We are so glad that you could join us.
The important changes the world needs only happen because of people like you. This
guide has everything you need to successfully grow with the AEVA.
We believe in our product and have backed it with a 2-year warranty. For your safety,
read and understand all instructions prior to installing or turning on your garden.
Failure to follow setup instructions or maintenance could lead to damages, injury, or
re.
us know which parts are missing so we can get you growing. We are always available
if you have any questions, or concerns. You can also access our live chat on the web
at: www.justvertical.com


Contents
7 – Get To Know Your AEVA
8 – What’s Included With Your AEVA
9 – Mounting Your AEVA To The Wall
10 – Planting Seeds
14 – Pump Setup & Preparing Your Reservoir
15 – Filling Your Reservoir & Reservoir Levels
17 – Nutrients
18 – Turning On Your AEVA
19 – Setting Your Timer
24 – 8 Week Maintenance Schedule
25 – Checking Plants
26 – Checking The Reservoir
27 – Adding Nutrients
27 – Trimming Roots
28 – Cleaning The Unit

30 – Getting Started With Harvesting
31 – Harvesting Tips For Specic Plants
34 – Water Not Being Delivered To Plants
35 – Leaking From The Pots Onto Front Face
36 – Leaking From The Bottom Plant Site
36 – Water Is Leaking From An Inside Pipe
37 – Plants Not Receiving Enough Water
38 – Blockage In The Supply Line Or Drain
42 – Nutrient Deciency/Saturation
43 – Temperature
43 – Air Flow
43 – PH Levels

6
Getting Started
Setting up the AEVA is very simple and, thanks to a little bit of work on our end, you’ll
need just a few minutes once it arrives to get growing. We’ve kept it quick for you
because you have better things to do (like tasting our 10 dierent kinds of kale!).

7
Get To Know Your AEVA
Front Face
Light Shade
Plant Pot & Hole
Cabinet
Drain
Power Bar
Reservoir With Pump Assembly Inside
Light Timer & Dimmer

8
What’s Included With Your AEVA
Seed Starting Kit
x1
Peat Moss Grow Plugs
x84
Starter Seed Packs
x8
Nutrient Bottles
x2
Wall Mount
x1
Pump Assembly
x1
Plant Pots
x16
Power Bar
x1
H202 Line Cleaner
x1
\
\
Seed Pack A

9
Mounting Your AEVA To The Wall
Attach the 3M unit attachment
to the top of your garden.
Locate a place within your
house where you think the
AEVA will stand out!
Attach the 3M wall attachment
to your desired location on the
wall.
Connect the wall mounts to
ensure your garden doesn’t
move in place.
Find A Wall
1
Attach Mount To Unit
2
Attach Mount To Wall
3
Connect
4

10
When you order seeds from Just Vertical you are getting the guarantee of seeds that
we have tested ourselves. If any of our seeds don’t germinate within 21 days, we will
provide you a refund on the seeds that don’t germinate! Seeds are a living thing and
sometimes they just don’t germinate, so don’t worry if a few don’t come out right
away. We always recommend you plant a few extra plugs so you can choose the
strongest for your garden.
You will use your seed starting kit to start your seeds.
Planting Seeds
Vent with USB-C Plug-In
Dome
Grow Tray
Wooden Cover
Bottom Tray
USB-C Cable
USB Power Brick

11
Dome
Bottom Tray
Fill bottom tray halfway with
cold water.
Place the black grow tray with
the peat moss plugs inserted
into the water.
How To Use Your Seed Starting Kit
Put the 16 peat moss plugs
into the black grow tray.
Place Plugs
2
Take 16 peat moss plugs. Place
in 1-2 seeds per peat moss
plug that you’ve taken.
Insert Seeds
1
Fill Tray
3
Insert Grow Tray
4

12
Spray the inside of the dome
with warm water and place on
top. Keep vents open.
Plug the light in the vent
attached into a USB-C cable
and plug into a wall. This light
will run 24/7.
Leave your plants and let them
grow, moving them periodically
to ensure plants are not
leaning towards the light.
Once plants are touching the
top of the dome, they are
ready to be transplanted.
How To Use Your Seed Starting Kit (continued)
Spray Dome
5
Turn On The Light
6
Wait & Grow
7
Start Transplanting
8

13
How To Grow Great Seedlings
Any new plant is looking for three things: light, water, and
nutrients. To give your seedlings the best chance to grow, you
need to help them achieve the rst two things in particular.
To optimize the amount of light each plant gets before you
transplant, ensure that you rotate your seedlings with the grow
tray so they don’t lean towards the light.
To ensure your plants don’t get too much water (and, as a resut,
grow leggy), remove any excess water in your grow tray once the
peat moss plugs are soaked.
Push out seedlings from
bottom opening in the grow
grid with a sharp object (like a
chopstick or pencil).
Place seedlings into the plant
pot in your garden.
How To Use Your Seed Starting Kit (continued)
TIP
Remove Seedlings
9
Place Into Unit
10

14
Locate the quick connect cords.
These will be found inside your
cabinet.
Connect the quick connect
cords. These should
immediately snap into place.
Locate an outlet or power bar.
Plug in your pump. The pump
will run automatically when the
entire unit is powered on.
Make sure your drain hose is
placed inside the reservoir as
shown in the image.
Pump Setup & Preparing Your Reservoir
Locate Cords
1
Connect Cords
2
Drain Hose Check
3
Plug In Pump
4

15
Filling Your Reservoir & Reservoir Levels
Filling Your Reservoir For The First Time
The reservoir is designed to stay in your unit. Avoid removing the reservoir from the
cabinet when lling it with fresh water.
To ll the reservoir, simply transfer water into the tank through the open hole at
the top of the reservoir while it’s in the unit. The simplest way to way to ll up your
reservoir is with a watering can.

16
Your reservoir is full. This tank
of water will last up to 2 weeks,
dependent on plant size. Check
water levels weekly.
Half-full reservoir. This tank of
water will last up to 1 week,
dependent on plant size.
Reservoir is empty. This tank
of water needs to be relled to
the original ll line.
Reservoir Levels
How Long Does Your Pump Run?
TIP
Once you turn your pump on, you’ll notice the pump runs
automatically. Our pumps are on an automatic timer that runs for
1 minute every 30 minutes.
Full Reservoir
1
Half-Full Reservoir
2
Empty Reservoir
3

17
Nutrients
Using nutrients is an easy process. With a fresh reservoir with new water in it, add
25mL of Vega A and Vega B. If you have previously added nutrients to the same water
within your reservoir, add 15mL of Vega A and Vega B to top up the reservoir.
Adding Nutrients
After every 2 weeks inside the
AEVA, add 15mL of Vega A and
15mL of Vega B.
Used Tank Of Water
2
On every new tank of water,
add 25mL of Vega A and 25mL
of Vega B nutrients.
New Tank Of Water
1
20mL
15mL
Growing Flowering Plants?
TIP
If you are growing owering plants such as tomatoes or
strawberries, once the owers start to bloom, you will start with
a fresh reservoir and add 30ml of Flores A and 30ml of Flores B.
You will then add 15ml of Flores A and 15ml of Flores B every two
weeks.

18
Turning On Your AEVA
Find a standard power outlet
to plug the garden in.
Connect the power cord
running from your garden into
the outlet.
Once the cords are connected,
the power is now connected.
Step Heading Power Supply
FUN FACT
To operate, the AEVA can use any standard 120-volt, 3 prong
electrical outlet. The AEVA uses $3.56 CAD a month in electricity.
This equates to 0.072 kW / per hour.
Find A Power Outlet
1
Connect Cords
Power On
3
2

19
Setting Your Timer
Grab a sharp pointed object
like a pen or a chopstick. Push
in the ‘C’ button once to reset
your timer.
Press the ‘D +’ button until you
reach your current day. You will
notice the day symbol change at
the top of timer.
Press the ‘H +’ button until you
reach your current hour (in
24H format). You will notice the
hour change on the display.
Press the ‘M +’ button until you
reach your current minute. You
will notice the minutes change
on the display.
Reset Your Timer
1
Set The Day
2
Set The Hour
3
Set The Minute
4

20
Setting Your Timer (continued)
Press the ‘P’ button to switch
mode. The display will show 1ON
beside the time. The time will
disappear.
Set your turn on time with
‘H+’ and ‘M+’. We recommend
having your lights on for 18
hours and o for 6 hours.
How To Unlock Your Timer
TIP
Move To Timer Mode
5
Set Turn On Time
2
Noticing that when you’re pressing buttons, nothing is happening
on the display?
When you leave your timer for longer than 30 seconds without
pressing a button, the timer will lock automatically. The timer will
show the
symbol
on the display if the timer is locked.
To re-enable your timer to make changes, you simply need to
press the C/R button 4 times to unlock the timer. Once the (
)
symbol disappears, you can make changes.
Other manuals for AEVA
1
Table of contents
Other JUST VERTICAL Lawn And Garden Equipment manuals
Popular Lawn And Garden Equipment manuals by other brands

claber
claber Colibri Series user manual

Blue Mountain
Blue Mountain RAIN HARVESTING Leaf Eater Commercial Series Installation and specification guide

Agria
Agria 1600 farmstar compact operating instructions

Plantra
Plantra SunFlex Guidelines

Everbloom
Everbloom R0714T4821 installation guide

DANA
DANA 2840 parts list