JVC Everio GZ-V515 Operating and maintenance manual

CAMCORDER
LYT2463-008A
Detailed User Guide
GZ-V515

Table of Contents
Beginner’s Guide ........................................................... 4
Charging .................................................................................. 4
Recording ................................................................................ 4
Playback .................................................................................. 4
Shooting Tips ........................................................................... 4
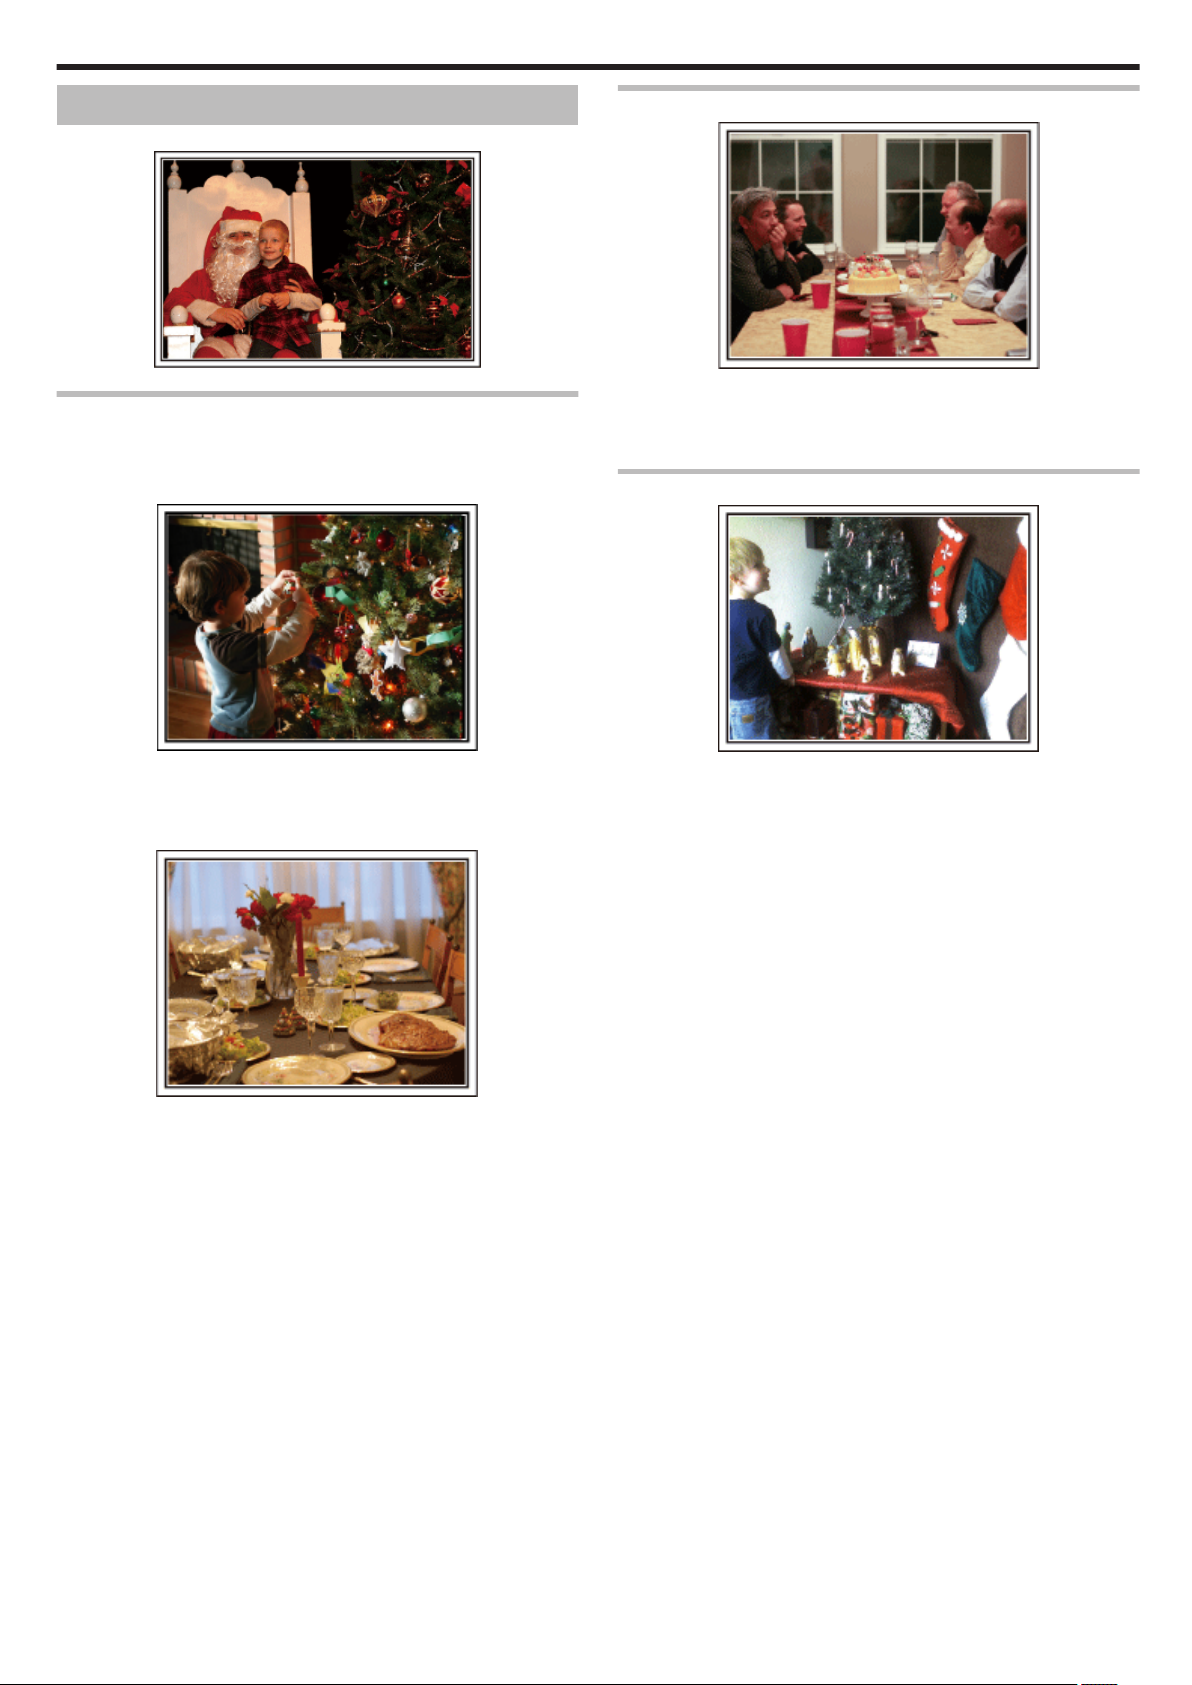
Holiday Season/Christmas ...................................................... 5
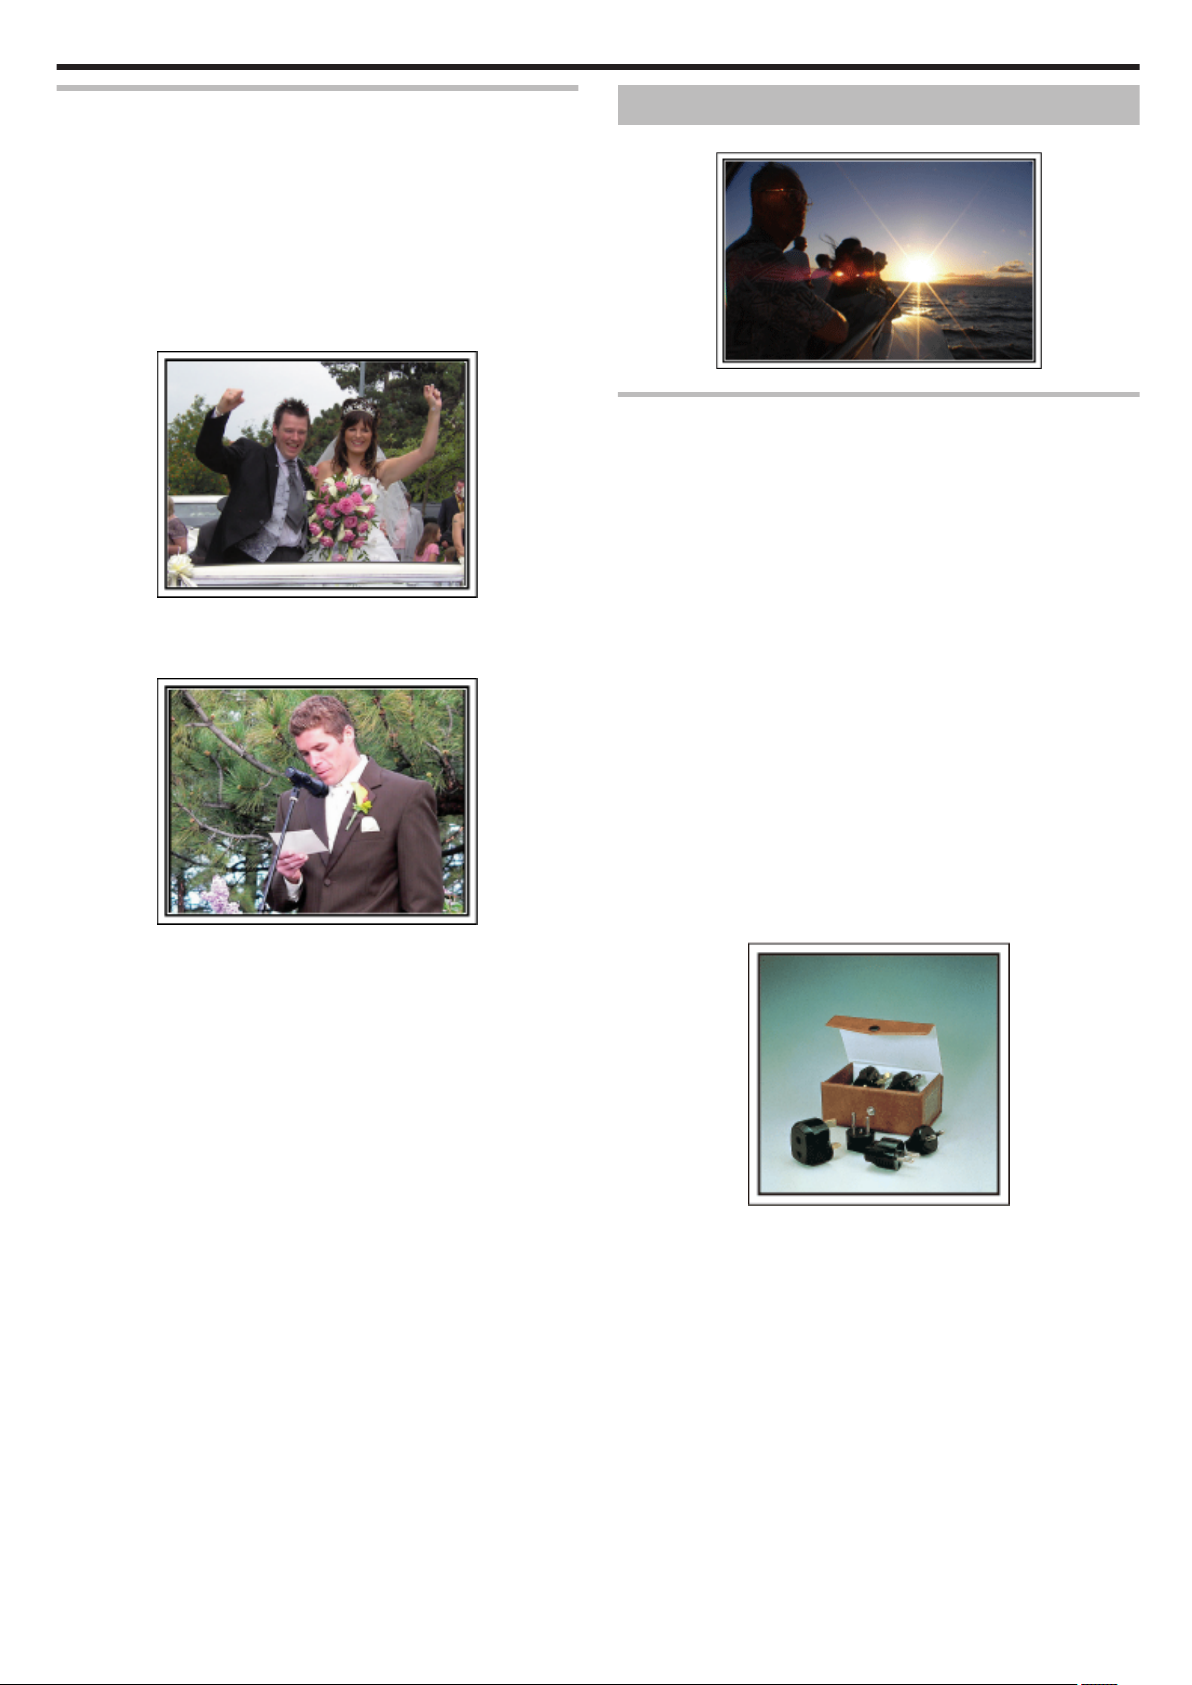
Wedding .................................................................................. 6
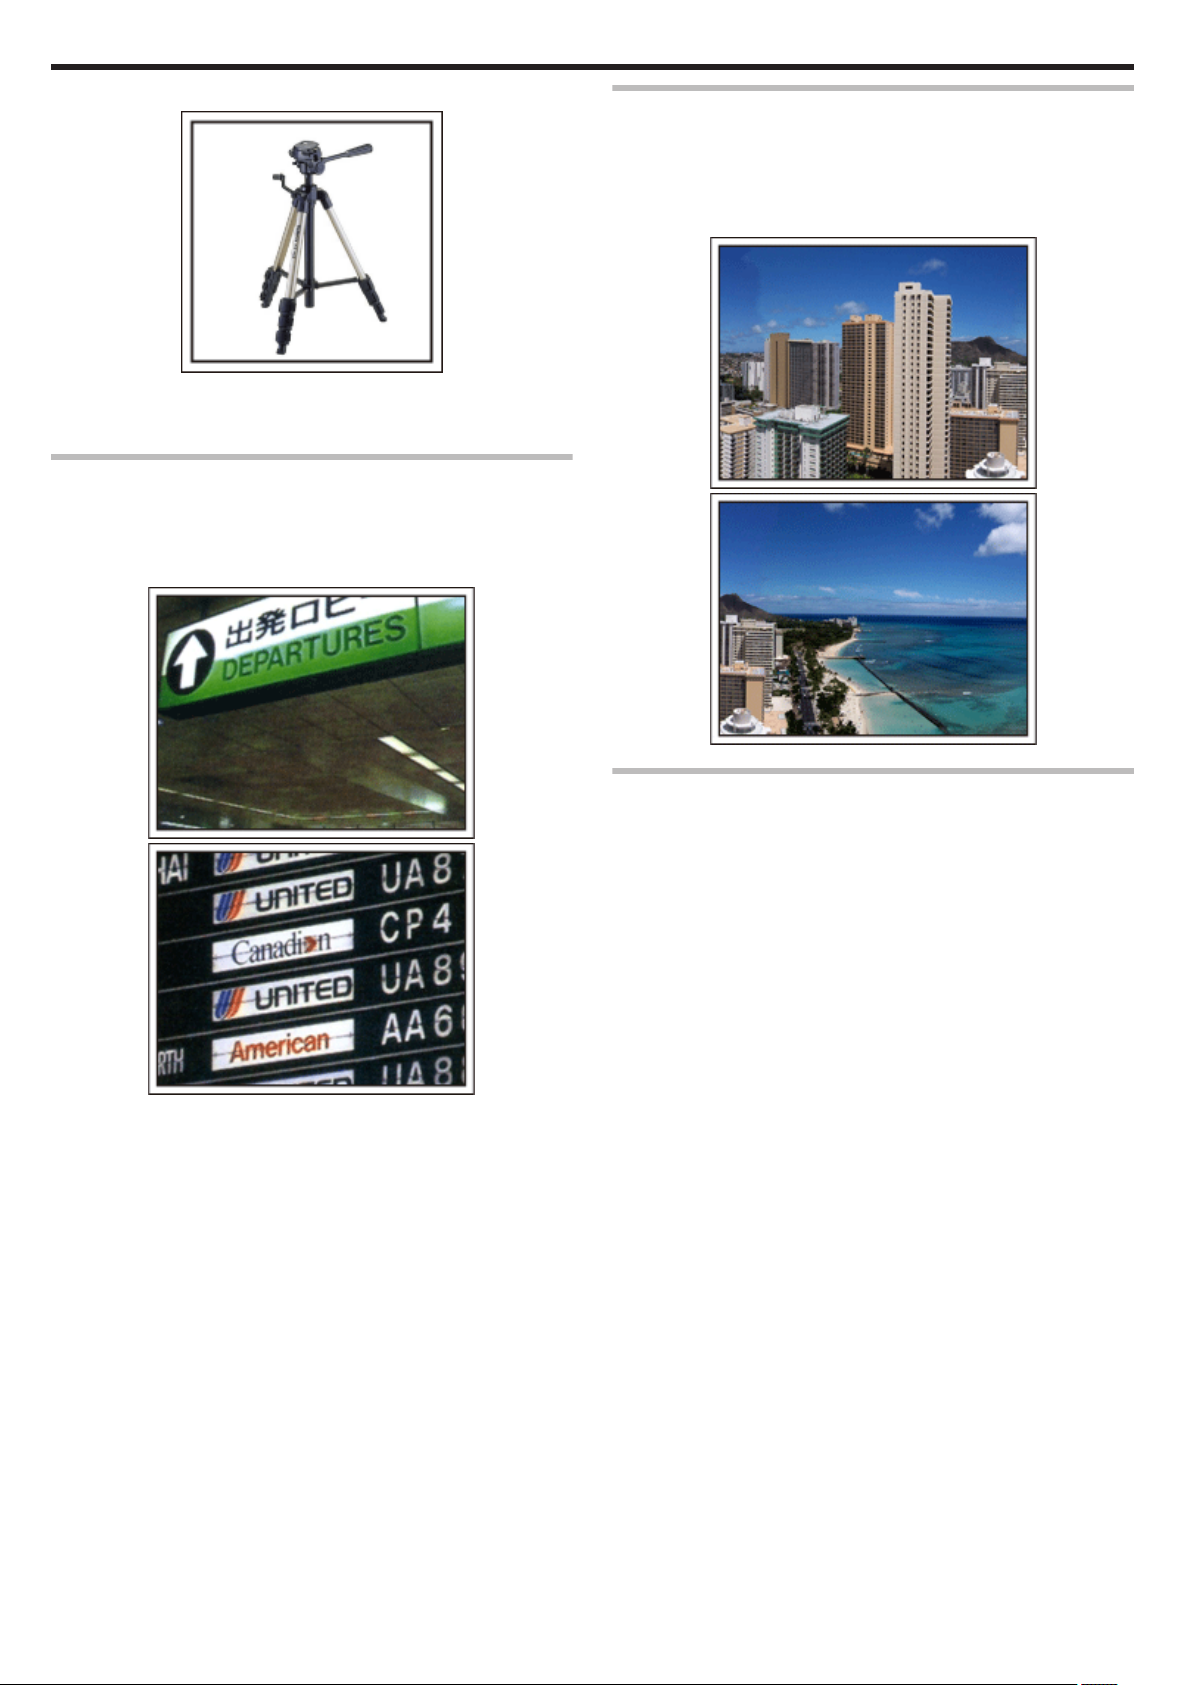
Travel ....................................................................................... 7
Amusement Park ..................................................................... 9
Getting Started
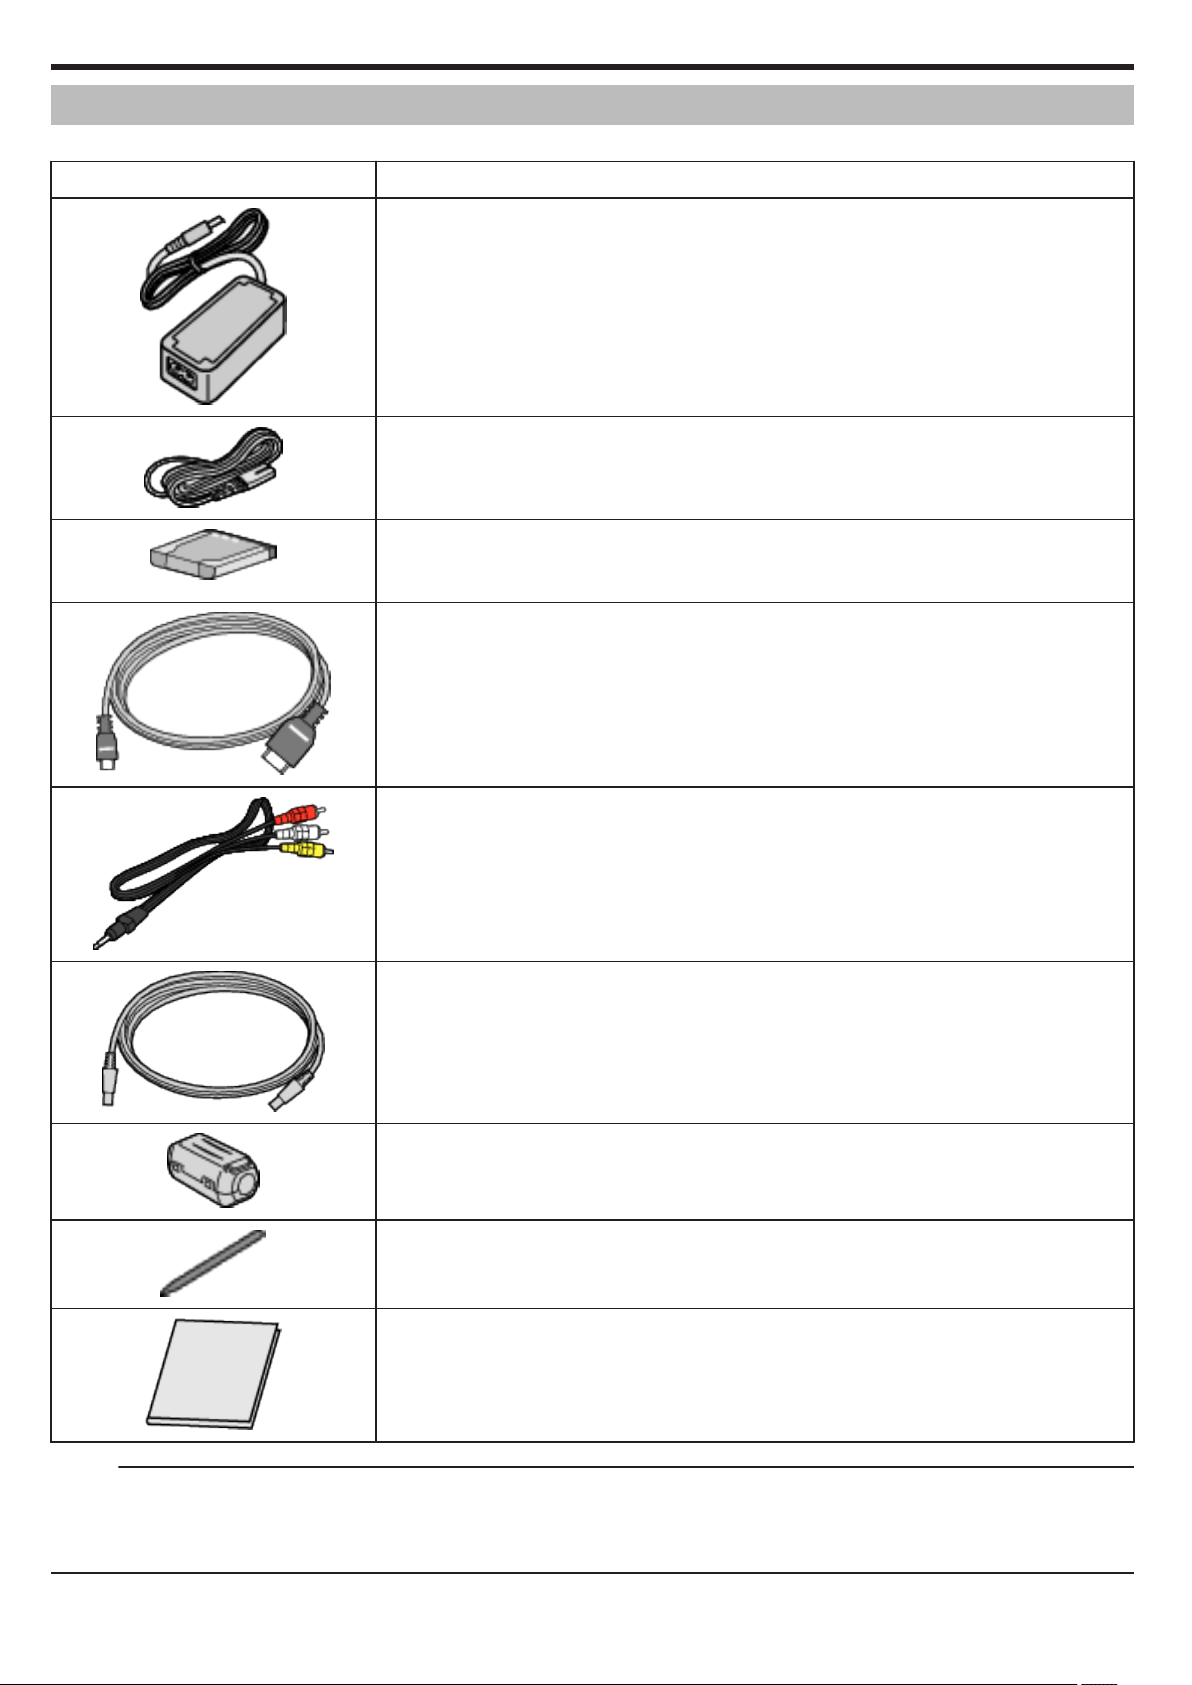
Verifying the Accessories ...................................................... 10
Attaching the Core Filter ..................................................... 11
Charging the Battery Pack ..................................................... 12
Grip Adjustment ..................................................................... 13
Using as a Hand Strap ....................................................... 13
Inserting an SD Card ............................................................. 14
Types of Usable SD Card ................................................... 14
Using the Touch Screen ........................................................ 15
Names of Buttons and Functions on the LCD Monitor ....... 16
Clock Setting ......................................................................... 17
Resetting the Clock ............................................................ 18
Changing the Display Language ............................................ 19
Holding this Unit .................................................................... 19
Tripod Mounting .................................................................... 19
Using this Unit Overseas ....................................................... 20
Charging the Battery Pack Overseas ................................. 20
Setting the Clock to Local Time when Traveling ................. 20
Setting Daylight Saving Time ............................................. 21
Optional Accessories ............................................................. 21
Recording
Taking Videos in Auto Mode .................................................. 22
Zooming ............................................................................. 24
Capturing Still Images During Video Recording ................. 24
Taking Still Images in Auto Mode ........................................... 25
Zooming ............................................................................. 28
Manual Recording ................................................................. 28
Shooting According to Scene (Subject) ............................. 29
Adjusting Focus Manually .................................................. 31
Adjusting Brightness .......................................................... 32
Setting Shutter Speed ........................................................ 33
Setting Aperture ................................................................. 34
Setting White Balance ........................................................ 35
Setting Backlight Compensation ........................................ 36
Taking Close-up Shots ....................................................... 37
Recording with Effects ........................................................... 38
Recording with Animation Effects ...................................... 38
Recording with Face Decorations ...................................... 41
Recording with Decorative Stamps .................................... 42
Recording with Personal Handwriting ................................ 43
Capturing Subjects Clearly (TOUCH PRIORITY AE/AF) ....... 44
Capturing Smiles Automatically (SMILE SHOT) ................. 45
Capturing Pets Automatically (PET SHOT) ........................ 46
Recording while Displaying a Magnified View of a Selected
Face (FACE SUB-WINDOW) ......................................... 47
Registering Human Face Personal Authentication Information
............................................................................................ 49
Setting SMILE%/NAME DISPLAY ...................................... 51
Editing the Registered Face Information ............................ 52
Reducing Camera Shake ....................................................... 53
Slow-motion (High-speed) Recording .................................... 54
Recording at Intervals (TIME-LAPSE RECORDING) ............. 55
Recording Automatically by Sensing Movements (AUTO REC)
............................................................................................ 56
Taking Group Shots (Self-timer) ............................................ 58
Recording Videos with Date and Time ................................... 60
Checking the Remaining Recording Time ............................. 61
Playback
Playing Back Videos .............................................................. 63
Checking the Recording Date and Other Information ......... 65
Checking the Content of Videos Quickly (Digest Playback)
........................................................................................ 65
Playing a Video with Defective Management Information ... 66
Playing Back Still Images ....................................................... 67
Slideshow Playback ........................................................... 68
Searching for a Specific Video/Still Image by Date ................ 69
Connecting to and Viewing on TV .......................................... 69
Connecting via the HDMI Mini Connector .......................... 70
Connecting via the AV Connector ...................................... 71
Playing Back Playlists ............................................................ 71
Playing Back a DVD or Blu-ray Disc Created on this Unit ...... 72
Digest Playback on a Blu-ray or DVD Player ...................... 72
Editing
Deleting Unwanted Files ........................................................ 73
Deleting the Currently Displayed File ................................. 73
Deleting Selected Files ...................................................... 73
Protecting Files ...................................................................... 74
Protecting/Releasing Protection of the Currently Displayed
File .................................................................................. 74
Protecting/Releasing Protection of Selected Files .............. 75
Capturing a Still Image in the Video During Playback ............ 76
Capturing a Required Part in the Video (TRIMMING) ............ 76
Capturing Videos for Uploading to YouTube .......................... 77
Creating Playlists from the Recorded Videos ......................... 79
Creating Playlists with Selected Files ................................. 79
Creating Playlists by Date .................................................. 80
Editing Playlists .................................................................. 81
Deleting Playlists ................................................................ 82
Copying
Creating Discs with a DVD Writer .......................................... 83
Preparing a DVD Writer (CU-VD3) ..................................... 84
Preparing a DVD Writer (CU-VD50) ................................... 84
Creating a Disc ................................................................... 85
Playing Back with a DVD Writer ......................................... 89
Creating Discs with a BD Writer (External Blu-ray Drive) ....... 90
Preparing a BD Writer (External Blu-ray Drive) .................. 90
Creating a Disc ................................................................... 91
Playing Back with a BD Writer (External Blu-ray Drive) ...... 96
Creating a Disc Using a Connected Blu-ray Recorder ........... 96
Dubbing Files to a Disc by Connecting to a DVD Recorder ... 97
Dubbing Files to a VHS Tape by Connecting to a VCR .......... 97
Using a USB External Hard Disk Drive .................................. 98
Preparing a USB External Hard Disk Drive ......................... 98
Copying All Files ................................................................ 99
Playing Back Files in the USB External Hard Disk Drive .. 100
Deleting Folders in the USB External Hard Disk Drive ..... 100
Formatting the USB External Hard Disk Drive .................. 101
Copying to Windows PC ...................................................... 102
Verifying System Requirements (Guideline) ..................... 102
Installing the Provided Software (Built-in) ......................... 103
Backing Up All Files ......................................................... 104
Organizing Files ............................................................... 105
Recording Videos to Discs ............................................... 106
Backing Up Files Without Using Provided Software ......... 107
List of Files and Folders ................................................... 109
Copying to Mac Computer ................................................... 110
Menu Settings
Operating the Menu ............................................................. 111
Operating the Shortcut Menu ........................................... 111
Operating the Main Menu ................................................. 112
Operating the Common Menu .......................................... 112
Recording Menu (Video) ...................................................... 113
2

INFO. ............................................................................... 115
SCENE SELECT .............................................................. 115
FOCUS ............................................................................ 115
BRIGHTNESS ADJUST ................................................... 115
SHUTTER SPEED ........................................................... 115
APERTURE PRIORITY .................................................... 115
WHITE BALANCE ............................................................ 115
BACKLIGHT COMP. ........................................................ 115
TELE MACRO .................................................................. 115
TOUCH PRIORITY AE/AF ............................................... 115
LIGHT .............................................................................. 115
GAIN UP .......................................................................... 116
WIND CUT ....................................................................... 116
ANIMATION EFFECT ...................................................... 117
DECORATE FACE EFFECT ............................................ 117
STAMP ............................................................................ 117
HANDWRITING EFFECT ................................................ 117
HIGH SPEED RECORDING ............................................ 117
TIME-LAPSE RECORDING ............................................. 117
AUTO REC ...................................................................... 117
DATE/TIME RECORDING ............................................... 117
FACE SUB-WINDOW ...................................................... 117
SHUTTER MODE ............................................................ 117
SMILE SHOT ................................................................... 118
SMILE%/NAME DISPLAY ................................................ 118
FACE REGISTRATION .................................................... 118
PET SHOT ....................................................................... 118
VIDEO QUALITY .............................................................. 118
ZOOM .............................................................................. 119
x.v.Color ........................................................................... 120
ZOOM MIC ...................................................................... 120
Recording Menu (Still Image) .............................................. 121
SCENE SELECT .............................................................. 123
FOCUS ............................................................................ 123
BRIGHTNESS ADJUST ................................................... 123
SHUTTER SPEED ........................................................... 123
APERTURE PRIORITY .................................................... 123
WHITE BALANCE ............................................................ 123
BACKLIGHT COMP. ........................................................ 123
TELE MACRO .................................................................. 123
TOUCH PRIORITY AE/AF ............................................... 123
LIGHT .............................................................................. 123
SELF-TIMER .................................................................... 124
GAIN UP .......................................................................... 124
AUTO REC ...................................................................... 124
SHUTTER MODE ............................................................ 125
CONT. SHOOTING SPEED ............................................. 125
SMILE SHOT ................................................................... 126
SMILE%/NAME DISPLAY ................................................ 126
FACE REGISTRATION .................................................... 126
PET SHOT ....................................................................... 126
IMAGE SIZE ..................................................................... 126
Playback Menu (Video) ........................................................ 127
FILE INFORMATION ....................................................... 128
SEARCH DATE ................................................................ 128
DISPLAY DATE/TIME ...................................................... 128
DIGEST PLAYBACK ........................................................ 129
PLAYBACK PLAYLIST .................................................... 129
EDIT PLAYLIST ............................................................... 129
PROTECT/CANCEL ........................................................ 129
TRIMMING ....................................................................... 129
UPLOAD SETTINGS ....................................................... 129
PLAYBACK OTHER FILE ................................................ 129
K2 TECHNOLOGY .......................................................... 129
Playback Menu (Still Image) ................................................ 130
FILE INFORMATION ....................................................... 130
SEARCH DATE ................................................................ 130
SLIDE SHOW EFFECTS ................................................. 130
PROTECT/CANCEL ........................................................ 131
Common Menu .................................................................... 132
CLOCK ADJUST .............................................................. 134
DATE DISPLAY STYLE ................................................... 134
LANGUAGE ..................................................................... 134
MONITOR BRIGHTNESS ................................................ 134
OPERATION SOUND ...................................................... 135
SILENT MODE ................................................................. 135
AUTO POWER OFF ......................................................... 136
QUICK RESTART ............................................................ 136
DEMO MODE .................................................................. 137
TOUCH SCREEN ADJUST ............................................. 137
DISPLAY ON TV .............................................................. 138
VIDEO OUTPUT .............................................................. 139
HDMI OUTPUT ................................................................ 139
HDMI CONTROL ............................................................. 140
FACTORY PRESET ......................................................... 140
UPDATE .......................................................................... 140
PC SOFTWARE UPDATE ............................................... 140
FORMAT SD CARD ......................................................... 141
Names of Parts
Front .................................................................................... 142
Rear ..................................................................................... 142
Bottom ................................................................................. 143
Interior ................................................................................. 143
LCD Monitor ........................................................................ 144
Indications on the LCD monitor
Common Recording Indications .......................................... 145
Video Recording .................................................................. 145
Still Image Recording ........................................................... 146
Video Playback .................................................................... 146
Still Image Playback ............................................................ 147
Troubleshooting
When the unit is not working properly .................................. 147
Battery Pack ........................................................................ 148
Recording ............................................................................ 148
Card ..................................................................................... 149
Playback .............................................................................. 149
Editing/Copying ................................................................... 150
Computer ............................................................................. 150
Screen/Image ...................................................................... 151
Other Problems ................................................................... 151
Error Message? ................................................................... 152
Maintenance
Specifications
3

Charging
0Refer to the operating instructions found in the animation on the Detailed
User Guide.
Recording
0Refer to the operating instructions found in the animation on the Detailed
User Guide.
Playback
0Refer to the operating instructions found in the animation on the Detailed
User Guide.
Shooting Tips
Basic Way to Hold a Camcorder
~ Recording Stable Images ~
.
This is the standard way of shooting while standing up.
Be sure to master this basic technique in order to achieve stable images.
o[Getting Ready]
A Open your feet to the width of your shoulders.
B Keep the elbow of your right arm, which is holding the camcorder, close
to your side.
C Hold the LCD monitor with your left hand and adjust the angle
accordingly.
Extending Your Hands to Shoot
~ High-Angle Shooting ~
.
Extend your hand when your subject is being hidden behind a crowd of
people.
o[Getting Ready]
A Open your feet to the width of your shoulders.
B Extend your right hand and hold the camcorder over your head.
C Hold the LCD monitor with your left hand and adjust the angle
accordingly.
Caution :
0Use this way of shooting only as a last resort as it is difficult to achieve
stable images.
0Set to the wide angle as much as possible as the image will be prone to
camera shake.
0Be considerate. Do not inconvenience the people around you.
Squatting and Shooting at Eye Level
.
Staying low is a common position to take when shooting small children.
By recording from the eye level of the child, you can capture all his cute
expressions clearly.
o[Getting Ready]
A Kneel down with your left knee while keeping your right foot on the
ground.
B Place the elbow of your right arm, which is holding the camcorder, on
your right knee.
C Hold the LCD monitor with your left hand and adjust the angle
accordingly.
Panning
0Refer to the operating instructions found in the animation on the Detailed
User Guide.
Use this method to shoot a wide angle of view.
o[Getting Ready]
A Shoot by rotating your body instead of moving your arms while keeping
the basic way of holding a camcorder as stated above.
B Stand facing the direction where the rotation will stop.
C Twist your upper body to the direction where recording will start.
D Press the start button and record for 2 seconds, then slowly twist back
your body to face the front.
Record for another 2 seconds while facing the front, then press the
stop button.
(The 90 degrees rotation should take about 5 seconds, giving the
feeling of a slow motion.)
Beginner’s Guide
4

Holiday Season/Christmas
Record the happy Christmas celebration with your family!
.
Decorating the Tree and Preparing the Dinner
The decoration of tree and preparation of dinner are part of the joy of
Christmas. Be sure to record these happy family times!
oDecorating the tree
.
A tree is the most important thing to bring out the mood of Christmas.
Simply the scene of all family members engaging in the decorating of a fir
tree with various colorful ornaments is full of the feeling of happiness.
oPreparing the Dinner
.
Record the scenes as everyone helps to prepare the feast of the night.
You can film the mother who is cooking, the children who are helping, and
of course, the process of making a cake!
Recording the Christmas Party
.
After all preparations, it is finally the Christmas party itself. Not only should
you record the candle-blowing scene, but also the smiles of the family while
being surrounded by good food, or even the father who is slightly drunk from
champagne!
Finding the Presents
.
For children, the greatest joy of Christmas is receiving presents the next
morning. Their expression of delight when finding a present next to their
pillow is a recording opportunity not to be missed. Get ready to shoot before
the children wake up!
Useful Shooting Techniques
5

Wedding
Create an awesome wedding video for the bride and groom!
.
Discussing and Planning Before the Event
Before the day of the wedding reception, it is important to discuss with the
bride and groom about various details such as the order of the ceremony
and whether there are any entertainment programs or change of clothes. By
understanding the preferences of the bride and groom, you will be able to
shoot more appropriately.
oFinding out the route of entrance
.
The highlight of a wedding reception is the entrance of the bride and groom.
Find out which door they will enter from and the route they will take from the
person-in-charge of the wedding hall in advance. Set up the tripod at a place
where you can follow the couple using zoom without having to move around.
oNumber of times and timing of clothes-changing
Find out the timing of any changing of clothes so as to capture the scene well
when the bride and groom enter again.
You can also make use the time while the bride and groom are changing to
record comments of well wishes from the guests.
Finding the Right Angle to Capture Both Bride and Groom
oComposing the picture with the groom in front and the
guests at the back
.
The main characters of a wedding are of course the bride and groom. Record
their expressions clearly during the toast, speech, entertainment programs,
and other scenes. Another recommendation is to capture the face shots of
the guests, then pan towards the groom. Picture composition containing the
crowd of guests only lacks fun, so be sure to pay attention to the shooting
angle and size.
Recording the Expressions and Comments of Guests
oSetting the shot from eye level to chest level
.
You can record comments from the guest by going around asking, "Please
say a few words for the bride and groom". This can be done at the guests'
waiting room, when the bride and groom are changing, or during the
entertainment programs.
Useful Shooting Techniques
6

Advanced Operation with Two Camcorders
If video-editing is to be done, record using two camcorders so that a video
with varying scenes can be created. You can try asking a close friend who
has a camcorder at home. Set the borrowed camcorder on a tripod to focus
on taking close-up shots of the bride and groom. In this way, the other
camcorder can be moved around to record other scenes, enabling an
interesting video with changing scenes to be created through editing and
compilation. As most people own at least a digital camera nowadays, even
if you are really unable to find an extra camcorder, inserting still pictures to
the video at various points is also a good way to add variety. Do give it a try!
o<Camcorder 1>
Closing up on the bride and groom all the time
.
o<Camcorder 2>
Recording the congratulatory messages from friends at the
same time
.
Travel
Capture all the good times of your domestic or overseas trips!
.
Bringing the Necessary Equipment
The necessary things to bring on a trip depends on your traveling purpose
and the destination. For overseas trips in particular, you have to think about
what to bring in accordance to the local conditions. Here are some
suggestions for your consideration.
oCamcorder
Think about how many hours of shooting you will usually perform in a day.
Be sure to prepare enough recording medium especially for long overseas
trips.
If you are recording in SD cards, get ready the sufficient number of cards,
including some for backup.
oBattery Pack
Prepare a battery pack that is ready for double the expected recording time
in a day. For example, if you plan to record for 2 hours a day, prepare a
battery pack that is ready for 4 hours (actual recording time).
For a day trip, you can prepare a battery with low capacity but for a long trip,
do prepare a few batteries with high capacities.
oAC Adapter
The JVC AC adapter supports voltages from 110 V to 240 V, and hence can
be used anywhere in the world.
Bring along the adapter if you are traveling for a long time. Charge the battery
pack while sleeping so that you can record with full battery power the next
day.
oPower Plug Adapter
.
The shape of the power plug varies according to countries. Be sure to check
the shape of the power plug beforehand, and bring the appropriate power
plug adapter.
“Charging the Battery Pack Overseas” (A p. 20)
Useful Shooting Techniques
7

oTripod
.
A tripod is an essential item to take stable images. Select an appropriate
tripod in accordance to your purpose and style of traveling, such as a
compact one to be used on a table or one that is at least 1 m tall.
Recording the Excitement Before Departure
It may be a little abrupt to start your travel video at the destination suddenly.
Record also the preparations prior to departure if it is a family trip, or the time
when everyone is gathered at the meeting place if you are traveling with your
friends. For overseas trips, taking a shot of the signs and displays at the
airport of the flight you are taking may be useful for future reference.
.
.
Using Pan at the Places of Interest
Tourists spots with beautiful scenery or historical sites are places that you
would certainly want to record. To capture the magnificence of a scene which
cannot be fitted into a single frame, try the panning technique. Refer to
“Shooting Tips” found in the “Beginner’s Guide” on this website on how to
use panning effectively. In addition, you may also like to take a shot of the
signs or monuments that can often be found at the tourist spots.
.
.
Showing Everyone Having a Good Time
When taking a video, it is rather dull to shoot only the scenery or historical
sites. Talk about your feelings while recording the breath-taking scenery of
an attraction so that it will be an interesting scene to view later.
Useful Shooting Techniques
8

Amusement Park
Take more shots of the smiling faces of everyone in the family!
.
Taking Videos or Still Images According to the Attraction
You may choose to take videos all the time. However, you may want to take
some still images too. The following section explains the scenarios suitable
for taking videos or still images.
oScenarios suitable for taking videos
.
Scenarios with changes in body movement are suitable for taking videos.
This includes situations where there are rapid changes in facial expressions
or voices of surprise and delight.
*Some amusement parks do not allow passengers to perform any recording.
Be sure to check beforehand.
[Examples]
0Merry-go-round, go kart, coffee cup, etc.
oScenarios suitable for taking still images (photos)
.
Scenarios with little movement of the subject are suitable for taking still
images.
Try to take the still images from an angle such that the surroundings can be
seen clearly.
[Examples]
0Carousal, ferris wheel, fun bicycle rides, etc.
Inducing Responses by Calling Out
.
Videos with no waving of hands nor laughter are not only dull when you view
them later, but also put the capability of the audio-recording function of the
camcorder to a waste. When recording, induce more reactions by
enthusiastically waving your hands or shouting out "Is it fun?" and the like.
Capturing the Best Moment in a Video as a Still Image
.
Shots with the eyes closed are often taken by accident. To reduce such
mistakes, make use of the function to capture still images from videos. As
videos are actually continuous recording of 50 still images within 1 minute,
using this function allows you to select the best moment and save it as a still
image.
“Capturing a Still Image in the Video During Playback” (A p. 76)
Advanced Operation with Backlight Compensation
When the subject’s face is in backlight or when the expression cannot be
seen clearly, the Intelligent Auto function of this unit automatically increases
its brightness for recording. If Intelligent Auto fails to function as expected or
if the brightness correction is insufficient, you can increase the brightness
by using backlight compensation in the Manual mode.
“Setting Details” (A p. 36)
o<Without backlight compensation>
.
o<With backlight compensation>
.
Useful Shooting Techniques
9

Verifying the Accessories
If any of the items are missing or defective, consult your JVC dealer or the nearest JVC service center.
Illustration Description
.
AC Adapter
AC-V10M
0Connects to this unit to charge the battery pack.
It can also be used when recording or playing back videos indoors.
.
Power Cord
.
Battery Pack
BN-VG212U
0Attaches to this unit to supply power.
.
HDMI Mini Cable
0Connects this unit to a TV to play back recorded images on the TV in a better quality.
.
AV Cable
0Connects this unit to a TV to play back recorded images on the TV.
.
USB Cable
(Type A - Mini Type B)
0Connects this unit to a computer.
.
Core Filter (for USB Cable)
0The core filter reduces interference when this unit is connected to other devices.
.
Stylus Pen
0Use this for operations on the touch screen.
.
Basic User Guide
0Read well and keep in a safe place where it can be accessed easily when necessary.
Memo :
0SD cards are sold separately.
“Types of Usable SD Card” (A p. 14)
0When using the AC adapter overseas, please prepare a commercially available converter plug for the country or region of visit.
“Charging the Battery Pack Overseas” (A p. 20)
Getting Started
10

Attaching the Core Filter
Attach a core filter to the end of the USB cable that is connected to this unit.
The core filter reduces interference when this unit is connected to other devices.
.
Getting Started
11

Charging the Battery Pack
Charge the battery pack immediately after purchase and when the remaining
battery power is low.
The battery pack is not charged at the time of purchase.
1Open the battery cover.
.
0Slide open the battery cover in the direction of the arrow while
pressing it with your fingers.
2Attach the battery pack.
.
0Align the terminal of the battery pack with this unit.
3Close the battery cover.
.
4Connect the AC adapter to the DC connector and plug in the power.
.
0The charging lamp blinks when charging is in progress.
It goes out when charging is finished.
Memo :
0To attach any other battery packs besides the supplied one, open the SD
card cover before attaching.
Warning
0Make sure not to insert the battery pack in the wrong direction.
It may cause damage to the unit and battery pack.
Caution :
Be sure to use JVC battery packs.
0If you use any other battery packs besides JVC battery packs, safety and
performance cannot be guaranteed.
0Charging time: Approx. 3 h 30 m (using supplied battery pack)
The charging time is when the unit is used at 25°C. If the battery pack is
charged outside the room temperature range of 10°C to 35°C, charging
may take a longer time or it may not start. The recordable and playable
time may also be shortened under some usage conditions such as at low
temperature.
Be sure to use the supplied AC adapter.
0If you use any other AC adapters besides the supplied AC adapter,
malfunctions may occur.
Getting Started
12

Rechargeable Batteries:
0When using the battery in a low temperature environment (10°C or below),
the operating time may be shortened, or it may not function properly. When
using this unit outdoors in the winter weather, warm the battery, such as
by placing it in the pocket, before attaching it. (Keep away from direct
contact with a warm pack.)
0Do not expose the battery to excessive heat, such as direct sunlight or fire.
0After removing the battery, store it in a dry place between 15°C to 25°C.
0Keep a 30 % battery level (X) if the battery pack is not to be used for a
long period of time. In addition, fully charge and then fully discharge the
battery pack every 6 months, then continue to store it at a 30 % battery
level (X).
Memo :
0You can connect this unit to the AC adapter to record for long hours
indoors.
(Battery charging begins when the LCD monitor is closed.)
Detaching the Battery Pack
To detach the battery pack, perform the above steps in reverse order.
.
0If it is difficult to detach the battery pack, open the SD card cover on the
base.
Approximate Battery Charging Time (Using AC Adapter)
Battery Pack Charging Time
BN-VG212U
(Supplied)
3 h 30 m
BN-VG226U 5 h 30 m
0When the battery life is reached, the recording time becomes shorter even
if the battery pack is fully charged.
(Replace the battery pack with a new one.)
* The charging time is when the unit is used at 25°C. If the battery pack is
charged outside the room temperature range of 10°C to 35°C, charging may
take a longer time or it may not start. The recordable and playable time may
also be shortened under some usage conditions such as at low temperature.
“Approximate Recording Time (Using Battery)” (A p. 62)
Grip Adjustment
.
A Open the lever on the strap lock
B Adjust the length of the belt
C Close the lever
Caution :
0Be sure to fasten the grip belt properly.
If the belt is loose, this unit may drop and result in injuries or damages.
Using as a Hand Strap
Adjust the length of the belt and loop it around your wrist.
.
Getting Started
13

Inserting an SD Card
Insert a commercially available SD card before recording.
“Types of Usable SD Card” (A p. 14)
“Approximate Video Recording Time” (A p. 62)
1Close the LCD monitor.
.
2Open the SD card cover.
.
3Insert an SD card.
.
Warning
0Make sure not to insert the SD card in the wrong direction.
It may cause damage to the unit and SD card.
0Turn off the power of this unit before inserting or removing an SD card.
0Do not touch the metal contact area when inserting the SD card.
0This unit is not guaranteed to operate with all SD cards. Some SD cards
may not work due to specification changes, etc.
Memo :
0Both videos and still images can be recorded on one SD card. It is
recommended to confirm the video operation of the SD card before usage.
0To record to the SD card, it is necessary to perform media settings.
0To use SD cards that have been used on other devices, it is necessary to
format (initialize) the SD card using “FORMAT SD CARD” from media
settings.
“ FORMAT SD CARD ” (A p. 141)
Removing the Card
Push the SD card inward once, then pull it out straight.
.
Types of Usable SD Card
The following SD cards can be used on this unit.
Operations are confirmed on the SD cards from the following manufacturers.
0Panasonic
0TOSHIBA
0SanDisk
SD Card
.
0This unit supports 256 MB to 2 GB SD cards.
0Use a Class 4 or higher compatible SD card (2 GB) for video recording.
SDHC Card
.
0Use a Class 4 or higher compatible SDHC card (4 GB to 32 GB) for video
recording.
SDXC Card
.
0Use a Class 4 or higher compatible SDXC card (Max. 64 GB) for video
recording.
Memo :
0Using SD cards (including SDHC/SDXC cards) other than those specified
above may result in recording failure or data loss.
0This unit is not guaranteed to operate with all SD cards. Some SD cards
may not work due to specification changes, etc.
0To record videos with “VIDEO QUALITY” set to “UXP”, use of a Class 6 or
higher compliant SDHC/SDXC card is recommended.
0Class 4 and Class 6 are guaranteed to have a minimum transfer rate of 4
MB/s and 6 MB/s respectively during reading or writing of data.
0You can also use a Class 10 compliant SDHC/SDXC card.
0Both videos and still images can be recorded on one SD card. It is
recommended to confirm the video operation of the SD card before usage.
0To protect the data, do not touch the terminals of the SD card.
0UHS-I SDHC/SDXC cards can be used in the same manner as standard
SDHC/SDXC cards.
UHS Speed Class is not supported.
When your computer cannot recognize the SDXC card
Confirm and update the OS of your computer.
Getting Started
14

Windows XP /
Windows XP
SP1
Necessary to update to SP2 or higher.
Windows XP
SP2 / Windows
XP SP3
Necessary to download the update software.
(KB955704)
http://www.microsoft.com/downloads/details.aspx?
FamilyID=1cbe3906-ddd1-4ca2-b727-
c2dff5e30f61&displaylang=en
Windows Vista Necessary to update to SP1 or higher.
Windows Vista
SP1 / Windows
Vista SP2
Necessary to download the upgrade software.
(KB975823)
032 bit version
http://www.microsoft.com/downloads/en/
details.aspx?FamilyID=2d1abe01-0942-4f8a-
abb2-2ad529de00a1
064 bit version
http://www.microsoft.com/downloads/en/
details.aspx?FamilyID=7d54c53f-017c-4ea5-
ae08-34c3452ba315
Windows 7 Necessary to download the upgrade software.
(KB976422)
032 bit version
http://www.microsoft.com/downloads/en/
details.aspx?FamilyID=3ee91fc2-a9bc-4ee1-
aca3-2a9aff5915ea
064 bit version
http://www.microsoft.com/downloads/en/
details.aspx?FamilyID=73f766dd-7127-4445-
b860-47084587155f
Mac OS X 10.4
Tiger / Mac OS X
10.5 Leopard
Not compatible.
Mac OS X 10.6
Snow Leopard
Necessary to update to 10.6.5 or later.
Using the Touch Screen
Icon operation buttons, thumbnails, and menu items are displayed on the
touch screen according to the mode in use.
0There are two ways to operate the touch screen, namely “tap” and “drag”.
The following are some examples.
A Tap the displayed button (icon) or thumbnail (file) on the touch screen
to make selection.
B Drag the thumbnails on the touch screen to search for the desired file.
.
Memo :
0The touch screen of this unit is pressure-sensitive. When the touch screen
does not respond smoothly, apply slightly more force to your fingertip or
the stylus pen.
0Tap the buttons (icons) on the touch screen accurately. The buttons may
not respond if they are not tapped on the right area.
0Do not press or rub with excessive force.
0Do not operate the touch screen using an object with a sharp tip.
0Pressing two or more places at a time may cause a malfunction.
0Perform “TOUCH SCREEN ADJUST” if the reactive area of the screen is
misaligned with the touched area. (Adjust by lightly tapping with the stylus
pen. Do not press with an object with a sharp tip or do not press hard.)
“ TOUCH SCREEN ADJUST ” (A p. 137)
0It is recommended to use the stylus pen for handwriting effect.
Getting Started
15

Names of Buttons and Functions on the LCD Monitor
The following screens are displayed during the video and still image modes,
and operate as the touch screens.
Recording Screen (Video/Still Image)
.
1Video/Still Image Mode Button
0Switches between video and still image modes.
2Zoom Button
“Zooming” (A p. 24)
3Playback Mode Button
0Switches to the playback mode.
4Recording Start/Stop Button
06: Video Recording Start Button
07: Video Recording Stop Button
0Q: Still Image Recording Button
5Menu Button
“Operating the Menu” (A p. 111)
6Display Button
Switches the display between full (m) and simple (n) with every tap of
the button.
0Simple display: Some displays disappear after approximately 3
seconds.
0Full display: Displays everything. The display button changes from n
to m.
0When the power is turned off, simple display (n) will be set.
7Recording Mode Button
Switches the recording mode between P Intelligent Auto and H
Manual.
Playback Screen (Video)
.
1Video/Still Image Mode Button
0Switches between video and still image modes.
2Recording Mode Button
0Switches to the recording mode.
3Index Screen Button
“Operation Buttons for Video Playback” (A p. 63)
4Delete Button
“Deleting the Currently Displayed File” (A p. 73)
5Menu Button
“Operating the Menu” (A p. 111)
6Operation Buttons
“Operation Buttons for Video Playback” (A p. 63)
Playback Screen (Still Image)
.
1Video/Still Image Mode Button
0Switches between video and still image modes.
2Group Playback Button
0Continuous playback of still images that are recorded continuously
within 2 seconds or with the continuous shooting mode.
“Playing Back Still Images” (A p. 67)
3Rotate Button
Rotates a still image 90°. (Clockwise/Counterclockwise)
4Recording Mode Button
0Switches to the recording mode.
5Index Screen Button
“Operation Buttons for Still Image Playback” (A p. 67)
6Delete Button
“Deleting the Currently Displayed File” (A p. 73)
7Menu Button
“Operating the Menu” (A p. 111)
8Operation Buttons
“Operation Buttons for Still Image Playback” (A p. 67)
Getting Started
16

Index Screen
.
1Video/Still Image Mode Button
0Switches between video and still image modes.
2Date Button
“Operation Buttons for Video Playback” (A p. 63)
“Operation Buttons for Still Image Playback” (A p. 67)
3Playback Mode Button
0Switches to the playback mode.
4Delete Button
“Deleting Selected Files” (A p. 73)
5Menu Button
“Operating the Menu” (A p. 111)
6Page Forward/Back Button
“Operation Buttons for Video Playback” (A p. 63)
“Operation Buttons for Still Image Playback” (A p. 67)
Menu Screen
.
1Help Button
2Menu Items
3Return Button
4Common Menu Button
“Operating the Menu” (A p. 111)
5Close Button
Clock Setting
The “SET DATE/TIME!” screen appears when you turn on this unit for the
first time after purchase, when it has not been used for a long time, or when
the clock is not set yet.
Set the clock before recording.
1Open the LCD monitor.
.
0The unit turns on.
0When the LCD monitor is closed, the unit turns off.
2Tap “YES” when “SET DATE/TIME!” is displayed.
.
3Set the date and time.
.
0When the year, month, day, hour, or minute item is tapped, “3” and
“2” will be displayed.
0Tap 3 or 2 to adjust the year, month, day, hour, and minute.
4After setting the date and time, tap “SET”.
5Select the region where you live and tap “SAVE”.
.
0The city name and time difference are displayed.
0Tap 0 or 1 to select the city name.
Memo :
0The clock can be reset again later.
“Resetting the Clock” (A p. 18)
0When using this unit overseas, you can set it to the local time for recording.
“Setting the Clock to Local Time when Traveling” (A p. 20)
0“SET DATE/TIME!” is displayed when you turn on this unit after it has not
been used for a prolonged period.
Connect the AC adapter for more than 24 hours to charge the internal clock
battery of this unit before setting the clock.
Getting Started
17

Resetting the Clock
Set the clock with “CLOCK ADJUST” from the menu.
1Tap “MENU”.
.
0When entering from the recording mode, tap “MENU” again as the
shortcut menu appears.
2Tap “Q”.
.
3Tap “CLOCK ADJUST”.
.
0Tap 3 or 2 to move upward or downward for more selection.
4Tap “CLOCK SETTING”.
.
5Set the date and time.
.
0When the year, month, day, hour, or minute item is tapped, “3” and
“2” will be displayed.
0Tap 3 or 2 to adjust the year, month, day, hour, and minute.
6After setting the date and time, tap “SET”.
7Select the region where you live and tap “SAVE”.
.
0The city name and time difference are displayed.
0Tap 0 or 1 to select the city name.
Getting Started
18

Changing the Display Language
The language on the display can be changed.
1Tap “MENU”.
.
0When entering from the recording mode, tap “MENU” again as the
shortcut menu appears.
2Tap “Q”.
.
3Tap “LANGUAGE”.
.
0Tap 3 or 2 to move upward or downward for more selection.
4Tap to the desired language.
.
0Tap 3 or 2 to move upward or downward for more selection.
Holding this Unit
When holding this unit, keep your elbows close to your sides to prevent
camera shake.
.
0Hold the LCD monitor with your left hand and adjust the angle accordingly.
Holding the LCD monitor with your left hand helps to stabilize the camera
for recording.
Caution :
0Be careful not to drop this unit during transportation.
0Guardians should pay close attention when this unit is being used by
children.
Memo :
0If camera shake is excessive, use the image stabilizer.
“Reducing Camera Shake” (A p. 53)
Tripod Mounting
This unit can be mounted on a tripod (or monopod). This is useful for
preventing camera shake and recording from the same position.
.
0To prevent this unit from falling off, check the tripod mounting screw holes
and positioning holes on the unit carefully before mounting, and turn the
screws until they are fastened firmly.
Caution :
0There is only one tripod mounting hole on this unit. As such, large tripods
that require two mounting holes cannot be used.
0To prevent injuries or damages which may result if this unit falls off, read
the instruction manual of the tripod (or monopod) to be used and make
sure that it is securely attached.
Memo :
0It is recommended to use a tripod or monopod when recording in
conditions prone to camera shake (such as in dark places or when zoomed
to the telephoto end).
0Set the image stabilizer to b (OFF) when using a tripod for recording.
“Reducing Camera Shake” (A p. 53)
Getting Started
19

Using this Unit Overseas
The shape of the power outlet varies according to countries and regions.
To charge the battery pack, you need a converter plug that matches the
shape of the outlet.
“Charging the Battery Pack Overseas” (A p. 20)
Change the date and time display to the local time by selecting your travel
destination in “AREA SETTING” of “CLOCK ADJUST”.
“Setting the Clock to Local Time when Traveling” (A p. 20)
When “ON” is selected in “DST SETTING” of “CLOCK ADJUST”, the time is
set 1 hour ahead.
“Setting Daylight Saving Time” (A p. 21)
Charging the Battery Pack Overseas
The shape of the power outlet varies according to countries and regions.
To charge the battery pack, you need a converter plug that matches the
shape of the outlet.
.
Setting the Clock to Local Time when Traveling
Change the date and time display to the local time by selecting your travel
destination in “AREA SETTING” of “CLOCK ADJUST”.
Restore the region settings after you returned from the trip.
1Tap “MENU”.
.
0When entering from the recording mode, tap “MENU” again as the
shortcut menu appears.
2Tap “Q”.
.
3Tap “CLOCK ADJUST”.
.
0Tap 3 or 2 to move upward or downward for more selection.
4Tap “AREA SETTING”.
.
5Select the area you are traveling to and tap “SAVE”.
.
0The city name and time difference are displayed.
0Tap 0 or 1 to select the city name.
Memo :
0Setting “AREA SETTING” changes the clock time such that time difference
is accounted for.
After returning to your country, re-select the region that was set initially to
restore the original clock settings.
Getting Started
20
Table of contents
Other JVC Camcorder manuals

JVC
JVC GR-SXM267UA User manual

JVC
JVC GY-DV700W User manual

JVC
JVC GZ-MG26E User manual

JVC
JVC GR-DVL725 User manual

JVC
JVC GY- HD101 User manual

JVC
JVC Everio GZ-MG55U User manual

JVC
JVC EVERIO GZ-HM440U User manual

JVC
JVC GZ-MG27U - Everio Camcorder - 680 KP User manual

JVC
JVC YU30052-625-1 User manual

JVC
JVC Biphonic LYT1393 User manual

JVC
JVC GY-HM100U - Camcorder - 1080p User manual

JVC
JVC GZ-MG130US User manual

JVC
JVC GR-AX610 User manual

JVC
JVC GY-HM250UG User manual

JVC
JVC GY-HD100U - 3-ccd Prohd Camcorder User manual

JVC
JVC GR-AX97 User manual

JVC
JVC GZ-MS95 EK Manual

JVC
JVC Everio GZ-HD520AS Operating and maintenance manual

JVC
JVC Everio GZ-R318 User manual

JVC
JVC GZ-HD510 Operating and maintenance manual