IContents
Preparation
............................................................
3
Canceling the display demonstration
Setting
the
clock
Basic
operations
...................................................
4
Remote
control
....................................................
5
Radio
........................................................................
6
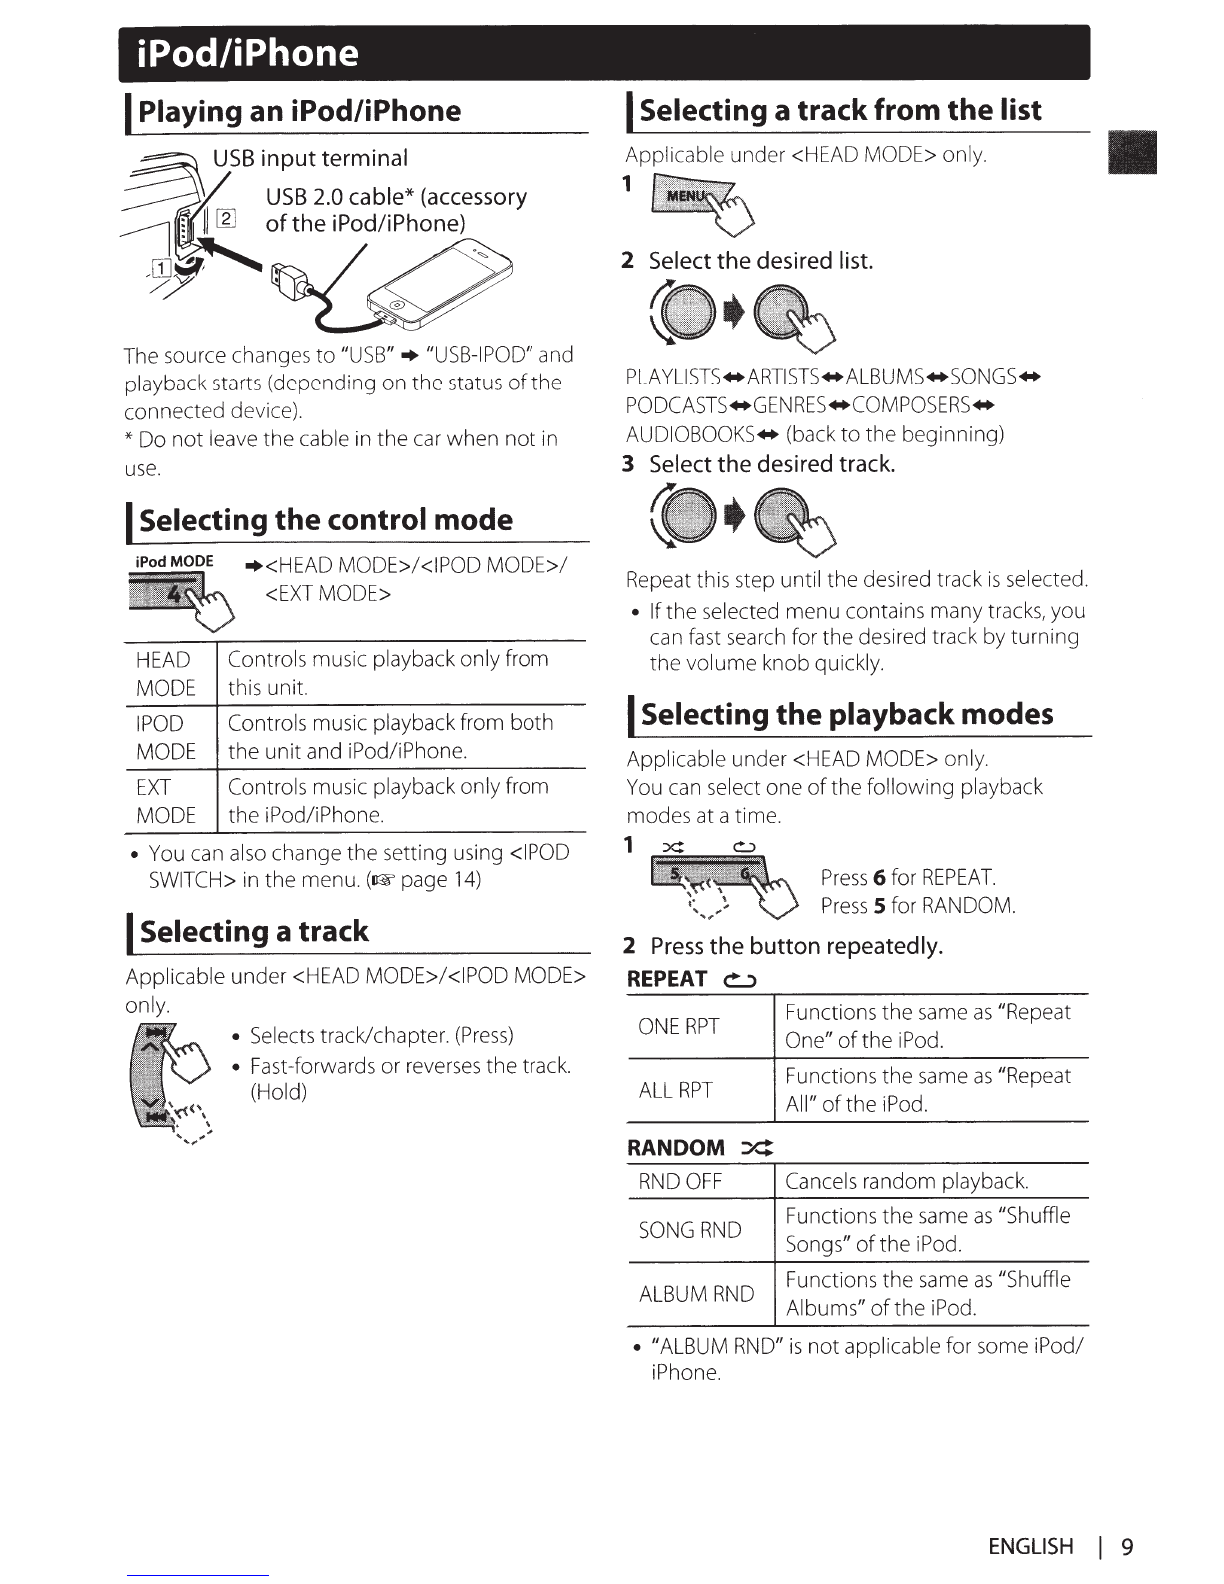
USB
............................................................................
8
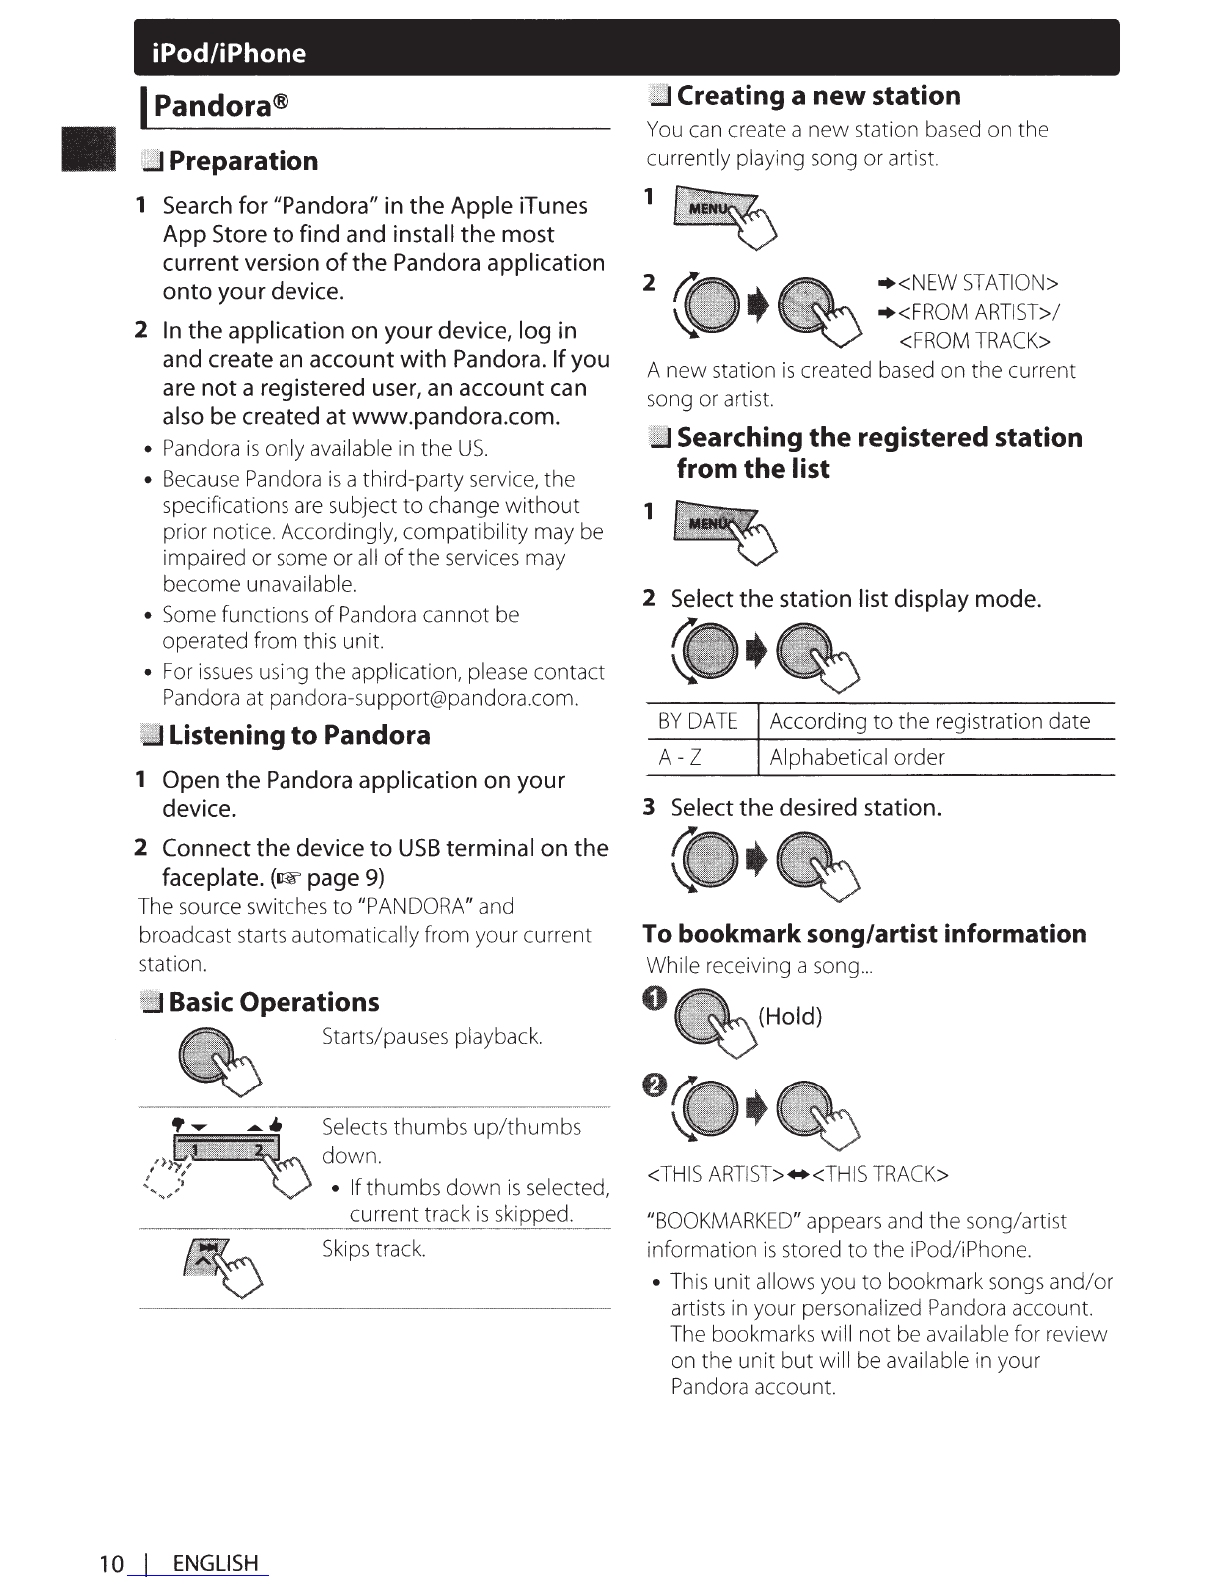
iPod/iPhone
...........................................................
9
External
components
......................................
11
Preparation
Canceling the display
demonstration
The
display demonstration
is
always
turned
on
unless
you cancel
it.
1 (Hold)
2
(Initial setting)
3 Select <DEMO OFF>.
4
Press
MENU
to
exit.
Bluetooth®
............................................................
11
Sound
adjustments
..........................................
12
Menu
operations
...............................................
13
Additional
information
...................................
15
Troubleshooting
................................................
17
Specifications
.....................................................
18
Installation/Connection
..................................
19
ISetting the clock
1 (Hold)
2 Select <CLOCK>.
3 Select <CLOCK
SET>.
4 Select
the
day
of
week.
5
Adjust
the
hour.
6
Adjust
the
minute.
7
Press
MENU
to
exit.
ENGLISH
I 3