König Electronic CMP-USBNETBOX1 User manual

CMP-USBNETBOX1
USB TO NETWORK
SHARING BOX

2
ENGLISH
Introduction
With this USB to Network box you can share your USB peripherals over your network.
Access your printer, scanner, fax, or storage device from multiple computers by
connecting the USB peripherals to this network box. This device has one USB port but
with a USB hub (not included) you can connect up to four USB devices.
Windows® Vista
Software Installation
1. Connect the USB to Network box to the local network and a wall socket
2. Insert the installation disc in to the CD-Rom drive
3. Navigate to the CD-Rom drive in your Explorer
4. Double click the installation program
5. If Windows prompts you to allow the installation, select Allow
6. Select the desired installation language
7. If Windows prompts you about the to be installed drivers select Continue
anyway
8. Complete the installation procedure and click Finish
9. Navigate to your Network windows by clicking Start and then Network
10. Right click on the USB Server icon and select Install
11. If windows prompts you to continue, select Continue
12. Connect the desired USB peripheral to the network box
13. Open the Launch USB Server program by clicking the icon (default on
desktop)
14. If Windows firewall prompts you to block or unblock the program select Unblock
15. In the program click Connect
16. The USB device is now connected to the computer and can be used as if it’s
connected to a USB port

3
Windows® XP
Software Installation
1. To install the USB Server program, please double click the USB Server setup file. A
dialog box should pop up to prompt you to choose a desired installing language. After
choosing the language, click on OK. The Installation Wizard will start automatically.
2. Follow the instructions of the wizard to complete the installation process.
Running Program
1. To start the USB Server program, please double click the shortcut icon of the USB
Server.exe file.
2. Push the “Search” button to see the current USB Servers and devices in the
network.
3. Press “Connect” when you’ve selected a device.
Note: Once connected, you can use the device in your network as if it is connected
to your PC’s USB port. Do make sure that the software is installed on every
computer that needs to use the USB device.
Status of EST USB Servers and Devices
Green: Ready
Orange: Occupied by yourself, or establishing the connection
Red: Occupied by other user
Green with exclamation mark: Free with error
Orange with exclamation mark: Self occupied with error
Red with exclamation mark: Occupied by others with error
Red cross: unsupported device
Blue: The server’s IP address is on a different network segment as from yours. You
can not connect the device to this server.
Note: Error can be: out of paper, out of ink or paper jam.

4
Declaration of conformity
We,
Nedis B.V.
De Tweeling 28
5215MC ’s-Hertogenbosch
The Netherlands
Tel.: 0031 73 599 1055
Email: info@nedis.com
Declare that product:
Brand: König Electronic
Model: CMP-USBNETBOX1
Description: USB to network sharing box
Is in conformity with the following standards
EN 55022:2006: Class B,
EN 61000-3-2: 2006, EN 61000-3-3: 1995+A1:2001+A2:2005
EN 55024:1998+A1:2001+A2:2003
IEC 61000-4-2:2001 IEC 61000-4-3:2007 IEC 61000-4-4:2004
IEC 61000-4-5:2005 IEC 61000-4-6:2006 IEC 61000-4-8:2001
IEC 61000-4-11:2004
EN 60950-1:2001, EN 60950-1:2002
And complies with the requirements of the European Union Directives 2004/108/EC
within CE marking requirement.
‘s-Hertogenbosch, 11-11-08
Mrs. J. Gilad
Purchase Director

5
Safety precautions:
RISK OF ELECTRIC SHOCK
DO NOT OPEN
CAUTION To reduce risk of electric shock, this product should
ONLY be opened by an authorized technician when
service is required. Disconnect the product from
mains and other equipment if a problem should occur. Do not expose the product to
water or moisture.
Maintenance:
Clean only with a dry cloth. Do not use cleaning solvents or abrasives.
Warranty:
No guarantee or liability can be accepted for any changes and modifications of the
product or damage caused due to incorrect use of this product.
General:
Designs and specifications are subject to change without notice.
All logos brands and product names are trademarks or registered trademarks of their
respective holders and are hereby recognized as such.
Attention:
This product is marked with this symbol. It means that used electrical and
electronic products should not be mixed with general household waste.
There is a separate collections system for these products.
Copyright ©

6

CMP-USBNETBOX1
BOX FÜR GEMEINSAME
BENUTZUNG VON USB-
GERÄTEN IN EINEM
NETZWERK

2
DEUTSCH
Einführung
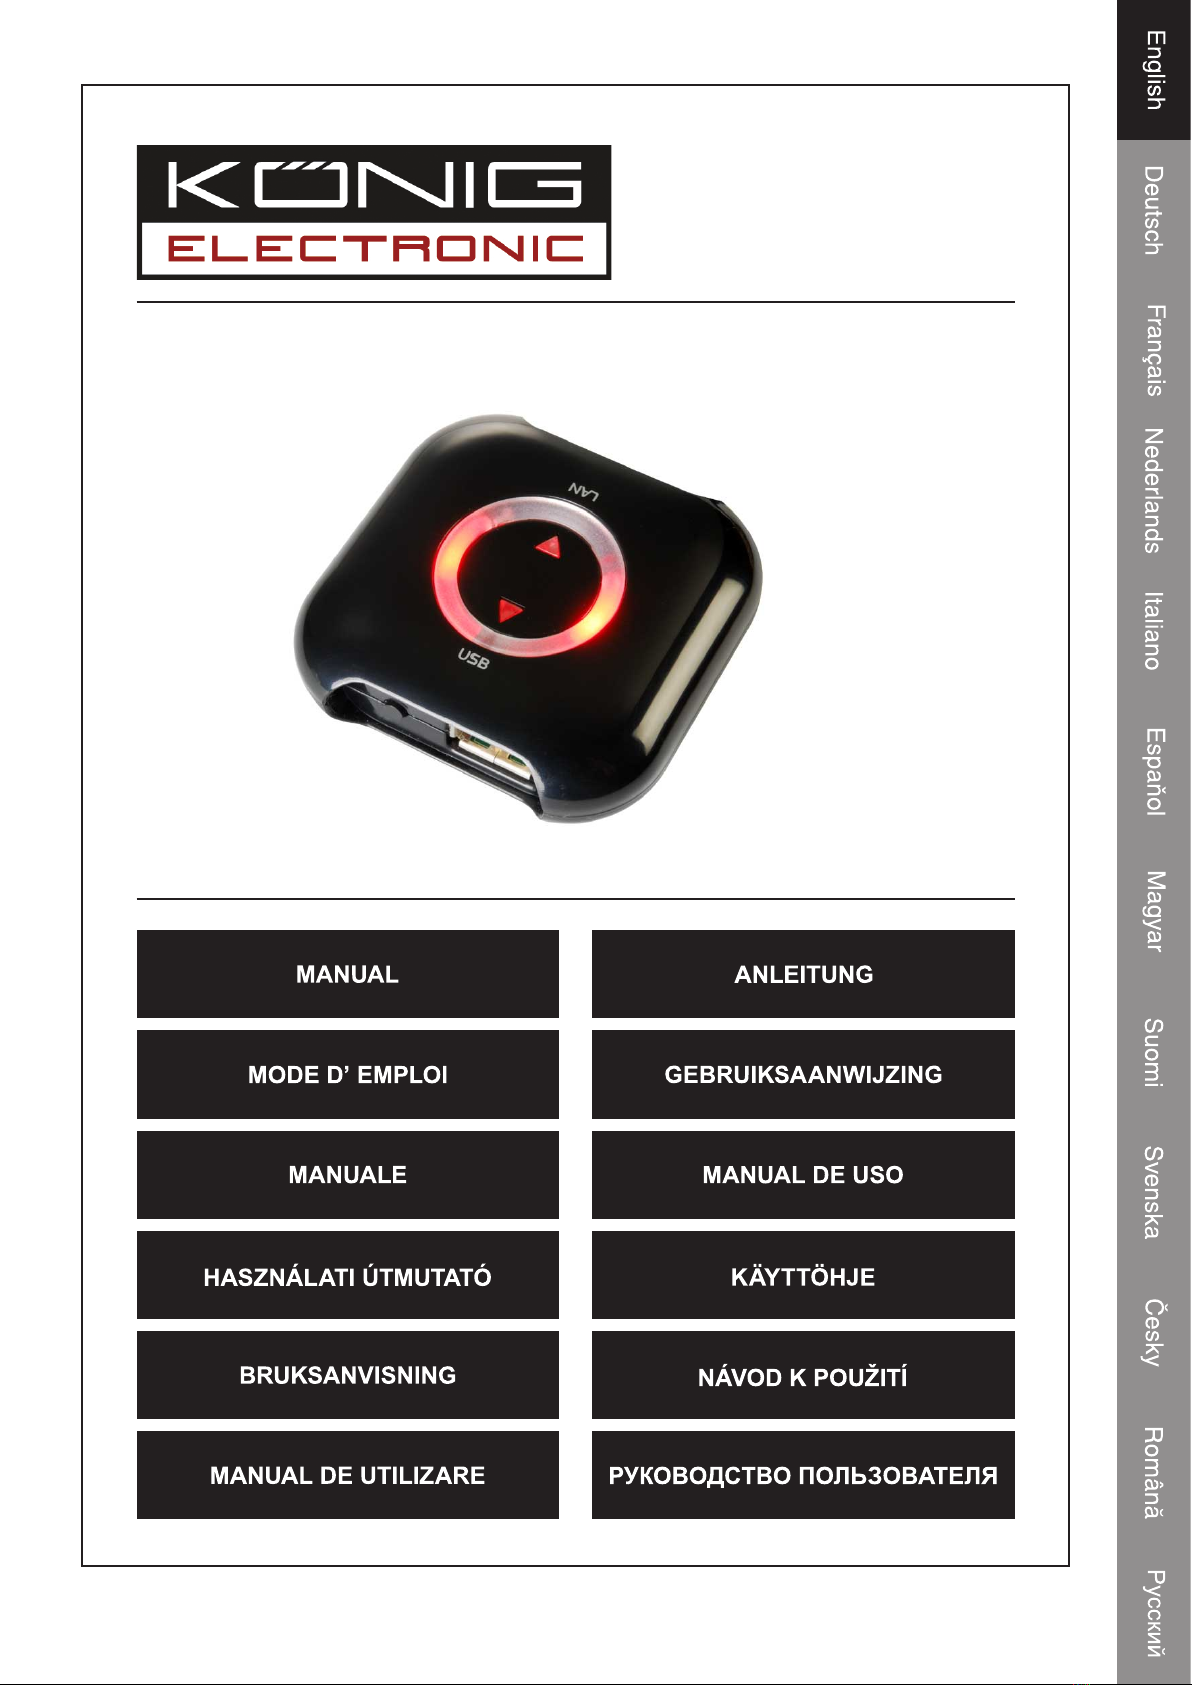
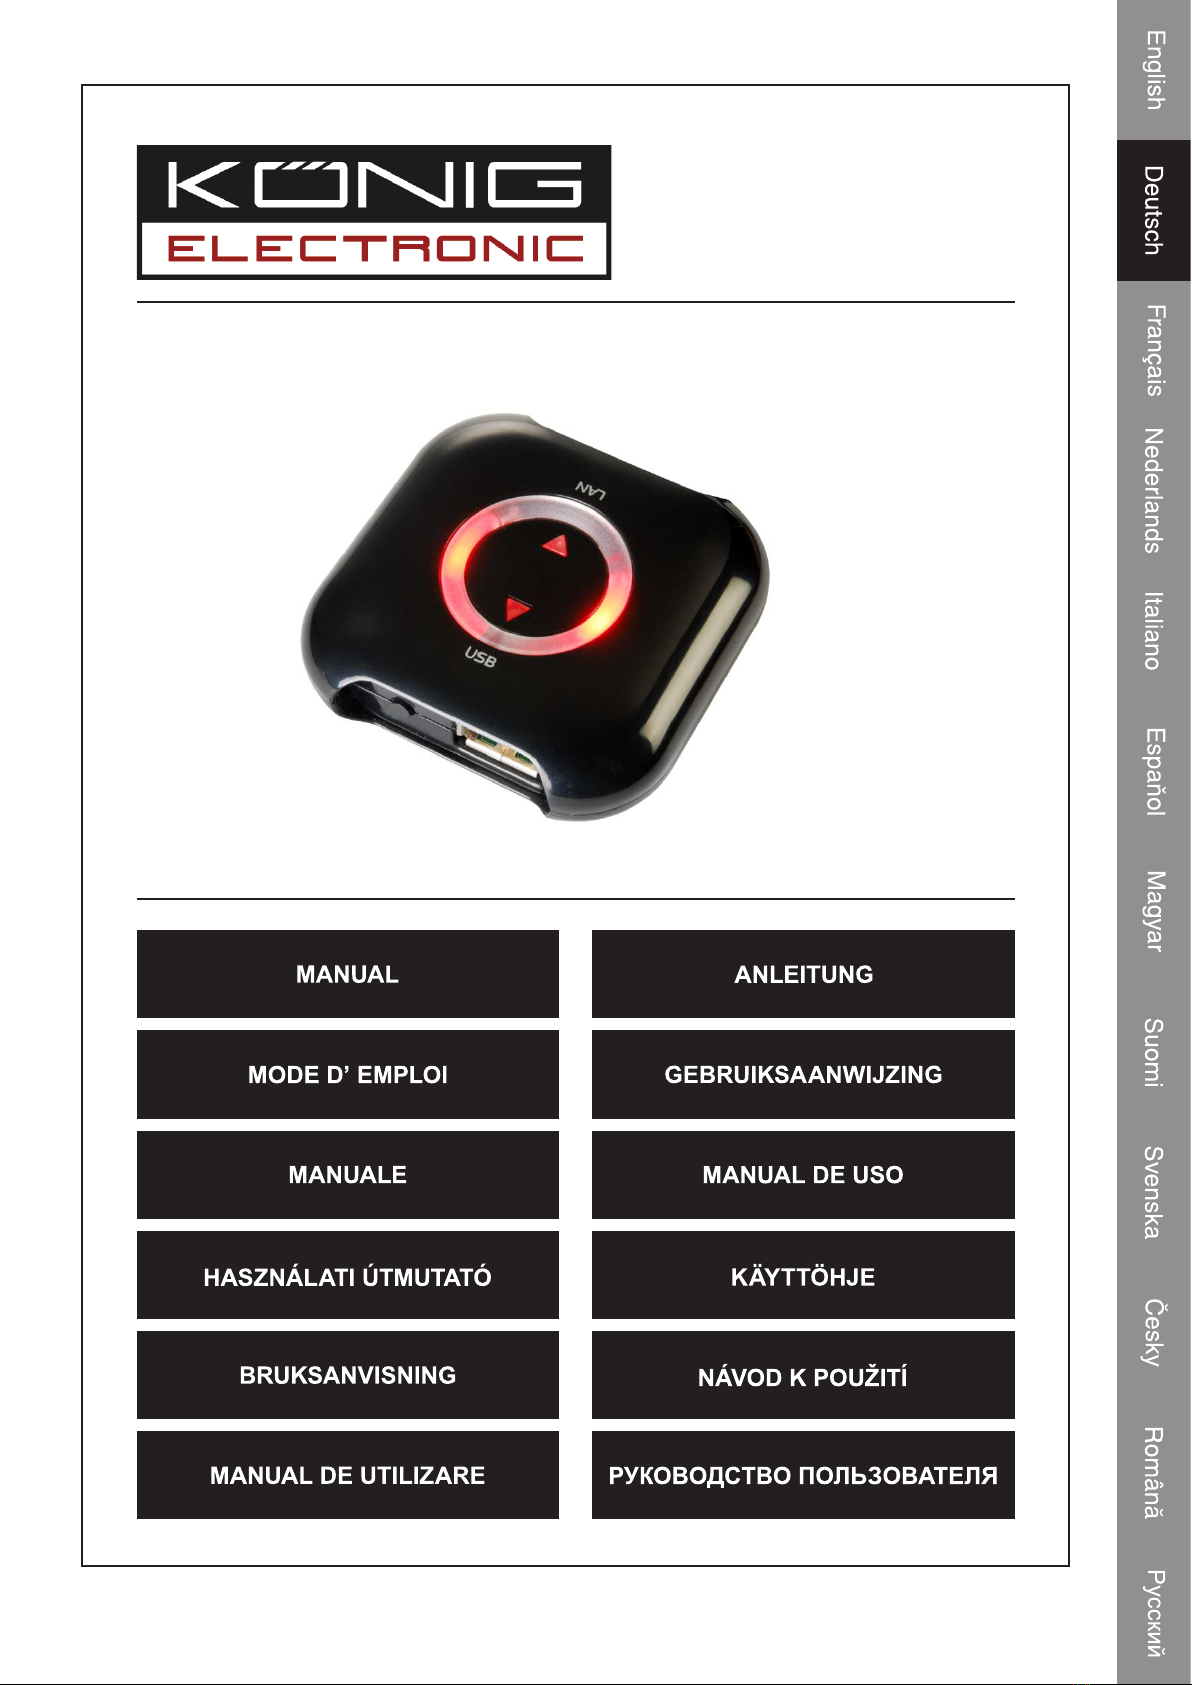
Mit dieser USB to Network Box können Sie Ihre USB-Peripheriegeräte in Ihrem
Netzwerk mit anderen teilen. Durch den Anschluss der USB-Peripheriegeräte an diese
Netzwerkbox können mehrere Computer auf Ihren Drucker, Scanner, Ihr Faxgerät oder
Ihren externen Speicher zugreifen. Dieses Gerät hat einen USB-Anschluss, aber mit
einem USB-Hub (nicht beigefügt) können Sie bis zu vier USB-Geräte anschließen.
Windows® Vista
Softwareinstallation
1. Schließen Sie das USB-Gerät an die Netzwerkbox eines lokalen Netzwerks und
an eine Wandsteckdose an.
2. Legen Sie die Installations-CD in das CD-Laufwerk ein.
3. Navigieren Sie in Ihrem Explorer zum CD-ROM-Laufwerk.
4. Klicken Sie doppelt auf das Installationsprogramm.
5. Wenn Sie in einem Fenster gefragt werden, ob Sie installieren wollen, wählen
Sie Allow (Zulassen).
6. Wählen Sie die gewünschte Installationssprache.
7. Wenn Sie in einem Fenster nach den zu installierenden Treibern gefragt werden,
wählen Sie Continue anyway (Trotzdem weitermachen).
8. Beenden Sie die Installation und klicken auf Finish (Fertig stellen).
9. Navigieren Sie zu Ihren Network-Fenstern, indem Sie auf Start und dann
Network klicken.
10. Klicken Sie mit rechts auf das Symbol USB Server und wählen Install.
11. Wenn Sie Windows auffordert weiterzumachen, wählen Sie Continue
(Weitermachen).
12. Schließen Sie das gewünschte USB-Peripheriegerät an die Netzwerkbox an.
13. Öffnen Sie das Programm Launch USB Server, indem Sie auf das Symbol
klicken (befindet sich gewöhnlich auf dem Desktop).
14. Wenn die Firewall von Windows Sie auffordert, das Programm zu sperren oder
zu entsperren, wählen Sie Unblock (Entsperren).
15. Klicken Sie im Programm auf Connect (Verbinden).
16. Das USB-Gerät ist jetzt mit dem Computer verbunden und kann so benutzt
werden, als ob es an einen USB-Anschluss angeschlossen ist.

3
Windows® XP
Softwareinstallation
1. Um das USB-Server-Programm zu installieren, klicken Sie bitte doppelt auf das
Installationsprogramm für den USB-Server. Es sollte sich ein Dialogfeld öffnen,
in dem Sie aufgefordert werden, die gewünschte Installationssprache zu wählen.
Nach der Wahl der Sprache klicken Sie bitte auf OK. Der Installation Wizard wird
automatisch gestartet.
2. Befolgen Sie die Anweisungen des Wizard, um die Installation zu Ende zu führen.
Ausführen des Programms
1. Um das USB-Server-Programm zu starten, klicken Sie bitte doppelt auf das
Shortcut-Symbol des USB-Servers.
2. Klicken Sie auf die Schaltfläche “Search (Suchen)”, um sich die im Netzwerk
vorhandenen USB-Server und -Geräte anzusehen.
3. Klicken Sie auf “Connect (Verbinden)”, wenn Sie ein Gerät ausgewählt haben.
Anmerkung: Wenn die Verbindung hergestellt worden ist, können Sie das Gerät
in Ihrem Netzwerk so benutzen, als wäre es an Ihren PC oder
USB-Anschluss angeschlossen. Die Software muss auf jedem
Computer, der das USB-Gerät benötigt, installiert sein.
Status der EST USB Server und Geräte
Grün: Bereit
Orange: Von Ihnen selbst belegt, oder die Verbindung wird aufgebaut
Rot: Von einem anderen Benutzer belegt
Grün mit Ausrufungszeichen: Frei mit Fehler
Orange mit Ausrufungszeichen: Selbst belegt mit Fehler
Rot mit Ausrufungszeichen: Von anderen belegt mit Fehler
Rotes Kreuz: Gerät wird nicht unterstützt
Blau: Die IP-Adresse des Servers liegt nicht in Ihrem Netzwerksegment. Sie
können das Gerät nicht an diesen Server anschließen.
Anmerkung: Fehler kann sein: kein Papier, keine Tinte oder Papierstau.

4
Konformitätserklärung
Wir,
Nedis B.V.
De Tweeling 28
5215MC ’s-Hertogenbosch
Niederlande
Tel.: 0031 73 599 1055
Email: info@nedis.com
erklären, dass das Produkt:
Marke: König Electronic
Modell: CMP-USBNETBOX1
Beschreibung: BOX FÜR GEMEINSAME BENUTZUNG VON USB-GERÄTEN IN
EINEM NETZWERK
den folgenden Standards entspricht:
EN 55022:2006: Klasse B,
EN 61000-3-2: 2006, EN 61000-3-3: 1995+A1:2001+A2:2005
EN 55024:1998+A1:2001+A2:2003
IEC 61000-4-2:2001 IEC 61000-4-3:2007 IEC 61000-4-4:2004
IEC 61000-4-5:2005 IEC 61000-4-6:2006 IEC 61000-4-8:2001
IEC 61000-4-11:2004
EN 60950-1:2001, EN 60950-1:2002
Und erfüllt die Anforderungen der Richtlinien der Europäischen Union 2004/108/EC
innerhalb der Anforderungen des EC-Kennzeichens.
‘s-Hertogenbosch, 11.11.2008
J. Gilad
Leiterin Einkauf

5
Sicherheitsvorkehrungen:
STROMSCHLAGGEFAHR
NICHT ÖFFNEN
VORSICHT Um das Risiko eines elektrischen Schlags zu
verringern,solltediesesProduktAUSSCHLIESSLICH
von einem autorisierten Techniker geöffnet werden,
wenn eine Reparatur erforderlich ist. Trennen Sie das Produkt vom Stromnetz und
anderen Geräten, wenn ein Problem auftreten sollte. Sorgen Sie dafür, dass das Gerät
nicht mit Wasser oder Feuchtigkeit in Berührung kommt.
Wartung:
Nur mit einem trockenen Tuch säubern. Keine Reinigungs- oder Scheuermittel
verwenden.
Garantie:
Es kann keine Garantie oder Haftung für irgendwelche Änderungen oder Modifikationen
des Produkts oder für Schäden übernommen werden, die aufgrund einer nicht
ordnungsgemäßen Anwendung des Produkts entstanden sind.
Allgemeines:
Konstruktionen und technische Daten können ohne vorherige Ankündigung geändert
werden.
Alle Logos, Marken und Produktnamen sind Warenzeichen oder registrierte
Warenzeichen ihrer jeweiligen Eigentümer und werden hiermit als solche anerkannt.
Achtung:
Dieses Produkt ist mit diesem Symbol gekennzeichnet. Es bedeutet, dass
die verwendeten elektrischen und elektronischen Produkte nicht im
allgemeinen Haushaltsmüll entsorgt werden dürfen. Für diese Produkte
stehen gesonderte Sammelsysteme zur Verfügung.
Copyright ©

6

CMP-USBNETBOX1
BOITIER DE MISE EN
RESEAU PAR USB

2
FRANCAIS
Introduction
Avec ce boîtier de mise en réseau par USB, vous pouvez partager vos périphériques
USB sur votre réseau. Accédez à votre imprimante, scanner, fax ou dispositif de
stockage à partir de plusieurs ordinateurs en connectant les périphériques USB au
boitier réseau. Cet appareil est équipé d'un port USB, mais avec un hub USB (pas
fourni), vous pouvez connecter un maximum de quatre périphériques USB.
Windows® Vista
Installation du logiciel
1. Connectez le hub USB vers Réseau au réseau local et à une prise murale
2. Insérez le disque d‘installation dans le lecteur CD-Rom
3. Naviguez sur le lecteur CD-Rom dans votre Explorer (navigateur)
4. Double-cliquez sur le programme d‘installation
5. Si des fenêtres surgissent pour autoriser l‘installation, sélectionnez Allow
(autoriser)
6. Sélectionnez la langue d‘installation de votre choix
7. Si des fenêtres vous demandent si vous voulez installer des pilotes, sélectionnez
Continue anyway (continuer quand même)
8. Achevez la procédure d‘installation et cliquez sur Finish (terminer)
9. Naviguez sur vos fenêtres Network (réseau) en cliquant sur Start (démarrer) et
ensuite Network (réseau)
10. Faites un clic droit sur l‘icône USB Server et sélectionnez Install (installer)
11. Si des fenêtres vous demandent de continuer, sélectionnez sur Continue
(continuer)
12. Connectez le périphérique USB de votre choix au réseau
13. Ouvrez le programme Launch USB Server en cliquant sur l‘icône (par défaut
sur le bureau)
14. Si des fenêtres pare-feu vous demandent si vous souhaitez bloquer ou autoriser
le programme, sélectionnez Unblock (autoriser)
15. Dans le programme, cliquez sur Connect (connecter)
16. Le dispositif USB est à présent connecté à l‘ordinateur et peut être utilisé tel qu‘il
est connecté au port USB

3
Windows® XP
Installation du logiciel
1. Pour installer le programme USB Server, veuillez double-cliquer sur le fichier
d'installation USB Server. Une boîte de dialogue doit surgir pour vous proposer de
choisir la langue d'installation désirée. Après avoir choisi la langue, cliquez sur OK.
L'assistant d'installation sera lancé automatiquement.
2. Suivez les instructions de l'assistant pour achever le processus d'installation.
Fonctionnement du programme
1. Pour lancer le logiciel USB Server, veuillez double-cliquer sur l'icône du raccourci
du fichier USB Server.exe.
2. Poussez le bouton “Rechercher” pour voir les serveurs USB et les périphériques
actuellement présents sur le réseau.
3. Appuyez sur “Se connecter” une fois que vous avez sélectionné un périphérique.
Remarque: Une fois connecté, vous pouvez utiliser l'appareil sur votre réseau comme
s'il était connecté au port USB de votre PC. Assurez-vous que le logiciel
est installé sur chaque ordinateur qui doit utiliser le périphérique USB.
Etat des serveurs et périphériques EST USB
Vert: Prêt
Orange: Occupé par vous-mêmes ou en train d'établir la connexion
Rouge: Occupé par un autre utilisateur
Vert avec un point d'exclamation: Libre avec erreur
Orange avec un point d'exclamation: Occupé par vous avec erreur
Rouge avec un point d'exclamation: Occupé par d'autres avec erreur
Rouge avec une croix: périphérique incompatible
Bleu: L'adresse IP du serveur se trouve sur un autre segment du réseau comme à
partir du votre. Vous ne pouvez pas connecter le périphérique à ce serveur.
Remarque : erreur probable: un manque de papier, d'encre ou un bourrage de
papier.

4
Déclaration de conformité
Nous,
Nedis B.V.
De Tweeling 28
5215MC ’s-Hertogenbosch
Pays-Bas
Tél.: 0031 73 599 1055
Courriel: info@nedis.com
Déclarons que le produit :
Marque : König Electronic
Modèle : CMP-USBNETBOX1
Description: Boîtier de mise en réseau par USB
est conforme aux normes suivantes :
EN 55022:2006 Classe B,
EN 61000-3-2: 2006, EN 61000-3-3: 1995+A1:2001+A2:2005
EN 55024:1998+A1:2001+A2:2003
IEC 61000-4-2:2001 IEC 61000-4-3:2007 IEC 61000-4-4:2004
IEC 61000-4-5:2005 IEC 61000-4-6:2006 IEC 61000-4-8:2001
IEC 61000-4-11:2004
EN 60950-1:2001, EN 60950-1:2002
et qu'il est conforme aux prescriptions des Directives de l'Union Européenne
2004/108/CE en vertu de l'exigence de marquage de la CE.
‘s-Hertogenbosch, 11-11-08
Mme. J. Gilad
Directrice des Achats

5
Consignes de sécurité :
RISQUE DE CHOC
ELECTRIQUE
NE PAS OUVRIR
ATTENTION Afin de réduire les risques de chocs électriques, ce
produit ne doit être ouvert QUE par un technicien
qualifié agréé en cas de réparation. Débranchez
l'appareil du secteur et des autres équipements en cas de problème. N'exposez jamais
l'appareil à l'eau ou à l'humidité.
Entretien :
Ne nettoyez qu'avec un chiffon sec. N'utilisez pas de solvants ou de produits abrasifs.
Garantie :
Aucune garantie ou responsabilité ne sera acceptée en cas de modification et/ou
de transformation du produit ou en cas de dommages provoqués par une utilisation
incorrecte de l'appareil.
Généralités :
Le design et les caractéristiques techniques sont sujets à modification sans notification
préalable.
Tous les logos de marques et noms de produits sont des marques déposées ou
immatriculées dont leurs détenteurs sont titulaires et sont donc reconnus comme telles
dans ce document.
Attention :
Ce symbole figure sur l'appareil. Il signifie que les produits électriques et
électroniques ne doivent pas être jetés avec les déchets domestiques. Le
système de collecte est différent pour ce genre de produits.
Copyright ©

6

CMP-USBNETBOX1
USB NAAR
NETWERK BOX

2
NEDERLANDS
Introductie
Met deze USB naar netwerk box kunt u uw USB-apparatuur over uw netwerk delen.
U krijgt toegang tot uw printer, scanner, fax, of opslagapparaat vanaf meerdere
computers door de USB-apparaten aan te sluiten op deze netwerk box. Dit apparaat
heeft één USB-poort, maar met een USB-hub (niet bijgesloten) kunt u tot vier
USB-apparaten aansluiten.
Windows® Vista
Software-installatie
1. Sluit de USB Netwerk box aan op het locale netwerk en een vrij stopcontact
2. Doe de installatie CD-Rom in de CD lade van de PC
3. Navigeer naar de CD-Rom drive via Deze computer
4. Dubbel klik op het installatie programma
5. Als Windows je vraagt om toestemming, selecteer Allow
6. Kies de gewenste installatie taal
7. Als Windows je vraagt of je door wilt gaan met de installatie van onbekende
drivers, selecteer Continue anyway
8. Voltooi de installatie en klik op Finish
9. Navigeer naar je netwerk instellingen via Start en Network
10. Klik met de rechter muisknop op het USB Server icoon en klik op Install
11. Wanneer Windows vraagt of je door wilt gaan klik op Continue
12. Sluit het te gebruiken USB apparaat aan op de USB Netwerk box
13. Open het Launch USB Server programma door op het icoon te klikken (Standaard
op desktop)
14. Als Windows firewall je vraagt of je het programma wilt blokkeren klik op
Unblock
15. In het programma klik op Connect
16. Het USB apparaat is nu verbonden met de computer en kan gebruikt worden als
elk ander USB apparaat aangesloten op een vrije USB poort.
Table of contents
Languages: