7
7
6
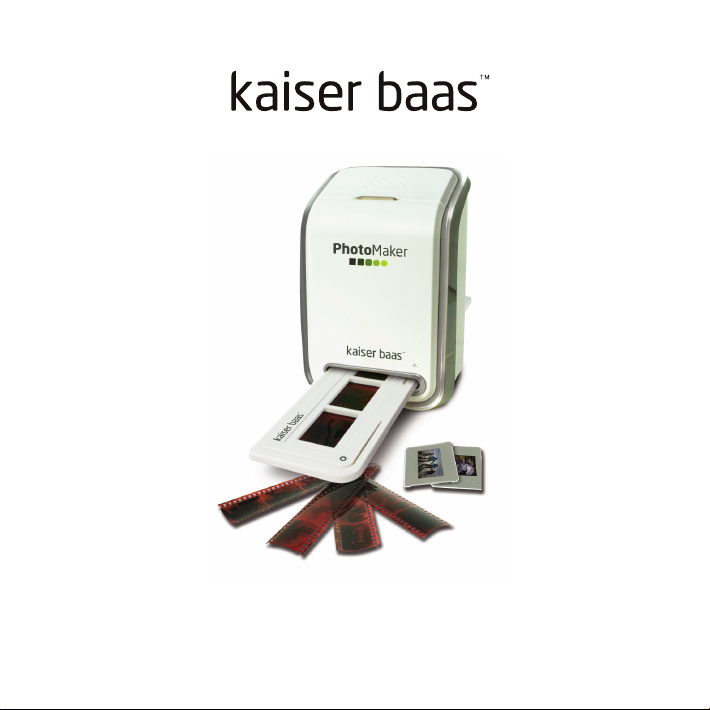
INSTALLING THE SOFTWARE (PC)
4. The next screen shows the
software licence agreement.
If you agree to the terms and
conditions and would like to
keep installing the program
click ‘yes’.
5. Enter a user name (can be
any name) and License key,
which is located on the
software CD sleeve
(Under the Arcsoft logo).
6. On the next screen, you are
able to choose where you
would like to install the
program on your computer.
If you are happy with the
default, click ‘Next‘. To choose
a new destination click
‘Browse‘, choose the
folder you would like then
click ‘Next‘.
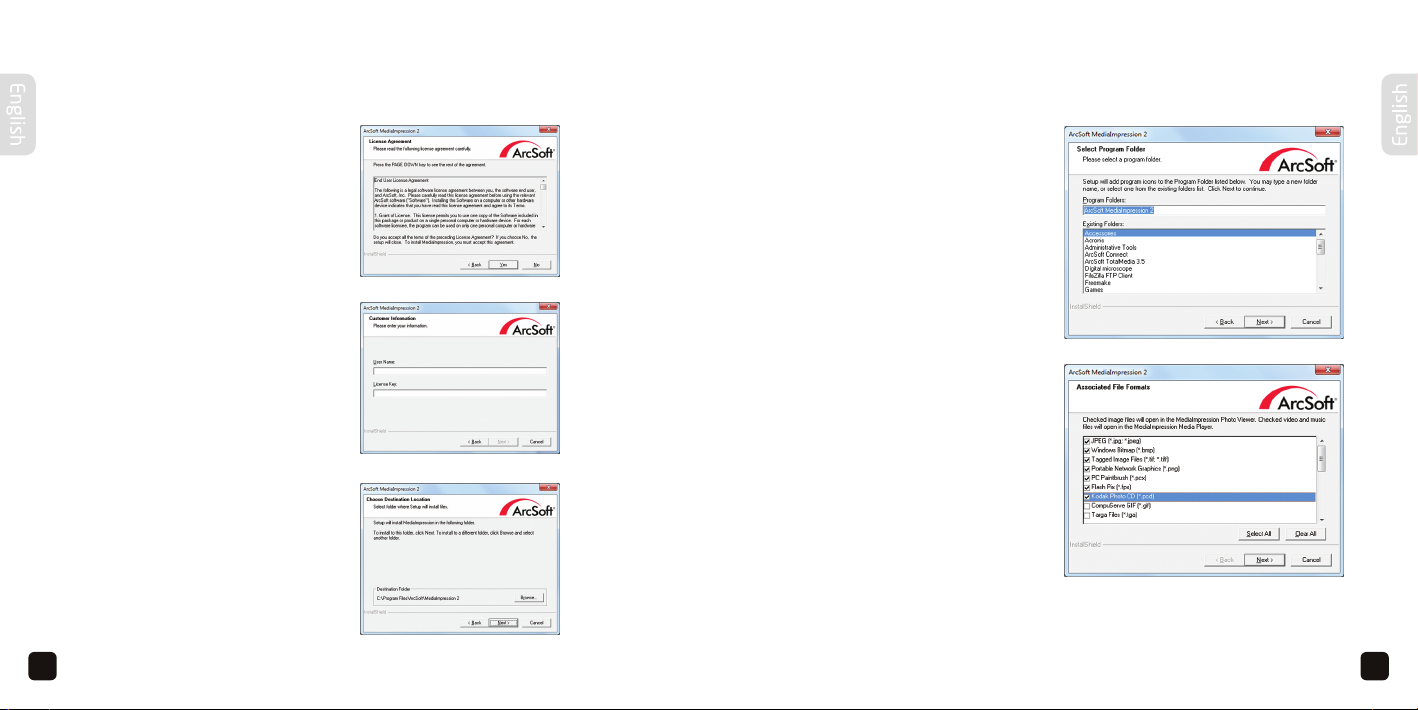
INSTALLING THE SOFTWARE (PC)
6. The next screen lets you
choose where you would
like the program shortcut
to appear in the Windows
menu. Choose a destination
or leave the default, then
press ‘Next‘. The program
will then install to your
preferred destination.
7. This step allows you to
associate certain file types
with the MediaImpression
software. Which means any
of the listed file types you
select, will by default be
opened in MediaImpression
photo viewer. Therefore we
recommend unchecking
or selecting the ‘Clear All’
button. Then click ‘Next‘.
4.
6.
5.
6.
7.