Kaiweets HT208D User manual

kAIWEET5
True-rms Digital
Clamp Meter
CE
RoHs@!
Contact us: support@Kaiweets.com

- 1 -
lntroduction.................................................................................................................... 4
Safety information.........................................................................................................4
Product Overview............................................................................................................6
Symbol-Explanation........................................................................................................7
Function Buttons ............................................................................................................8
Advanced Functions.......................................................................................................10
AC current measurement with "Inrush" function............................................................ 10
AC current measurement with "VFD" function .............................................................. 11
AC voltage measurement with "VFD" function.............................................................. 11
High-Impedance voltage measurement.........................................................................12
Low-Impedance voltage measurement (
LoZ
)
................................................................12
Operating Instructions..................................................................................................13

- 2 -
Insert and replace the batteries...................................................................................13
Turn on/off the meter...................................................................................................13
Automatic shutdown....................................................................................................13
Auto-ranging................................................................................................................14
AC zero input behavior of True-rms meters ................................................................14
Connecting test leads................................................................................................. 15
Making Measurements........................................................................................................15
AC/DC current measurement......................................................................................15
AC/DC voltage measurement......................................................................................17
Frequency or duty cycle measurements (Hz¾)...........................................................19
Resistance measurement O........................................................................................20
Continuity test.............................................................................................................21
Diode test....................................................................................................................22

- 3 -
Capacitance measurement..........................................................................................23
Temperature measurement......................................................................................... 24
Non-contact AC voltage detection (NCV) ....................................................................25
Live detection............................................................................................................. 25
Specification..................................................................................................................27
Accuracy.....................................................................................................................28
Maintenance ..................................................................................................................30
Cleaning the meter......................................................................................................30
Three Year Warranty.....................................................................................................31

- 4 -
Introduction
Thank you for selecting the KAIWEETS 208D Digital Clamp Meter. It is a True RMS
1000A AC/DC Clamp Meter with integrated VFD Mode, Inrush Current capture.
Safety information .&.,&.Warnings: Read First
To avoid possible electric shock or personal injury, please obey the following
instructions:
•Use the Meter only as specified in this manual or the protection provided by the Meter
might be impaired.
•Avoid working alone so assistance can be rendered.
•Never measure AC current while the test leads are inserted into the input jacks.
•Do not use the Meter in wet or dirty environments.
•Inspect the test leads before use. Do not use them if insulation is damaged or metal is
exposed.
•Check the test leads for continuity. Replace damaged test leads before using.
•Use extreme caution when working around bare conductors or bus bars. Contact with
the conductor could result in electric shock.
•Do not hold the Meter anywhere beyond the tactile barrier.
•Do not apply more than the rated voltage, as marked on the Meter, between the

- 5 -
terminalsor between any terminal and earthground.
•Remove test leads from the Meter before opening the Meter case.
•Never operate the Meter with the back cover removed or the case open.
•Never remove the back cover or open the case of an instrument without first removing
the test leads or the jaws from a live conductor.
•Use caution when working with voltages above 30 V ac RMS, 42 V ac peak, or 60 V
de. These voltages pose a shock hazard.
•Do not attempt to measure any voltage that might exceed the maximum range of the
Meter- 1000 V RMS.
•Do not operate the Meter around explosive gas, vapor, or dust.
•When using probes, keep fingers behind the finger guards.
•
When making electrical connections, connect the common test lead before
connecting the live test lead; when disconnecting, disconnect the live test lead before
disconnecting the common test lead.
•
Disconnect circuit power and discharge all high-voltage capacitors before testing
resistance,continuity, or diodes.
•Check the operation of the meter at a known source before and after use.

- 6 -
CD
NCV
Probe
@ Current Sensing Jaw
@ Flashlight
@) Tactile Barrier
®
Rotary Function Switch
®
Function Buttons
(J)
Display
@ Alignment Marks
®
Jaw Release
@) INPUTTerminal
(red test lead)
®
COM Terminal
(black test lead)
@ Data Hold / Flashlight Switch
12

- 7 -
-
Hazardous Voltage. Danger! "'- !Alternating Current (AC)
AC and DC ---
-
E3-
IFuse
□llow Battery Indication
@] IDouble Insulated
( €Iconforms to European Union directives.
:H: IDo not dispose of this product as unsorted municipal waste.
CAT.
111
IECMeasurement Category Ill: CAT.Ill equipment has protection against
transients in equipment in fixed-equipment installations, such asdistribution
panels,feeders and short branch circuits, andlighting systems in large buildings.
CAT. IV
IEC Measurement Category IV: CAT.IV equipment has protection against
transients from the primary supply level, such as an electricity Meter or an
overheador underground utilityservice.
Direct current (DC)
Important Information ..L
Earth

- 8 -
FUNC.
Press the "FUNG." key to switch the respective secondary function
between the different measurements for the applications accessible
via the function switch such as between AC and DC.
Auto-Ranging by default. Switches to manual mode and cycles
through all ranges. Auto-Ranging restored when pressed for two
seconds.
Press this key to switch between the maximum and minimum
values; Press this key for more than 2 seconds to exit this mode.
Before entering the "MAX/MIN" mode, press the range key to switch
to the most suitable range. After entering this mode, the meter will
automatically enter to manual range mode.

- 9 -
NOTE: In DC current measurement mode, this key is the "ZERO"key.
However, in other functions, this key is the "REL:' key.
"REL:' Function: Relative (REL) mode: Stores existing reading (a
delta) and resets display to zero. Sets a relative reference point
tomeasure against the next reading.
"ZERO" Function: This function allows the user to set the
magnetization effects to zero when measuring DC. It must be
performed after each high amplitude current measurement. With no
conductor inserted into the clamp, press and hold this key (approx.
3 seconds) until a beep sounds and the "ZERO" symbol appears on
the display.
(I)
HOLD: Captures and holds a stable measurement.
Make sure that the function is deactivated at the start of the test.
Otherwise an incorrect measurement result will be simulated!
Work Light: Press and hold this button for more than 2 seconds to
switch the work light on or off.

- 10 -
B
1000Jt
:;;:;
FUNC
-
VFD
AC
INRUSH
AC current measurement with "Inrush" function
Inrush current is the instantaneous high input
current drawn by a power supply or electrical
equipment at turn-on. This arises due to the
high initial currents required to charge the
capacitors and inductors or transformers.
Current
601600A
B
+
~
I
1.
With the device to be tested turned off, turn the meter's dial to proper range(60/600
Aor 1000 A).
2.
Center the jaw around the device's live wire.
3.
Push the button 3 times until the "INRUSH" symbol is displayed.
4.
Switch on the device. The inrush current (spike) is displayed in the meter's display.
Note: The measuring time of inrush current is about 100ms.
.. /
Time
Inrush current magnitude

- 11 -
EJ
When an electrical device is first powered on, inrush current is the surge or momentary
burst of current that flows into it.
AC current measurement with "VFD" function (Variable
Frequency Drive Filtering)
The VFD mode eliminates high frequency noise in voltage measurements by means
of a low-pass filter. The VFD mode is designed for variable frequency drive (VFD)
measurements. This mode is only active for AC measurements.
Turn the knob and select proper range(60/600 A or 1000 A ), press the key until
the "VFD" symbol is displayed.
Note: Please do not use VFD function to verify the presence of dangerous voltage or
current, which may exceed the indicated value.
AC voltage measurement with "VFD" function
Turn the knob to vFo or Loz , press B key until the "VFD" symbol is displayed.
Note: Please do not use VFD function to verify the presence of dangerous voltage or

- 12 -
current, which may exceed the indicated value.
High-Impedance voltage measurement
High Impedance means high electrical Impedance. This is used to denote the input
Impedance or output Impedance of electrical circuits and devices in particular. When
measuring in the circuit, this has only a minor impact on the performance of the circuit,
particularly in the case of sensitive electronic circuits or control circuits.
Low-Impedance voltage measurement
(
Loz
)
Loz
mode allows you to measure AC/DC voltages with a low impedance in this mode,
the Meter lowers the internal resistance to prevent 'phantom' voltage readings. As a
result, the circuit is more heavily loaded than in the standard measuring mode.
.&.
Attention
►
When using
Loz
(low input impedance) measurement, the continuous measurement
time cannot exceed 1 minute.
►
Do not use LoZ mode to measure the voltage in the circuit that may be damaged
due to the low impedance of this mode.

- 13 -
Insert and replace the batteries
Replace the batteries immediately when the symbol
□
appears in the display. Disconnect the meter from
the power source. Remove the test leads from the
measuring device, loosen the screws on the back
and remove the lower half of the housing, replace
the old batteries and screw the cover back on.
----"
Turn on/off the meter
The device is switched on when the rotary switch (5) is set to a measuring function
When the rotary switch is set to OFF, the measuring device is switched off.
Automatic shutdown
No operation in 15 minutes, the clamp meter beeps 3 times. Without further operation,

- 14 -
the clamp meter beeps again and switches off automatically. Press any key to restore
the clamp meter to operating status. The symbol 0 appears on the display. To deactivate
the automatic switch-off, hold down the "FUNG." key for more than 2 seconds and switch
on the clamp meter at the same time. The symbol 0 disappears. Restart after switching
off the meter, the automatic switch-off can be restored.
Auto-ranging
The meter automatically selects the measuring range that is best suited for the mea-
surement performed. The measuring unit and resolution are adjusted at the same time.
AC zero input behavior of True-rms meters
Unlike averaging meters, which can accurately measure only pure sinewaves, True-rms
meters accurately measure distorted waveforms. Calculating True-rms converters
require a certain level of input voltage to make a measurement. This is why ac voltage
and current ranges are specified from 5 % of range to 100 % of range. Non-zero digits
that are displayed on a True-rms meter when the test leads are open or are shorted are
normal. They do not affect the specified ac accuracy above 5 % of range.

- 15 -
Connecting test leads
Donot test ifleads are improperly seated.
Results could cause intermittent display
readings. To ensure proper connection,
firmly press leads into the jack completely.
measurement
& •When making current measurements, disconnect the test leads from the Meter.
•Keep fingers behind Tactile Barrier(4).
•When measuring current, center the conductor in the Jaw using the alignment marks
on the Jaw.
•
Before taking de measurements, please push
i
o
key to ensure correct readings.
Zeroing the Meter removes de offset from the reading. The Zero function works only in
the de current measurement.
•Before zeroing the Meter, make sure the Jaws are closed and there is no conductor

- 16 -
inside the Jaw.
1. Turn the rotary switch to the correct current setting (60/600 ;t 1000'.i;} "DC" appears
on the display. Press the "FUNG." button, AC is shown on the display.
2. If measuring DC current, wait for the display to stabilize and then push io to zero
the Meter.
3. Open the Jaw by pressing the Jaw Release and insert the conductor into the Jaw.
4. Close the Jaw and center the conductor using the alignment marks.
5. View the reading on the display.
►
Do not use the current clamp to surround more than one conductor.
►
If the supply and return conductors (e.g. L and N) are measured, the currents will
cancel each other out and no measurement will be displayed. The cables of household
appliances usually contain L and N conductors. A cable separator is required to measure
with the current probe.
►
If several supply conductors are measured,the currents add up.

- 17 -
AC/DC voltage measurement
&. Voltage above 750 V (AC) /1000V (DC) cannot be measured! When measuring
high voltage, pay special attention to safety to avoid electric shock or injury.
1.
Set the rotary switch to vFo or Loz , press the "FUNG." key to change the AC or DC

voltage measurement.
2.
Plug the black test lead into the COM socket and the red test lead into the INPUT
socket.
3.
Then bring the test probes into contact with the points to be measured.
4.
Read the measurement results on the display.
& Attention
►
When using
Loz
{low input impedance) measurement, the continuous measurement
time cannot exceed 1 minute.
►
Do not use LoZ mode to measure the voltage in the circuit that may be damaged due
to the low impedance of this mode.
High impedance voltage measurement: 10 MO
Low impedance voltage measurement: 300 kO

Frequency or duty cycle measurements (Hz%)
In Hz% mode, Range: 0-10MHz Voltage sensitivity: 0.5-10V AC (as the frequency
increases, the voltage should increase accordingly).
►
In V mode, Range: 10Hz-10 kHz
Voltage sensitivity: > 0.5V AC (as the frequency
increases, the voltage should increase accordingly).
►
In A mode, Range: 10Hz-1 kHz Current sensitivity:> 20A (as the frequency
increaes,the current should increase accordingly).
Other manuals for HT208D
1
Table of contents
Other Kaiweets Measuring Instrument manuals
Kaiweets
Kaiweets HT112B User manual

Kaiweets
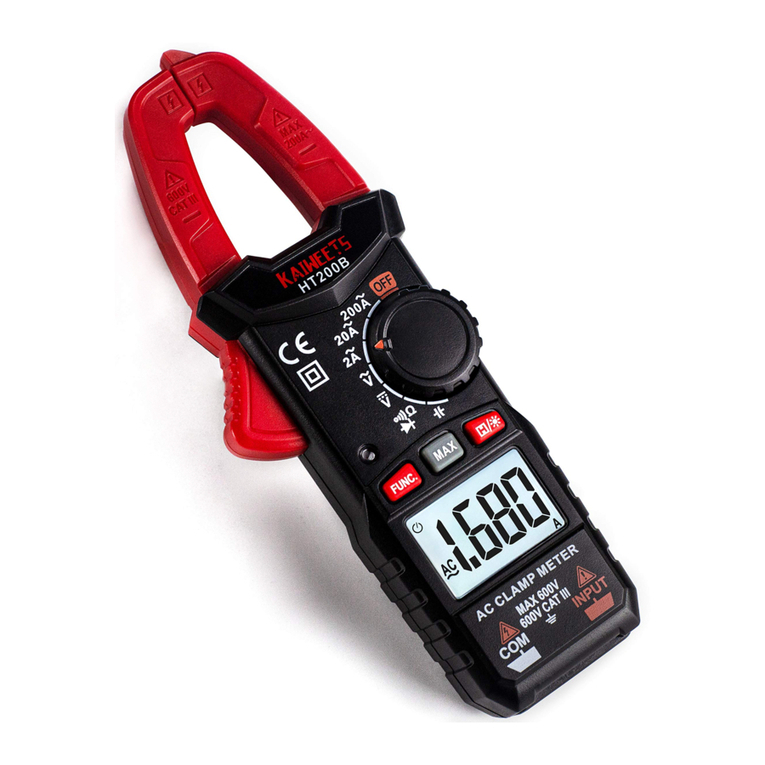
Kaiweets HT200B User manual

Kaiweets
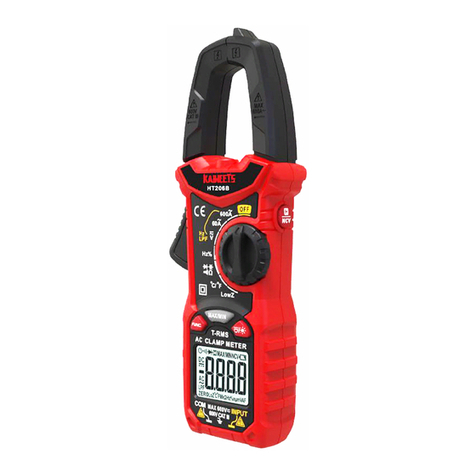
Kaiweets HT206B User manual

Kaiweets
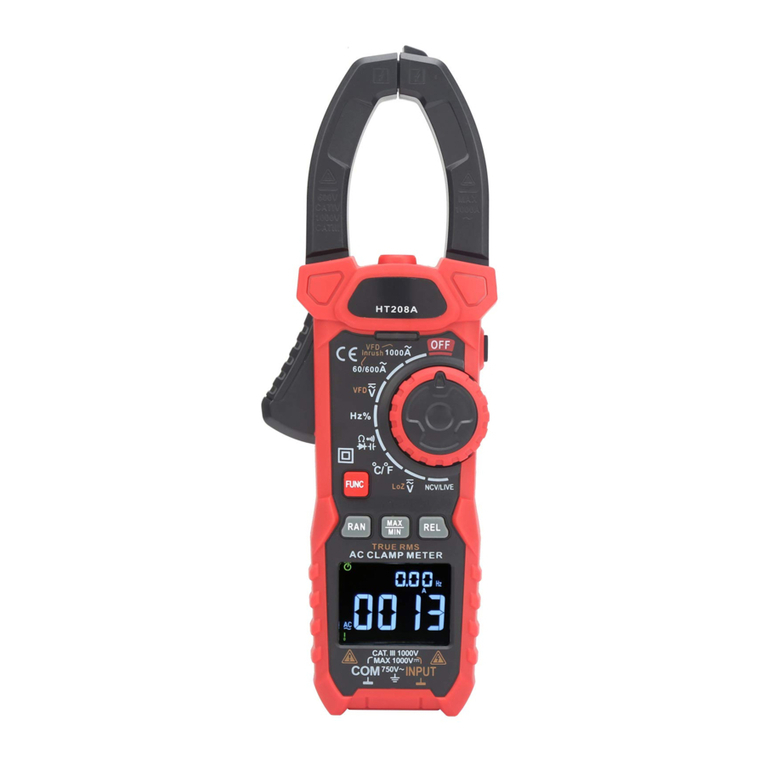
Kaiweets HT208A User manual

Kaiweets
Kaiweets HT200B User manual

Kaiweets
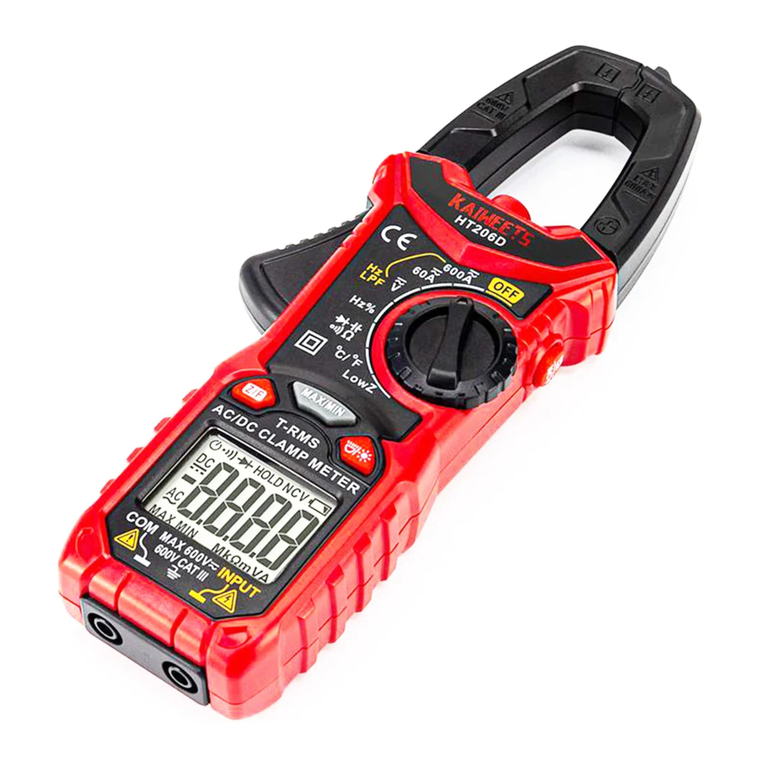
Kaiweets HT206D User manual
Kaiweets
Kaiweets HT206B User manual

Kaiweets
Kaiweets KC601 User manual

Kaiweets
Kaiweets HT208D User manual
Popular Measuring Instrument manuals by other brands

socomec
socomec COUNTIS Ci operating instructions

Milltronics
Milltronics airanger XPL plus instruction manual

Dark Matter
Dark Matter DM-X900 owner's manual

Barnstead Thermolyne Corporation
Barnstead Thermolyne Corporation Turner SP-870 Operation manual

Terex
Terex 3B6 user manual

TES
TES TES-1362 instruction manual