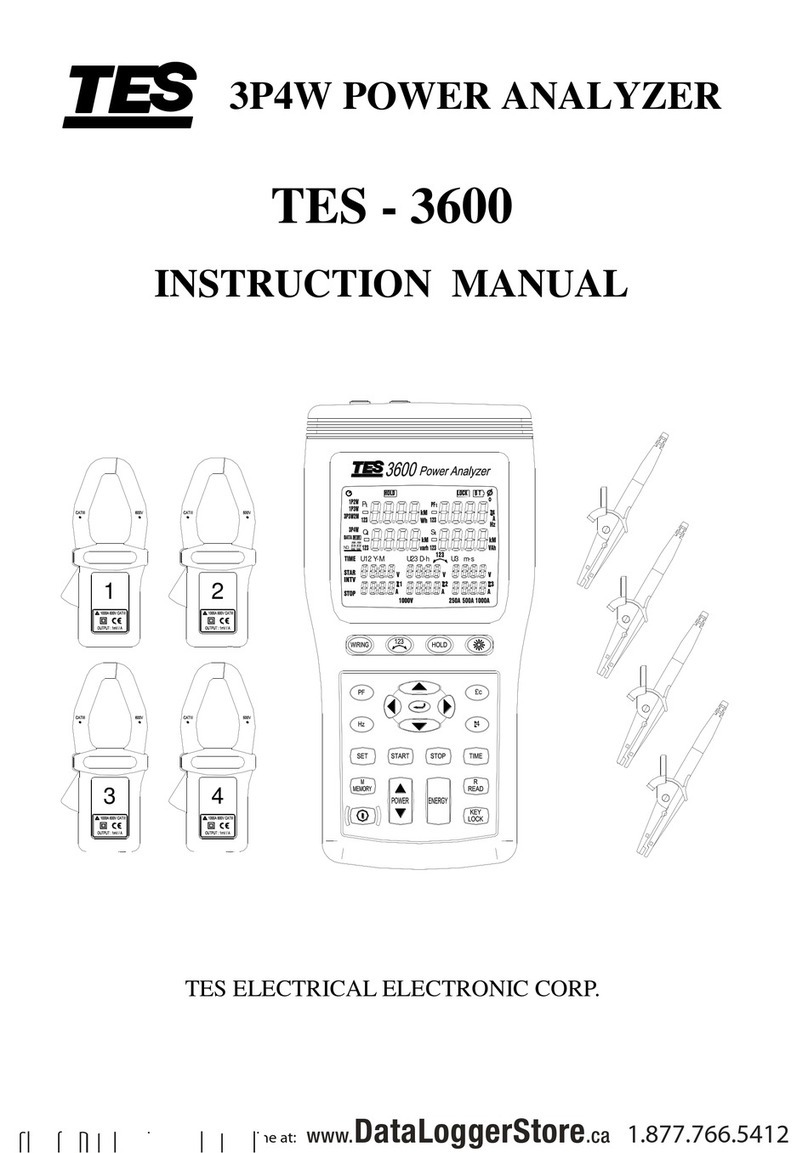
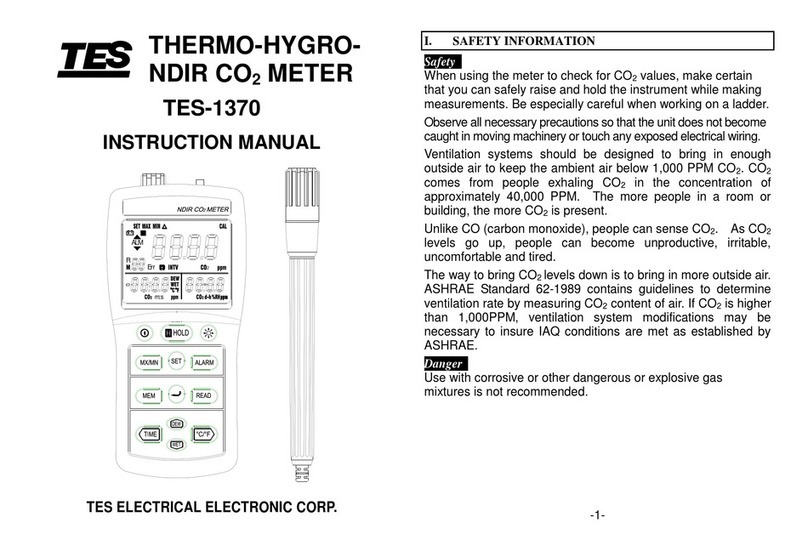
TES TES-1362 User manual

RS
Printing
Humidity/Temperature Meter
1362
INSTRUCTION MANUAL

TABLE OF CONTENTS
TITLE PAGE
I. SAFETY INFORMATION ............................................1
II. SPECIFICATIONS........................................................2
III. LOCATION OF PARTS...............................................4
IV. GENERAL PRECAUTIONS AND PREPARATIONS
FOR MEASUREMENT ................................................8
V. OPERATING PROCEDURE.......................................8
VI. SETTING MODE.........................................................10
VII. INTERVAL PRINTING SET-UP ...............................14
VIII. BATTERY REPLACEMENT.....................................15
IX. RECALIBRATION PROCEDURE............................15

1
I. SAFETY INFORMATION
Read the following information carefully before attempting
to operate or service the meter.
Use the meter only as specified in this manual, otherwise
the protection provided by the meter may be impaired.
Environmental conditions
cAltitude up to 2000 metres
dIndoor use only
eRelatively humidity; 95% max.
fOperating temperature; 0 to 50℃(32℉to 122℉)
Maintenance & clearing
cRepairs or servicing not covered in this manual should
only be performed by qualified personnel.
dPeriodically wipe the case with a dry cloth. Do not use
abrasives or solvents.
Compliance symbols
Complies with EMC Directive 89/336/EEC

2
II. SPECIFICATIONS
2-1 General information
Display: Triple 4-digit LCD.
Over range indication : - - appears on the LCD.
Low battery indication: symbol appears on the LCD
when the battery voltage falls below
the operating voltage.
Sampling rate: approximately 1 per second
Power requirements: Qty 6, 1.5V size AAA alkaline batteries,
or AC adaptor; 9Volts
@ 500mA minimum.
Battery life: Approx. 90 hours. (interval printing = 60 minutes,
excluding beeper).
100 hours ( without printing & beeper).
Printing interval:6 sec. to 59 min. 59 sec.
Operating temperature and humidity:
0℃to 50℃(32℉to 122℉) below 95% RH
Storage temperature and humidity:
-10℃to 60℃(14℉to 140℉) below 70% RH
Dimensions: Meter : 193 (L) ×74 (W) ×37(H) mm
Probe : 160 (L) ×13 (D) mm
Cable length : 1m approx.
Weight: Approx. 430g with batteries & paper roll.
Accessories suppllied: Carrying case, instruction manual,
batteries, 2 rolls of thermal printer
paper, type K thermocouple probe.
Printer:Thermal type with 16 characters per line using
38mm width thermal paper.

3
2-2 Electrical specifications
Humidity:
Range: 10%RH to 95%RH
Resolution: 0.1%RH
Accuracy: ±3%RH from 30%RH to 95%RH
±5%RH from 10%RH to 30%RH
Temperature T1 (Integral sensor):
Range: -20℃to +60℃(-4℉to +140℉)
Resolution: 0.1℃/ 0.1℉
Accuracy: ±0.8℃, ±1.5℉
Dew-point:
Range: -44.0℃to 58.5℃(-47.2℉to 137.3℉)
Accuracy: 1.0℃/1.8℉
Temperature (T2) (External thermocouple sensor):
Range: -200℃to +1333℃(-328℉to +2431℉)
Resolution: 0.1℃from -200℃to 999℃
0.1℉from -328℉to 999.9℉(1℃or 1℉
outside this range).
Accuracy: -50℃to -200℃:±(0.2%rdg + 1.8℃)
-50℃to 500℃:±(0.1%rdg + 0.8℃)
500℃to1333℃:±(0.2%rdg + 1.8℃)
-58℉to -328℉:±(0.2%rdg + 3℉)
-58℉to 1000℉: ±(0.1%rdg + 1.6℉)
1000℉to 2431℉:±(0.2%rdg + 3℉)
Temperature coefficient:
0.1 times the applicable accuracy specification per ℃
from 0℃to 18℃and 28℃to 50℃(32℉to 64℉and
82℉to 122℉)

4
III. LOCATION OF PARTS
Fig-1
1. LCD: Measured values, units, symbols, and decimal
points are displayed on the screen.
2. : Power on/off button
3. ℃℉:Button for selecting temperature units ℃or ℉.
4. PRINT:
cPress this button to start printing the current data.
The data format is as follows:
LINE 1 20:12:01 02 - 21
LINE 2 58.9 % RH
LINE 3 td 15.7 ℃
LINE 4 T1 24.3 ℃
LINE 5 T2 24.8 ℃

5
Line 1: Time: hours; minutes; seconds; month-day.
Line 2: Humidity value.
Line 3: Dew-point value.
Line 4: T1 temperature value (integral sensor).
Line 5: T2 temperature value (K-type thermocouple).
dPress this button for 2 seconds and the printer will enter
interval printing mode. Press this button or the FEED
button to cancel interval printing mode and return to
normal operation.
5. External 9V dc input socket.
6. FEED PAPER (Fig-2) :
cPress the FEED button to advance the printer
paper one line.
dForce the printer to stop printing and clear any
data in the print buffer.
7. DEW-POINT: Press this button change the display
from humidity to dew-point. Fig-2 →
8. MAX / MIN:
cPress this button once to enter maximum /minimum
recording mode and the “REC” symbol is displayed on the
LCD.
dPress this button repeatedly to display the maximum
reading (“MAX REC” symbol is displayed), the minimum
reading (“MIN REC” symbol is displayed) and the current
reading (“REC” symbol is displayed) in sequence.
ePress this button for 2 seconds to exit this mode.
9. HOLD: Press this button to hold the displayed reading.
Press it again to return to normal operation.

6
10. MENU :Press this button to enter parameter set-up mode.
The following parameters appear in sequence:
ON/OFF (interval printing; enable or disable).
TIME INTV (printing interval ranging from 00m:06s to 59m:59s).
INTV (Interval printing start time, ranging from 00h:00m to
23h:59m).
INTV
g
(Interval printing stop time, ranging from 00h:00m to
23h:59m).
TIME (Calendar setting: year, month, day, hours & minutes).
11. DOWN: Press this button to decrease the value of
the selected parameter.
12. RIGHT: Button for selecting the next desired parameter
for setting.
13. UP: Press this button to increase the value of the
selected parameter.
14. LEFT Button for selecting the previous desired parameter
for setting.
15. Exit slot for printer paper.
16. K-type thermocouple socket.
17. Battery cabinet and cover for Qty 6 x1.5V size AAA
alkaline batteries.
18. Humidity and temperature sensor probe.
19. Temperature and humidity sensor probe plug.
WARNING
Do not connect the USB style socket or plug to a

7
Personal Computer or peripheral. Irrepairable
damage may be caused to the instrument, probe,
PC or peripheral.
LCD DISPLAY:
8 9 10
4
7
56
17 16
14
15
13
321 19 18
11 12
Fig-3
1. Dew point measurement indicator.
2. Preset interval printing function ON indicator.
3. Low battery indicator
4. Printing indicator.
5. Interval printing start time setting indicator.
6. Interval printing stop time setting indicator.
7. Calendar time indicator.
8. Interval printing time indicator.
9. T1 measurement indicator.
10. T1 measured value for integral sensor.
11. T2 measurement indicator.
12. T2 measured value for external Type-K thermocouple.
13. Temperature measurement units.
14. Humidity measurement unit.
15. Recording indicator.

8
16. Minimum measurement value indicator.
17. Maximum measurement value indicator.
18. Data-hold indicator.
19. Humidity and dew-point temperature measured value.
IV. GENERAL PRECAUTIONS AND
PREPARATIONS FOR MEASUREMENT
1. Before operating the instrument, examine it to make sure it
is not damaged.
2. Retain all packing materials in case the unit has to be
returned for repair or calibration.
3. Ensure the batteries are correctly installed before turning
the instrument on. If using an external power adapter,
ensure it is suitable, has the correct polarity and is
undamaged.
4. Ensure the battery cover is correctly fitted, otherwise
measurement errors may occur.
5. If the instrument is to be stored for a long time, remove the
batteries to prevent leakage and corrosion.
6. Do not use or store this meter outside the operating or
storage environmental conditions qouted in the
specifications.
V. OPERATING PROCEDURE
1. Before using the instrument, install the batteries as follows:
Remove the rear cover, and carefully install Qty 6 AAA
batteries, observing correct polarity.
Insert the supplied temperature and humidity probe plug into
the corresponding meter socket. If required, select a suitable

9
K-type thermocouple probe and insert the plug into the
miniature thermocouple socket.
2. Press the button to turn the meter on. The current date
and time will appear on the display for approximately 3
seconds. If “- - -” appears on the display, it indicates no
probe is connected, or the connected probe is open circuit.
3. T1 indicates temperature sensed by the combined
temperature/humidity probe, whilst T2 indicates the temperature
sensed by the K-type thermocouple (if connected).
4. Printing data:
cPress the PRINT button once to print one set of data as
shown on the LCD.
dIf continuous printing is required, press and hold down the
PRINT button, until the LCD display shows the “INTV” mark
and enter continuous interval printing mode. The printer will
print data as follows:
INTV 00 : 06
10:55:19 08-16
62.7 %RH
td 19.8 ℃
T1 27.6 ℃
T2 26.5 ℃
10:55:25 08-16
62.7 %RH
td 19.8 ℃
T1 27.6 ℃
T2 26.5 ℃
→ Interval printing time, minute : second.
→ Printing time, hour:minute:second, month:day
→ Humidity test value and unit.
→ Dew point and unit.
→ Room temperature test value and unit.
→
K-t
yp
e thermocou
p
le test value and unit.

10
10:55:31 08-16
62.7 %RH
td 19.8 ℃
T1 27.6 ℃
T2 26.5 ℃
10:55:37 08-16
62.7 %RH
td 19.8 ℃
T1 27.6 ℃
T2 26.5 ℃
Press the PRINT or FEED button to exit continuous printing
mode.
eWhen the meter is on, if the continuous printing function
setting is “ON”, and the current time is the interval printing
start time, the instrument will start continuous interval
printing mode and begin printing.
※Press the PRINT or FEED button to exit printing
mode.
※The interval printing function works only when the start
printing time is earlier than the stop printing time. The
interval printing duration cannot be set to greater than
24 hours.
Caution: Before printing, ensure the printer paper is not trapped
by the printer cover, if the printing process is interrupted
by a mechanical fault, the printer, will stop printing and
the “ ” symbol on the LCD will flicker.
VI. SETTING MODE

11
Press the “ MENU ” button to enter function setting mode. Each
subsequent press of this button selects setting parameters in
sequence (printer on or off, interval printing time, start printing
time, stop printing time and calendar setting). When in setting
mode, the adjustable parameter will flicker until setting is finished.
Press the or button to select the required parameter to
set, then press the or button to increase or decrease
the parameter value.
The parameter setting sequence and LCD display appears as
follows:
1. Selecting printing function ON or OFF:
fig-4
2. Setting the interval printing “seconds” value.
fig-5
3. Setting the interval printing “minutes” value.
fig-6

12
4. Setting the interval printing start time “minutes” value.
fig-7
5. Setting the printing start time “hours” value.
fig-8
6. Setting the printing stop time “minutes” value.
fig-9
7. Setting the printing stop time “hours” value.
fig-10
8. Setting the current time “minutes”.

13
fig-11
9. Setting the current time “hours”.
fig -12
10. Setting the calendar “date”.
fig –13
11. Setting the calendar “month”.
fig -14
12. Setting the last two digits of the calendar year.

14
fig –15
When all the settings have been entered, press the “ MENU ” button to
return to normal measurement mode.
VII. INTERVAL PRINTING SET-UP
To setup interval printing with a 24 hours limitation.
1. Press the MENU button to enter setting mode; setting
print operation is turned ON.
2. Select the printing interval time setting mode. Set the
required “seconds” and “minutes” (from 00:06 to 59:59).
3. Select the required time to start printing. Set the
“minutes” and “hours” (from 00:00 to 23:59).
4. Select the required time to stop printing. Set the
“minutes” and “hours” (from 00:00 to 23:59).
5. Press the MENU button to exit setting mode. The LCD will
display a “ ” mark at the left upper corner.
Note: The start time must be earlier than the stop time,
otherwise the buzzer will sound to warn the settings
are incorrect. The instrument will not accept the
settings when the MENU button is pressed.

15
VIII. BATTERY REPLACEMENT
When the battery power is not sufficient to provide accurate
measurements, the symbol will appear on the LCD.
Replace the exhausted batteries with qty. 6 x 1.5V AAA size cells.
1. Turn the instrument off and then disconnect the
temperature/humidity probe and any K-type thermocouple.
Remove the battery cover.
2. Remove batteries from the holder and replace with qty. 6
new 1.5V size AAA alkaline batteries.
3. Refit the battery cover and check the instrument operates
corrrectly.
IX. RECALIBRATION PROCEDURE
The thermometer should be calibrated once a year to ensure
its continued accuracy. Contact RS Components for further
details of calibration service. The address is given at the end
of these instructions.
Table of contents
Other TES Measuring Instrument manuals
Popular Measuring Instrument manuals by other brands
Elditest
Elditest CT4079 user manual

Agilent Technologies
Agilent Technologies 5500t Operation manual
BURG WATCHER
BURG WATCHER ProfiScale PRECISE operating instructions

Endress+Hauser
Endress+Hauser Cerabar S Series operating instructions
Dillon
Dillon AFG Series manual
DeFelsko
DeFelsko PosiTector 200 instruction manual
