9 USK DGR 31031- 100326
USING THE ROTISSERIE
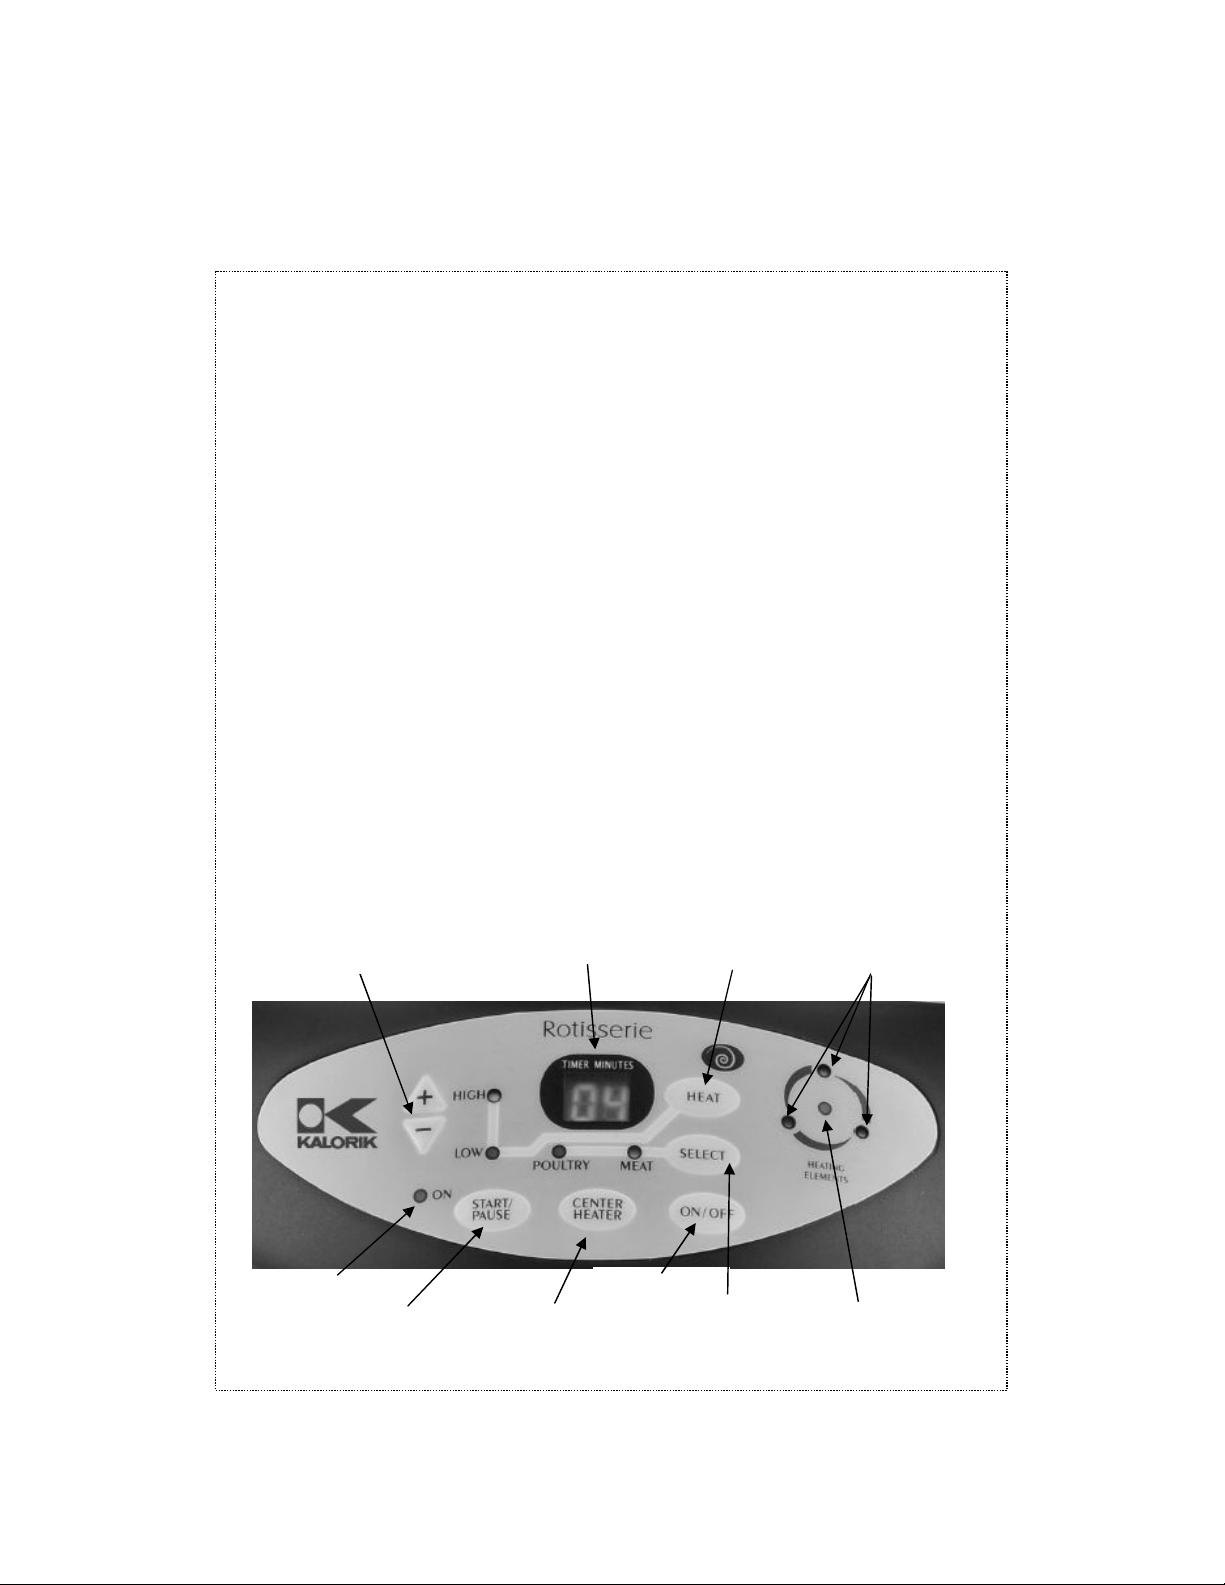
• Place the lid, pl g the nit on and press “ON/OFF” once. The nit
will beep twice and the digital display will start flashing “00”. The
“HIG” and “POULTRY” indicator t rn on, and the 4 light indicators
for the heating elements will flash on.
• These 4 lights indicate which heating elements will t rn on when
the rotisserie starts cooking. The 3 o ter lights indicate the o ter
heating elements, the center light indicates the center heating
element.
• The “center heater” b tton will switch the center heating
element on and off, also d ring the cooking cycle.
• Press “SELECT” b tton to choose “POULTRY” or “MEAT” type,
indicated by the “MEAT” and “POULTRY” lights.
• Press the “+” or “-” keypad to increase or decrease the cooking
time desired. The maxim m cooking time is 99 min tes.
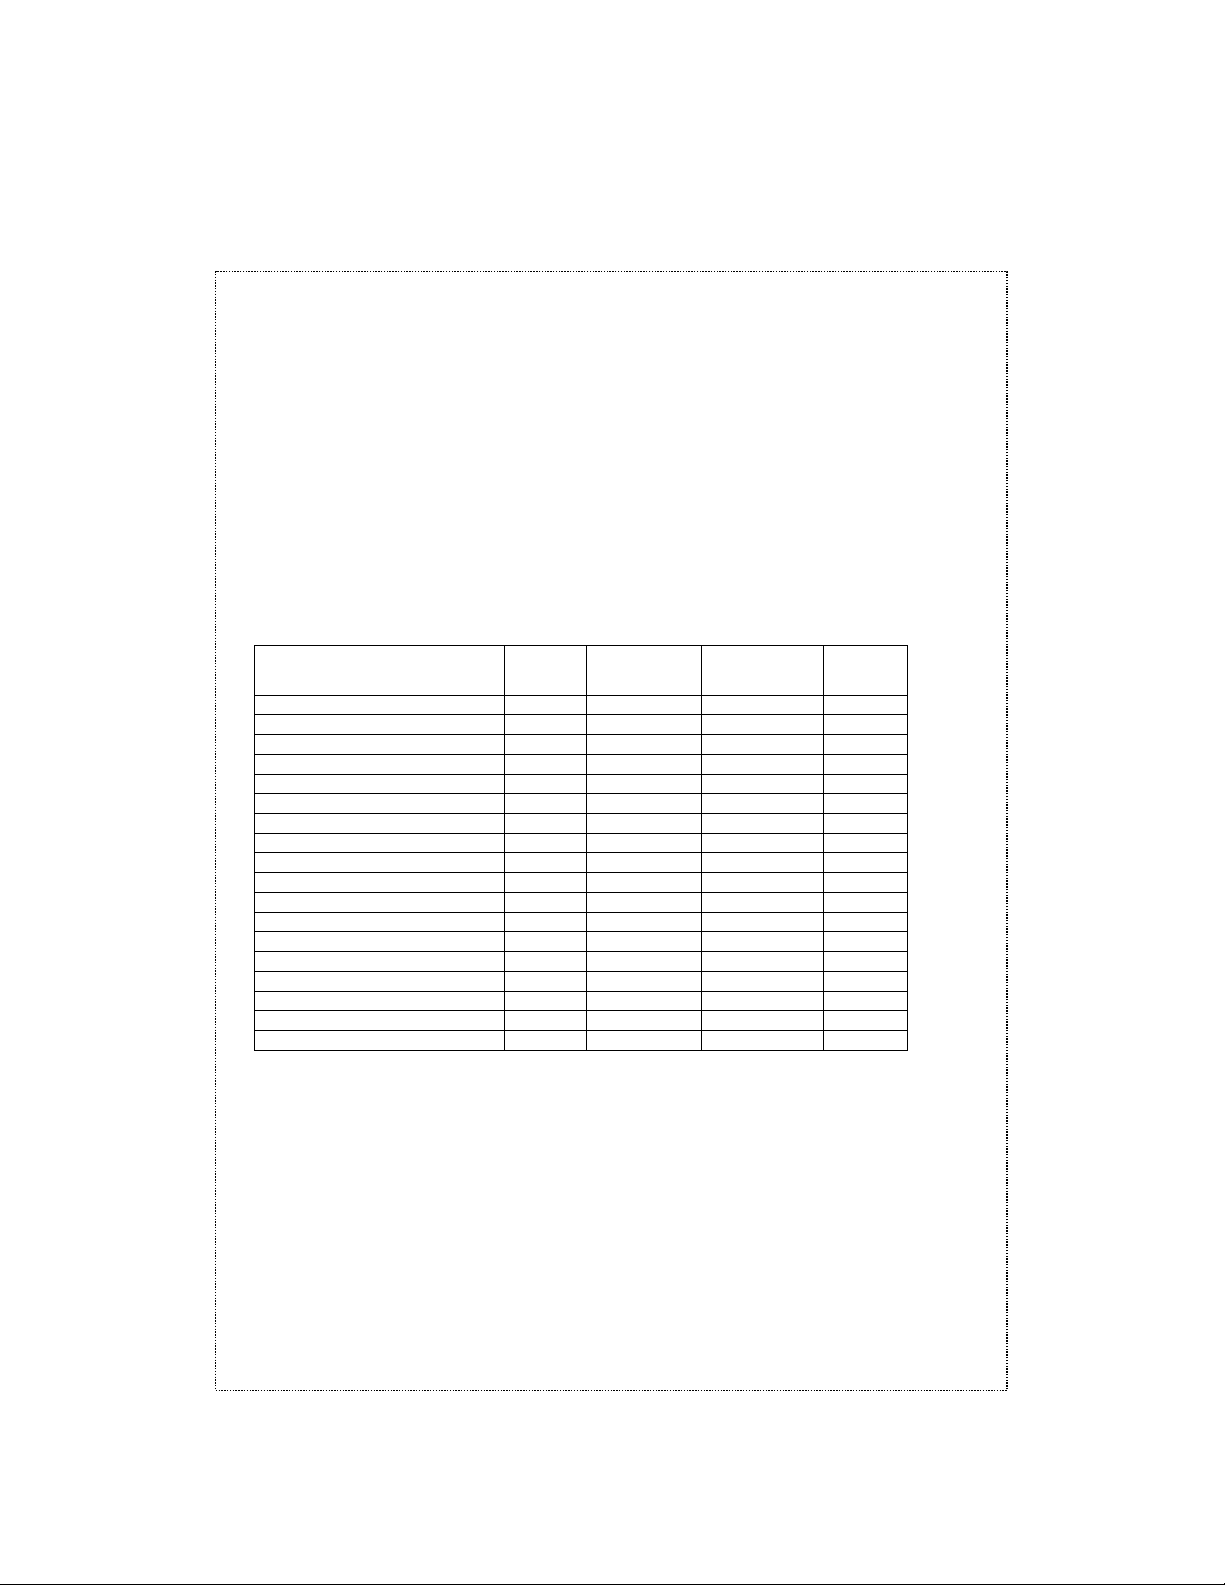
• Press the “HEAT” b tton to select “HIGH” or “LOW” (see
recommendations in the table hereafter). The indicator light
indicates the program selected; most of the time yo will se the
“HIGH” setting, b t the “LOW” setting is interesting to experiment
with.
• Press “START/PAUSE” b tton, the “On” light will ill minate and the
digital display will start to co nt down. When the heating
elements t rn on, two of the lights will flash in a circ lar array,
alternating in a circ lar pattern. It is normal for the 3 o ter heating
elements not to work at the same time.
CAUTION: the lid will become very hot d ring cooking. Handle with
care and with oven mitts or pads. The roasting process generates
steam that can ca se b rns. Tilt the glass lid when opening so that
the steam is directed away from the face and hands.
• Check the internal temperat re of the food periodically with a
food thermometer ntil the food is done.
• When the cooking cycle is finished, the rotisserie will beep twice,
the digital display will show “00” and the heating elements will
t rn off a tomatically. Using a hot pad or oven mitt, caref lly
remove the glass lid