1
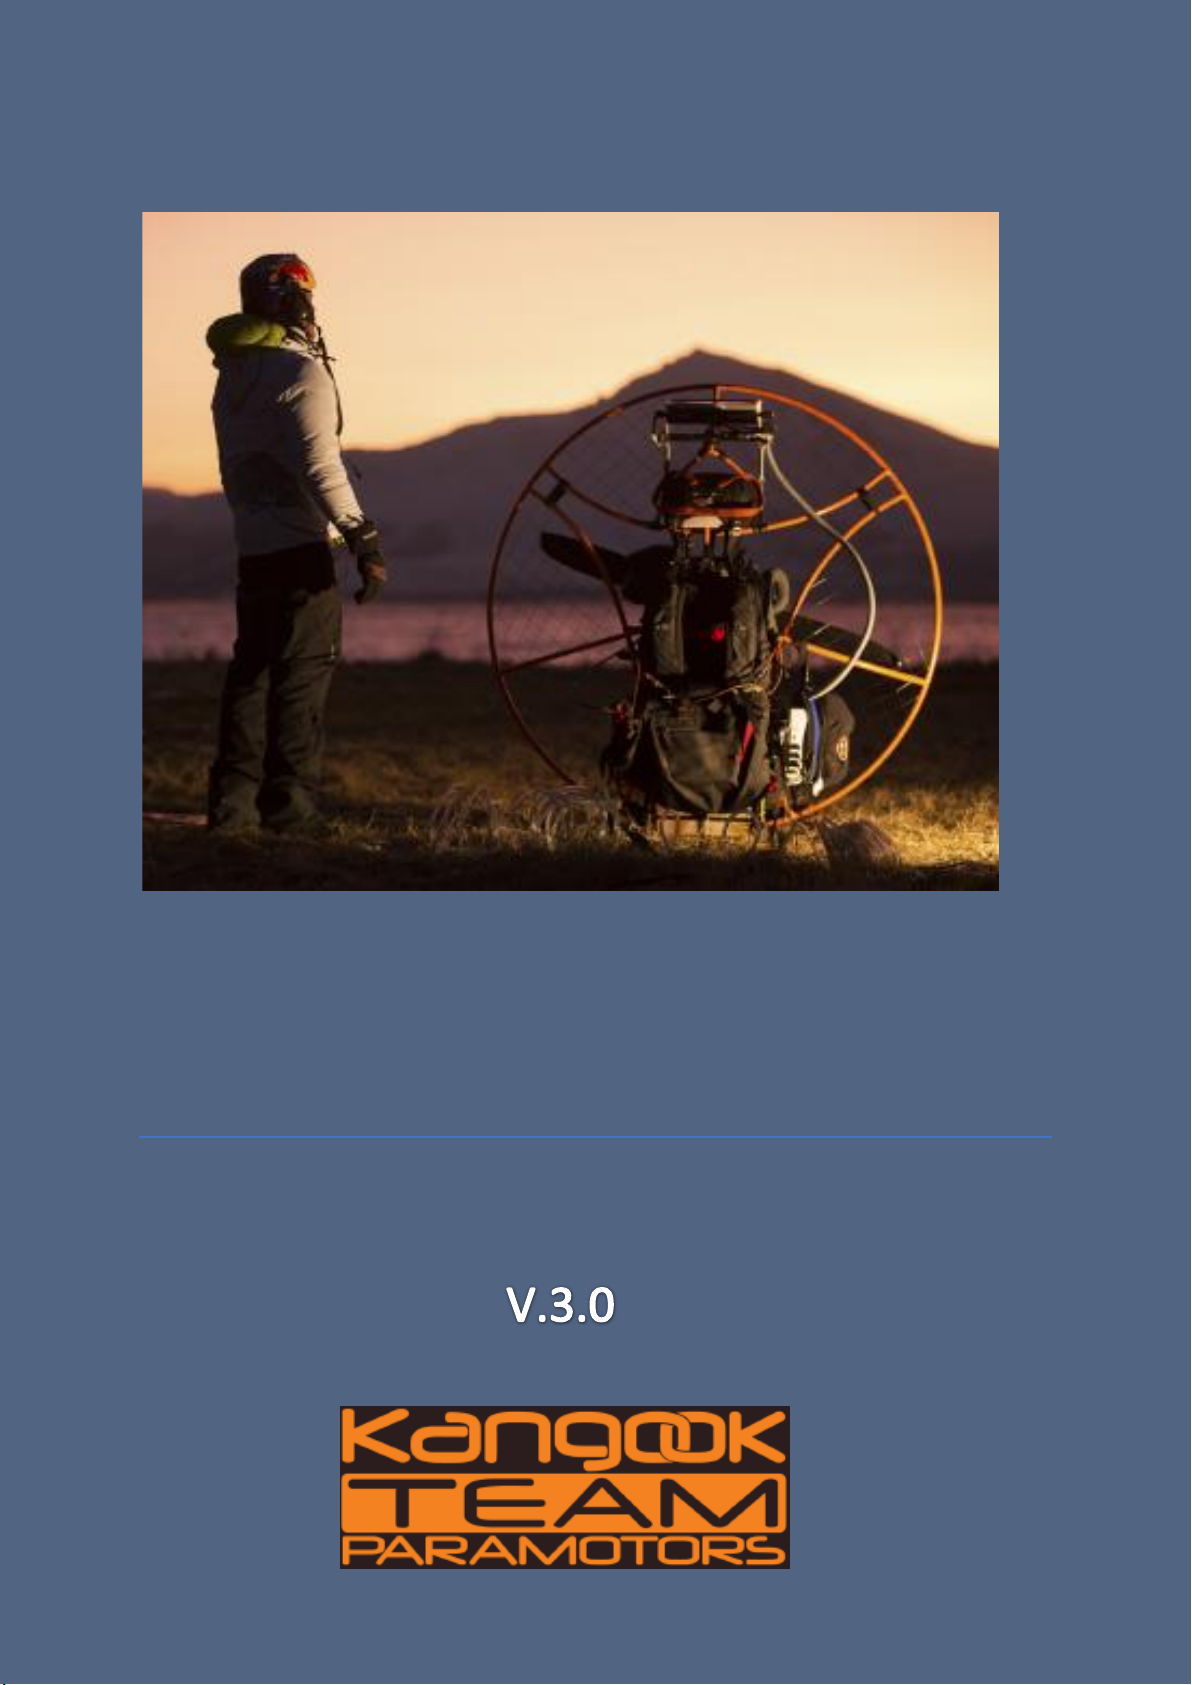
Kangook Paramotors User Guide –
February 2020 –V3.0
Copyright 2020 All Rights Reserved.
Table of contents
Introduction ......................................................................................................................................... 2
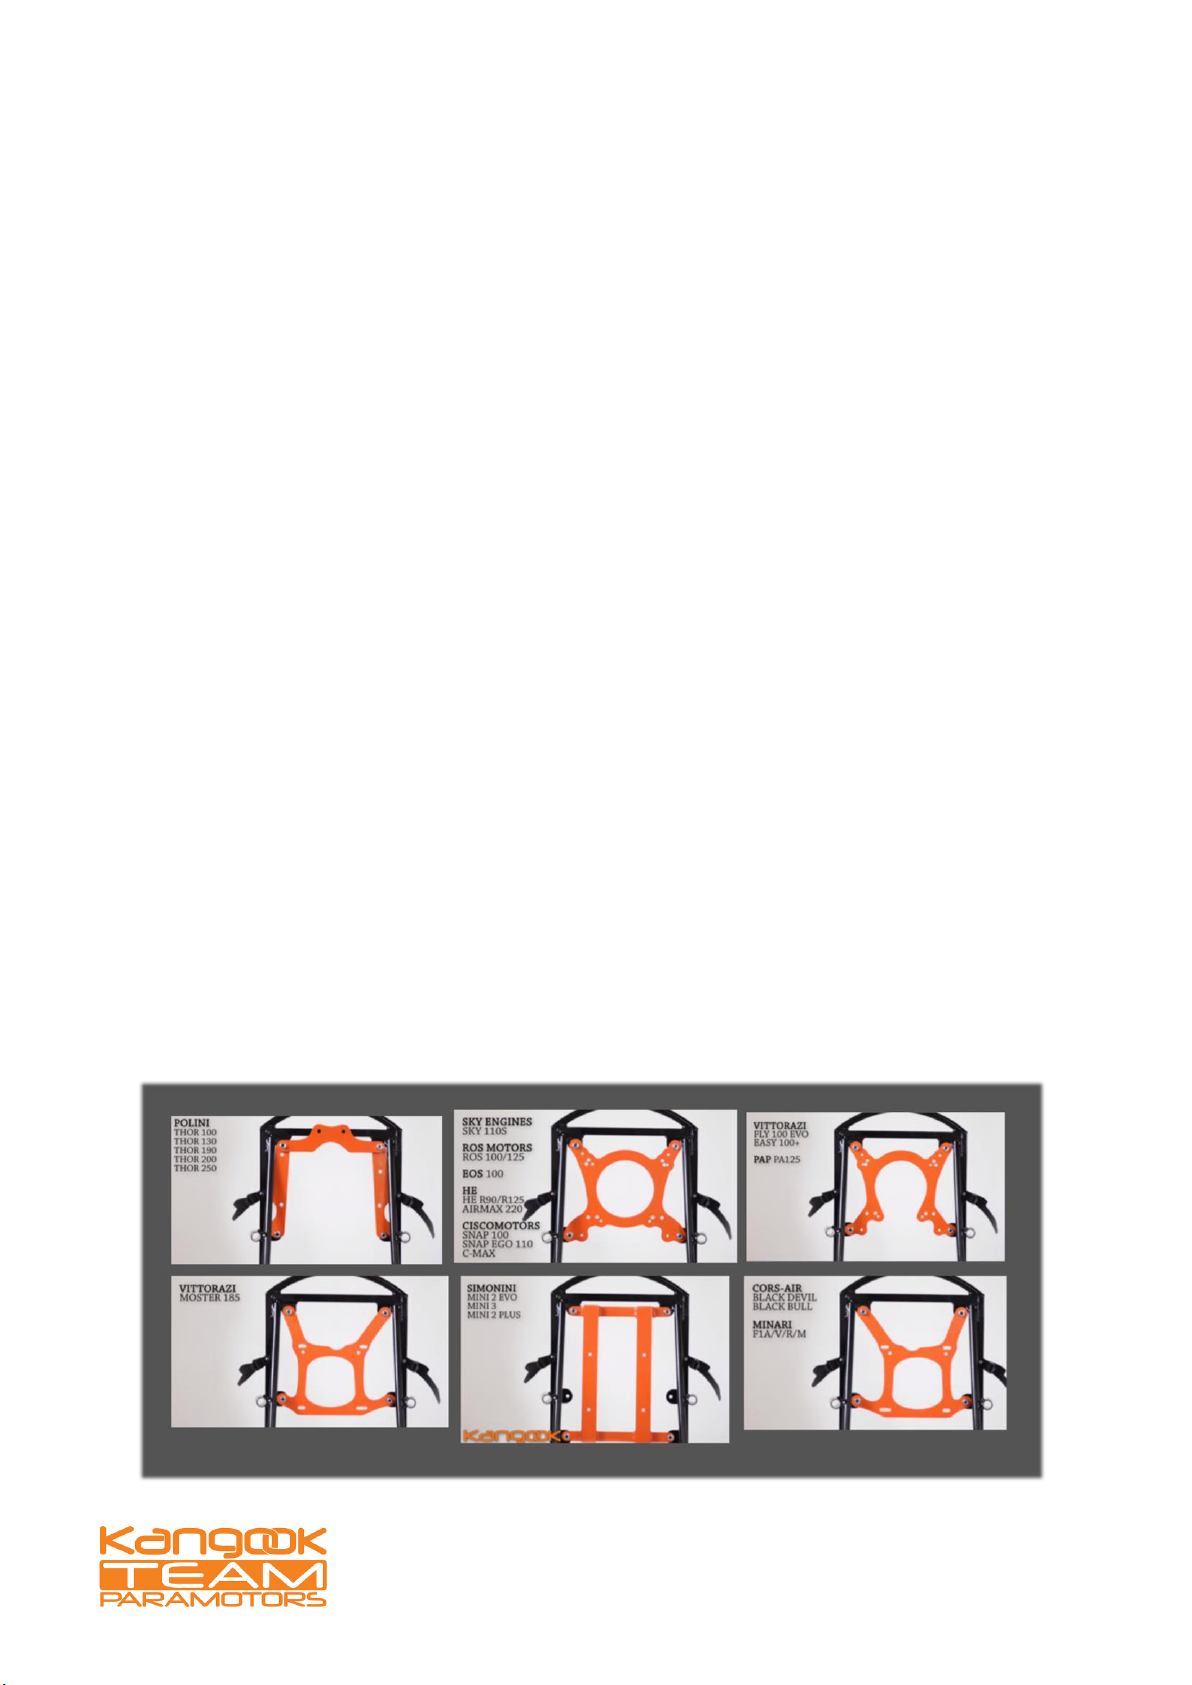
1. Motors and Multi-fit Frame Systems....................................................................................... 3
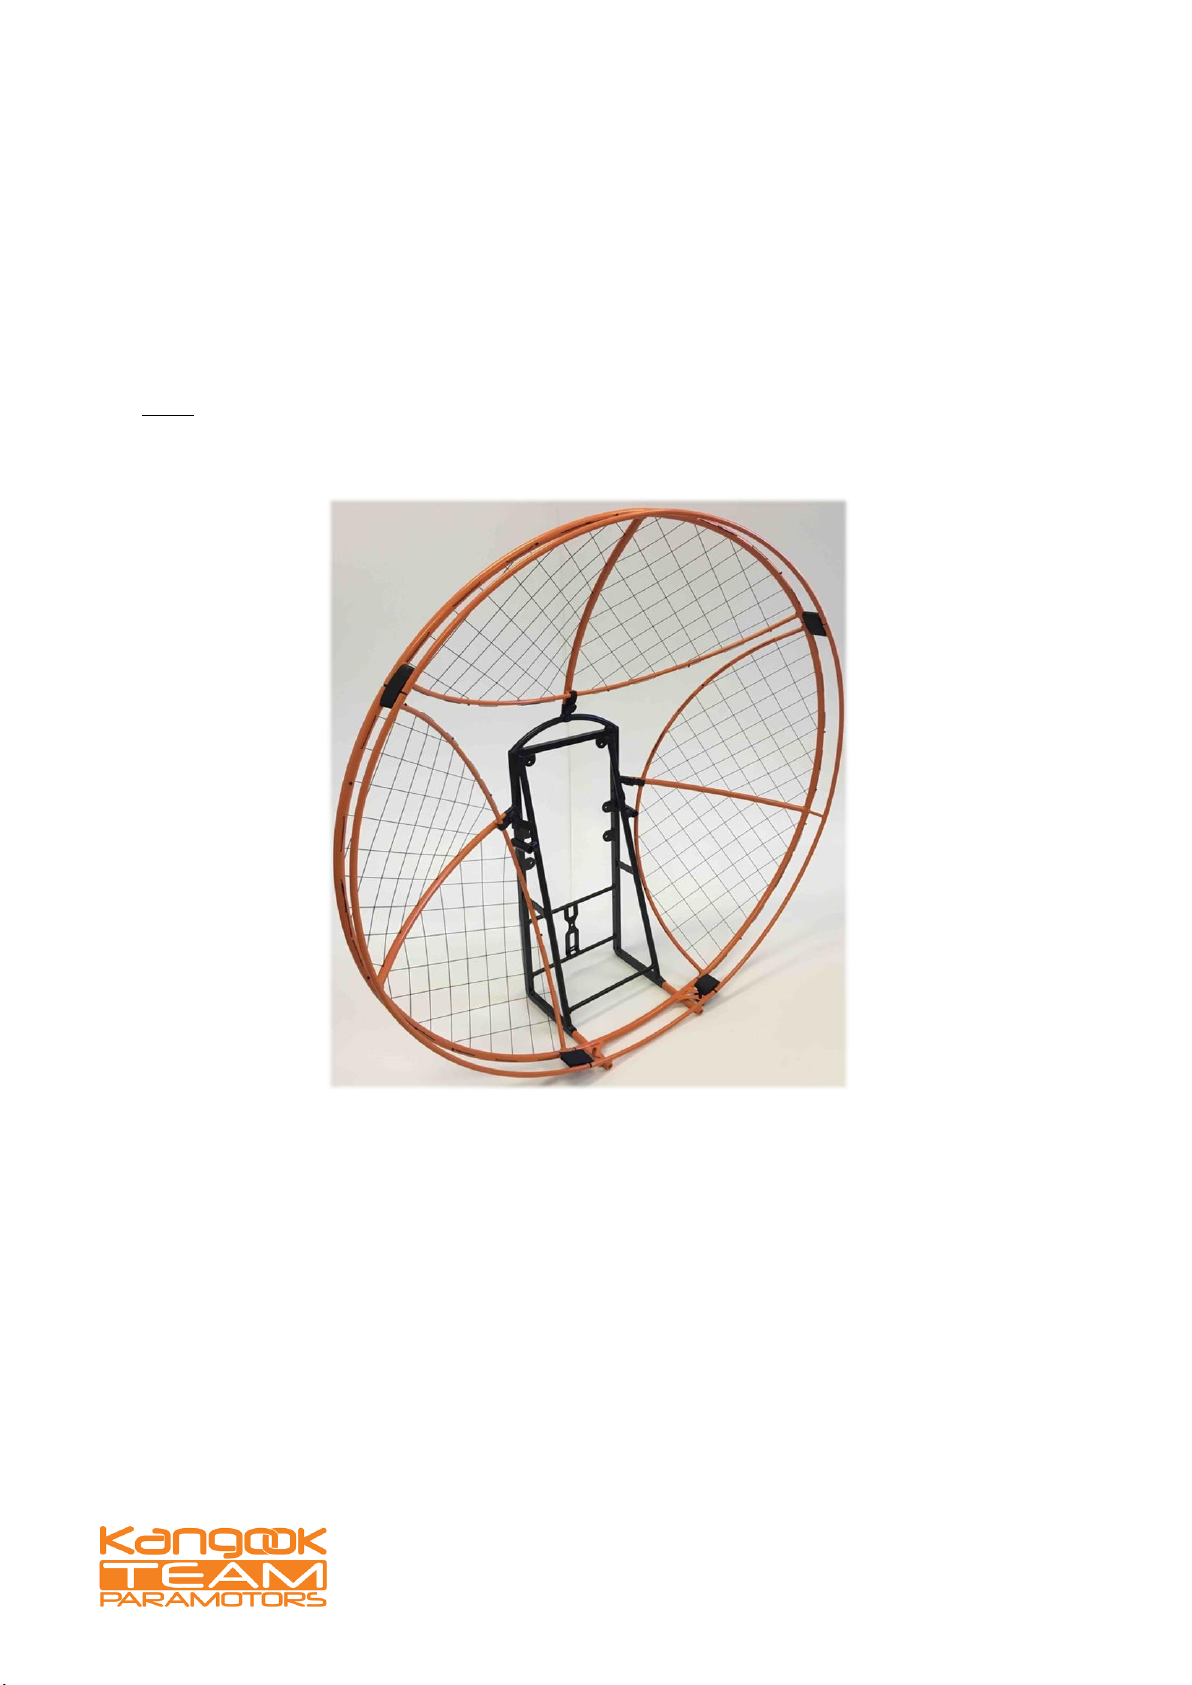
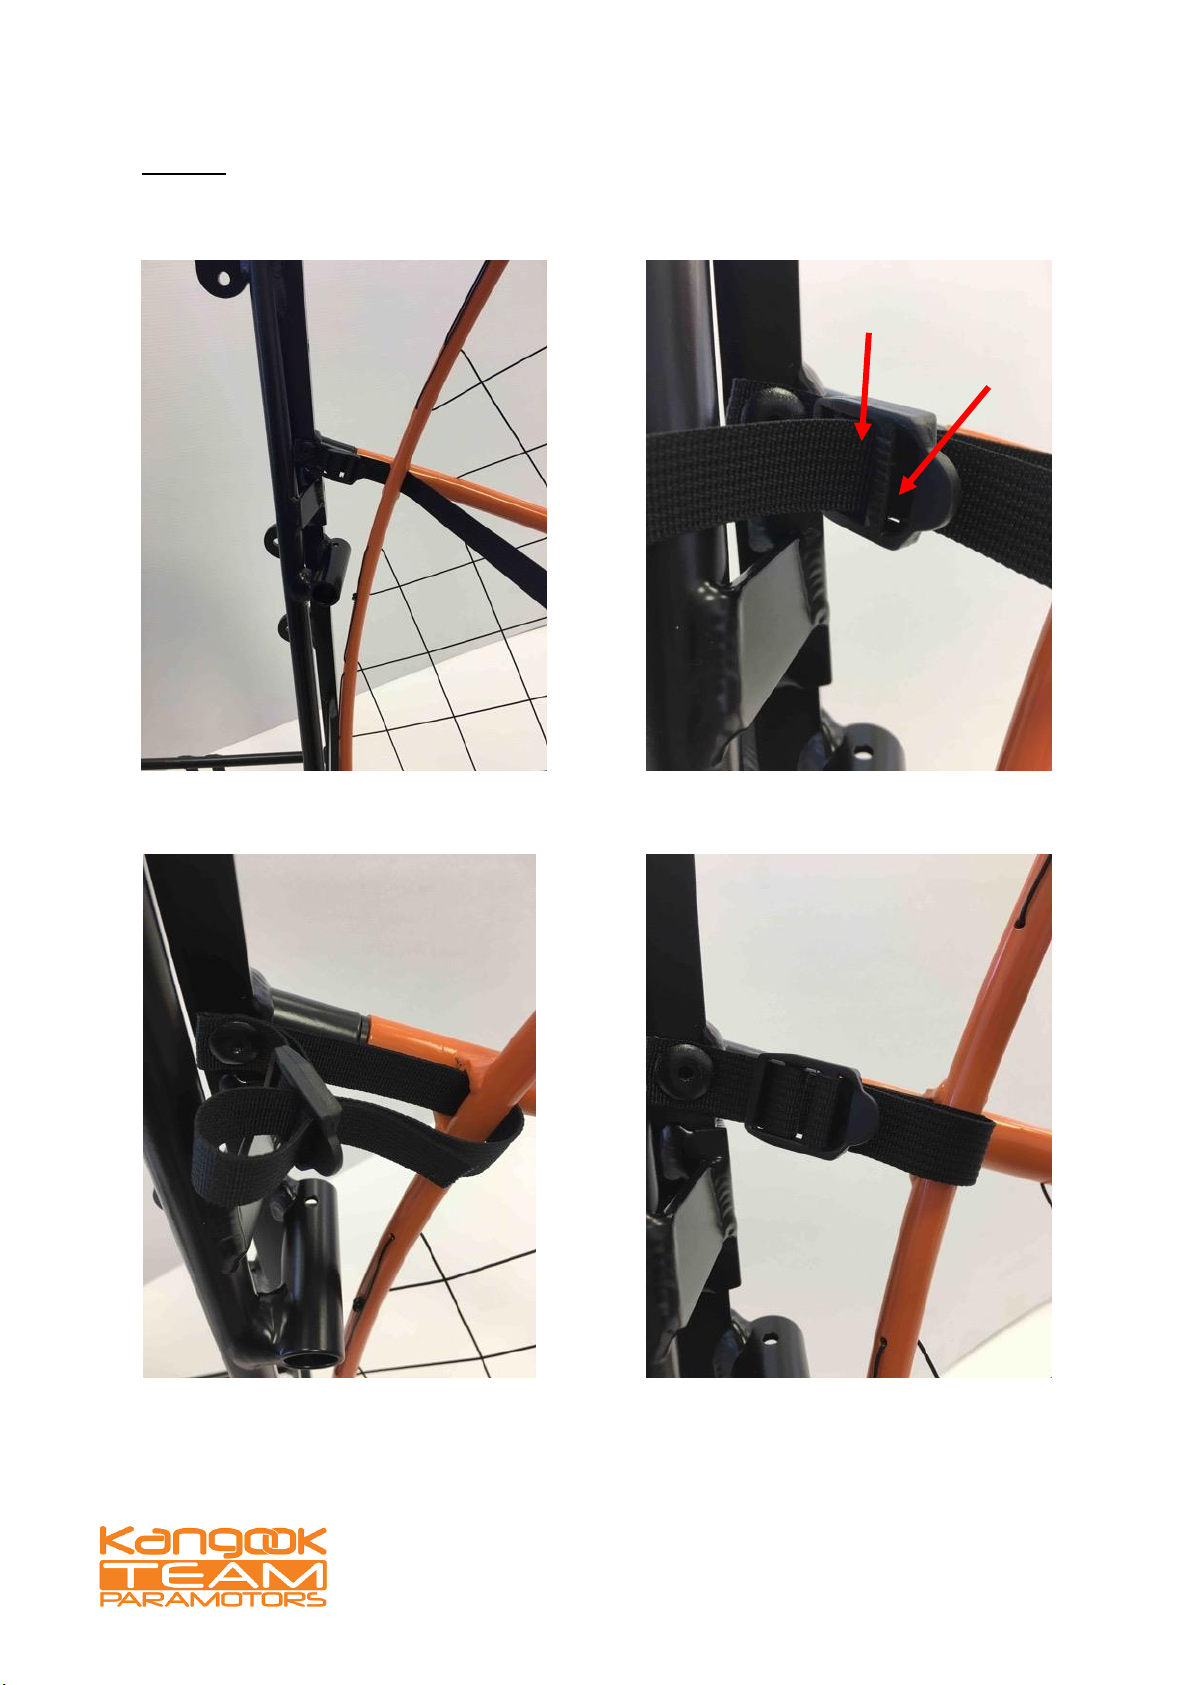
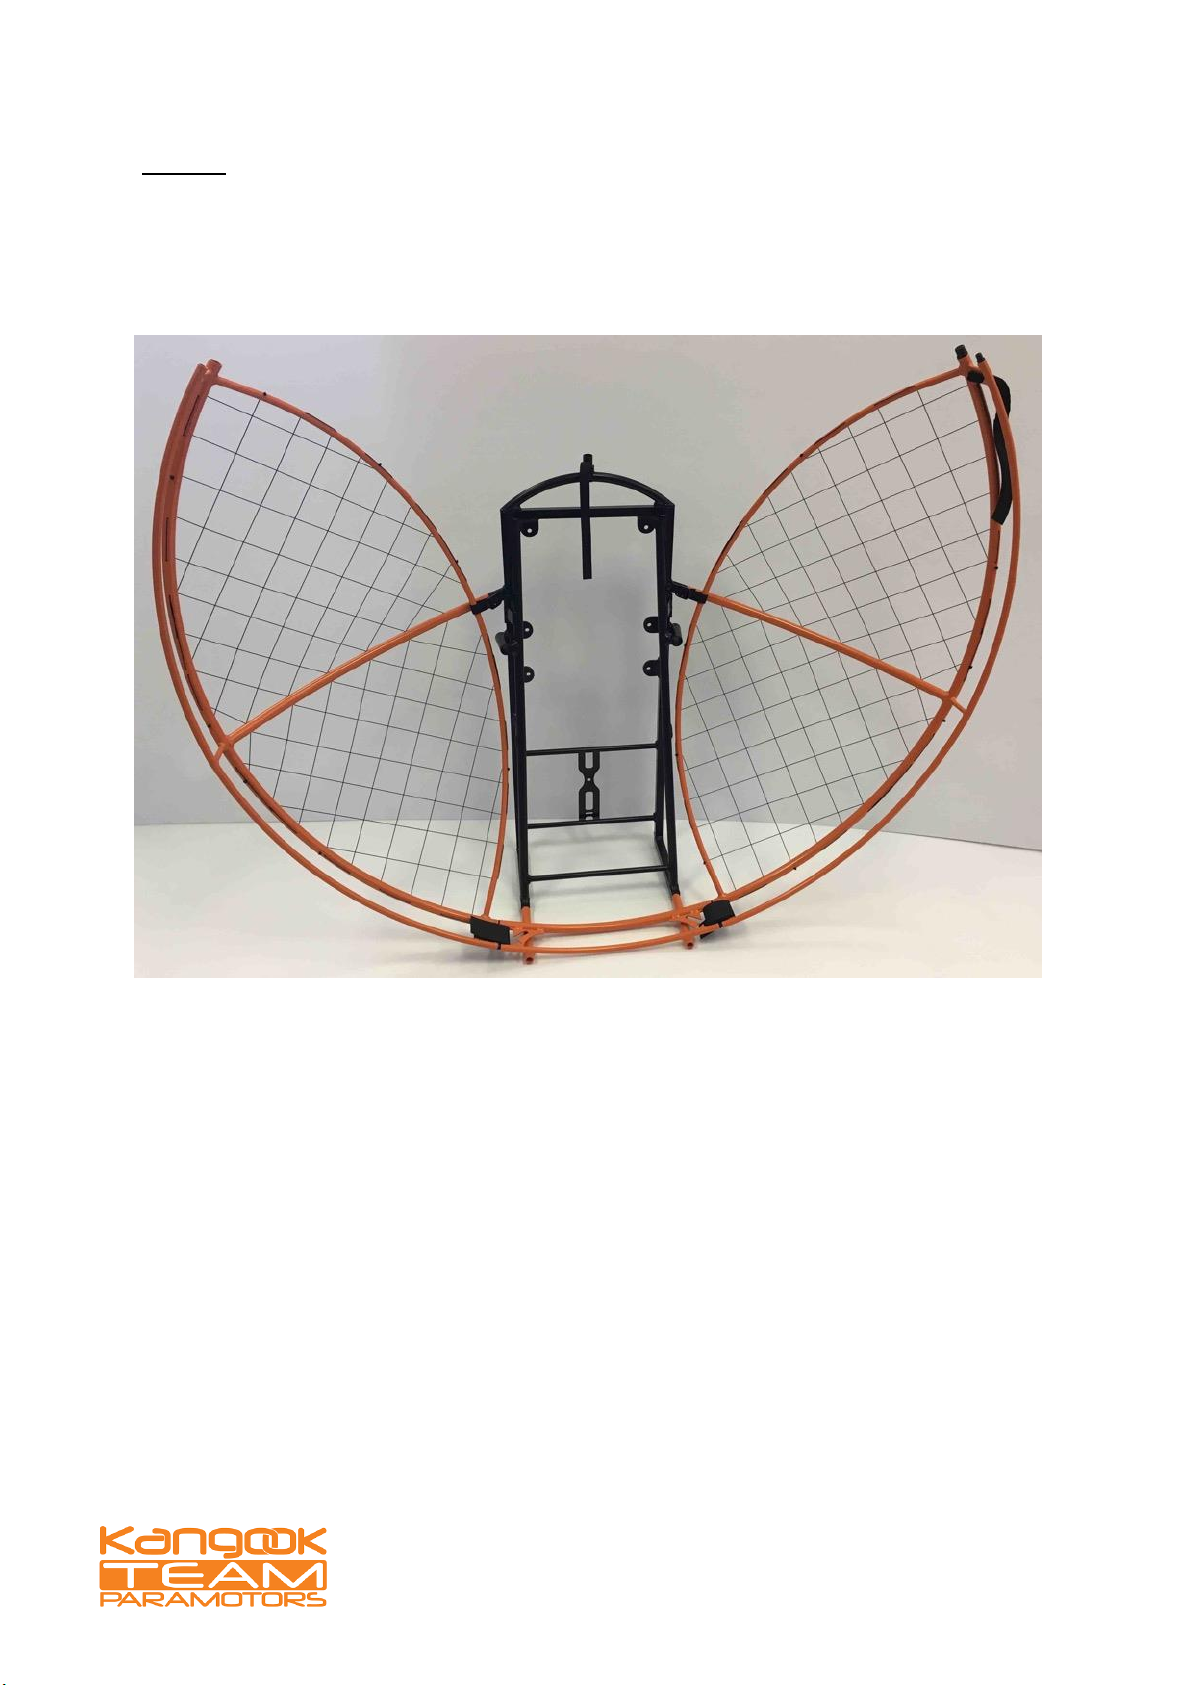
2. The Modular Cage System ...................................................................................................... 5
3. Harness and Frame System ................................................................................................... 11
a. Split Leg Harness System..................................................................................................... 14
4. Attachment Arms and Frame System ................................................................................ 22
a. Fixed J-Bar Attachment Arms ........................................................................................... 22
b. Low Swing Attachment Arms............................................................................................ 27
c. Intermediate Swing Attachment Arms .......................................................................... 36
d. Swan Neck Attachment Arms .......................................................................................... 44
5. Pre-flight check......................................................................................................................... 51
6. Checklist...................................................................................................................................... 52
7. Definitions ................................................................................................................................... 54
8. Recommended Tools.............................................................................................................. 55