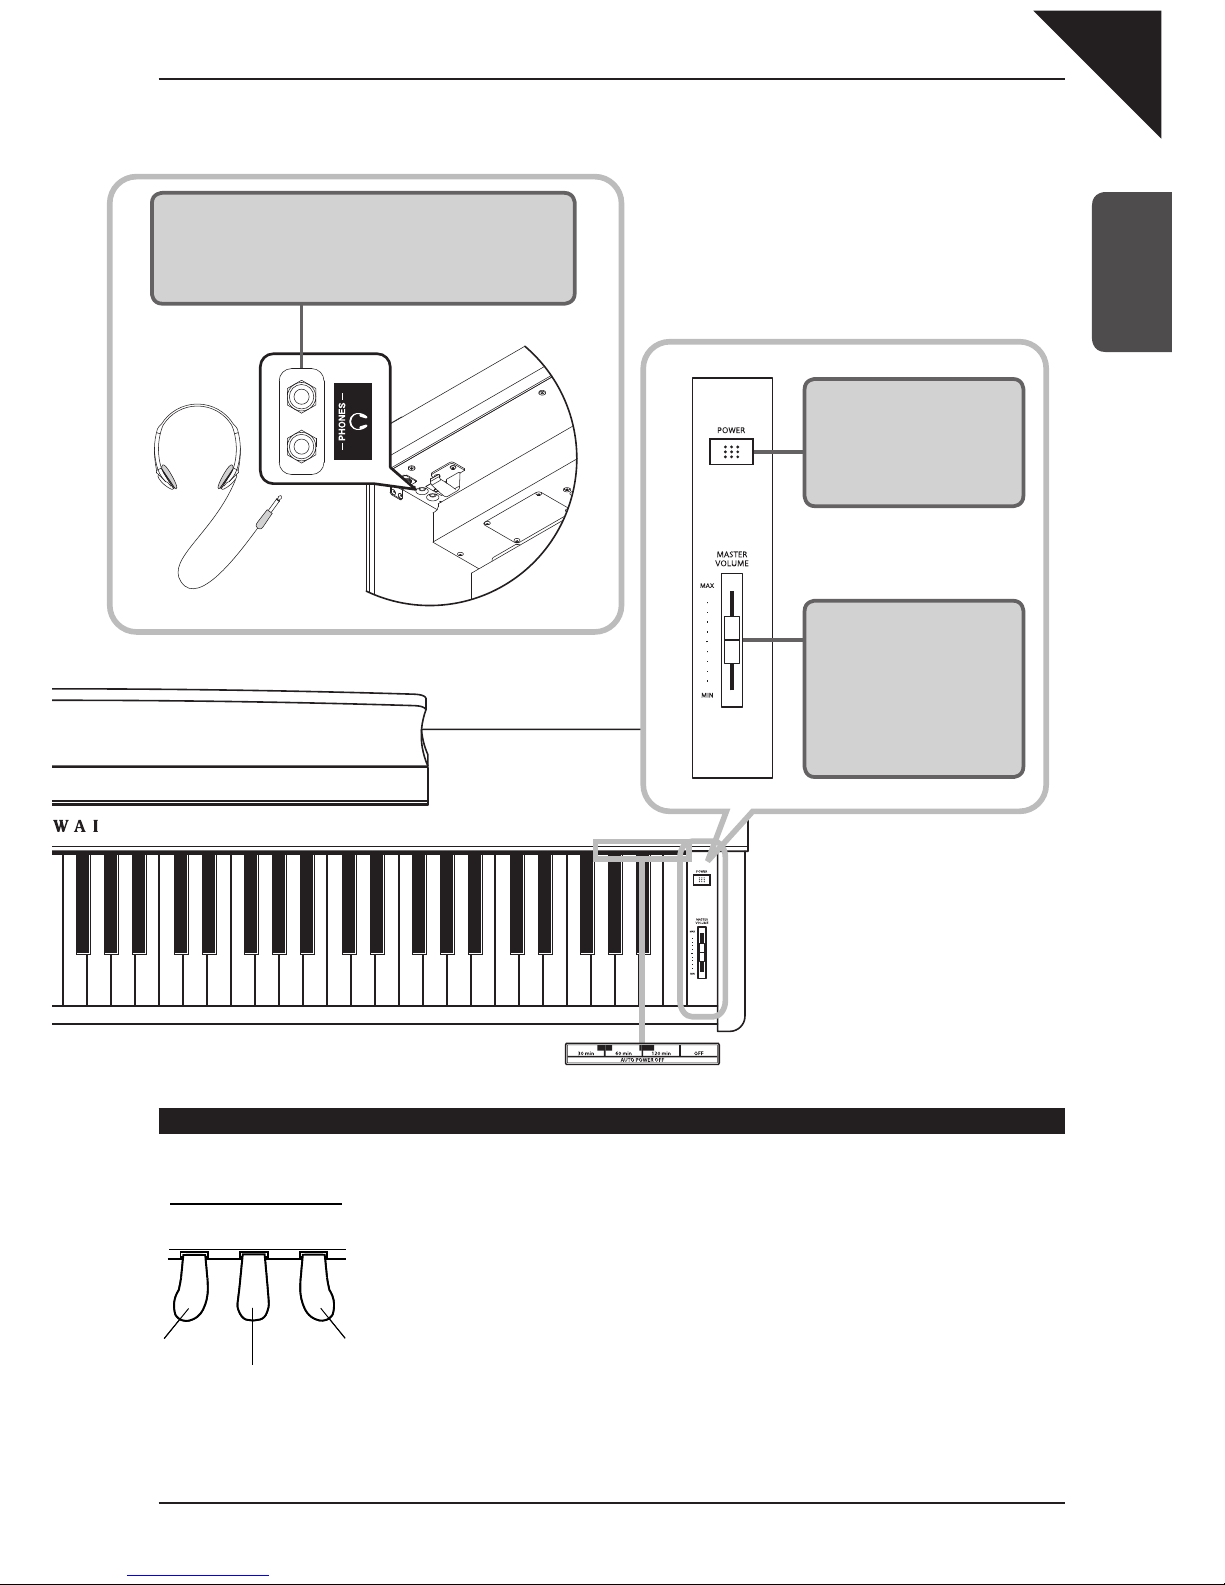
Kawai CL36 User manual

1
PART NAMES
AND FUNCTIONS
2
GETTING STARTED
3
LESSON FUNCTION
4
RECORDER
5
FUNCTION MODE
6
POWER SETTING
7
APPENDICES
Owner’s Manual


Page
3
Table of Contents
THANK YOU FOR PURCHASING A KAWAI DIGITAL PIANO!
This Kawai digital piano is a revolutionary new keyboard instrument, combining the latest in electronic advances with traditional
craftsmanship inherited from Kawai’s many years of experience building fine pianos.The CL36 keyboard provides the touch
response and full dynamic range required for a superb performance of piano, harpsichord, organ, and other instruments.
The CL36 digital piano’s Lesson function helps performers to practice the piano with a collection of etudes from Czerny and
Burgmüller, or songs from Alfred’s Basic Piano Library lesson book (USA, Canada, Australia and UK only).
In addition, the CL36 digital piano is equipped with industry standard MIDI (Musical Instrument Digital Interface),
allowing a number of other electronic instruments to be controlled and played simultaneously, creating a range of musical
possibilities.
This Owner’s Manual contains valuable information to help performers make full use of the instrument’s varied capabilities.
Please read all sections carefully and keep this manual handy for future reference.
Important Safety Instructions..............4
1. PART NAMES AND FUNCTIONS ......8
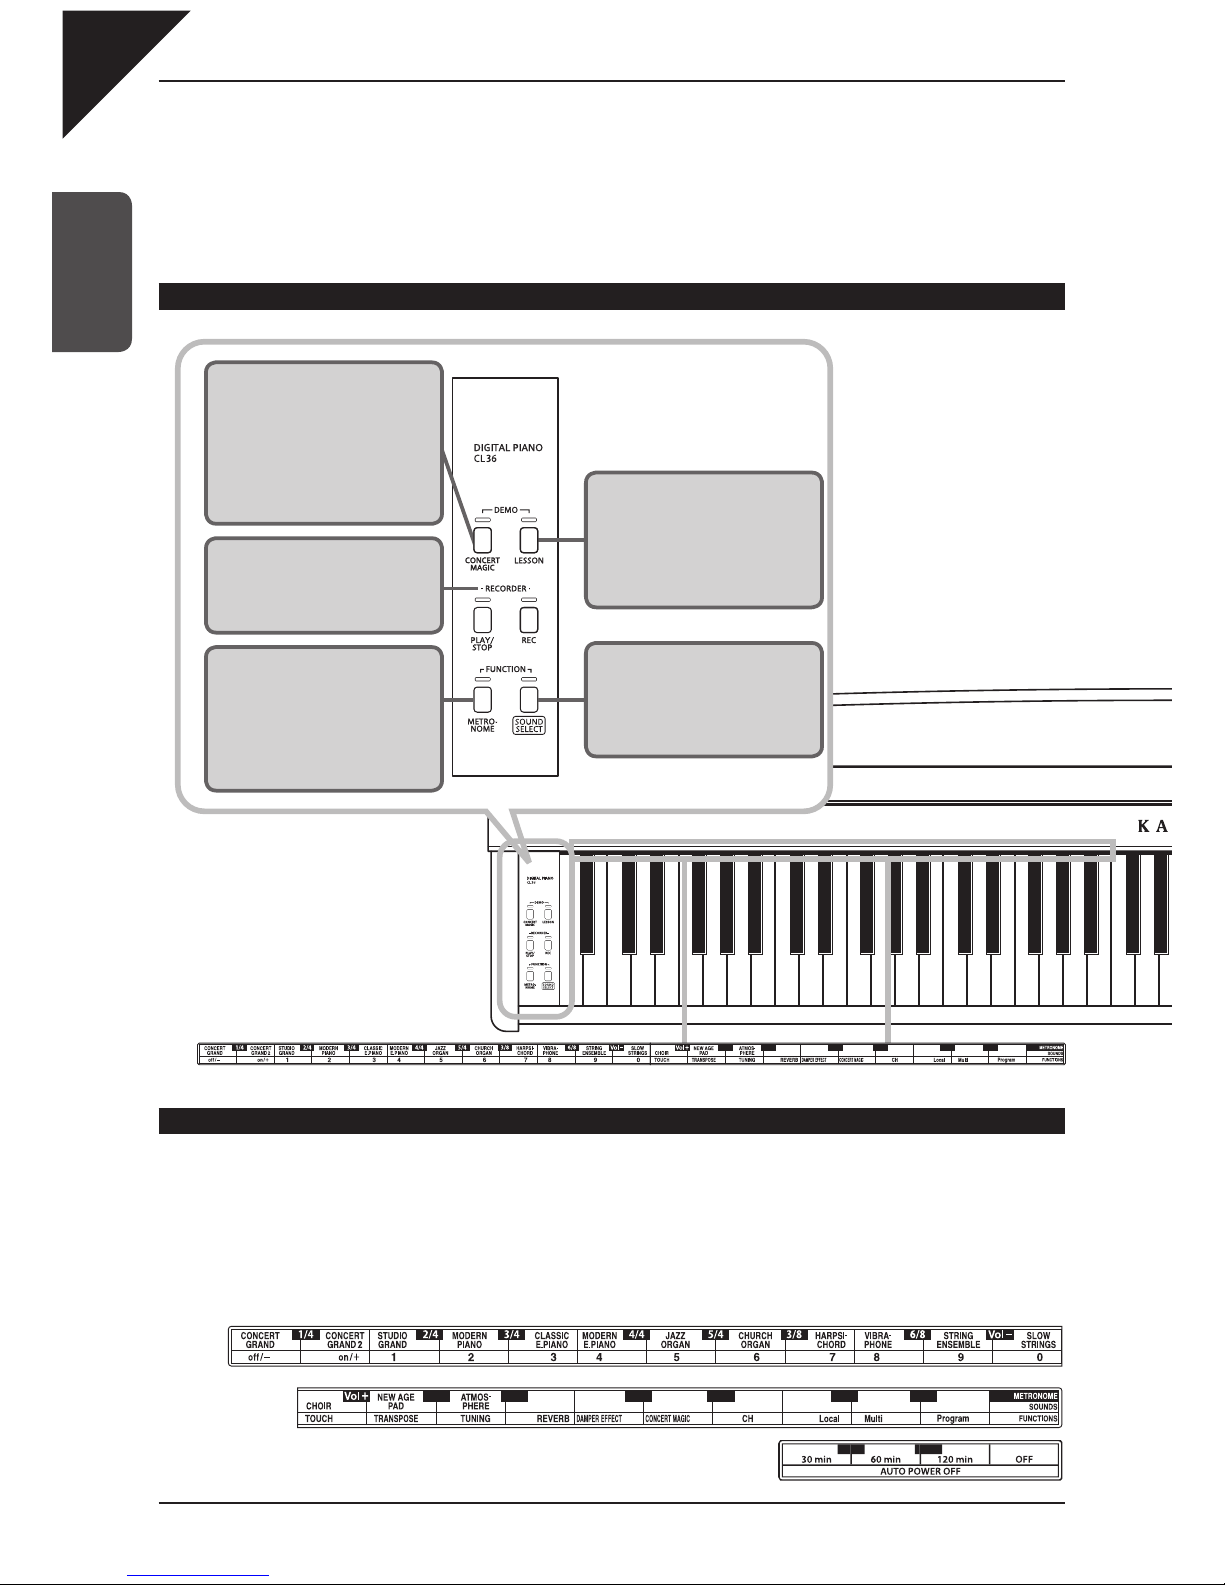
CONTROL PANEL ....................................................... 8
USING THE ENCLOSED FUNCTION LABELS........... 8
PEDALS....................................................................... 9
2. GETTING STARTED.........................10
1) BASIC OPERATIONS..................................................... 10
DEMONSTRATION SONGS...................................... 11
SELECTING A SOUND ............................................. 12
2) DUAL .............................................................................. 13
3) FOUR HANDS................................................................ 14
4) METRONOME................................................................ 15
STARTING THE METRONOME................................. 15
CHANGING THE METRONOME TIME SIGNATURE 15
ADJUSTING THE METRONOME TEMPO ................ 16
5) CONCERT MAGIC ......................................................... 17
SELECTING A SONG................................................ 17
LISTENING TO THE SONG....................................... 17
PERFORMING A SONG............................................ 18
CONCERT MAGIC SONG TYPES ............................ 18
CONCERT MAGIC DEMO MODES........................... 19
3. LESSON FUNCTION........................20
SELECTING A LESSON SONG FROM THE FIRST
SONG BOOK............................................................. 20
SELECTING A LESSON SONG FROM THE SECOND
SONG BOOK............................................................. 20
LISTENING TO A LESSON SONG............................ 21
EXITING THE LESSON FUNCTION ......................... 21
PRACTICING LEFT AND RIGHT HAND PARTS....... 21
ADJUSTING THE TEMPO OF A LESSON SONG .... 22
4. RECORDER .....................................23
1) RECORDING A SONG................................................... 23
2) PLAYING BACK A SONG............................................... 24
3) ERASING ALL SONGS.................................................. 24
5. FUNCTION MODE............................25
1) BASIC OPERATION....................................................... 25
2) TOUCH TYPE................................................................. 26
3) TRANSPOSE.................................................................. 26
4) TUNING.......................................................................... 27
5) REVERB......................................................................... 27
6) DAMPER EFFECT ......................................................... 28
7) CONCERT MAGIC MODE ............................................. 28
8) MIDI CHANNEL SELECT............................................... 29
ABOUT MIDI .............................................................. 29
CL36 MIDI FUNCTIONS............................................ 29
9) MIDI LOCAL CONTROL ON/OFF.................................. 30
10) MULTI-TIMBRAL MODE ON/OFF................................ 31
11) TRANSMIT MIDI PROGRAM CHANGE....................... 32
6. POWER SETTING............................33
1) AUTO POWER OFF ....................................................... 33
7. APPENDICES...................................34
1) CONNECTING TO OTHER DEVICES ........................... 34
2) ASSEMBLY INSTRUCTIONS......................................... 35
3) CONCERT MAGIC SONG LIST..................................... 38
4) LESSON SONG LIST..................................................... 39
ALFRED’S BASIC PIANO LIBRARY ......................... 39
BURGMÜLLER & CZERNY ETUDES ....................... 40
5) SPECIFICATIONS.......................................................... 41
6) MIDI IMPLEMENTATION CHART................................... 42

Page
4
Important Safety Instructions
denotes that care should be taken.
The example instructs the user to take care not to allow fingers to be trapped.
denotes a prohibited operation.
The example instructs that disassembly of the product is prohibited.
denotes an operation that should be carried out.
The example instructs the user to remove the power cord plug from the AC outlet.
Examples of Picture Symbols
Read all the instructions before using the product.
CAUTION
RISK OF ELECTRIC SHOCK
DO NOT OPEN
AVIS : RISQUE DE CHOC ELECTRIQUE - NE PAS OUVRIR.
TO REDUCE THE RISK OF ELECTRIC SHOCK, DO NOT REMOVE COVER (OR BACK).
NO USER-SERVICEABLE PARTS INSIDE. REFER SERVICING TO QUALIFIED SERVICE PERSONNEL.
The lighting flash with arrowhead symbol, within an
equilateral triangle, is intended to alert the user to
the presence of uninsulated "dangerous voltage"
within the product's enclosure that may be of
sufficient magnitude to constitute a risk of electric
shock to persons.
The exclamation point within an equilateral triangle
is intended to alert the user to the presence of
important operating and maintenance (servicing)
instructions in the literature accompanying the
product.
WARNING
TO REDUCE THE RISK OF
FIRE OR ELECTRIC
SHOCK, DO NOT EXPOSE
THIS PRODUCT TO RAIN
OR MOISTURE.
INSTRUCTIONS PERTAINING TO A RISK OF FIRE, ELECTRIC SHOCK, OR INJURY TO PERSONS
SAVE THESE INSTRUCTIONS
1) Read these instructions.
2) Keep these instructions.
3) Heed all warnings.
4) Follow all instructions.
5) Do not use this apparatus near water.
6) Clean only with dry cloth.
7) Do not block any ventilation openings. Install in
accordance with the manufacturer's
instructions.
8) Do not install near any heat sources such as
radiators, heat registers, stoves, or other
apparatus (including amplifiers) that produce
heat.
9) Do not defeat the safety purpose of the
polarized or grounding-type plug. A polarized
plug has two blades with one wider than the
other. A grounding type plug has two blades
and a third grounding prong. The wide blade or
the third prongs are provided for your safety. If
the provided plug does not fit into your outlet,
consult an electrician for replacement of the
obsolete outlet.
10) Protect the power cord from being walked on
or pinched particularly at plugs, convenience
receptacles, and the point where they exit from
the apparatus.
11) Only use attachments/accessories specified by
the manufacturer.
12) Use only with the cart, stand, tripod, bracket, or
table specified by the manufacturer, or
sold with the apparatus. When a cart is used,
use caution when moving the cart/apparatus
combination to avoid injury from tip-over.
13) Unplug this apparatus during lightning storms
or when unused for long periods of time.
14) Refer all servicing to qualified service
personnel. Servicing is required when the
apparatus has been damaged in any way, such
as power-supply cord or plug is damaged,
liquid has been spilled or object have fallen
into the apparatus, the apparatus has been
exposed to rain or moisture, does not operate
normally, or has been dropped.polarized or
grounding-type plug. A polarized plug has two
blades with one wider than the other.

Page
5
WARNING Indicates a potential hazard that could result in death
or serious injury if the product is handled incorrectly.
WARNING - When using electric products, basic precautions should always be followed,
including the following.
Failure to do so may result in damage or an
accident.
Always follow the assembly instructions
carefully.
This product may be equipped with a polarized line plug (one blade
wider than the other). This is a safety feature.
If you are unable to insert the plug into the outlet, contact an
electrician to replace your obsolete outlet.
Do not defeat the safety purpose of the plug.
Do not disassemble, repair or modify
the product. Doing so may result in product breakdown, electric
shock or short-circuit.
Doing so may cause the product to fall over,
resulting in injury.
Do not lean against the keyboard.
When using the headphones, do not
listen for long periods of
time at high volume levels.
Doing so may result in hearing problems.
● Doing so may cause the product to become
deformed or fall over, resulting in breakdown
or injury.
Do not stand on the product or exert
excessive force.
Doing so may cause a short circuit, leading to an
electric shock, or a fire.
Do not use the product in wet areas or areas
close to water.
The product is not completely disconnected from the
power supply even when the power switch is turned
off. If the product will not be used for a long time,
unplug the AC power cord from the AC outlet.
● Failure to do so may cause fire in case of
lightning.
● Failure to do so may over-heat the product,
resulting in fire.
When disconnecting the AC power cord's
plug, always hold the plug
and pull it to remove it.
● Pulling the AC power cord itself may damage
the cord, causing a fire, electric shock or
short-circuit.
Entry of water, needles or hair pins may result
in breakdown or short-circuit.
The product shall not be exposed to dripping or
splashing. No objects filled with liquids, such as
vases, shall be placed on the product.
Take care not to allow any foreign
matter to enter the product.
Do not insert or disconnect the power
cord plug with wet hands. Doing so may cause electric shock.
The product should be connected to
an AC outlet of the specified voltage.
● If you are going to use an AC power cord,
make sure that its has the correct plug shape
and conforms to the specified power voltage.
● Failure to do so may result in fire.
120V 240V230V
Table of contents
Other Kawai Musical Instrument manuals

Kawai
Kawai Digital Piano P160 User manual

Kawai
Kawai Concert Artist CA98 User manual

Kawai
Kawai CA401 User manual

Kawai
Kawai DX80 User manual

Kawai
Kawai CN2 User manual

Kawai
Kawai CN17 User manual

Kawai
Kawai CP 209 User manual

Kawai
Kawai CN39 Manual

Kawai
Kawai Stage Piano MP8 Technical manual

Kawai
Kawai MP10 User manual

Kawai
Kawai MP11SE User manual

Kawai
Kawai DX900 Series User manual

Kawai
Kawai L1-LDS User manual

Kawai
Kawai PN70 User manual

Kawai
Kawai CP95 User manual

Kawai
Kawai AnyTime X GP User manual

Kawai
Kawai KDP70 User manual

Kawai
Kawai CN32 User manual

Kawai
Kawai Digital Piano KSP10 User manual

Kawai
Kawai DP1 User manual