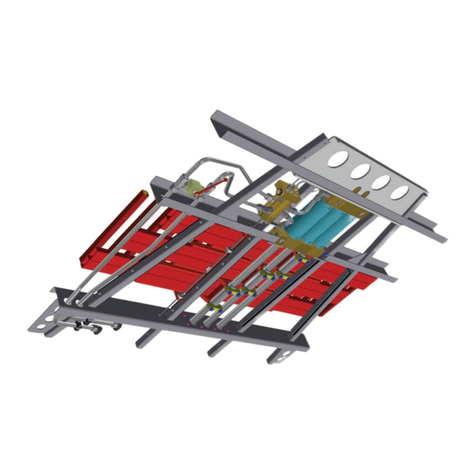
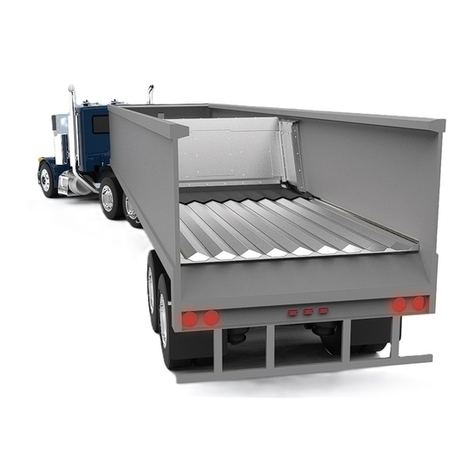
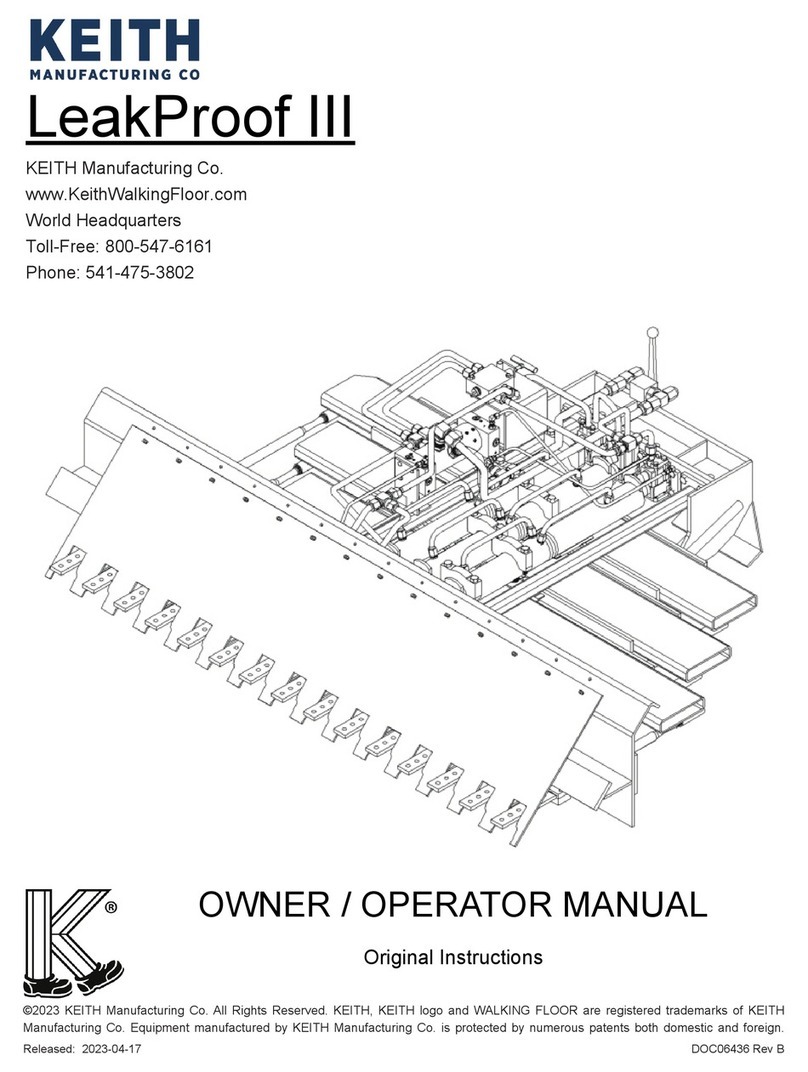
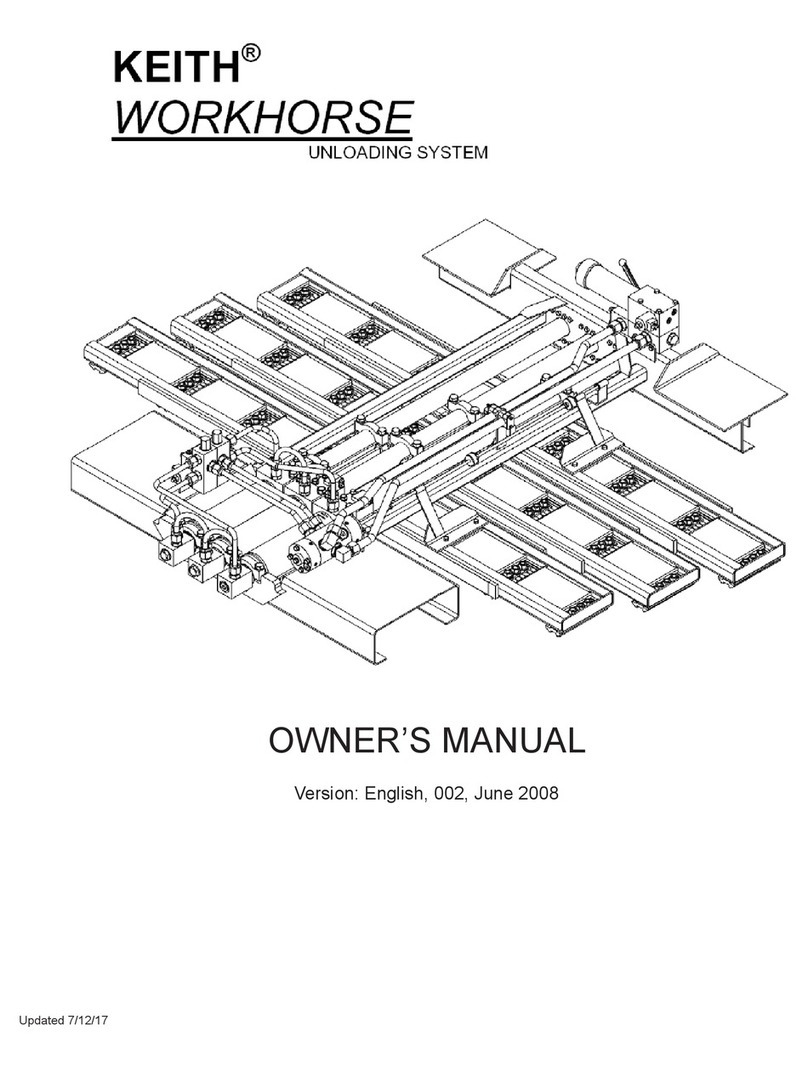
Keith Running Floor II Metric User manual

© 2004, KEITH Mfg. Co. All rights reserved KEITH, WALKING FLOOR and RUNNING FLOOR II are registered trademarks of
KEITH Mfg. Co. Equipment manufactured by KEITH Mfg. Co numerous patents both domestic and foreign.. is protected by
WALKING FLOOR® is a product and brand of Keith Mfg. Co.
KEITH®Running Floor II®Drive
Metric Installation Manual
ONLY BY KEITH
KEITH Mfg. Co.
World Headquarters
800-547-6161
541-475-3802
541-475-2169 fax
®

CONTENTS:
1 INTRODUCTION
2 TRUCK OR TRAILER PREPARATIONS
2.1 Drive unit compatibility
2.2 Trailer alignment
2.3 Bracing
2.4 Hydraulic tubing locations
2.5 Cross-members
2.6 Shimming
3 SUB-DECK
3.1 Baffle plate
3.2 Square tubing
3.3 End sub-deck
3.4 Side seal support
4 DRIVE UNIT
4.1 Center frame trailer
4.2 Frameless trailer
4.3 Painting
5 FLOORING
5.1 Slide bearings
5.2 Floor slats/planks
5.3 Side seal
5.4 Front shield
6 HYDRAULIC TUBING
7 MISCELLANEOUS
7.1 Wires and lines
7.2 Caution decals
7.3 Front guard
7.4 Tarp
7.5 Moving headboard
7.6 Trimming a floor slat/plank (After side seals are installed)
Appendix 1 Tools
Appendix 2 Materials
Appendix 3 Reference drawings
Appendix 4 Check list
Appendix 5 Torque chart

Chapter 1 INTRODUCTION
This manual explains procedures for installing the KEITH®Running Floor II®unloading
system. Many variables affect the installation, but the general process remains
constant. Details of the installation vary according to trailer features, kit selections, and
installer preferences. Optional sets of instructions are given for some operations to
allow for flexibility.
This manual focuses on the installation of an 200mm stroke system with 3 1/2"
(88.9mm) flooring. Installation of the system with 6" flooring is similar. Information
unique to 6" (152.4mm) flooring is included where it pertains.
Installation time varies and is between 35 and 100 hours, depending upon the
experience of the installer and the adaptability of the trailer. If the trailer is not yet built,
there are some trailer preparations found (Chapter 2) that will save time and effort. One
person with welding skills can complete the entire installation.
An efficient installation requires appropriate tools and accessible materials. A list of
tools is found in Appendix 1. Appendix 2 lists materials. Several reference drawings
accompany this manual. The KEITH Running Floor II owner's manual contains more
detailed information about the system and operation procedures.
Direct any questions to KEITH Mfg. Co. or one of our international offices listed on the
cover of this manual.
WARNING: Installing the WALKING FLOOR®system will require some alterations to
your trailer. Changes made without approval of the trailer manufacturer may void the
trailer's warranty.

1. CENTER FRAME
Chapter 2 TRAILER PREPARATIONS
The trailer requires preparation before the system is installed. Planning ahead for the
WALKING FLOOR installation requirements saves significant preparation time,
especially when building a new trailer.
2.1 Drive unit compatibility
There are two styles of Running Floor II®drive units. The trailer's frame determines
which style should be used. Check the compatibility of the drive unit with the trailer
before making any alterations to the trailer.
If the frame rails extend the full length of the trailer (Figure 1), use a drive unit without
frame rails (Figure 2).
25029
If the trailer is "frameless" (Figure 3), use a drive unit equipped with tapered frame rails
(Figure 4).
Figure 1
Figure 2

1. AXLE FRAME
2. LANDING GEAR FRAME
1. TAPERED FRAME RAIL
25028
NOTE: Manufacturers of frameless trailers may want to consider extending their axle
rails far enough forward that a frameless drive unit can be installed (extend 2.87m for
255mm stroke, 2.77m for 150mm stroke).
Chapter 4 discusses the drive unit installation process in more detail.
2.2 Trailer alignment
1. Adjust the trailer to meet these conditions:
A) The trailer must be straight to allow for proper parallel movement of the
slats/planks. Determine straightness by sighting down a floor slat/plank
positioned in the trailer.
B) The cross-members on which the sub-deck mounts must be level, because
the friction based principle of the WALKING FLOOR system requires a flat
25031
Figure 3
Figure 4

1. AXLE FRAME
2. LANDING GEAR FRAME
3. BRACES
floor. If there are deviations exceeding 3mm, make corrections. Ensure that
the last beam of the trailer at the rear door threshold is level with the cross
members.
2.3 Bracing
Trailer bracing prevents warping.
25032
25032a
1. Install bracing as shown in Figures 5 and 6.
It is best to add bracing before removing the old floor because the floor keeps the
trailer straight. If flat bar is used, make a cross-bracing because it will buckle
easily under compression. Steel angle does not require a cross. Make sure
there is enough wheel clearance when installing steel angle. The bracing
reaches to the drive opening. Weld or bolt the braces to each intersecting cross-
member.
2. Remove old flooring.
Figure 5
Figure 6

2.4 Hydraulic tubing locations
Hydraulic pressure, generated by the tractor's wet kit, powers the drive unit. Tubing
must connect the drive unit to the tractor.
1. Consider the location of the hydraulic tubing. Chapter 6 provides more
information on this subject. A central location is preferable for the quick-couplers
in front of the trailer. This keeps hose lengths down, if they stay connected while
driving.
There are WKUHH options available:
1) Routing the hydraulic tubing through the cross-members (Figure 7).
Make two 35mm holes per cross-member. The holes should be
close to the sides of the trailer to maintain the structural integrity of
the cross-members. Access holes must be cut or drilled through
the nose of the trailer, in line with where the tubes will pass through
cross-members. Patch the holes after the tubing is in place. The
tubes may drop below the cross-members anywhere behind the
landing gear and attach to the under side of cross-members.
25017
) Routing the tubes under the side seal (Figure 8).

Check the available space underneath the side seal. One tube may
occupy each side of the trailer. Tubes are clamped to cross-members or
placed in 25mm inside diameter PVC pipe to prevent rubbing. The side
seal should be detachable for maintenance.
25018 ) Routing the tubing underneath the cross-members.
This option is not recommended, as it can cause problems with truck tire
clearance and it makes the tubing very vulnerable.
2. Make sure that brake lines and electrical wires will not interfere with moving
parts. If necessary, reroute them to protect them from damage.
2.5 Cross-members
Cross-members function as support for the sub-deck and the cross-member’s flanges
prevent the slide bearings from moving.
1. Compare the trailer cross-member height to the formed cross sills on the drive
unit. They should be the same. If they differ, contact KEITH Mfg. Co. or one of
our international offices.
2. Check cross-member flange width for proper bearing fit (Figures 9 and 10).
Please note that Figure 9 is for 3.65” (92.71mm) or 97mm slat/plank centers and
Figure 10 is for 6” (152.4mm) slat/plank centers.
Figure 8

The bearings are designed to fit flanges smaller than 62mm. If the surface is
wider than 62mm standard bearings cannot mount on the top. The bearings can
be specially milled to fit a 100mm maximum.
25019
25042
1. Remove cross-members to create an adequate gap for the drive unit (Figure 11).
See Chapter 4 for more information about drive unit location.
25016
Figure 9
Figure 10
Figure 11
25mm x 25mm TUBE
1.98m
1.83m

2. Reposition cross-members if necessary.
The rearmost cross-member should be mounted a minimum of 450mm inside the
trailer doors. The foremost cross-member should be about 450mm away from the
front wall.
NOTE: Holes for the hydraulic tubing should be made through cross-members
before they are mounted on a new trailer.
2.6 Shimming
A common hindrance to the installation of WALKING FLOOR systems is a section near
the kingpin that is higher than the rest of the cross-members. Shimming overcomes this
problem.
1. Install shim material.
Flat bar is good shim material. Weld 6mm x 50mm angle iron to existing cross-
members for extra height. Some cases require additional cross-members. The
top of the frontmost shim should be higher than all other shims or cross-
members. Gradually decrease shim height to the level of the standard cross-
members. Rest a straight edge on the shim tops to help plan the transition
(Figure 12). Triangular tabs may need to be trimmed off the bottom of slide
bearings to fit some shims.
25043
Figure 12

3 SUB-DECK
The sub-deck is the structure directly above the cross-members and underneath the
floor slats/planks. The sub-deck consists of square steel tubing or U-shaped aluminum
profiles. The square tubing mounts on top of the cross-members. Plastic floor bearings
connect to the tubing.
3.1 Baffle plate
A baffle plate extends forward from the door threshold to prevent material from sifting
through the floor when slats/planks are in the forward position.
1. Determine the dimensions of the baffle plate (Figure 13).
The baffle plate must be level with the cross-members and is welded to the
inside of the last beam of the trailer (threshold). The thickness depends on the
type of load. For light materials (e.g. sawdust), use 2mm plate. 3mm plate is
recommended for heavy, abrasive materials (e.g. solid waste). The plate bends
down 300mm inside the closed door, leaving an opening so that material will not
build up underneath the slats/planks. For fine materials, the baffle plate connects
to the nearest cross-member to prevent material from sifting through. Holes may
be cut in the plate to let small amounts of fine material drop through. This
prevents buildup from exerting upward pressure on slats/planks.
1 TRAILER DOOR 2 BAFFLE PLATE 25033
3 DOOR THRESHOLD 4 LAST CROSSMEMBER
5 MAIN TRAILER FRAME 6 HOLE LOCATION
2. Cut and form the baffle plate to the proper dimensions.
3. Install the baffle plate.
Weld the plate in position. Then grind welds flat. Make sure it is level with the
cross-members.
Figure 13

3.2 Square tubing
The proper installation of the square tubing is critical for maintaining drive alignment,
floor straightness and for optimal performance of the seal located between the floor
slats/planks. Square tubing is usually applied before the drive unit is positioned, unless
the drive unit is dropped from above. Please note that the center frame drive (Chapters
2 & 4) should be positioned before the square tubing is applied.
1. Choose the rear end sub-deck most suitable for your application.
See section 3.3 for more information.
2. Cut 25mm x 25mm tubes to proper length according to your trailer measurements
and your end sub-deck selection. The number of tubes installed equals the
number of floor slats/planks.
All sub-deck tubes must extend beyond cross-members by 50mm, because
bearings require at least 50mm of tubing on both sides of a cross-member for
proper attachment.
3. Position and mount the tubes.
Tubing for 3.5” (88.9mm) flooring is on 92.71mm centers (Figure 14). Tubes
separated by 59.69mm lie in pairs 92.71mm apart for 6” (152.4mm) flooring
(Figure 15).
25041
25040
Figure 14
Figure 15
92.71mm 92.71mm
59.69mm
92.71mm
59.69mm

Start at the rear of the trailer. Lay the two outside tubes in the trailer and
separate them with spacing jigs. Center the jigs so the tubes are the same
distance from the side walls. Lay out the remaining tubes across the width of the
trailer, spacing them with jigs. Keeping the jigs above the cross-members, clamp
the jig and tubes to every other cross-member. Be sure all tubes attain the
minimum overhang of 50mm. Remember to plan for the formed cross sill
attached to the drive unit. Plan the overhang into the drive gap according to the
drive unit being installed (Figure 16).
25039
Weld or huck bolt the square tubes to the cross members between the jigs.
Move the jigs and make a connection at each intersection of a tube and a cross-
member. Welds should be 3mm fillet, 20mm to 30mm long, and centered on the
flange. Excessive welding and too little cooling will cause cross-members to
warp.
Figure 17 suggests a welding pattern. Starting each pass on the same side of
the trailer gives sufficient cooling time.
x = first pass o = second pass
25026
If aluminum profile is welded, put the two legs of the U down. If bolting, turn the
tube over (Figures 18 and 19). Packing tape or paint should separate aluminum
profiles from steel cross-members to prevent metal decay.
Figure 16
Figure 17
50mm
50mm
1370mm
(150mm STROKE SYSTEM)
1480mm
(255mm STROKE SYSTEM)

25011
25010
3.3 End sub-deck
The unloading end of the sub-deck needs special attention because the area is fully
exposed with the floor slats/planks in the forward position.
There are five end sub-deck options:
1) Extended square tube.
Extend the tubes used for the rest of the floor to the end area.
Figure 18
Figure 19
92.71mm
92.71mm

2) Solid steel bar. (25mm x 25mm)
This method is recommended for hauling solid waste or other highly abrasive
materials. The solid bars meet the square tubing on the last cross-member.
3) Solid aluminum bar.
A solid aluminum bar will provide a strong structure at the end when the sub-
deck is constructed with aluminum profiles. The aluminum profiles meet the
square tubing on the last cross-member.

4) T-block.
A plastic T-block provides a sliding surface and prevents material from going
underneath slats/planks. T-blocks are not recommended for use with highly
abrasive materials.
5) NO end sub-deck
The absence of an end sub-deck is undesirable because it leaves no support for
ends of slats/planks.
NOTES: The first three options include a wear pad bearing in the floor slats/planks.
The square sub-deck material can extend to 12mm from the doors for all options.
1. Install the selected end sub-deck following these instructions:

Option 1: Extended steel tubing
This sub-deck is installed along with the installation of the rear sub-
deck. Weld caps to the tube ends to prevent material from
entering. Grind to give a smooth finish.
Option 2: Solid steel bar
1. Cut the bars to length (355mm minimum for 250mm
stroke; 250mm minimum for 150mm stroke) Under
standard conditions, bars reach to 12mm inside the
doors.
2. Align the bars with the installed tubing. Use the spacer jigs to
perfect alignment and clamp them down.
3. Weld the bars to the cross-member and to the baffle plate.
Option 3: Solid aluminum bar
Install the same as in Option 2.
Option 4: T-block
1. Drill and countersink bolt holes through the T-blocks and baffle
plates.
2. Align the T-blocks with installed tubing. Keep the blocks 12mm
away from the doors.
3. Fasten T-blocks to the baffle plate. Self-tapping screws may be
necessary if access is poor. Countersink holes 6mm below the
block top. Make sure the bolts (flat-head socket caps) are
below the surface of the block.
3.4 Side seal support
Side seal options are discussed in Section 5.3. Some of the options require support
from the sub-deck.
1. Select a side seal option from Section 5.3.
2. Install support for the selected side seal option if necessary.
Plan the support so the top of the side seal will be level with the rest of the flooring.
Pieces of tube or angle can be attached on every other cross-member to support the
side seal. If hydraulic tubing will be routed under the side seal, make sure that the
support will not obstruct it.

4 DRIVE UNIT
Drive unit installation in a center frame trailer differs from an installation in a frameless
trailer. Chapter 4 examines the two installations separately.
4.1 Center frame trailer
1. Decide on the location of the drive unit.
The drive unit should be installed as close to the rear of the trailer as is practical.
2. Position drive unit.
The drive should be positioned, but not welded, before the sub-deck is installed.
Remove the formed cross-members from the drive unit. The system can be lifted
into an open top trailer from above with a crane.
If the trailer top is closed or a lifting mechanism is not available, use the following
method:
a. Set a sheet of plywood inside the rear of the trailer.
b. Place blocking on the sheet to protect hydraulic tubing.
c. Lay the drive unit on the sheet.
d. Slide the sheet forward into the drive gap.
e. Raise the rear of the unit so the front stiffener plate will fit under the
forward cross sill.
f. Slide the unit forward so the rear stiffener clears the rear cross sill.
g. Lower the unit and slide to position.
NOTE: A minimum drive gap of 1980mm is necessary to maneuver the drive unit.
Replace the formed cross-members after setting the drive end plates on the
trailer frame rails (Figure 20). The formed sills should be tightened to a torque of
170 N°m.
IMPORTANT: Do not damage piston rods. Do not lift drive unit by the hydraulic
crossover tubes on the cylinders or any other hydraulic components.

25025
2. Align and level drive unit.
Front to rear alignment
Center the drive unit in the drive gap. The 25mm x 25mm tubing should extend
50mm past the formed cross sills at each end of the drive unit. The 50mm x
150mm cross -drive tubing should be parallel to trailer cross-members.
Side to side alignment
Recommended method:
After the sub-deck is welded or bolted down, use a straight edge to align
punched holes in the drive shoes with centers of respective 25mm x 25mm
tubing. Do this with at least two shoes on each side of the trailer (Figure 21).
Optional method if trailer is perfectly straight:
Align the drive unit's center punch marks with the trailer's centerline.
Figure 20
6mm
6mm

25045
Height
a. Place plastic bearings on 25mm x 25mm tube at sides and center of trailer at
each end of drive area.
b. Lay a straight edge from bearing to bearing across the drive.
c. Raise the drive so the top of the drive shoe touches the straight edge across
the shoe length on each straight edge. The 6mm dimension from the top of
the 25mm x 25mm tube to the top of the drive shoe is critical. Make height
adjustments by shimming or grinding ears of the drive unit end plates.
This method gives the proper drive height as bearings are 6mm above the 25mm
x 25mm tube and the drive shoes connect directly to floor slats/planks (Figure
23).
25035
3. Weld the drive unit in place.
Weld according to reference drawing C-10797A. Remember to connect
25mm x 25mm tubing to the drive unit's formed cross sill.
4. Weld bracing to side walls as shown in reference drawing C-10797A.
5. Install cross-drive support tubes as shown in reference drawing C-10797A.
Figure 21
Figure 23
25mm x 25mm
6mm
Table of contents
Other Keith Automobile Accessories manuals
Popular Automobile Accessories manuals by other brands

CCM
CCM Blue Warrior BT-600 Quick user guide

iStarVideo
iStarVideo iSV-GTX02 user manual

Directed
Directed Xpresskit DBALL-NISS08EU installation guide

Connects2
Connects2 Connects2Vision CAM-PO1 user manual

Axxess
Axxess GMOS-MOST-01 installation instructions

American Truckboxes
American Truckboxes AHCS Owners & installation manual