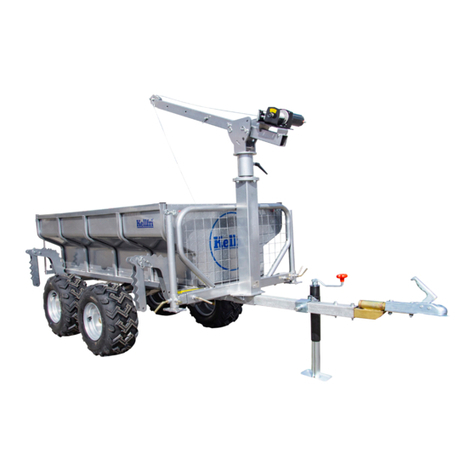
Kellfri 23-TV07PRO User manual

Carefully read the operating instructions
before using the product!
Operating instructions translated from Swedish
23-TV07PRO
TIPPING AND FORESTRY
TRAILER ATV PRO

Table of contents
Kellfri designs and supplies ecient, aordable machinery and components for forestry,
agriculture, construction and gardening in Sweden, the rest of the Nordic region and Europe.
We recommend that you always read and follow the safety instructions and the instructions in
the product's operating manual.
Kellfri is not liable for any errors in this document.
TABLE OF CONTENTS
Introduction 3
Product information 3
Area of use 3
Safety instructions 4
Instructions for emergency situations 4
Personal protection 4
Surroundings 5
Before use 5
Environment 5
Use 6
Maintenance and service 7
Transportation and set-up 7
Recycling 7
Product safety information 8
Loading the trailer correctly 8
Hitching the trailer 9
Loading correctly 9
Service 9
Warning decals 10
Exploded view 11
Parts – Trailer 12 - 13
Assembly - Trailer 14 - 16
Assembling the crane 17
Bolsters 18
Information on the winch 19
Tipping the oor 20
Pulling logs using a winch 21
Notes 22
Deviation form 23
Warranty terms and conditions 24

Table of contents
INTRODUCTION
Thank you for choosing a product from Kellfri AB. Compliance with the safety instructions,
operating manual and sound common sense will guarantee many years of enjoyment
using the product. Kellfri's equipment and products are aimed at self-employed farmers,
horse enthusiasts and other country-dwellers who have stringent performance demands.
PRODUCT INFORMATION
• Removable insert oor
• Powder coated
• 4 x fold-down bolsters
• 2 adjustable side stabilisers for use during loading
• 1 parking jack for tow bar, adjustable by means of crank
• Crane tower attachment can be adjusted
Removable insert oor
2mm galvanised tread plate oor. Eyelet in front edge of oor for tiltable oor with a winch.
Front side and tailgate are removable.
AREA OF USE
Intended for transporting timber, but can also be used to transport loose materials such
as hay, leaves, single items, earth, etc. in compliance with set load-bearing capability,
safety regulations and recommendations.
TECHNICAL DATA 23-TV07PRO
Width 1250 mm
Weight 320 kg
Length 3400 mm
Load capacity (Max load)
Load on tippable oor (Max load)
700 kg
250 kg
Wheels 22 x 11-10
Tyre pressure
(Maximum pressure must not be exceeded!)
See info on the sidewalls of the tyres
Ground clearance 300 mm
Tow bar 50 mm ball
Kellfri AB has a policy of continuous product development and therefore reserves the right to
make modications, e.g. to the design and appearance of the product, without prior notice.

Table of contents
SAFETY INSTRUCTIONS
Before using the equipment or product, and for the safety of yourself and others, you must read
the safetyinstructions and instruction manual and understand their contents. Always keep the
safety instructions and operating manual handy for users of the equipment or product. For the
safety of both yourself and others, it may be a good idea to read through the safety instructions
every now and then. If the safety instructions or the operating manual are damaged, or become
unusable for any other reason, new copies may be ordered from: Kellfri AB, Munkatorpsgatan 6,
SE-532 37 SKARA, Sweden. Tel.: +46 511 242 50
The safety instructions can also be downloaded from Kellfri's website: www.kellfri.co.uk
Do not use the equipment or product if you feel ill, tired or are under the inuence of alcohol.
Do not use the equipment or product if you are taking prescribed medication or drugs, or
suering from severe depression or mental illness. Always comply with general rules of the road
and applicable rules stipulated by animal welfare legislation. People under the age of 15 are not
allowed to use the equipment.
INSTRUCTIONS FOR EMERGENCY SITUATIONS
In case of emergency, call 112.
Always have a mobile phone or emergency phone available when working alone.
A rst-aid kit and re extinguisher must be kept in an easily accessible location when carrying
out any work, maintenance or service.
Warning!
The original design of the machine must not, under any circumstances, be modied
withouttheapprovalofthe manufacturer.Unauthorisedmodicationsand/oraccessories
may cause life-threatening injuries or death to users and others.
PERSONAL PROTECTION
Always use suitable protection equipment. Do not wear loose clothing or jewellery while
working with the equipment. Long hair should be tied up when working with equipment
that has moving parts. Use protective gloves to avoid the risk of burns if hot surfaces such
as exhaust pipes are touched, and to avoid oil and petrol getting in contact with the skin.
Ear defenders must be worn whilst the engine is running.
Kellfri is not liable for any modications, changes or rebuilds carried out by customers.
Where the machine is used professionally, employers are responsible for ensuring that users
of the machine have theoretical and practical knowledge of the machine and that work
is performed in a safe manner. Stay informed by complying with work environment legislation;
contact your local work environment authority.

Table of contents
SURROUNDINGS
Check that the work area is free from bystanders and objects before hitching or using the
equipment. Otherwise, there is a risk of serious injury. Be extra careful if there are children in the
vicinity of the area where the equipment or product is used or stored. Check that there are no low-
hanging electrical cables within the work area. Exercise caution when working on slopes and close
to ditches.
Always work alone with equipment or products that are made for working alone. Never leave
rubbish in the work area, and keep work surfaces clean. Always respect the equipment’s risk zone.
BEFORE USE
Carefully read the safety instructions and the operating manual. Make sure that you
understand the safety instructions, the operating manual and warning decals. Use common
sense and suitable personal protective equipment when using the product. Always check the
performance of the machine combination to be used. It is important that these are compatible
and work satisfactorily together. This is to ensure that the equipment or product works as
expected, and to guarantee the safety of yourself and others. Carry out a visual inspection
of the equipment or product before use. Repair or replace damaged or worn parts to reduce
the risk of injury. Grease moving parts and check that all nuts and bolts are tightened. Repair
if necessary. Learn and remember the correct working method. Beginners must work slowly
until they have learned how the machine or product works.
Users/customers are responsible for ensuring users can handle the situation. If a user feels
that the machine is dangerous to use, they should not use it until they have received thorough
training.
WARNING!
Never use equipment or products with defective safety components.
Children must not be left unsupervised in the area!
Warning!

Table of contents
USE
Only those who understand the safety instructions and the operating manual may use the
equipment or product. Exercise caution and care when working with the equipment or
product and only use it in the way described in the instruction manual.
There is a risk of crushing when working with equipment that has moving parts. Exercise
caution when working with equipment with hydraulic hoses, as oil under pressure can
penetrate the skin. Immediately seek medical attention if this should occur. Always work alone
with equipment that is made for working alone.
Respect the equipment’s risk zone.
For further information about your machine, read the machine’s operating manual.
DANGER!
CAUTION!
NOTE!
Warning symbols identify important safety aspects in this manual in order to help you and others avoid dangers
and accidents. When using the machine: Be extremely careful!
Warning!
This symbol indicates that a serious accident will occur if the directions in the operating manual
are not followed. The accident will lead to serious injury, possibly death, or serious damage.
This symbol indicates that an accident will occur if the directions in the manual are not followed.
The accident will lead to serious injury or damage.
This symbol indicates that an accident may occur if the directions are not followed.
The accident will lead to injury or damage.
NOTE indicates the risk of a breakdown if the directions are not followed.
Where the machine is used professionally, employers are responsible for ensuring that users of the
machine have theoretical and practical knowledge of the machine and that work is performed in
a safe manner. Stay informed by complying with work environment legislation; contact your local
work environment authority.
AFTER USE
• Ensure that the equipment/product is standing on level ground when it is disconnected.
Use stabilisers, if included with the product/tool.
• Wash, rinse with water and dry if necessary.
• Re-lubricate if necessary.

Table of contents
PRODUCT SAFETY INFORMATION
Carefully read the instruction manual before using the product.
Compliance with the safety instructions requires that the forestry trailer/tipping trailer is
only used as described in these instructions. It is the user’s responsibility to read through
the instructions and comply with them.
• Read the operating manual for the quad bike.
• Always check that the performance of the machine combination to be used with the
trailer guarantees safety and functionality.
• Never overload the trailer.
• Never leave the driver’s seat until the brakes on the towing vehicle have been engaged.
• The risk area is 15 metres. Only the operator is allowed to be within the risk area while
the trailer is in use.
• Under no circumstances are operators allowed to stand under suspended loads.
• Do not leave a loaded trailer parked unsupervised.
• When unhitching the trailer, it must be empty and on a level surface with the trailer
wheels secured using suitable brake blocks.
• To stop the trailer moving in the event of an emergency, engage the brakes on the quad.
• Be aware of the crush risk when carrying out winching work.
• As the trailer is not tted with lights, t a magnetic rear light or similar where required.
• The trailer is tted with a ball coupling for a 50 mm towing eye. Max. pulling force 1000 kg.
Replace the ball coupling after excess wear.
• EU regulations stipulate how fast a rig with a non-brake trailer is allowed to go.
Take care to comply with these regulations. Max 40 km/h. An SMV sign must be attached
when travelling on roads. IMPORTANT! Adapt the speed when the trailer is fully loaded.
• Keep the workplace clean and free of obstacles in order to minimise the risk of accidents.
• IMPORTANT! The operator (the person tipping the oor) must stand behind the crane.
• People must not be in the trailer! The trailer is not intended for transporting people,
animals or explosive substances.
HITCHING THE TRAILER
• Read through the operating manual in its entirety.
• Check the ball coupling on the trailer. Then hitch the trailer onto the towing vehicle.
Make sure that the trailer cannot come loose while operating
• Operate and carefully check movements of the equipment.
• Check the air pressure in the tyres. See info on the sidewalls of the tyres for exact values.
Do not exceed the maximum pressure!
LOAD CORRECTLY
Distribute the load evenly on the trailer. Never exceed the trailer’s maximum permitted load
and the greatest
permitted ball pressure. WARNING! Never load above the height of the gates.
Check that the trailer is undamaged before connecting it to the vehicle.
• Loads must be spread evenly across the trailer. All protruding loads should be well anchored.
• Place the stabilisers on the ground for increased stability when loading.
• The brakes on the ATV must be engaged when loading and unloading.
• Point the crane arm in the same direction as the wire rope has to work.
• Calmly and methodically practise the movements used for handling the wire rope crane.
NOTE! Only tip the trailer on a level surface.

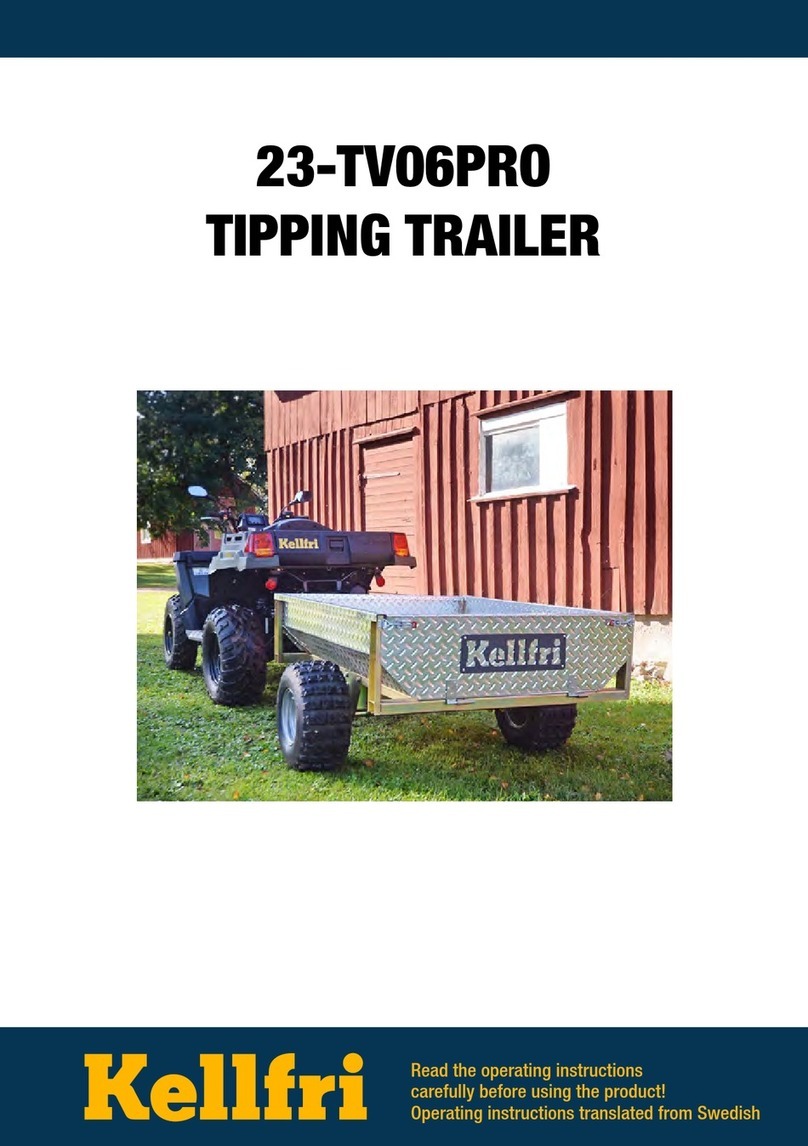
Table of contents
LOAD THE TRAILER COR
RECTLY!
CARE INSTRUCTIONS
1. Do not overload the tractor and trailer.
2. After wheel replacement, check that the wheel
nuts are tightened and repeat when stabilised after
a few miles of driving. The tightening torque must
not exceed 45 kpm.
Use a torque wrench if possible.
3. Check that the bearing setting is correct to
prevent bearing play and abnormal bearing wear.
The bearing setting should preferably be too loose
than too tight.
2
3
MAINTENANCE AND SERVICE
• Make sure that the equipment is stable and cannot tip over when carrying out
maintenance and service work.
• Replace damaged or worn parts to reduce the risk of injuries.
• Carry out maintenance, service and checks in line with recommendations.
• Only use spare parts with equal performance to reduce the risk of injuries and breakdowns.
• All electrical repairs and electrical connections must be carried out by a qualied person.
Check that all nuts and bolts are tightened after maintenance and service work.
• Always test the trailer before starting work.
IMPORTANT! Avoid over-lubricating. Dirt collects easily on exposed grease and causes
increased wear. After lubrication, wipe excess grease o from couplings.
Spare parts
Inner wheel bearing: R10-30206
Outer wheel bearing: R10-30204

Table of contents
Service Interval Measure
Tyres Before each use Check the air pressure in the tyres. It must always be at least the
recommended value, see info on the sidewalls of the tyres for the
exact value.
Do not exceed the maximum pressure!
Max. 1.6 bar Before each use Check that all cables and hoses are intact.
Wheel nuts Perform an initial check after
2-3 hours of operation
and subsequently 2-3 times a year
Retighten all the wheel nuts, 80 Nm
Trailer parts Regularly, at least 3 times a year, Check by performing a visual inspection of the brakes, lights,
SMV signs, towing eye, axles, bogie eye, hinges and turntable
bearings, if installed. Replace worn and damaged parts.
Trailer After each use Wash down with water if required.
TRANSPORTATION AND SETUP
• Check that the work area is free from bystanders, children and objects before driving o.
• Always observe additional caution during transport and moving.
• Ensure that the equipment or product is well anchored and that available transport lashings
are tted.
• Always position the load as low as possible. All protruding loads should be well anchored.
• Respect the risk zones even during transport and moving.
• Do not permit anyone to walk under suspended loads when carrying out lifts.
• Trailers used for transport should have brakes that work.
• An SMV sign must be attached when travelling on public roads.
• Check tyre pressure - see information on the sidewalls of the tyres. Do not exceed
the maximum pressure!
• Always store the equipment or product in a dry place, preferably under a roof, when not in use.
• Ensure that the equipment or product is stable and cannot tip over.
• Never permit children to play at the storage site.
• Be aware of the tipping risk!
RECYCLING
For scrapping, the equipment/product must be dismantled and transported
to a recycling station designated by your local authority. Contact your local
authority for further information.
Important!
The grease must be
topped up before using
the trailer, see illustration.
NOTE! This operation
must be carried out on all
four wheels.

Table of contents
WARNING DECALS
Make sure warning decals are always visible and clean them when necessary.
Do not use a high-pressure washer directly on the warning decal. If apart with a decal is
replaced, or the decal becomes worn or in any other way unusable, order a new set of decals.
SYMBOL EXPLANATION
Read the operating manual! Before carrying out work.
Warning! Prior to performing maintenance, servicing,
hitching and unhitching the trailer, the engine of the towing
vehicle must be turned o and the ignition key removed.
Warning! Risk of crushing!
Risk area of 15 metres.
Respect the equipment’s risk zone!
WARNING! Risk of crushing!
Do not permit anyone to stand under suspended loads!
Risk zone! Keep your distance!
Always use stabilisers when loading/unloading.
Retighten all bolts and connections.
Warning! Keep o the trailer!
Warning! Accident risk for children!
Children are not allowed in the vicinity of the trailer.
Always store the product on a dry surface, preferably under
a roof, when not in use.
The product is CE-labelled
Product name:
Type:
Weight:
Year of manufacture:
Serial no.: 2006/42/EC

Table of contents
1. Bolt– 2 pcs, M10x90
2. Bolt sleeve – 2 pcs, Ø10
3. Nut– 2 pcs, M10
4. Washer– 2 pcs, Ø10
5. Spring washer– 2 pcs, Ø10
6. Bolt M16x50
7. Nut - M16
8. Bolt– 6 pcs, M12x50
9. Nut– 6 pcs, M12
10. L-bolt– 6 pcs, M12
11. Bolt– 4 pcs, M12x35
12. Nut– 4 pcs, M12
13. Bolt - Ø20
14. Stub axle– 2 pcs, 18x110
15 R-pins– 20 pcs.
16. Bolt sleeve - 2 pcs, Ø16
17. Bolt– 4 pcs, M16x120
18. Nut– 4 pcs, M16
19. Washer– 2 pcs, Ø45
20. Split pin– 2 pcs, Ø6x60
21. Wheel hub nut– 16 pcs, M12
22. Stub axle – 16 pcs, 12x70
23. Stub axle – 2 pcs, 18x80
24. Tubular plug– 4 pcs, 20x40
Spare part no. Designation
TV07.008 Wheel, right
TV07.009 Wheel left
TV07PRO.010 Slewing house TV07PRO
TV07PRO.011 Crane holder TV07PRO

Table of contents
1. Fit the bogie axles on the right and left
side of the frame. See illustration below:
2. Assemble, Main beam outer part, with two bolts.
2. Now t all the wheels. Note:The wheel tracks
must point in the direction of travel, there is an
arrow on the tyres indicating the direction of travel.
3. Now assemble, the Tow bar beam inner part, in the Main beam outer part.
ASSEMBLY TRAILER
Wheels, 2 left and 2 right
Direction of travel

Table of contents
4. A beam (front) is tted before the headboard.
5. Mount the headboard, stabiliser brackets and stabilisers.
Mounted on both sides of the headboard. See illustrations below:
6. Fit the ball coupling
and the height-adjustable
stabiliser, tighten all bolts.
Stabiliser bracket
Stabiliser

Table of contents
RECOMMENDATIONS:
A winch is required to tip the oor. This winch can be a manual winch or an electrically
powered winch.
Important! The winch used must have a wire rope with a diameter of at least 4.5mm.
Wire rope length: 10 m
Capacity: up to 630kg
Important information about the winch! The winch must never be used as a lifting tool to lift
loads. The winch is only intended for pulling loads!
The trailer is equipped with a boom prepared for a winch. It's important that the winch is
mounted correctly on the boom and that all fastening bolts are tightened.
IMPORTANT!
Make sure that the wire rope runs correctly, the wire
rope should run under the guide pin– as illustrated.
IMPORTANT!
Check that the bolts are tightened before use.
Safety information concerning the winch:
• The winch must not be used to lift loads or people and animals.
• A winch may only be used to pull loads– not lifting!
• Never attach the hook around the wire rope as this can damage the wire rope! Use a sling.
• When winching loads, wind in slowly so that the wire rope is tensioned. Before continuing to
winch, check all wire rope connections and that the hook is attached securely.
• Do not move the trailer to move or pull the load, e.g. when the wire rope is attached to a log. It
can overload the wire rope and damage the wire rope or winch.
• Keep your hands and other body parts away from the drum and wire rope during winching.
• Warning! Respect the risk zone, no one other than the operator may be in the immediate vicinity
during the operation of the winch.
• When winching the oor, make sure that the hook is correctly installed and cannot come loose.
• Do not disengage the wire rope when it’s under load.
• Important! Check the condition of the wire rope regularly. A damaged wire rope must
never be used!
• Use personal protection when working with a winch. Gloves and safety goggles are
recommended!
• It's absolutely forbidden to weld on any part of the winch. This can weaken the winch and lead
to a risk of injury to people and damage to property.
• Relieve the tension on the wire rope after winching is completed.

Table of contents
INSTRUCTIONS FOR TIPPING THE FLOOR:
In order to tip the oor, the trailer must be equipped with a winch– see previous page for information
about the winch!
The trailer can be unloaded manually or by tipping the oor backwards.
Observe the maximum permitted axle load!
• Important! If the oor is to be unloaded by tipping, the oor must not be loaded more than 250kg!
• Only load the oor when the trailer is connected to the vehicle and is parked on level ground.
• Distribute the load evenly over the entire oor area.
• Always load by weight not by volume!
• IMPORTANT! The operator (the person tipping the oor) must stand behind the crane.
• People must not be in the trailer!
Make sure that the hook is hooked onto the oor’s towing eye – see illustration below:
Wind slowly so that the wire rope becomes taut, check that the hook is securely attached and
cannot come loose. Continue cranking the winch until the oor is at the right angle.
The height and length of the boom can be adjusted in 3 dierent positions
• Be aware of the crush risk when carrying out winching work.
• Always watch out for a misaligned wire rope!
1
1
2
2
3
3
IMPORTANT!
Make sure that the wire
rope runs correctly before
winching, the wire rope
should run under the guide
pin– as illustrated.
Other manuals for 23-TV07PRO
1
Table of contents
Other Kellfri Utility Vehicle manuals

Kellfri
Kellfri 23-TV06PRO User manual

Kellfri
Kellfri 23-TV15ATV User manual

Kellfri
Kellfri 28 VBS+ User manual

Kellfri
Kellfri 23-V10H User manual

Kellfri
Kellfri 28 V Plus User manual

Kellfri
Kellfri 23-VV800 User manual

Kellfri
Kellfri 23-TV06 User manual

Kellfri
Kellfri 21-SV60 User manual

Kellfri
Kellfri 23-TV07PRO User manual

Kellfri
Kellfri 23-TV15ATV User manual