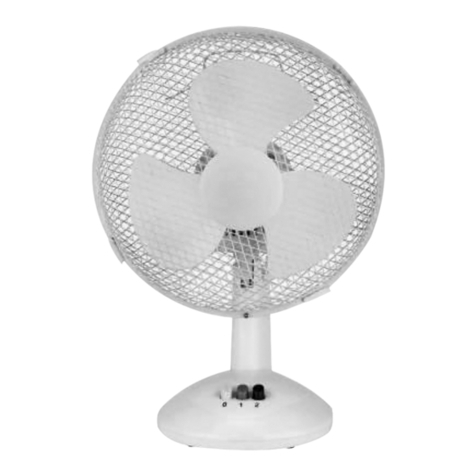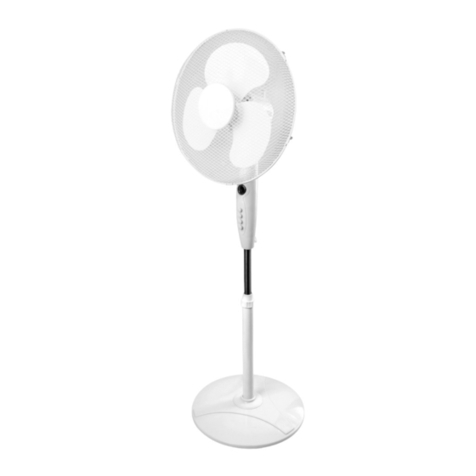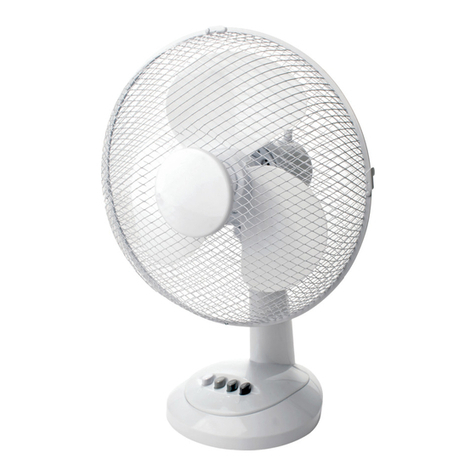
CAUTION: To avoid the risk of injury, always make sure that the front and rear grill are
locked together before operating.
When using electrical appliances, basic
precautions should always be followed to reduce
the risk of fire, electric shock and injury to
persons, including the following:
• Always use this fan only as described in this
manual. Other uses not recommended may
cause fire, electric shock or injury to persons.
• Always supervise as necessary when any
appliance is used by or near children.
• Always avoid contact with moving fan parts.
• Always turn the fan to the OFF position and
unplug the fan from the outlet when not in use
and before cleaning.
• Always place the fan on a dry level surface.
• Always check that the filters are clear and
not blocked. Keep all openings clear of any
blockages.
• Do not use this product outdoors.
• Do not pull by the cord. To disconnect the fan,
first turn control to the OFF position, grip the
plug and pull it from the wall outlet.
• Do not operate the fan in the presence of
explosive and/or flammable fumes.
• Do not place the fan or any parts near an open
flame, cooking or other heating appliance.
• Do not hang or mount fan on a wall or ceiling.
• Do not operate the fan with a damaged cord or
plug or if the product malfunctions, is dropped
or damaged in any manner.
• Do not operate if the fan housing is removed or
damaged.
• Do not operate the fan without checking
that the protective front and rear grill are in
position.
• To protect against electric shock, do not
immerse unit, plug or cord in water or spray
with liquids.
• Do not connect this fan to any power source
other than properly grounded ones. DO NOT
attempt to defeat this safety feature. This fan
requires a grounded power source.
• The use of attachments is not recommended
and may be hazardous.
• A loose fit between the AC outlet (receptacle)
and plug may cause overheating and a
distortion of the plug. Contact a qualified
electrician to replace loose or worn outlet.
• If the power cord is damaged, it must be
replaced by the qualified electrician or
professional technician in order to avoid a
hazard.
This product has been specifically designed to help you work SAFELY and EFFICIENTLY. Your care and
good judgement are the best protection against injury, but always ensure that the appropriate safety
equipment is worn. All possible hazards cannot be covered here, but the most important ones have
been highlighted.
SAFETY INSTRUCTIONS
You have purchased a quality product that is designed for high performance and long service
life. If correct use, safety and maintenance procedures are observed this machine will last for many years.
ELECTRICAL INFORMATION
ASSEMBLY
OPERATION
PARTS BREAKDOWN
In the United Kingdom, the ELECTRICITY AT WORK ACT 1989 requires all portable electrical
appliances, if used on business premises, to be tested by a qualified electrician, using a Portable
Appliance Tester (PAT), at least once a year. The HEALTH & SAFETY AT WORK ACT 1974 makes
owners of electrical appliances responsible for the safe condition of the appliance and the safety of its
operator. If in any doubt about electrical safety, contact a qualified electrician.
ELECTRICAL SAFETY
• An RCCB (Residual Current Circuit Breaker) should be fitted in the mains electricity distribution
board. If the power supply is not protected by an RCCB, it is highly recommended that an RCD
(Residual Current Device) is used with all portable electrical products.
• Do not use any adaptor plugs.
• Do not carry or yank the fan by the cord.
• Never expose to wet conditions as this will increase the risk of electric shock.
SPECIFICATIONS
Order Code: CTL-828-9120H Voltage: AC220-240V Frequency: 50Hz Power: 35W
1. Insert the Fan Body assembly into the base.
2. Secure by putting the 4pcs of screws provided into the holes under the base cover.
3. Tighten the screws fully in the base but do not over tighten.
4. Unscrew the rear grill mounting nut anti-clockwise and remove it.
5. Set the rear grill in the proper position with the handle up.
6. Screw on rear grill mounting nut tightly to attach rear grill.
7. Install the blade onto the shaft until the retaining pin fits into the notch on the blade.
8. Screw the blade nut to the motor shaft anti-clockwise (tighten by turning to the left).
9. Use 3 screws to install the decorative ring in the middle of front grill.
10. Mount front safety grill onto rear grill by hanging the top hook clip of front guard over the top of the
rear grill. Close the clasps all around the grill and use the safety screw to tighten the grill.
• Place your fan on a level and dry surface.
• Do not operate the fan without the guards properly in place.
• Ensure voltage used corresponds with the voltage indicated.
• Turn the speed control to selected speeds: 0(off) and speeds 1 low, 2 medium and 3 high.
• Press the oscillate lever down (See part 6 below) on top of the fan to make the fan oscillate.
• Pull this lever up to turn oscillating off, or to fix at a desired angle.
• The airflow can be adjusted upward or downward by tilting the fan head as desired.
• Never touch the moving blades with hand or object.
• Always unplug the fan when moving or not in use.
• Store in a cool, dry place.
23
1234
5
7
6
8
910
14
11
12
13
15
Index
No. Description
1. Front Protective Grill
2. Fan Blade
3. Rear Grill Mounting Nut
4. Rear Protective Grill
5. Motor Shaft
6. Oscillating Control
7. Body
8. Screw and Nut for Grill
9. Blade Nut
10. Base
11. Speed Control
12. Tighten -
Turn anti-clockwise
13. Loosen - Turn clockwise
14. Screw for Base
15. Decorative Ring
MAINTENANCE
• Unplug or disconnect the power cord from the mains before servicing.
• Remove the guard and the blades, taking care not drop the blades.
• First use a soft cloth with light soap to clean off dirt/dust, then wipe and polish with dry cloth.
• Never use polish or any corrosive liquid that will damage the paint, metal or plastic.
• Put back the blades and lock the guard securely before use.
• Store in a cool, dry place. You can leave the fan assembled and covered to protect it from dust.


