REPEATER – 3
TRANSMITTING A 1750 Hz TONE
Most repeaters in Europe require that a transceiver
transmit a 1750 Hz tone. On a TH-D72E, simply pressing
[CALL] will transmit this tone. It is also possible to
program [1750] on the front panel as a [CALL] key for
transmitting the 1750 Hz tone.
1Enter Menu mode and access Menu 162.
2Set it to “1750Hz”.
Some repeaters in Europe must receive continuous
signals for a certain period of time, following a 1750 Hz
tone. This transceiver is also capable of remaining in the
transmit mode for 2 seconds after transmitting a 1750 Hz
tone.
1Enter Menu mode and access Menu 163.
2Set it to “On”.
Note: While remaining in the transmit mode, the transceiver does not
continuously transmit a 1750 Hz tone.
REVERSE FUNCTION
After setting a separate receive and transmit frequency,
you can exchange these frequencies using the Reverse
function. This allows you to manually check the strength
of signals you receive directly from other stations, while
using a repeater. If the station’s signal is strong, move to
a simplex frequency to continue the contact and free up
the repeater.
Press [REV] to turn the Reverse function On or Off
• When the Reverse function is On, the “ ” icon will appear on
the display.
Note:
◆If the transmit frequency is outside the allowable transmit
frequency range when using Reverse, pressing [PTT] will cause
an error tone to sound and transmission will be inhibited.
◆If the receive frequency is outside the receive frequency range
when using Reverse, an error tone will sound and Reverse will
not operate.
◆The ARO (Automatic Repeater Offset) will not function when
Reverse is ON.
◆You cannot switch Reverse On or Off while transmitting.
AUTOMATIC SIMPLEX CHECKER (ASC)
While using a repeater, ASC periodically monitors the
strength of signals you receive directly from the other
stations. If the station’s signal is strong enough to allow
direct contact without a repeater, the “ ” icon blinks.
Press [REV] (1s) to turn the ASC On.
• When the ASC is On, the “ ” icon will appear on the display.
• While direct contact is possible, without the use of a repeater,
the “ ” icon will begin blinking.
• To exit ASC, press [REV].
Note:
◆Pressing [PTT] will cause the “ ” icon to stop blinking.
◆ASC does not function if you are using simplex operation.
◆ASC does not function while scanning.
◆Activating ASC while using Reverse will switch the Reverse
function Off.
◆If you recall a Memory channel or the Call channel, and those
channels are set up with the Reverse function switched On, the
ASC will switch Off
◆You cannot use ASC when the built-in TNC is turned On.
◆ASC causes received signals to be momentarily intermitted every
3 seconds.
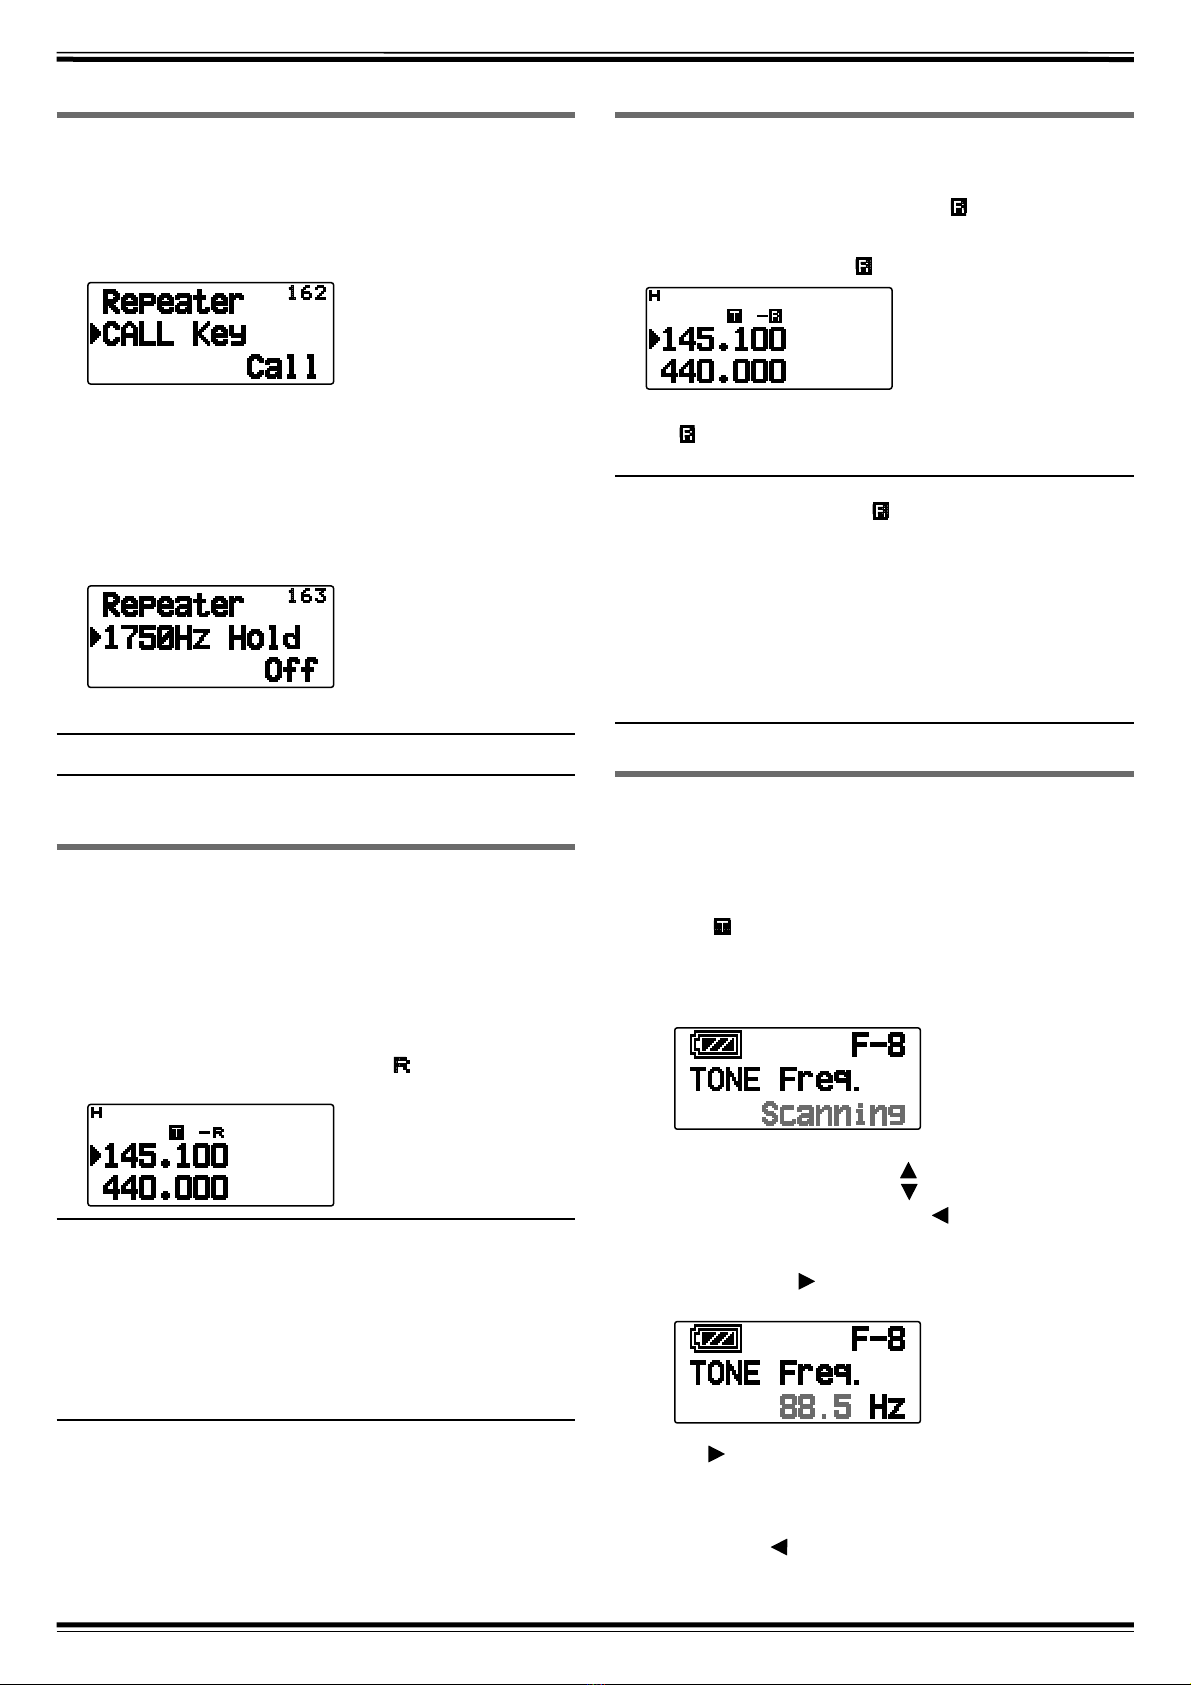
TONE FREQUENCY ID
This function scans through all tone frequencies to identify
the incoming tone frequency on a received signal. You
can use this function to find which tone frequency is
required by your local repeater.
1Press [TONE] to switch the Tone function On.
• The “ ” icon appears on the display.
2Press [F], [TONE] (1s) to run the Tone Frequency ID
scan.
• Scan starts and “Scanning”blinks on the display.
• To reverse the scan direction, turn the Tuning
control clockwise <or press [ ]> (upward scan) or
counterclockwise <or press [ ]> (downward scan).
• To quit the function, press [ESC ].
• When the tone frequency is identified, the identified
frequency appears on the display and blinks. Press any
key other than [OK] while the identified frequency is
blinking, to resume scanning.
3Press [ OK] to program the identified frequency in
place of the currently set tone frequency.
• The Tone function will remain On. You can press [TONE]
to switch the Tone function Off.
• Press [ESC ]if you do not want to program the
identified frequency.


 User manual")