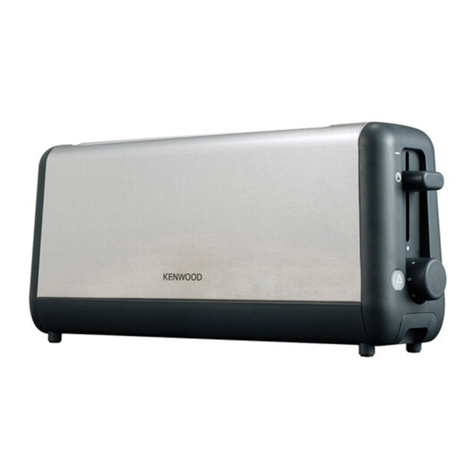
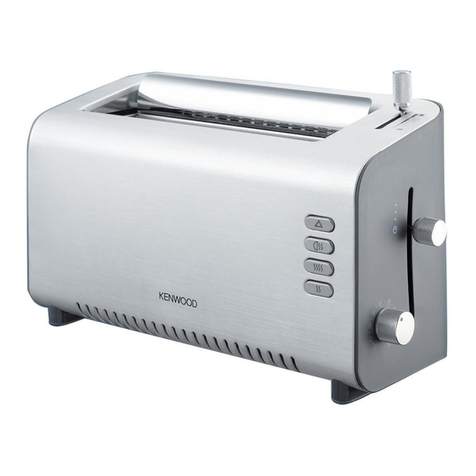
Use the carriage lever to li t the
toast to Peek & View™ at any
time without cancelling the toasting
cycle.
1 slot setting, only heats what you
need, saving 50% energy.
be ore using your Kenwood
appliance
●Read these instructions care ully
and retain or uture re erence.
●Remove all packaging and any
labels.
sa ety
●Burnt ood can catch ire, so:
●●never leave your toaster on
unattended;
●
●keep your toaster away rom
anything (eg curtains) that could
catch ire;
●●set the browning control lower or
thin or dry bread;
●●never warm ood with a topping or
illing (eg pizza): i it drips into the
toaster, it could catch ire.
●●Clean the crumb tray regularly:
crumbs can smoke or burn.
●To avoid electric shocks, never:
●●let the toaster, cord or plug get wet;
or
●●put your hand or anything metal,
eg a kni e or oil, into the toaster.
●Always unplug the toaster when not
in use, be ore cleaning or
attempting to clear jammed bread.
●Never cover your toaster with a
plate or anything else - it could
overheat and catch ire.
●Never let the cord hang down
where a child could grab it.
●We recommend that you do not
use your toaster directly under wall
cupboards.
●External metal sur aces are liable to
get hot especially the top area.
●Do not move the toaster whilst it is
in operation.
●Never use an unauthorised
attachment or accessory.
●We do not recommend using the
toaster or non bread items. For
non bread items that are speci ically
recommended or use in a toaster
ollow the manu acturer’s guidelines
and cooking instructions. Remove
loose crumbs and clean the crumb
tray be ore and a ter use.
●Never use a damaged toaster. Get it
checked or repaired: see 'Service &
Customer Care'.
●Only use the appliance or its
intended domestic use. Kenwood
will not accept any liability i the
appliance is subject to improper
use, or ailure to comply with these
instructions.
be ore plugging in
●Make sure your electricity supply is
the same as the one shown on the
underside o your toaster.
●This appliance con orms to EC
directive 2004/108/EC on
Electromagnetic Compatibility and
EC regulation no. 1935/2004 o
27/10/2004 on materials intended
or contact with ood.
Important – UK only
●The wires in the cord are coloured
as ollows:
Green and Yellow = Earth,
Blue = Neutral,
Brown = Live.
●The appliance must be protected
by a 13A approved (BS1362) use.
●WARNING: THIS APPLIANCE
MUST BE EARTHED.
Note:
●For non-rewireable plugs the use
cover MUST be re itted when
replacing the use. I the use cover
is lost then the plug must not be
used until a replacement can be
obtained. The correct use cover is
identi ied by colour and a
replacement may be obtained rom
your Kenwood Authorised Repairer
(see Service).
●I a non-rewireable plug is cut o it
must be DESTROYED
IMMEDIATELY. An electric shock
hazard may arise i an unwanted
non-rewireable plug is inadvertently
inserted into a 13A socket outlet.
be ore using or the irst
time
●Clip excess cord into the cord
storage clips in the base .
●Operate the toaster once on a
medium setting without bread.
(The lever will not stay down unless
the toaster is plugged in).
●As with all new heating elements,
your toaster may emit a slight
burning smell when it is irst
switched on. This is normal and
not a cause or concern.
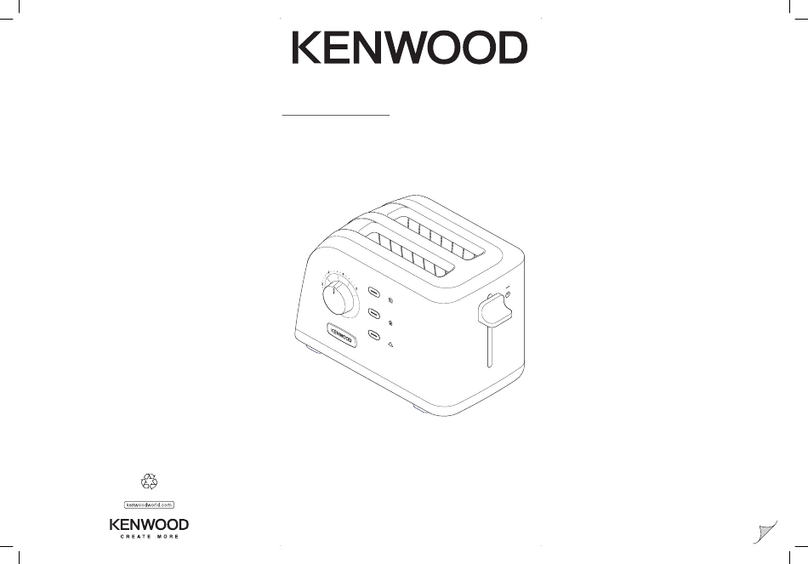
key
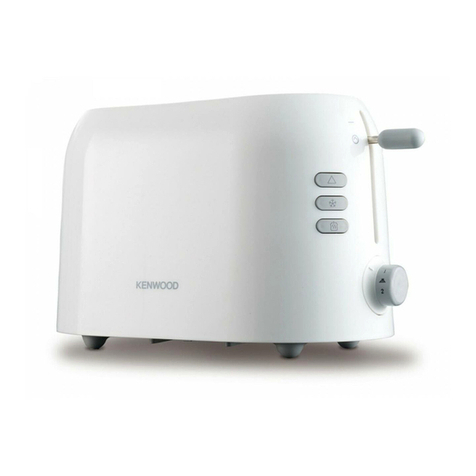
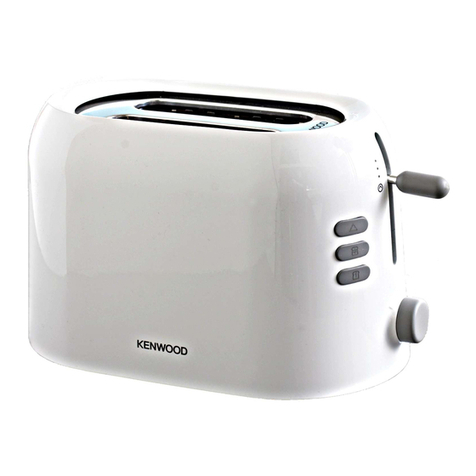
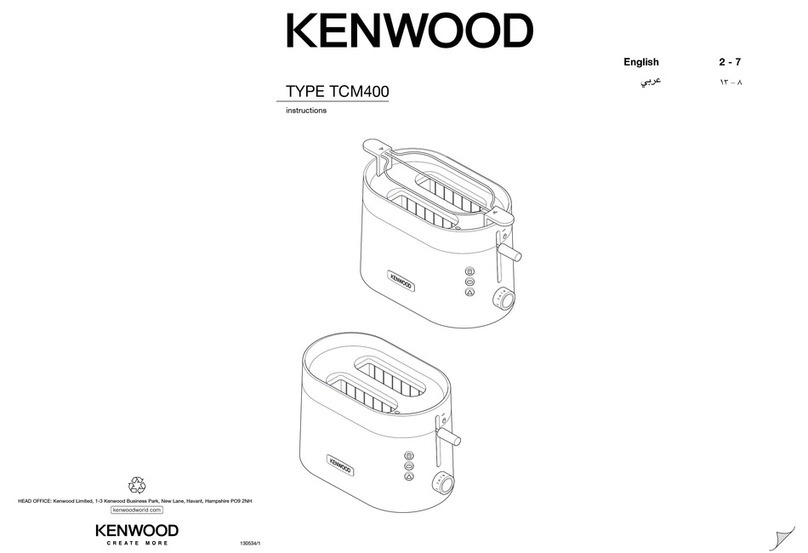
햲Peek & View™ carriage lever
(with ‘Hi-Rise™’ or extra li t)
햳cancel button with indicator light
햴browning control
햵button with indicator
light
햶crumb tray
햷
햸cord storage
to use your toaster
1 Plug the toaster into the power
supply.
2 Move the browning control to the
desired setting. Use a low setting
or light toasting and or thin or dry
bread.
3 Insert the bread, mu ins, bagels
etc.
4 Lower the lever until it locks.
(The lever will not stay down unless
the toaster is plugged in). The
‘cancel’ button will illuminate.
5 To toast a single slice o bread,
place the bread into the ,
lower the carriage lever and press
the button. The
button will illuminate.
●Use the carriage lever to li t the
toast to Peek & View™ at any
time without cancelling the toasting
cycle.
●To stop toasting during the cycle,
press the ‘cancel’ button, the toast
will pop up and the ‘cancel’ button
light will go o .
6Your toast will pop up
automatically, to raise it higher, li t
the lever.
hints on using your
toaster
●Select a lower setting or light
browning or or dry bread.
●Dry/stale bread toasts more quickly
than resh bread and thinly sliced
bread toasts more quickly than
thickly sliced bread. There ore the
browning control should be set at
a lower setting than usual.
●For best results ensure that the
bread slices are o an even
thickness, reshness and size.
●In order to achieve uni orm
browning we recommend you wait
a minimum o 30 seconds between
each toasting so that the control
can automatically reset.
Alternatively select a lower setting
when additional toasting is carried
out.
care and cleaning
1 Be ore cleaning, unplug your
toaster and let it cool down.
2 Slide out the crumb tray . Clean,
then replace. Do this regularly:
crumbs can smoke or even burn.
3 Wipe the outside o the toaster
with a damp cloth, then dry. Do
not use abrasives.
햳
햲
햶
햷
햸
햵
햴
Please also read the additional Important Sa eguards in the
accompanying lea let


