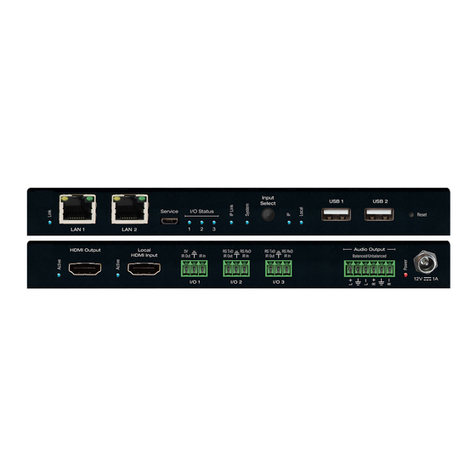
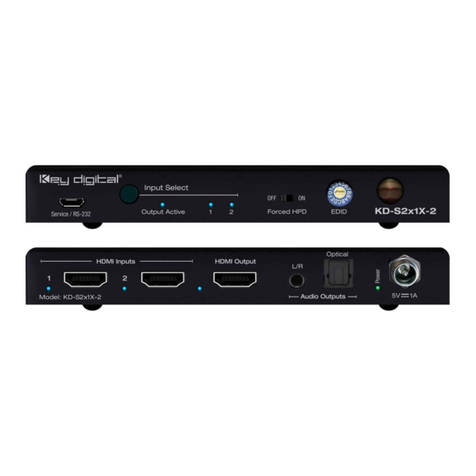
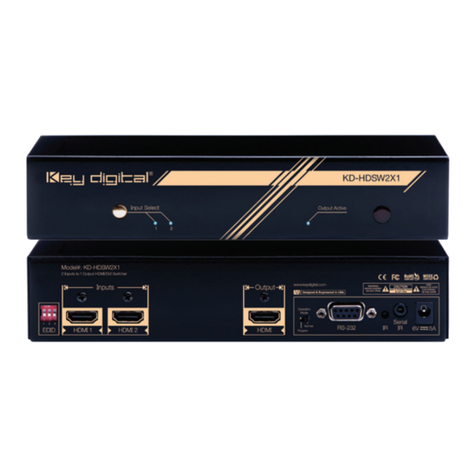
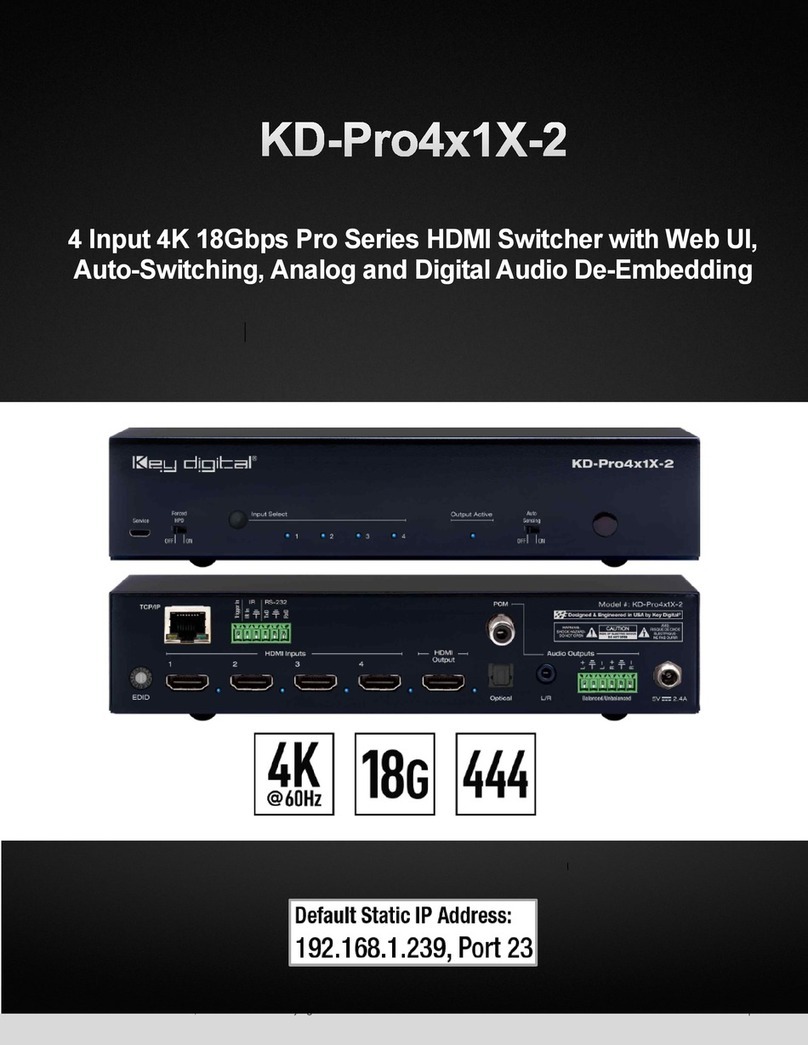
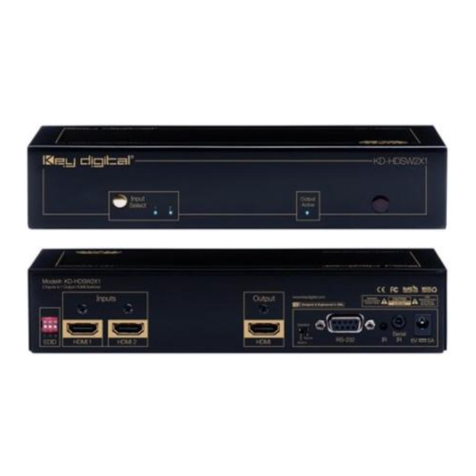
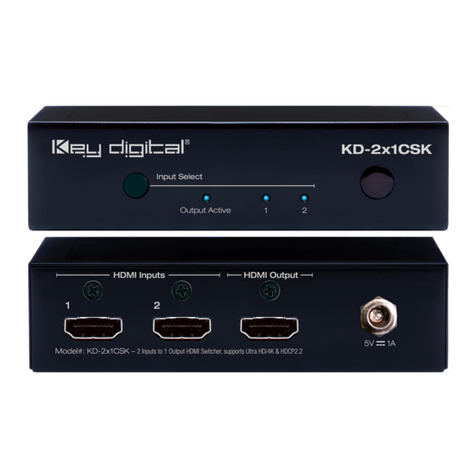
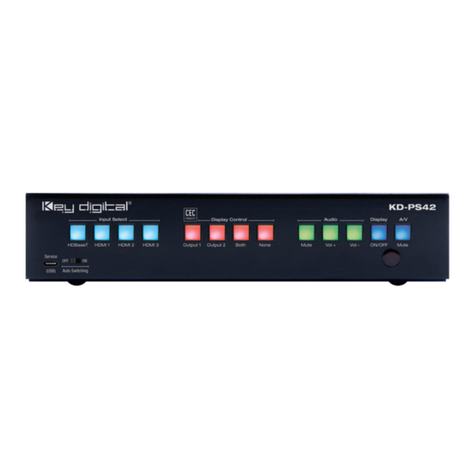
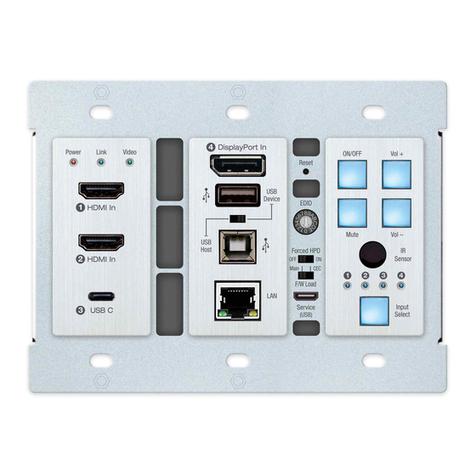
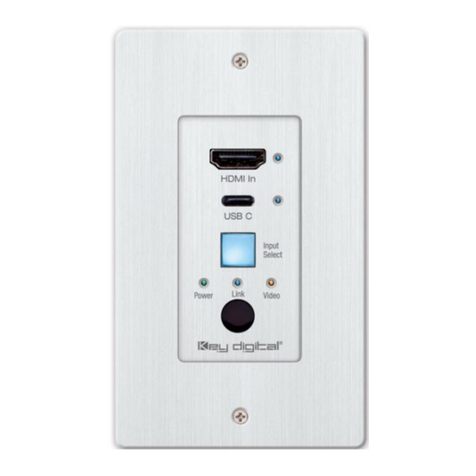
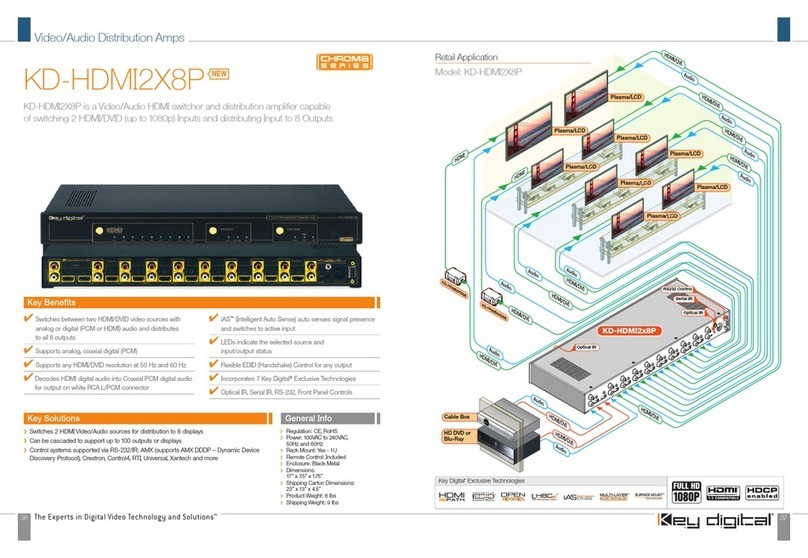
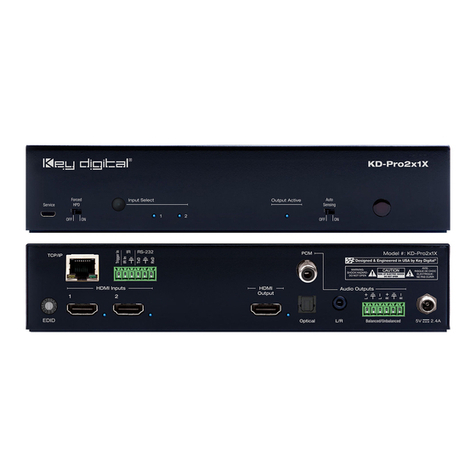
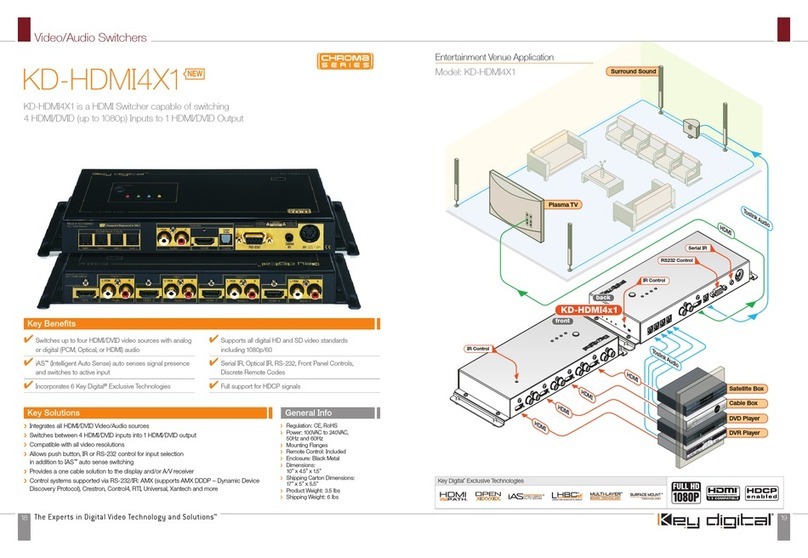
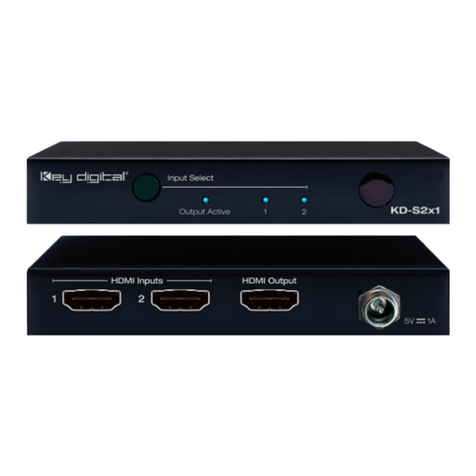
2. Connect your HDMI sources to the input ports of your KD-HDMI unit.
A typical INPUT PORT receives sources of
HDMI video and a variety of audio options.
Do not connect the external 5 Volt DC supply (provided) to the back
of the KD-HDMI unit until ALL your video and audio connections to
the KD-HDMI unit are complete
3. Connect your HDMI Display to the output port of your KD-HDMI unit.
If the display you would like to connect to your KD-HDMI unit has only a DVI-D
connector, then you can use a Key Digital
®
HDMI to DVI-D adapter at the KD-
HDMI output, followed by a DVI-D cable, to connect from the output of your
KD-HDMI to the DVI-D input of the display. Note that while HDMI supports
both video and audio over an HDMI cable, DVI-D supports video only and will
therefore require that you connect any audio outputs separately.
4. Audio to your monitor is supplied over the HDMI link. If you choose to use
another source or have a 5.1 surround sound system, the following information
will help you set up your audio. If you are using the audio provided via the HDMI
audio link only, then you may skip Step 4 and proceed to Step 5.
In addition to the audio provided over the HDMI link, you have the following input options to the KD-
HDMI for audio sources [see note 1]:
Toslink optical audio inputs (Toslink connectors):
A Toslink output is derived from one of the Toslink inputs as controlled via “Input Select”
Digital PCM audio inputs (white RCA female jacks):
Available at the outputs of the KD-HDMI on the white [left] RCA female jack
Analog stereo left & right audio inputs (RCA female jack pairs: [white = left] & [red = right):
Available at the output of the KD-HDMI on the RCA female jack pairs
[1] The white [left] RCA female jacks are shared among these signals for each of the four separate output banks, so
only one of these audio formats [Toslink optical converted to digital PCM, digital PCM, or analog stereo left & right] is
possible at a time.
All audio inputs and outputs have color-coded
RCA female jacks. For analog stereo audio,
remember to follow and maintain the color code:
[white = left] & [red = right].
›
➔
›
➔
›
➔
GETTING STARTED
Your KD-HDMI switcher by Key Digital
®
is easy to configure and operate. In this section, you will
first connect all of your video and audio input and output devices to your KD-HDMI unit. These
are the topics covered in detail in this section of the Operating Manual that you must follow for the
proper installation of your KD-HDMI unit:
Find a safe and convenient location to secure, mount, or place your KD-HDMI unit.
Connect your HDMI or DVI-D source devices to the input ports of your KD-HDMI unit.
Then connect your HDMI or DVI-D Displays to the output ports of your KD-HDMI unit.
If you do not plan on using the audio available from your sources over the HDMI link,
then connect your audio sources to the RCA and/or Toslink input ports of your
KD-HDMI unit.
Connect the Control inputs to your KD-HDMI unit, if desired.
Be sure the Operation Mode Switch is set to the “Normal” position.
Finally, connect the power supply provided with your KD-HDMI unit.
1. Find a safe and convenient location for your KD-HDMI unit.
A KD-HDMI unit dissipates power during normal operation, thereby it is recommended to leave
enough ventilation space to provide sufficient airflow and cooling, especially if you are going to
leave the unit “On” most of the time.
Be sure to allow sufficient airflow, and do not cover the ventilation openings on the side of the unit.
Before final installation of cables behind walls or ceilings, and permanently securing the
unit, it is recommended to test for proper operation of the unit and cables in your system.
Important notes about digital Cables and Cable lengths:
1.
2.
3.
4.
5.
6.
7.
Convenient mounting flanges are built into
the unit. Use proper care to secure the unit
to walls or other surfaces, using appropriate
anchors and/or mounting hardware [not
included with your unit].
CAUTION: Always test first, before permanently installing the KD-HDMI
Always test the picture quality, integrity of the connections, and overall operation
before permanently installing any new component in your system, and especially
before cables are pulled behind walls or ceilings.
It is recommended that you always use high-quality HDMI (or DVI-D, if applicable)
cables, like those available from Key Digital.
Limitations of the HDMI devices and/or the use of inferior cables may further restrict
the length of your cable runs.
When using an HDMI cable extender, like the Key Digital
®
KD-HDB150, always
test first for proper operation and error-free picture & audio quality, and follow the
instructions provided with the unit for proper installation and configuration.
➔
➔
➔
The OUTPUT PORT drives one display
and audio system.
HDMI Video
& Audio
Analog Audio
Left &Right
Toslink Optical
Digital PCM Audio
HDMI Video
& Audio
Left/PCM
& Right
Toslink Optical
Digital PCM Audio
HDMI Video
& Audio
Analog Audio
Left &Right
Toslink Optical
Digital PCM Audio
