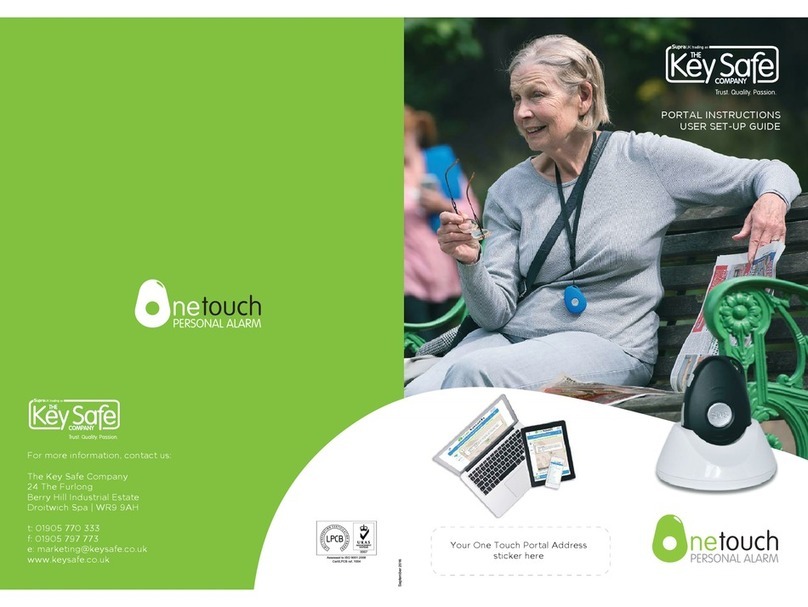
Key Safe One Touch Personal Alarm User manual

PORTAL INSTRUCTIONS
USER SET-UP GUIDE
Your One Touch Portal Address
sticker here

ONE TOUCH PERSONAL ALARM
WELCOME TO THE ONE TOUCH
PERSONAL ALARM
These instructions aim to make your journey using the One Touch Personal Alarm solution as
seamless as possible. If you have any further queries in relation to the set-up and operation of
this solution please do not hesitate to contact your provider.
Before dispatch of the One Touch device your provider will have set up the device on the One
Touch Personal Alarm web-portal. As such upon receipt of the device you will need to link the
device on the portal using the username and passcode your provider has provided you and set
up the criteria as seen overleaf in section 3. Please note this device is now LIVE!
GENERAL ADVICE
FOR USE:
4 Keep dry and free of dust.
4 Avoid excessively hot or cold spots.
4 Use a dry cloth to clean the device.
4 Do not open the device, because this will
void your warranty.
4 The use of any charger other than the
charger included in the package may
affect the operation of the device.
4 Do not remove the SIM card, it may be
blocked. Re-activation of the SIM card may
involve costs for the user.
4 The service is dependent on external
infrastructure (GSM/GPS/GPRS), whereby
the operation may be affected by
influences from outside.
GENERAL ADVICE
FOR OPERATION:
4 Press and hold the SOS alarm button for
3 seconds to make an alarm call. You will
hear a beep. The green LED light will blink
until you switch off the alarm.
4 In the web portal, your device will have
been configured with up to three contacts.
A call will be sent out to all of your
contacts. When they answer the alarm call
they will hear a recorded message.
4 You will be connected to the contact who
answers first. Doing so will notify the other
contacts that your call has been answered.
4 We advise you keep the conversation
as short as possible, so that any further
(emergency) communication will remain
available and the battery will last longer.

ONE TOUCH PERSONAL ALARM
1. SET-UP & CHARGING
Before you start using the device make sure
you charge the battery for at least 4 hours.
Plug the wire into the charging station
provided and place the device into the
charging station.
While the battery is charging the red LED light
will be on continuously.
When the battery is fully charged the red LED
light will switch off.
Remember to re-charge the battery as soon
as possible when the blue LED light starts to
blink quickly.
Battery life varies dependant on usage,
however is typically between 24 and 96
hours.
Complete your details on the web portal. If
you do not do this the device will not function
correctly.
2. SWITCHING ON/OFF & STATUS
CHECK
To switch on, press and hold button (1) on the
left side for 3 seconds
To switch off, press and hold button (1) on the
left side together with the SOS contact button
for 3 seconds.
You can check if the device is switched on by
shortly pressing button (1) or the SOS Contact
button (2).
When everything is all OK you will see the
green LED blink quickly 10 times.
On Button (1)
SOS Contact
Button (2)
Charging
Please note this product
is equipped with a roaming SIM card
which will roam onto the strongest
mobile network available. (Please check
mobile coverage in your area). Over use
may incur further charges. The product
is designed for outdoor use however
you should avoid excessive contact with
water. We can not be held responsible
for any UK GSM network failures or
poor coverage areas. Every device has
a 300 speech-minute/message limit
per year. We always look back on the
last 12 months of a subscription. All
calls are rounded up to a full minute
per conversation participant. When the
mentioned 300 limit is reached there
will be an
additional charge for usage.

ONE TOUCH PERSONAL ALARM
3. SETTING UP DEVICE CRITERIA
WITH WEB PORTAL
Decide on the 3 contacts you want to register
to receive alarms from your device and
make a note of
their name, telephone number and email
addresses. Once you press the SOS button
a call will be placed to all 3 contacts and
the first to answer will speak to you via the
pendant to assist you. All 3 contacts will get
an email to state you have placed an alert
and the email will name the person who
answered the alert.
If none of the 3 contacts answer the alert
another call will be placed. Hence, it is
important that you select
3 contacts who will answer the call.
4. LOGIN
Navigate to your portal address
(shown on the front cover)
Enter your admin email address
& click log in.
Enter the 5 digit code found on your
welcome email.

ONE TOUCH PERSONAL ALARM
This will take you to the home screen
5. PENDANT USER
To create the pendant user, click
on the icon on the top right hand side of the
home screen.
Activate/deactivate the user.
Enter the users name, email address, mobile
number and address. If needed an email
can be sent to the user with logon details to
the portal so they may view the pendants
configuration.
Users are also able to make changes to the
setup of their pendant. Click save changes to
be returned to the home screen.
6. PENDANT ADMIN
A pendant administrator may be
added if needed by clicking on the user icon
a second time and scrolling down to the
Device administrator section.
Enter the administrators name, email
address and mobile number.
Administrators can change the advanced
features not available to every day users or
SOS contacts.

ONE TOUCH PERSONAL ALARM
7. ADD CONTACTS
To set up contact persons, click on the
first contact person icon on the left hand side
of the home screen. (Repeat the process for
the other contacts.)
Status can be set to active or not active. This
can be used to turn a contact person off if
they cannot be contacted or respond, for
example, if they are on holiday.
Request location can be set on or off. This
allows contact persons to search for the
device and get an up to date location using
the request location button on the home
screen.
Enter the contact person’s name, email and
phone number and then add contact person
to save.
Send welcome message if you want to send
the contact logon credentials.
8. LOCATION
The request location button is used to
display the tracking information generated
by the pendant, known as breadcrumbs..

ONE TOUCH PERSONAL ALARM
There are 4 functions that can be performed.
Request device position
Jump to last known position
Scroll back through positions
Scroll forward through positions
The map will show the last known
location of the pendant along with
how long ago this location was
posted. If this was 15 minutes ago, you could
request device position to get an up-to-date
location for the pendant.
9. SETTINGS
Within the settings tab are some essential
configuration points that need to be set
before the pendant will function.
SOS Button can be configured on or off by
your provider.
Home Location shows the users home
address. This is then used as the map guide
for setting up Geo zones when they are
activated
Geo Zones can be turned on or off, and be
configured by the device administrator.
To create zones, first activate them and save
the change.

ONE TOUCH PERSONAL ALARM
The portal will then communicate with the
pendant. After a few minutes, click the GEO
zones button.
Turning Breadcrumbs on makes the pendant
ping its location to the portal every 20
minutes. These points can be viewed in the
‘locate device’ tab on the home page of the
portal.
Hide history hides the list of alarm activations
from view.
To complete the setup of a pendant, at least
one contact person will need to be created.
The settings tab on the home page will show
a green 100%. The pendant can now be
used.
10. MOBILE PHONE SET UP
Open your web browser (Safari-iPhone/
Chrome-Android/Edge-Windows) of choice
and enter the portal address. You can also
access the portal via the email sent by your
provider.
Should you have any questions or queries please
contact your one touch personal alarm provider:
Available on any modern web browser.

ONE TOUCH PERSONAL ALARM
Please note: One Touch will also work on all web enabled
devices that have browser capability such as desktop
computers, mobile phones, tablets,
smart TVs & game consoles.

Notes
ONE TOUCH PERSONAL ALARM

ONE TOUCH PERSONAL ALARM
Notes
Table of contents
Other Key Safe Security System manuals