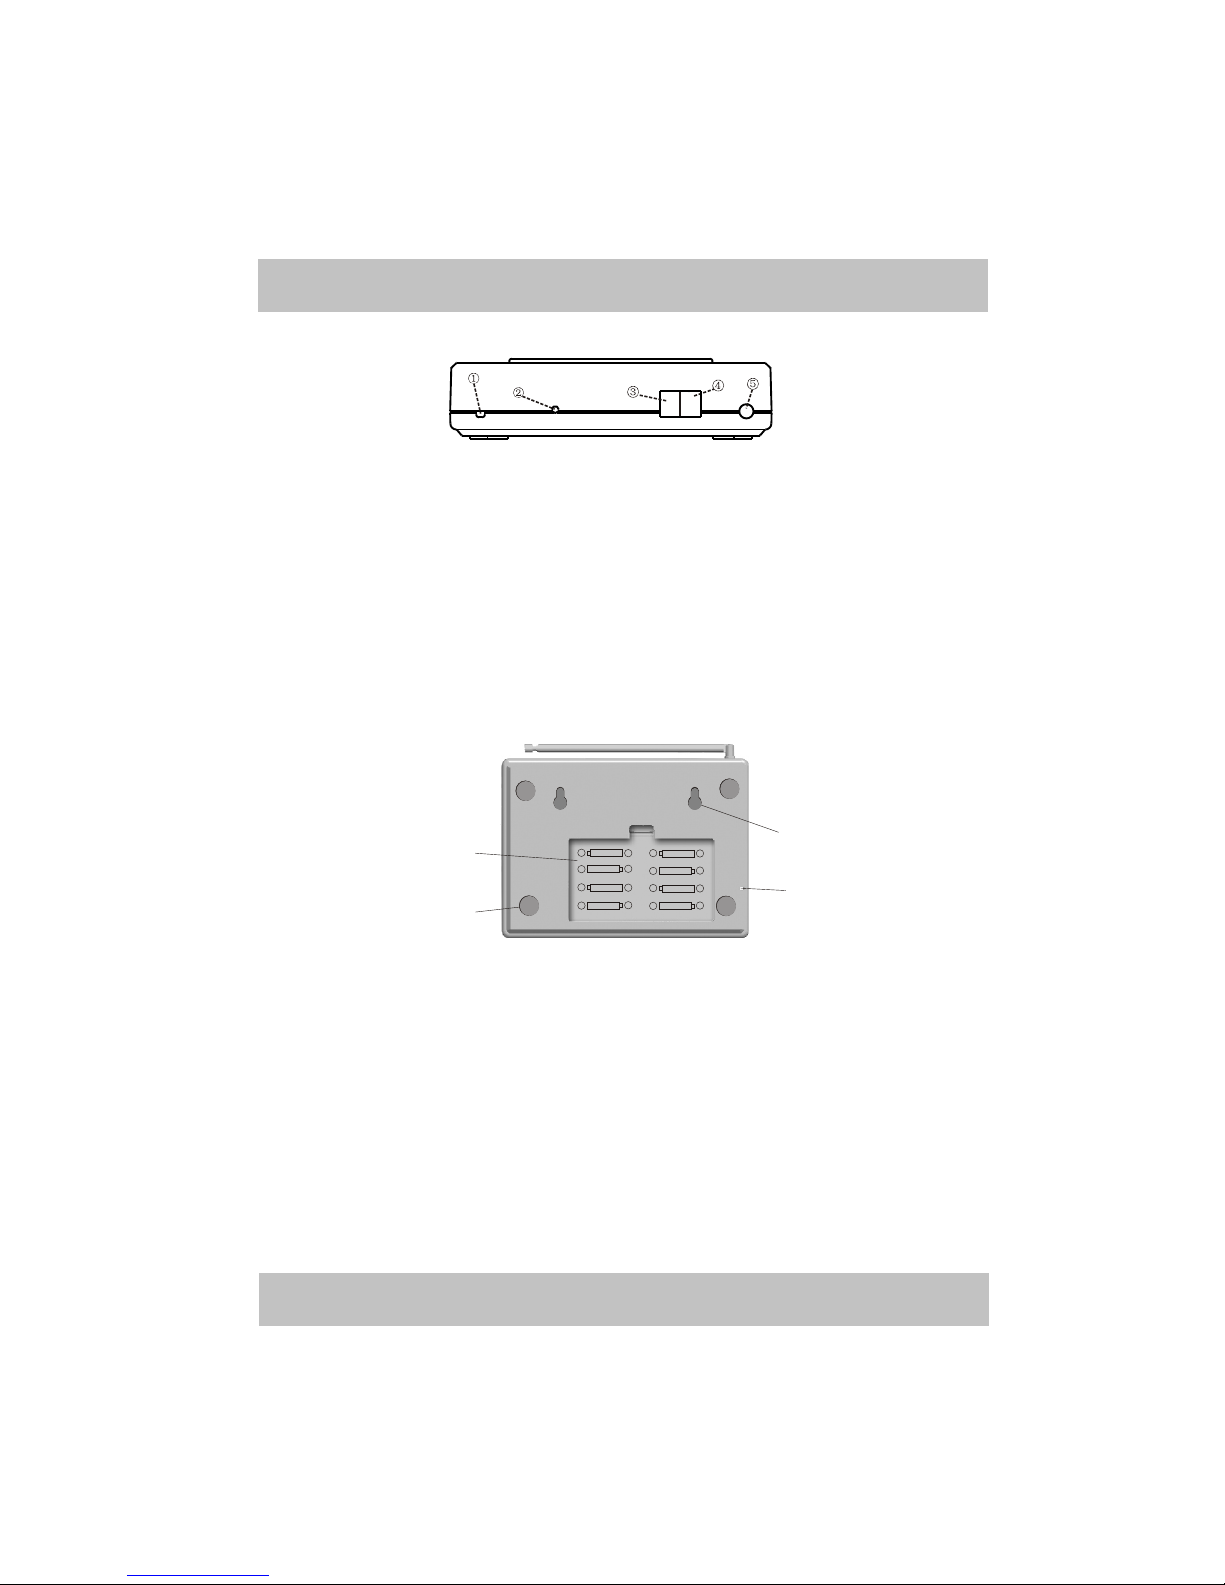
8-zone Telephone Alarm System
-7-
When main unit occurring alarm, it will make alarm sound till the alarm
duration arrives, then main unit will close alarm sound automatically (if there
are wireless siren, then it will close alarm sound of wireless external siren at
the same time).
Note: If the alarm duration is set to be 00, which means the main unit is
in mute alarm mode, if you don't want it to be mute, then you only need to
enter alarm duration, and then it will cancel mute function.
<7> How To Set Delay Arm Time (Leaving Time) 00 second by default
26#DD#
Instruction: “DD” is delay arm time, and it ranges from 00 to 99 seconds,
and it should be 2 bits. (Delay arm time is only valid to away home mode).
When you press “Away Home” button on remote controller, main unit
will enter delay arm time immediately, and then the main unit will make a
short “Di” sound every one second, and you should leave the defense area
during the time. When delay arm time you set arrives, main unit will enter
into away home mode immediately. (If you set to be 00 second, then once you
press “Away Home” button on remote controller, main unit will enter
away home mode automatically.
<8> How To Set Delay Alarm Time (Entering Time) 00 second by default
27#DD#
Instruction: “DD” is delay alarm time, which ranges from 00 to 99, and
it should be 2 bits. (Delay alarm time is only valid to anti-theft zones).
If you enter the defense area which has been armed, then you can disarm
the main unit by remote controller during the delay alarm time, if you don't
disarm main unit during the time, it will make alarm sound when the time
arrives. (If the time set to be 00 second, main unit will make alarm sound
immediately when receiving alarm signal).
<9> How To Set Wireless External Siren Closed by default (Only B
model have this function)
A. Enter The Code Of Wireless Siren (This function open automatically
after entering the code of siren).
40#AAAAAAAA# (AAAAAAAA is the code of siren)
Instruction: After entering 40#, main unit will make a short “Di” sound,
and then enter 8 bits code of siren labeled at the back of siren, and press a “#”
to confirm, then it will make four short “Di” sound, which means the setting
is successful.
B. Delete The Code Of Wireless Siren (This function close automatically
after deleting the code of siren)
40##
Instruction: After entering 40#, main unit will make a “Di” sound, and
then enter a “#”, and the indicator Light will be off one by one, then it will
make four short “Di” sound, which means the setting is successful.