Management
System
ISO 9001:2008
www.tuv.com
ID 9105043769
DE
ESFR
PT
1 - ANSCHLUSSART 900DECODER
1. Eine beliebige Versorgung des Zubehörs Key Automation 1224 Vac/dc mit einer maximalen
Aufnahme von 0,25A an die Klemmen n°2/3 des 900DECODERS anschliessen; (die Led
des Decoders schaltet sich ein).
2. DennormalerweisegeöffnetenSteuerungskontakt(30Vac/dc1AMAX.)andieKlemmen° 7/8anschließen.
3. Das dreipolige Signal des Tastenfeldes über Kabel (900SEL-D) an die Klemmen Nr. 4/5/6
anschließen, dabei auf die Pole +/-/S achten.
2 - PROGRAMMIERUNGSART CODENUMMERN
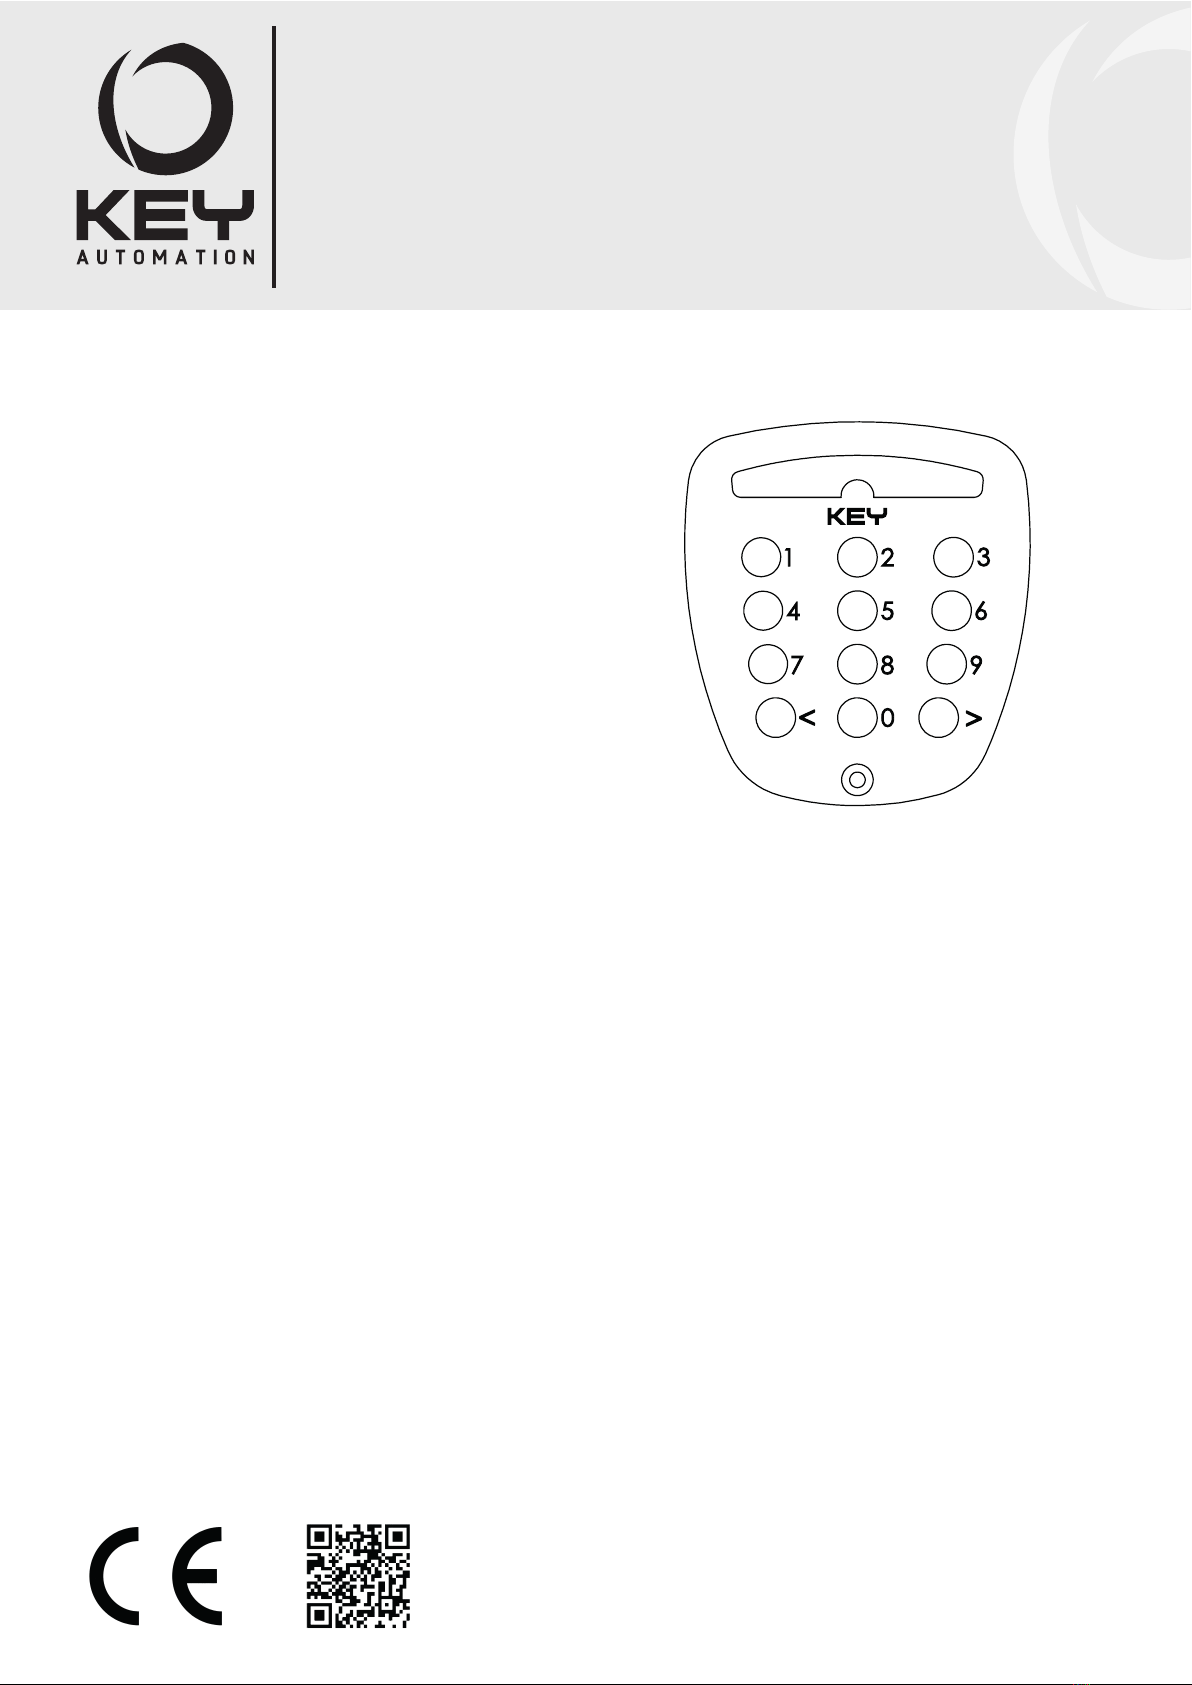
1. Den Code auf dem externen Digitaltastenfeld, das mindestens 4 Ziffern zwischen 1 und
9 umfassen muss, eingeben.
2. Die Taste P1 des Decoders drücken und gedrückt halten.
3. Die Taste < des Tastenfeldes für 2 Sekunden drücken.
4. Die rote Led des Decoders erlischt für 2 Sekunden => der eingegebene Code wurde
gespeichert.Falls die Led des Decoders zweimal nacheinander aufblinkt, bedeutet dies, dass
der Code bereits gespeichert wurde.
5. Die Taste P1 des Empfängers loslassen.
6. Zum Aktivieren der Steuerung, den Code eingeben und ein < anhängen.
3 - LÖSCHUNG EINES EINZELNEN CODES
1. Die Taste P1 RESET drücken und gedrückt halten.
2. Nach 4 Sekunden den Code, den man löschen möchte, auf dem Tastenfeld eingeben und
durch Drücken der Taste < übertragen.
3. Die rote Led blinkt dreimal hintereinander, dann die Taste P1 des Decoders wieder loslassen.
4. Der eingegebene Code wurde gelöscht.
4 - LÖSCHUNG ALLER GESPEICHERTEN CODES
1. Die Taste P1 RESET drücken und gedrückt halten.
2. Nach 10 Sekunden einen gespeicherten Code auf dem Digitaltastenfeld eingeben und
durch Drücken der Taste < übertragen.
3. Die Led des Decoders blinkt fünfmal hintereinander.
4. Die Taste P1 RESET des Empfängers wieder loslassen.
5. Alle gespeicherten Codes wurden gelöscht.
HINWEIS: Beim Drücken einer jeden Ziffer gibt das Tastenfeld einen Piepton aus, nach 5
Sekunden hört man eine langen Piepton, der die automatische Abschaltung des Versorgun-
gskreises anzeigt, Wenn man Codes mit weniger als 4 Ziffern überträgt, meldet ein dreimaliges
Piepen den Fehler;
-jeder Decoder kann bis zu 70 Codes speichern,
-jeder Kabeldecoder 900DECODER kann bis zu 1 Digitaltastenfelder 900SEL-D bedienen.
1 - MODALIDAD DE CONEXIÓN 900DECODER/RX
1. Conecte a los bornes n° 2/3 del 900DECODER/RX cualquier alimentación de accesorios Key
utomation de 12/24Vca/cd con una absorción máxima de 0,25A (el indicador del
descodicador se enciende).
2. Conecte a los bornes n° 7/8 el contacto normalmente abierto de control (30V ca/cd 1A MÁX).
3. Conecte a los bornes n° 4/5/6 la señal tripolar del teclado por cable (900SEL-D) cuidando de
respetar las polaridades +/-/S.
2 - MODALIDAD DE PROGRAMACIÓN DE CÓDIGOS
1. Introduzca el código en el teclado externo digital; debe constar de al menos 4 cifras del 1 al 9.
2. Pulse el botón P1 del descodicador y manténgalo pulsado.
3. Pulse el botón < del teclado durante 2 segundos.
4. El indicador rojo del descodicador se apagará durante 2 segundos => el código introducido
ha sido memorizado. Si el indicador del descodicador parpadea 2 veces consecutivas,
signica que el código ya está memorizado.
5. Suelte el botón P1 del receptor.
6. Para activar el control, teclee el código y pulse el botón <.
3 - BORRADO DE UN CÓDIGO CONCRETO
1. Pulse el botón P1 RESET y manténgalo pulsado.
2. Tras 4 segundos, introduzca el código que desea borrar en el teclado digital y envíelo
pulsando el botón <.
3. El indicador rojo parpadeará 3 veces consecutivas; suelte el botón P1 del descodicador.
3. El código introducido ha sido borrado.
4 - BORRADO DE TODOS LOS CÓDIGOS MEMORIZADOS
1. Pulse el botón P1 RESET y manténgalo pulsado.
2. Tras 10 segundos, introduzca un código memorizado en el teclado digital y envíelo pulsando
el botón <.
3. El indicador del descodicador parpadeará 5 veces consecutivas.
4. Suelte el botón P1 RESET del receptor.
5. Todos los códigos de la memoria han sido borrados.
Nota: El teclado emitirá un pitido cada vez que se pulse una cifra cualquiera; tras 5 seg. emitirá
un pitido largo para avisar del apagado automático del circuito de alimentación; si se envían
códigos inferiores a 4 cifras, emitirá 3 pitidos consecutivos para señalar el error.
-cada descodicador puede memorizar hasta 70 códigos.
-cada descodicador por cable 900DECODER puede gestionar hasta 1 teclados digitales
900SEL-D.
1 - MODALITÉ DE RACCORDEMENT 900DECODER/RX
1. Raccorder aux bornes n°2/3 du 900DECODER/RX une alimentation pour accessoires Key
Automation 12/24Vac/dc avec une absorption maximale de 0,25A. ; (la led du décodicateur s’allume).
2. Raccorder à la borne n° 7/8 le contact normalement ouvert de la commande (30Vac/dc 1A MAX).
3. Raccorder aux bornes n°4/5/6 le signal tripolaire du clavier via câble (900SEL-D), en
faisant attention à respecter les polarités +/-/S.
2 - MODALITÉ DE PROGRAMMATION DES CODES
1. Saisir le code sur le clavier externe numérique qui doit contenir au moins 4 chiffres de 1 à 9.
2. Appuyer sur le bouton P1 du décodicateur et le maintenir enfoncé.
3. Appuyer sur le bouton < du clavier pendant 2 secondes.
4. La Led rouge du décodicateur s’éteindra pendant 2 secondes => le code saisi a été mémorisé
Si la led du décodicateur clignotera 2 fois de suite, cela signie que le code est déjà mémorisé
5. Relâcher la touche P1 du récepteur.
6. Pour activer la commande, saisir le code suivi de <.
3 - ÉLIMINATION D’UN SEUL CODE
1. Appuyer sur le bouton P1 RESET et le maintenir enfoncé.
2. Après 4 secondes, saisir le code que l’on souhaite éliminer sur le clavier numérique et le
transmettre en appuyant sur la touche <.
3. La led rouge clignotera 3 fois de suite, relâcher le bouton P1 du décodicateur.
4. Le code saisi a été éliminé.
4 - ÉLIMINATION DE TOUS LES CODES MÉMORISÉS
1. Appuyer sur le bouton P1 RESET et le maintenir enfoncé.
2. Après 10 secondes, saisir un code mémorisé sur le clavier numérique et le transmettre en
appuyant sur la touche <.
3. La led du décodicateur clignotera 5 fois de suite.
4. Relâcher le bouton P1 RESET du récepteur.
5. Tous les codes présents dans la mémoire ont été éliminés.
N.B. Le clavier émettra un signal sonore à chaque fois que sera enfoncé un chiffre, après 5
sec il émettra un long signal sonore pour avertir de l’extinction automatique du circuit d’alimen-
tation. Si sont transmis des codes inférieurs à 4 chiffres, il émettra 3 signaux sonores de suite
pour signaler l’erreur;
- chaque décodicateur réussit à mémoriser jusqu’à 70 codes;
- chaque décodicateur via câble 900DECODER réussit à gérer jusqu’à 1 claviers numériques 900SEL-D.
1 - MODALIDADE DE CONEXÃO 900DECODER/RX
1. Ligue nos bornes n°2/3 do 900DECODER/RX qualquer alimentação de acessórios Key
Automation 12/24Vac/dc com uma absorção máxima de 0,25A.;(o led do decodicador
acende).
2. Ligue ao borne n° 7/8 o contacto normalmente aberto de comando (30Vac/dc 1A MAX).
3. Ligue aos bornes n°4/5/6 o sinal tripolar do teclado via cabo (900SEL-D) prestando
atenção para respeitar as polaridades +/-/S.
2 - MODALIDADE DE PROGRAMAÇÃO DOS CÓDIGOS
1. Digite o código no teclado externo digital o qual deve conter no mínimo 4 cifras de 1 a 9.
2. Carregue o botão P1 do decodicador e mantenha-o carregado.
3. Carregue o botão < do teclado durante 2 segundos.
4. O Led vermelho do decodicador apagará durante 2 segundos => o código digitado foi
gravado. Se o led do decodicador lampejar durante 2 vezes seguidas signica que o
código já está gravado.
5. Solte a tecla P1 do receptor.
6. Para activar o comando digite o código seguido de <.
3 - CANCELAMENTO DE UM CÓDIGO INDIVIDUAL
1. Carregue o botão P1 RESET e mantenha-o carregado.
2. Após 4segundos digite o código que se quer apagar no teclado digital transmitindo-o
como carregamento da tecla <.
3. O led vermelho efectuará 3 lampejos seguidos, solte, portanto, o botão P1 do decodicador.
4. O código digitado foi apagado.
4 - CANCELAMENTO DE TODOS OS CÓDIGOS GRAVADOS
1. Carregue o botão P1 RESET e mantenha-o carregado.
2. Após 10 segundos digite um código gravado no teclado digital transmitindo-o com o
carregamento da tecla <.
3. O led do decodicador executará 5 lampejos seguidos.
3. Solte o botão P1 RESET do receptor.
4. Todos os códigos na memória foram apagados.
N.B. O teclado emitirá um bip a cada carregamento de qualquer dígito, após 5 seg. emitirá
um Bip longo para avisar o desligamento automático do circuito de alimentação, se forem
transmitidos códigos inferiores a 4 dígitos emitirá 3 bip seguidos para sinalizar o erro;
-cada decodicador consegue gravar até 70 códigos;
-cada descodicador via cabo 900DECODER consegue controlar até 1 teclados digitais
900SEL-D.