Keystone SMARTVAC User manual

1
User Manual
Manual del usuario
KEYSTONE
Model/Modelo: SMARTVAC

2
Table of content:
1. Important Safety Instructions …………………….…………………………………………. 3
2. Carton Content.………..……………………………………………………………………………. 5
3. Contact Information ……………………………………………………………………………… 5
4. Parts List ……………………………………………………………………………………….…...… 5
5. Intended use………..……………………………………………………………………………..… 6
6. Double insulation instructions ..……………………………………………………………… 6
7. Extension cords………….………………………………………………………….…………….… 6
8. Set Up Instructions ……….………………………………………………………………….…… 7
9. Vacuuming dry material …………………………………………………………………….…. 8
10. Filter Cleaning and Replacement ………………………………………….…………….… 9
11. Post filter Cleaning and Replacement………………………………….……………….… 10
12. After Use, Storage ………………………………………………………….…………………..… 11
13. Trouble Shooting ……………………………………………………………...………….…….… 11
14. Warranty ………………………………………………………………………….…………….….…. 12
! ATTENTION: REVIEW IMPORTANT SAFETY INSTRUCTIONS BEFORE ATTEMPTING TO
USE THIS VACUUM CLEANER. RETAIN FOR FUTURE REFERENCE
! DANGER: Never operate this unit when flammable materials or vapors are
present because electrical devices produce arcs or sparks that can cause
a fire or explosion.
NEVER OPERATE UNATTENDED!
! WARNING: Do NOT use this vacuum cleaner to vacuum lead paint debris because
this may disperse fine lead particles into the air. This vacuum cleaner is
not intended for use under EPA Regulation 40 CFR Part 745 for lead
paint material clean up.
! WARNING: This Dry vacuum cleaner must not be used for the suction of water or
other liquids.

3
1 – IMPORTANT SAFETY INSTRUCTIONS
When using an electrical appliance, basic precautions should always be followed, including
the following:
READ ALL INSTRUCTIONS BEFORE USING THIS VACUUM CLEANER.
WARNING – TO REDUCE THE RISK OF FIRE, ELECTRIC SHOCK OR INJURY:
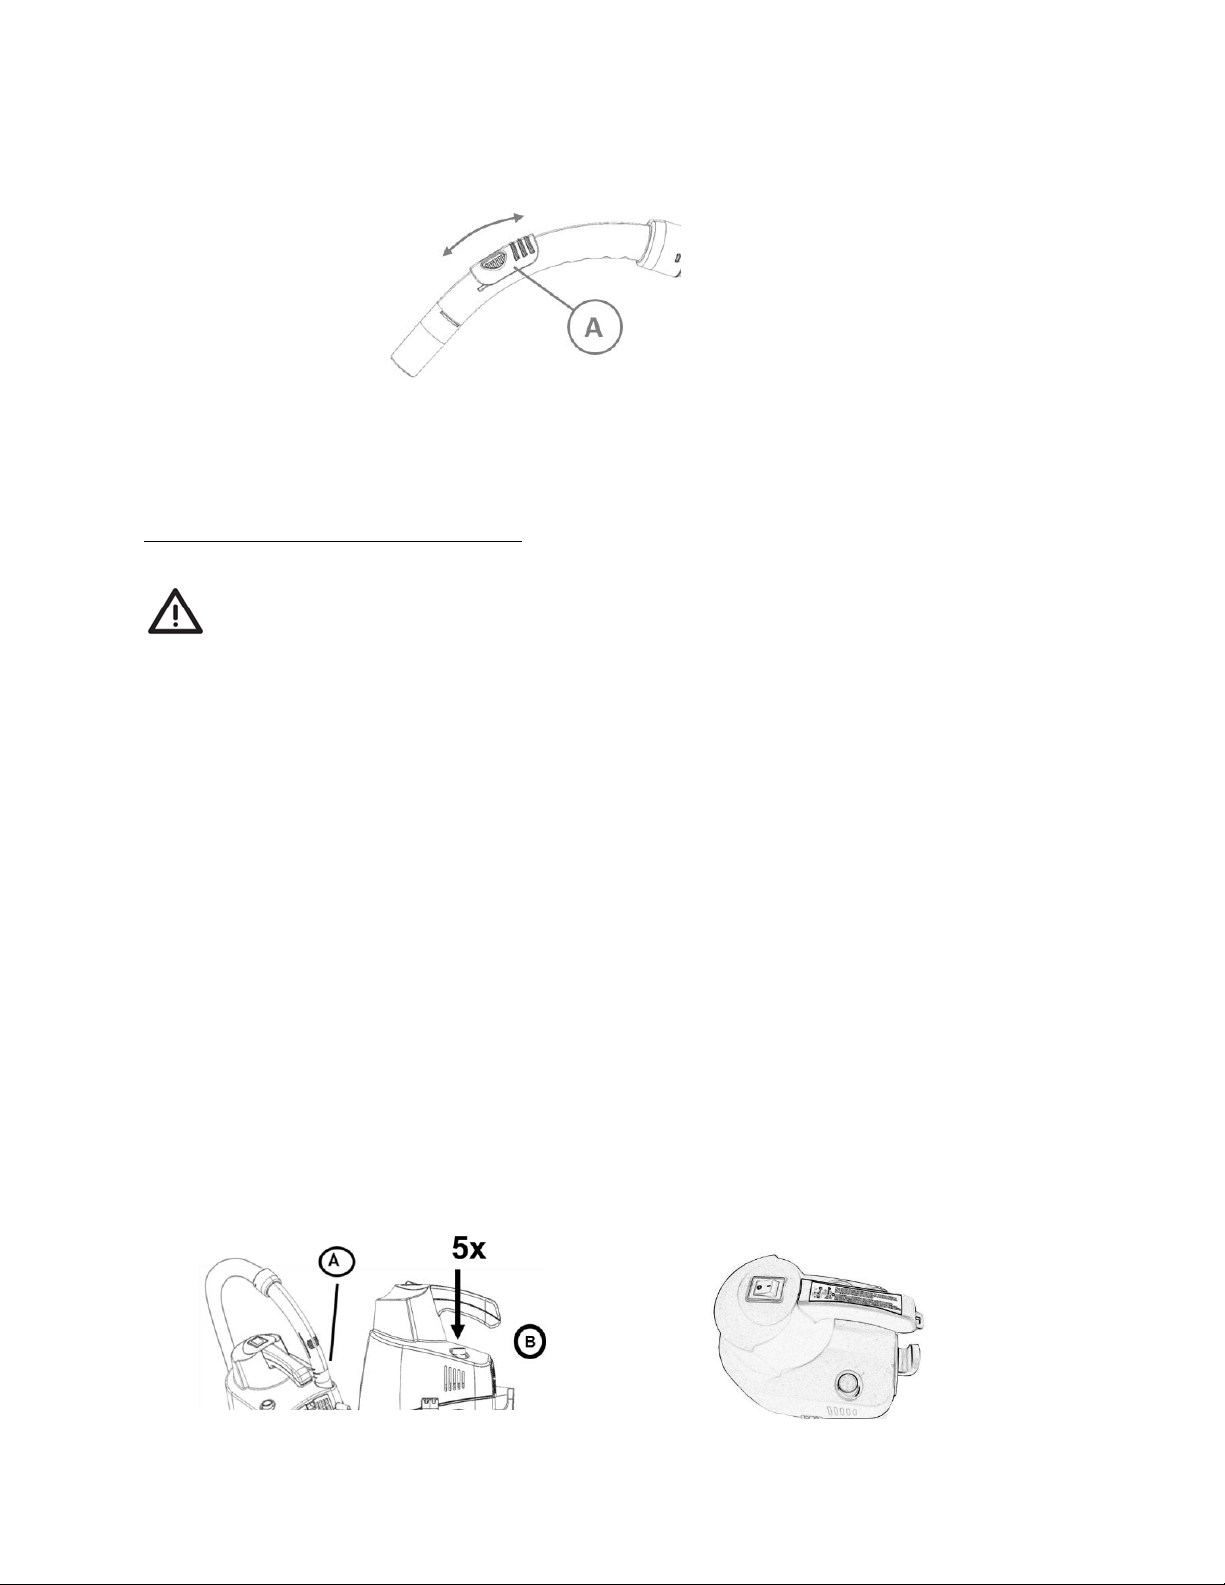
1. Use this vacuum cleaner only as described in this manual. Use only Manufacturer’s
recommended attachments.
2. Do not pick up anything that is burning or smoking such as cigarettes, matches or hot
ashes.
3. Never immerse the appliance, the connection cord or plug in water as doing so presents
the risk of electric shock. When working with the appliance, make sure that the
connection cord and, where applicable, an extension lead are not lying in water.
4. Do not pick up sharp objects such as needles or pieces of glass.
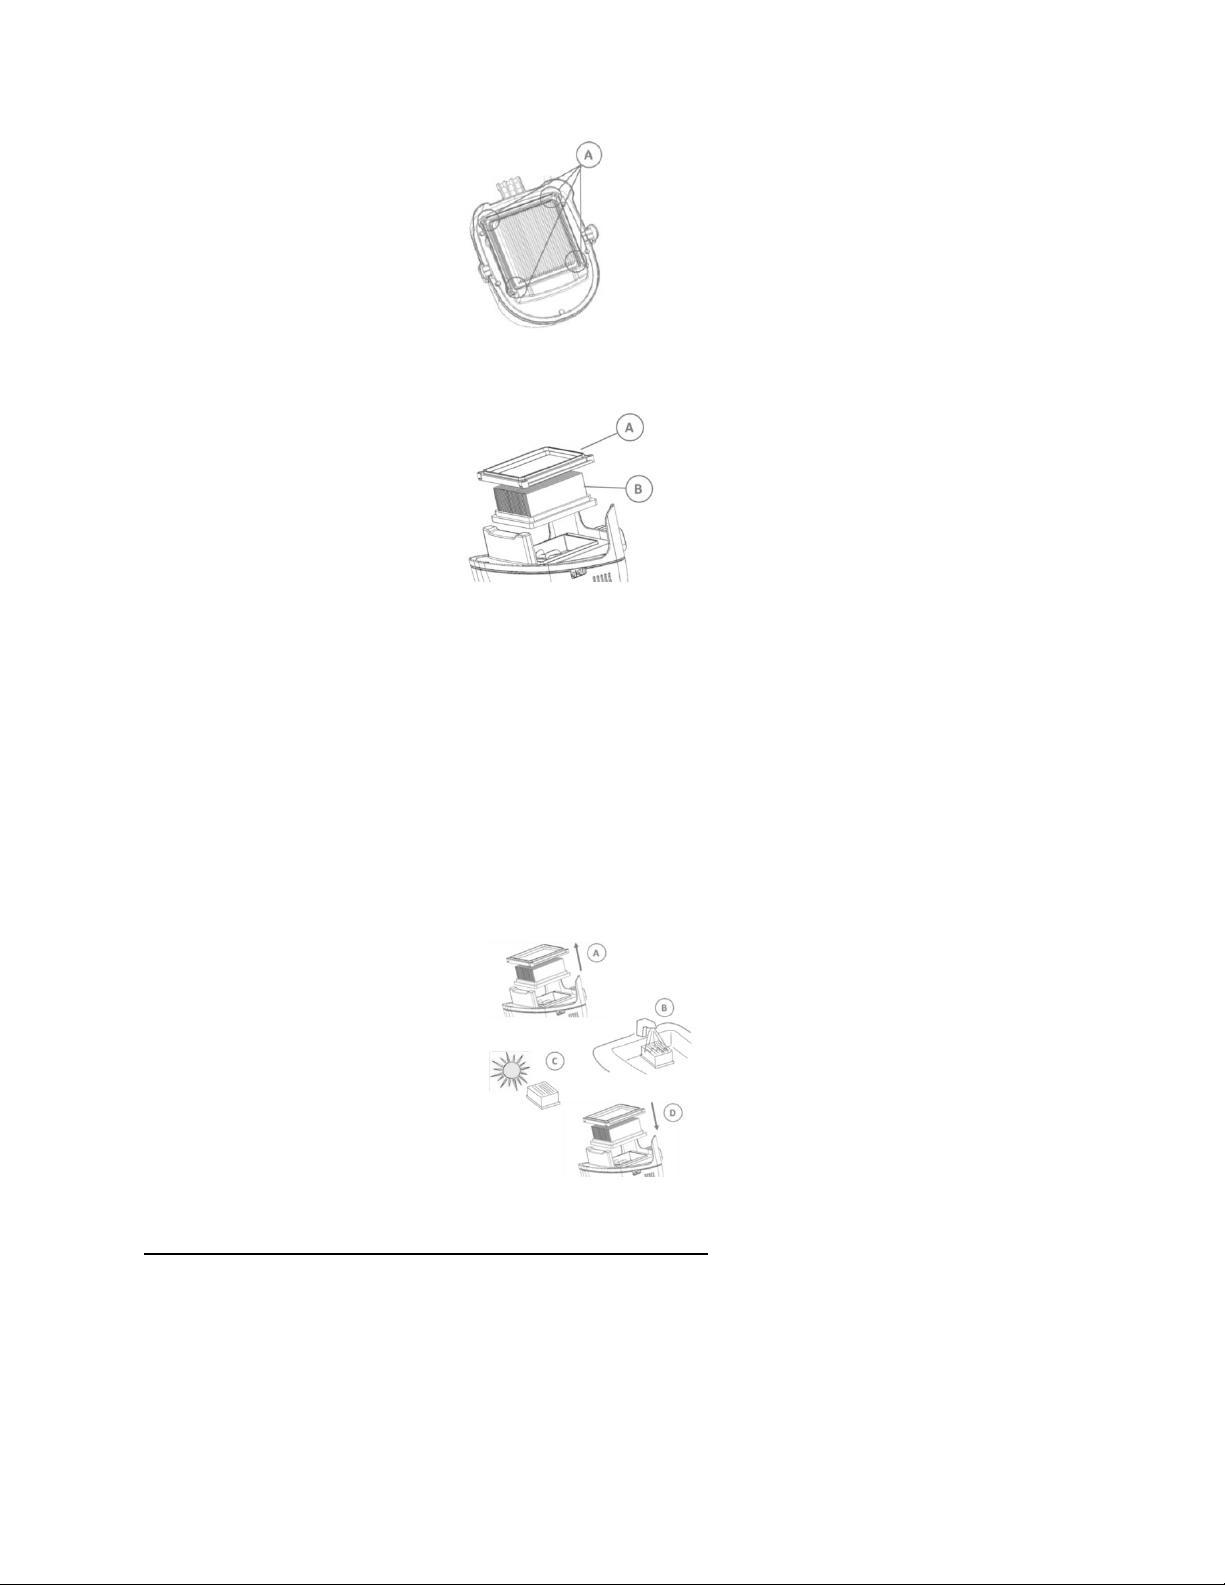
5. Do not use the machine without filters properly fitted and installed.
6. WARNING Do NOT use this vacuum cleaner to vacuum lead paint debris. Fine lead
particles may be dispersed into the air. This vacuum cleaner is not intended for use
under EPA Regulation 40 CFR Part 745 for lead paint material clean up.
7. Never vacuum up the following materials: explosive or combustible gases, liquids and
dust particles (reactive dust particles), reactive metal dust particles (such as aluminum,
magnesium, zinc) in combination with highly alkaline or acidic detergents, undiluted and
strong acids and alkalis or organic solvents such as petrol, paint thinners, acetone,
heating oil and similar products.
8. Risk of fire. Do not vacuum up any burning or glowing objects.
9. Do not pick up flammable or combustible liquids such as gasoline, liquids, reactive dust
particles or use in areas where they may be present.
10. Do not use your vacuum cleaner as a sprayer of flammable liquids such as oil base paints,
lacquers, household cleaners, etc.
11. Do not vacuum toxic carcinogenic, combustible or other hazardous materials such as
asbestos, arsenic, barium, beryllium, lead, pesticides or other health endangering
materials.
12. Do not pick up soot, cement, plaster or drywall dust without a filter and without using
the Filter Cleaning System. These are very fine particles.
13. To avoid spontaneous combustion, empty tank after each use.
14. NOTE: A static shock may occur if the environment is too dry. This will not affect the use
of the vacuum cleaner. To eliminate shock, add humidity to the air with a console or a
humidifier.

4
15. Turn off all controls before unplugging power cord.
16. STAY ALERT and use common sense. Do not use vacuum cleaner when you are under
the use of drugs, alcohol or medication or even if you are tired or distracted.
17. Do not leave cord lying on the floor once you have finished the cleaning job. It can
become a tripping hazard.
18. Use extra care when cleaning on stairs or on a latter.
19. Keep hands, hair, clothing, and all other parts of body away from openings and moving
parts.
20. Do not put any object into openings. Do not use with any openings blocked; keep free of
dust, lint, hair and anything that may reduce air flow.
21. Do not handle plug or appliance with wet hands.
22. Do not allow to be used as a toy. Close attention is necessary when used by or near
children.
23. Keep packaging material away from children. There is a risk of suffocation!
24. Do not use with damaged cord or plug. If appliance is not working as it should, has been
dropped, damaged, left outdoors or dropped into water, contact your authorized
service center or licensed electrician for assistance. Not to be used before service has
been carried out.
25. Do not unplug by pulling on cord. To unplug, grasp the plug, not the cord.
26. Do not pull or carry by cord, use cord as a handle, close a door on cord or pull cord
around sharp edges or corners. Do not run vacuum cleaner over its power cord. Keep
cord away from heated surfaces.
27. Do not leave this appliance when plugged in. Unplug from outlet when not in use and
before servicing. Connect to a properly outlet only.
28. Do not use outdoors or on wet surfaces.
29. Carry out the maintenance work according to operation instruction
30. Wear protection mask, when emptying the vacuum cleaner for fine dust
31. This appliance is provided with double insulation. Use only identical replacement parts.
See instructions for Servicing of Double-Insulation Appliances.”
32. Unplug before connecting hose and Crevice nozzle/Brush.
SAVE THESE INSTRUCTIONS
Household use only
WARNING - To reduce the risk of electric shock, this appliance has a polarized plug (one blade
is wider than the other). This plug will fit in a polarized outlet only one way. If the plug does
not fit fully in the outlet, reverse the plug. If it still does not fit, contact a qualified electrician
to install the proper outlet. Do not change the plug in any way.

5
! WARNING – Do not leave vacuum unattended when it is plugged in and/or operating.
Unplug unit when not in use.
2 - CARTON CONTENT
SMARTVAC
4.5 Peak HP, 1.5 Gallon Tank *
*Gallons relate to the size of the tank, not the capacity for material or water.
As you open the carton, make sure the following is inside
Vacuum motor and tank
Hose
Crevice tool
Upholstery nozzle
Some of these items are packed inside the tank. If parts are missing, contact our Customer
Service Department. Do not return your vacuum to the store you purchased it from.
3 - CONTACT INFORMATION
For technical assistance or service parts, contact Customer Service Department at:
Phone: 866-814-4103 Monday – Friday, 8:00 to 5:00, Central Time
4 - PARTS LIST
1. Head
2. Tank
3. Clamp
4. Hand tube
5. On/off switch
6. Post-filter
7. Power cord
8. Hook for power cord
9. Holder for hand tube
10. Hose
11. Filter
12. Filter cleaning button
13. Handle for tank emptying
14. Latch for post-filter
15. Crevice tool
16. Upholstery nozzle Strap (17) not included. Order sparatly.

6
5 - INTENDED USE
This dry vacuum cleaner is intended for use as a domestic/household multipurpose product,
corresponding to the description given in these operating and safety notes.
This dry vacuum cleaner is not to be used for commercial and or professional use.
6 - Double insulation instructions
When servicing of double-insulated appliances note that in a double-insulated appliance, two
systems of insulation are provided instead of grounding. No grounding means is provided on a
double-insulated appliance, nor should a means for grounding be added to the appliance.
Servicing a double-insulated appliance requires extreme care and knowledge of the system, and
should be done only be qualified service personnel. Replacement parts for a double-insulated
appliance must be identical to the parts they replace.
7 - EXTENSION CORDS
! WARNING- Inadequate extension cords can be dangerous.
When using where an extension cord is necessary, a 2-conductor grounding cord must be used
for safety as well as cord and plug must be of watertight construction. This will also prevent
overheating and a loss of power. Do not use any AWG smaller than 16. Use AWG 14 ga for 25-
50 ft and 12 ga for 50+ ft.
Before using appliance, inspect power cord for loose or exposed wires and damaged insulation.
Make any needed repairs or replacements before using your appliance.
Inadequate extension cords can be dangerous!
NOTE: STATIC SHOCKS ARE COMMON IN DRY AREAS OR WHEN THE RELATIVE HUMIDITY
OF AIR IS LOW. THIS IS ONLY TEMPORARY AND DOES NOT AFFECT THE USE. TO REDUCE THE
FREQUENCY OF STATIC SHOCKS IN YOUR HOME, THE BEST REMEDY IS TO ADD MOISTURE TO
THE AIR WITH A CONSOLE OR INSTALLED HUMIDIFIER.

7
8 - SET UP INSTRUCTIONS
1. Read the 5 – SAFETY WARNINGS AND INSTRUCTIONS section of this manual thoroughly
before setting up and using this vacuum cleaner.
2. Be sure the switch, Figure 1 (5), is in the off position. 0= off I= on
3. Be sure the power cord is not plugged into an electrical outlet.
4. See Figure 2. Remove vacuum head (A) from tank (B) by pulling gently on the lower part of
the clamps (C) on the vacuum head.
5. Remove any accessories that may have been packed inside the tank.
6. Attach the vacuum head to the tank. Be sure that vacuum head is securely clamped to the
tank.
7. See Figure 3. Insert hose adaptor (A) into the intake port and turn handle (D) clockwise until
locked. To remove the hose, turn handle (D) counter clockwise until unlocked and pull the
hose adaptor (A) out.
8. See figure 4. Adjust the suction power by moving the sliding valve (A) back and forth with
your finger tip. The suction power is highest when the sliding valve is closed and lowest
when all open.
Figure 2
Figure 3

8
NOTE THAT THE SLIDING VALVE MUST BE CLOSED TO OPERATE THE FILTER CLEANING SYSTEM
9. Attach crevice nozzle or upholstery nozzle to the hand tube.
9 - VACUUMING DRY MATERIAL:
! ATTENTION-For vacuuming of dry material filters must be installed.
10. Check to see that on/off switch, Figure 1 (5), is off (0).
11. Plug the power cord into an electrical outlet.
12. Start vacuum by turning switch on (I).
13. This vacuum cleaner is equipped with a filter which can collect fine dust, including ashes
from fireplaces. Ashes must be cold. Do not attempt to vacuum hot or warm ash. Max.
Temperature of the ashes should not be warmer than 104 degrees Fahrenheit / 40
degrees Celsius.
14. This dry vacuum cleaner is also equipped with a post-filter to catch dust in the exhaust air.
15. Figures 5, 6. Use Filter Cleaning System to maintain performance before and after each use.
When working with fine dust or cold ash, the filters can get clogged, decreasing the
performance of the vacuum as well as the life of the filters. To operate the Filter Cleaning
System:
a. Turn the switch on (I).
b. Block the inlet (A) and wait 5 seconds. This will close the air flow and build up
pressure in the tank.
c. Push the button (B) 5 times fast.
Figure 4
Figure 5
Figure 6

9
NOTE THAT THE SLIDING VALVE MUST BE CLOSED TO OPERATE THE FILTER CLEANING SYSTEM
NOTE that this vacuum cleaner has a built in thermal overload protector to protect the motor
from high temperatures. This can occur under heavy use. If the motor temperature shuts off
during operation, turn the switch off and allow the motor to cool for 5 minutes. Turn switch on
and resume operation.
16. When the tank needs to be emptied, see Figure 7:
a. Find an appropriate waste bin outside for disposal of material in the tank.
b. Turn switch off (0) and unplug power cord.
c. Detach hose from suction inlet.
d. Remove vacuum head from the tank by pulling gently on the lower part of the
clamps on the side of the vacuum head.
e. Place the vacuum cleaner head on the ground on the appropriate feet.
f. Empty the tank into the bin. Note the tank is equipped with a hand grip at the
bottom for convenience.
g. Clean the post-filter (see#18-21)
h. Attach vacuum head to tank, ensuring they are securely clamped together.
i. Insert hose into suction inlet.
! WARNING- Wear protection mask, when the tank needs to be emptied.
10 – FILTER CLEANING AND REPLACEMENT
17. Filters need to be cleaned or replaced from time to time. The filter can be cleaned with the
Filter Cleaning System. (See #15) Eventually filters will need to be washed or become worn
and need to be replaced. To clean or replace the filter:
a. Turn switch off (0) and unplug power cord from the electrical outlet.
b. Remove hose from suction inlet.
c. Remove head from the tank by pulling gently on the clamps on the vacuum head,
turn the head upside down.
d. See Figure 8. Remove the 4 screws fixing the filter frame to the head
Figure 7

10
e. See figure 9. Remove the filter frame (A) and the filter (B).
f. Insert a new filter into the filter frame and place it on the head. Use only model F-
SM to insure that you have a genuine filter.
g. Fix the 4 screws. Do not over tighten the screws. Use an appropriate screw driver.
h. Check the filter is properly fixed and the sealing between head and filter frame is
secured.
i. Attach head to the tank, ensuring they are securely clamped together
j. See Figure 10 to wash filter. Follow the instructions from A – D.
NOTE: NEVER MACHINE WASH OR MACHINE DRY FILTERS
11 – POST-FILTER CLEANING AND REPLACEMENT
18. Post-filter ensures that very fine dust not removed by the filter is removed.
19. See figure 11. To clean or replace the post filter move the latch (A) down by pushing the button and
take out the filter (B)
Figure 10
Figure 8
Figure 9

11
20. Clean the post-filter (B) outside by blowing air backwards through it and/or move it rapidly up and
down.
21. Insert the post-filter (B) into the latch (A). Ensure that it is correctly fitted
12 - AFTER USE, STORAGE
22. Store vacuum cleaner in a room above 32 degrees F.
23. All the accessories can be stored on the machine. See figure 12
a. Place the hand tube in the holder for hand tube (A)
b. Place the crevice nozzle with brush head (B)
c. Place cord on cord hook (C)
WARNING! When not in use: disconnect the power cord from the electrical outlet.
13 - TROUBLE SHOOTING
Repair or service of electrical components such as cord or motor, must only be carried out by
an authorized service center.
Figure 12
Figure 11

12
If the vacuum does not start:
d. Check to see that the plug is correctly inserted in the electrical outlet and that
there is power at receptacle.
e. A circuit breaker may have tripped. Check the circuit breaker box.
f. The cord or plug may be damaged and must be repaired by an authorized service
center.
If motor stops:
g. A thermal overload protection will shut off the motor if the motor temperature is
too high. If this occurs, turn the switch off. Wait 5 minutes for the motor to cool.
Turn switch on and resume operation.
If suction power is reduced:
h. The tank may be full and needs to be emptied. See #16.
i. The hose, crevice nozzle or brush head may be clogged and need to be cleaned.
j. Any of the above may be damaged and need to be replaced.
k. The filter may be clogged. Use the Filter Cleaning System (#15), to clean the filter.
Replace the filter or make sure the filter is installed properly.
l. The Post filter may be clogged. Follow instruction #19 to 21.
m. The hose connection or hand tube connection to the hose is loose and need to be
tightened.
If static shock
n. The environment is too dry, add moisture to air and if possible use a humidifier.
o. In case the relative humidity of air is low, note that this situation will not have any
effect on use of the vacuum cleaner.
14 - WARRANTY
Warranty covers:
This vacuum cleaner warranties for one (1) year, the motor, switch and casing. The nozzles,
filters, hose and other accessories are warrantied for one (1) year due to manufacturing defects
and exclude normal wear and tear. The warranty includes spare parts and labor costs, and
covers manufacturing and material defects that may occur during normal domestic use.
Service under the guarantee will only be performed if it can be proven that the defect occurred
within the product’s warranty period (a cash register receipt with date and product type) and
on the condition that the vacuum cleaner was bought as a new product.
Warranty does not cover:
Normal wear and tear of accessories, filters and motors.
Defects or damage occurring as a direct or indirect result of incorrect use - such as the
vacuuming of rubble, hot ashes or carpet deodorant powder (read safety warnings and
instructions)

13
Abuse, loss or lack of maintenance as described in this user manual.
Incorrect of poor configuration, i.e. setting up or connection, fire-damage, fire, lightning
strike or unusual voltage fluctuations or any other electrical disturbances such as a
defective circuit breaker or defective electrical installations on the supply grid, and
defects or damage in general.
Warranty becomes void:
If a defect is caused by the use of non-original filters.
If the identity number is removed from the vacuum cleaner.
If the vacuum cleaner has been repaired by non-authorized dealer.
If the machine has been used for commercial purpose.
! WARNING – If any of the motor housing parts should become detached or broken,
operations should be discontinued immediately to avoid personal injury. Repairs should be
made before reuse.
Note: FOR TECHNICAL ASSISTANCE, CONTACT OUR CUSTOMER SERVICE DEPAPRTMENT

14
Tabla de contenidos:
1. Instrucciones de seguridad importantes ··························································15
2. Contenido de la caja·················································································· 17
3. Información de contacto············································································· 17
4. Lista de piezas························································································· 18
5. Uso previsto····························································································18
6. Reparación de electrodomésticos con doble aislamiento······································· 18
7. Cables de extensión···················································································18
8. Instrucciones de montaje ···········································································19
9. Aspiración en seco ··················································································· 20
10.Limpieza y sustitución del filtro HEPA ···························································· 22
11.Limpieza y sustitución del filtro posterior·························································23
12.Almacenamiento ·····················································································24
13.Resolución de problemas··········································································· 24
14.Garantía······························································································· 25
¡ATENCIÓN!: REVISE LA SECCIÓN "INSTRUCCIONES DE SEGURIDAD IMPORTANTES"
ANTES DE USAR LA ASPIRADORA. CONSERVE ESTAS INSTRUCCIONES
PARA FUTURAS CONSULTAS.
¡PELIGRO!: No utilice nunca este aparato en presencia de materiales o vapores
inflamables, ya que los dispositivos eléctricos producen arcos o chispas
que podrían provocar un incendio o una explosión.
NUNCA DEJE EL APARATO ENCENDIDO SIN SUPERVISIÓN
¡ADVERTENCIA!: NO utilice esta aspiradora para aspirar restos de pintura con plomo, ya
que esto puede provocar que se dispersen partículas finas de plomo en
el aire. Esta aspiradora no es apta para la limpieza de pintura con plomo
en virtud del reglamento 40 CFR, parte 745, de la EPA (Agencia para la
protección del medio ambiente).
¡ADVERTENCIA!: No utilice esta aspiradora para succionar agua u otros líquidos.

15
1 – INSTRUCCIONES DE SEGURIDAD IMPORTANTES
Cuando se utiliza un aparato eléctrico, se deben tomar siempre ciertas precauciones básicas,
incluyendo las que se describen a continuación:
LEA LAS INSTRUCCIONES EN SU TOTALIDAD ANTES DE USAR LA ASPIRADORA.
¡ADVERTENCIA! – PARA REDUCIR EL RIESGO DE INCENDIO, DESCARGA ELÉCTRICA Y LESIONES:
1. Utilice la aspiradora únicamente según las indicaciones de este manual. Utilice solo los
accesorios recomendados por el fabricante.
2. No utilice la aspiradora para recoger material en combustión o incandescente, como
cigarrillos, cerillas o cenizas calientes.
3. Nunca sumerja el aparato, el cable de alimentación o el enchufe en agua, ya que esto
podría provocar una descarga eléctrica. Cuando utilice el aparato, asegúrese de que el
cable de alimentación y, en su caso, el cable de extensión no estén en contacto con agua.
4. No utilice la aspiradora para recoger objetos punzantes, como agujas o trozos de cristal.
5. Antes de utilizar el aparato, asegúrese de que los filtros estén instalados y colocados
correctamente.
6. ADVERTENCIA: NO utilice esta aspiradora para aspirar restos de pintura con plomo, ya
que esto puede provocar que se dispersen partículas finas de plomo en el aire. Esta
aspiradora no es apta para la limpieza de pintura con plomo en virtud del reglamento 40
CFR, parte 745, de la EPA (Agencia para la protección del medio ambiente).
7. Nunca utilice la aspiradora para aspirar los siguientes materiales: gases explosivos o
combustibles, líquidos y partículas de polvo (partículas de polvo reactivas), partículas de
polvo de metal reactivas (como aluminio, magnesio o zinc) en combinación con
detergentes altamente ácidos o alcalinos, disolventes no diluidos, muy ácidos o alcalinos,
u orgánicos, tales como la gasolina, diluyente de pintura, acetona, aceite de calefacción y
materiales similares.
8. Riesgo de incendio: No utilice la aspiradora para recoger objetos en combustión o
incandescentes.
9. No utilice la aspiradora para aspirar líquidos inflamables o combustibles, como gasolina o
partículas de polvo reactivas, ni en las zonas en que estos puedan estar presentes.
10. No utilice la aspiradora para pulverizar líquidos inflamables, como pinturas con base de
aceite, barniz, detergentes domésticos, etc.
11. No utilice la aspiradora para aspirar materiales tóxicos, cancerígenos, combustibles o
peligrosos, como amianto, arsénico, bario, berilio, plomo, pesticidas u otros materiales
que puedan poner en riesgo su salud.
12. Si va a utilizar la aspiradora para recoger hollín, cemento, yeso o polvo de yeso,
asegúrese de que el filtro HEPA esté instalado y utilice el sistema de limpieza de filtros,
ya que se trata de partículas muy finas.
13.Para evitar la combustión espontánea, vacíe el depósito después de cada uso.
14.NOTA: Si el ambiente es muy seco, se puede producir una descarga electrostática. Esto

16
no afectará al funcionamiento de la aspiradora. Para reducir la carga de electricidad
estática, aumente el nivel de humedad del aire con una consola o un humidificador.
15.Apague todos los interruptores antes de desenchufar el cable de alimentación.
16.MANTÉNGASE ALERTA y utilice el sentido común. No use la aspiradora si se encuentra
bajo la influencia de drogas, alcohol o medicamentos o si está cansado o le cuesta
concentrarse.
17.Una vez terminado el trabajo de limpieza recoja el cable de alimentación, ya que podría
tropezar con él.
18.Tenga especial cuidado cuando utilice la aspiradora en escaleras o sobre una escalera de
mano.
19.Mantenga la ropa, las manos, el cabello y las demás partes del cuerpo alejados de las
aberturas y las partes móviles.
20.No coloque ningún objeto en las aberturas. No use la aspiradora si alguna de las
aberturas está bloqueada. Mantenga las aberturas libres de polvo, pelusa, pelo y
cualquier otra cosa que pueda reducir el flujo de aire.
21.No toque el enchufe ni el aparato con las manos mojadas.
22.No permita que se use como un juguete. Preste especial atención cuando el aparato sea
utilizado por niños o cerca de estos.
23.Mantenga el material de embalaje fuera del alcance de los niños, ya que podrían sufrir
un accidente por asfixia.
24.No utilice la aspiradora si el cable de alimentación o el enchufe están dañados. Si el
aparato no funciona correctamente, se ha caído, dañado, dejado a la intemperie o
sumergido en agua, póngase en contacto con un centro de servicio técnico autorizado o
un electricista cualificado para obtener ayuda. No utilice el aparato hasta que se haya
llevado a cabo la reparación.
25.No desconecte el aparato tirando del cable de alimentación. Para desenchufar, tire del
enchufe, no del cable.
26.No tire del cable para mover la aspiradora, no use el cable como asa, no pille el cable con
la puerta ni haga pasar el cable por bordes o esquinas afilados. Tenga cuidado de no
pisar el cable con la aspiradora. Mantenga el cable alejado de las superficies calientes.
27.No deje el aparato enchufado sin supervisión. Desenchúfelo de la toma de corriente
cuando no esté en uso y antes de realizar cualquier tarea de mantenimiento. Conecte el
aparato a una toma de corriente con las características adecuadas.
28.No utilice el aparato en exteriores ni en superficies húmedas.
29.Realice los trabajos de mantenimiento de acuerdo con las instrucciones.
30.Use una mascarilla de protección cuando vacíe la aspiradora de polvo fino.
31.Este aparato está dotado de doble aislamiento. Use solo piezas de repuesto idénticas a
las originales. Consulte la sección "Reparación de electrodomésticos con doble
aislamiento".
32.Desenchufe el aparato antes de conectar la manguera y la boquilla para esquinas/cepillo.
CONSERVE ESTAS INSTRUCCIONES
Solo para uso doméstico

17
¡ADVERTENCIA! - Para reducir el riesgo de descarga eléctrica, este aparato dispone de un
enchufe polarizado (una clavija más ancha que la otra). El enchufe está diseñado para encajar
en una toma de corriente polarizada en una sola posición. Si el enchufe no encaja en la toma
de corriente, pruebe en la posición contraria. Si aún así no encaja, póngase en contacto con
un electricista cualificado para que instale una toma adecuada. No modifique el enchufe de
ninguna forma.
¡ADVERTENCIA! – No deje la aspiradora desatendida mientras está enchufada y/o en
funcionamiento. Desenchufe el aparato cuando no esté en uso.
2 - CONTENIDO DE LA CAJA
SMARTVAC
Pico HP 4,5; depósito de 5,6 litros*
*La cantidad de litros hace referencia al tamaño del depósito, no a la capacidad para almacenar
material o agua.
Cuando abra la caja, asegúrese de que contiene lo siguiente:
Motor y depósito
Manguera
Boquilla para esquinas
Boquilla para tapicería
Algunos de estos artículos vienen embalados en el interior del depósito. Si falta alguna pieza,
póngase en contacto con nuestro Departamento de atención al cliente. No devuelva la
aspiradora a la tienda donde la compró.
3 - INFORMACIÓN DE CONTACTO
Para obtener asistencia técnica o solicitar piezas de repuesto, póngase en contacto con el
Departamento de atención al cliente:
Teléfono: 866-814-4103 Lunes – viernes, 8:00 a 5:00, hora central

18
4 - LISTA DE PIEZAS
1. Cabeza
2. Depósito
3. Cierre
4. Empuñadura
5. Interruptor de encendido/apagado
6. Filtro posterior
7. Cable de alimentación
8. Gancho para el cable de alimentación
9. Soporte de la empuñadura
10. Manguera
11. HEPA
12.Botón de limpieza de filtro
13.Asa para el vaciado del depósito
14.Trampilla del filtro posterior
15.Boquilla para esquinas
16.Boquilla para tapicería
5 - USO PREVISTO
Esta aspiradora en seco está diseñada para su uso como electrodoméstico multiuso de
acuerdo con las instrucciones de funcionamiento y seguridad de este manual.
Esta aspiradora en seco no debe usarse con fines comerciales y/o profesionales.
6 - REPARACIÓN DE ELECTRODOMÉSTICOS CON DOBLE AISLAMIENTO
Cuando tenga que reparar un electrodoméstico con doble aislamiento, tenga en cuenta que
estos aparatos disponen de dos sistemas de aislamiento en lugar de una conexión a tierra. No
debe añadirse una conexión a tierra a los electrodomésticos con doble aislamiento. La
reparación de electrodomésticos con doble aislamiento requiere extremo cuidado y un gran
conocimiento del sistema, y solo debe llevarla a cabo personal técnico cualificado. Las piezas de
repuesto de un electrodoméstico con doble aislamiento deben ser idénticas a las piezas
originales.
7 - CABLES DE EXTENSIÓN
Correa (17) no incluida. La correa debe
adquirirse por separado.

19
¡ADVERTENCIA! - El uso de un cable de extensión inadecuado puede resultar peligroso.
Cuando sea necesario, use un cable de extensión de 2 hilos con toma de tierra para garantizar
la seguridad. Asegúrese de que tanto el cable como el enchufe sean de construcción hermética.
Esto evitará además el sobrecalentamiento y la pérdida de potencia. No utilice un cable con un
calibre menor de 16 AWG. Utilice un cable de calibre 14 AWG para una extensión de 7,5 a 15
metros y de calibre 12 AWG para una extensión de más de 15 metros.
Antes de utilizar el aparato, inspeccione el cable de alimentación para asegurarse de que no
haya cables sueltos o desnudos o daños en el aislamiento.
Realice las reparaciones y sustituciones necesarias antes de utilizar el aparato.
El uso de un cable de extensión inadecuado puede resultar peligroso.
NOTA: LAS DESCARGAS ELECTROESTÁTICAS SON HABITUALES EN ZONAS SECAS O CUANDO LA
HUMEDAD RELATIVA
DEL AIRE ES BAJA. ÉSTE ES UN FENÓMENO TEMPORAL Y NO AFECTA AL FUNCIONAMIENTO
DEL APARATO. PARA REDUCIR LA FRECUENCIA DE LAS DESCARGAS ELECTROESTÁTICAS EN EL
HOGAR, LA MEJOR OPCIÓN ES AUMENTAR EL NIVEL DE HUMEDAD DEL AIRE CON UNA
CONSOLA O UN HUMIDIFICADOR.
8 - INSTRUCCIONES DE MONTAJE
1. Lea atentamente la sección 5 – ADVERTENCIAS E INSTRUCCIONES DE SEGURIDAD
de este manual antes de montar y utilizar la aspiradora.
2. Compruebe que el interruptor, figura 1 (5), se encuentre en la posición de apagado. 0=
apagado, I= encendido.
3. Asegúrese de que el cable no esté conectado a la toma de corriente.
4. Consulte la figura 2. Separe la cabeza de la aspiradora (A) del depósito (B) tirando
suavemente de la parte inferior de los cierres (C) situados en la cabeza.
5. Retire los accesorios embalados en el interior del depósito.
Figura 2

20
6. Una la cabeza de la aspiradora al depósito. Asegúrese de que la cabeza esté sujeta
firmemente
al depósito.
7. Consulte la figura 3. Inserte el adaptador de la manguera (A) en el orificio de entrada y gire el
conector (D) hacia la derecha hasta bloquearlo. Para retirar la manguera, gire el conector (D)
hacia la izquierda hasta desbloquearlo y tire del adaptador de la manguera (A).
8. Consulte la figura 4. Para ajustar la potencia de succión, mueva el interruptor deslizante (A)
hacia delante y hacia atrás. La potencia de succión es mayor cuando el interruptor deslizante
está en la posición mínima y disminuye a medida que se mueve el interruptor hacia la
posición máxima.
TENGA EN CUENTA QUE EL INTERRUPTOR DESLIZANTE DEBE ESTAR EN LA POSICIÓN MÍNIMA
CUANDO SE VAYA A UTILIZAR EL SISTEMA DE LIMPIEZA DE FILTROS
9. Adjuntar puede acoplar la boquilla para esquinas o la boquilla para tapicería a la
empuñadura.
9 - ASPIRACIÓN EN SECO:
Figura 3
Figura 4
Table of contents
Languages:
Other Keystone Air Cleaner manuals
Popular Air Cleaner manuals by other brands

Carbatec
Carbatec AF-1000C manual

Pro Breeze
Pro Breeze PB-P01F instruction manual

Germguardian
Germguardian GG1100 Use & care instructions

Air Knight
Air Knight Air Knight IPG owner's manual

Johnson & Starley
Johnson & Starley CLEANFLOW PETITE User instructions

Germguardian
Germguardian Hygia 4.0 Use and care instructions