H6
When the Charging Connector
is Locked
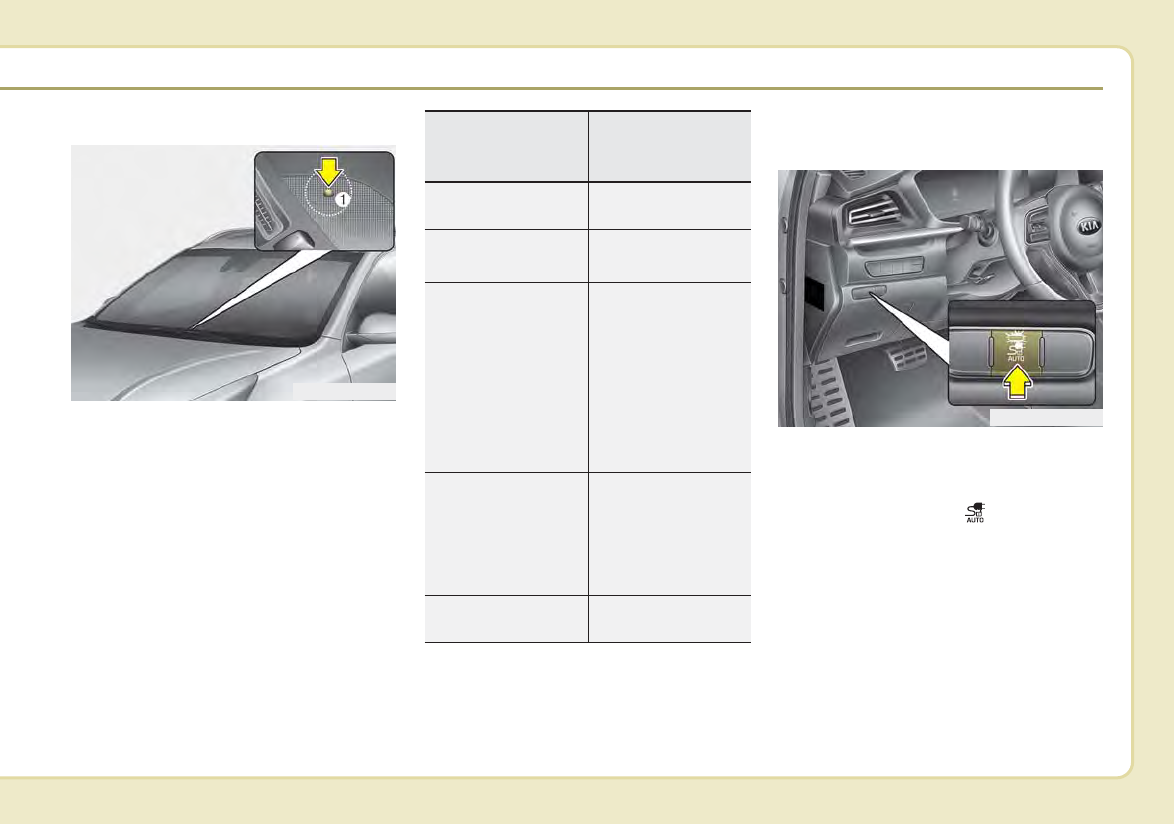
AUTO/LOCK mode button indi-
cator
AUTO/LOCK mode button indica-
tor
• LOCK mode (button indicator off) :
The connector locks when the
charging connector is plugged into
the charging inlet. The connector is
locked until all doors are unlocked
by the driver.This mode can be used
to prevent charging cable theft.
- If the charging connector is
unlocked when all doors are
unlocked, but the charging cable
is not disconnected within 15 sec-
onds, the connector will be auto-
matically locked again.
- If the charging connector is
unlocked when all doors are
unlocked, but all doors are locked
again, immediately, the connector
will be automatically locked again.
• AUTO mode (button indicator on) :
The connector locks when charg-
ing starts. The connector unlocks
when charging is complete. This
mode can be used when charging
in a public charging station.
If the connector does not unlock
automatically after the charging is
completed in AUTO mode, the con-
nector will unlock when all the
doors are unlocked.
❈❈Charging connector
AUTO/LOCK mode
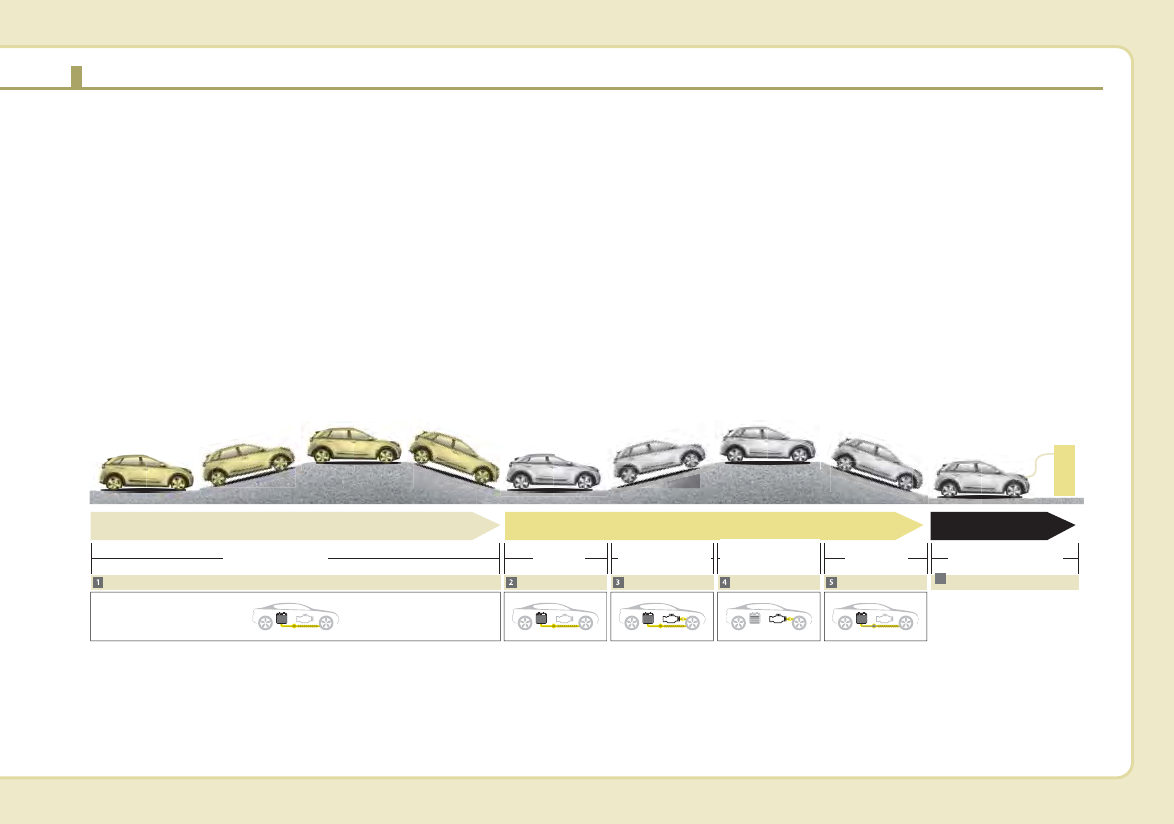
When the charging connector is
plugged into the charging inlet, the
connector lock timing varies with the
modes selected by pressing the but-
ton.
• LOCK mode : The connector locks
automatically when the charging
connector is connected normally.
• AUTO mode : The connector locks
when charging and automatically
unlocks when charging is complet-
ed.
❈For more details, refer to the
“Charging connector AUTO/LOCK
mode”.
❈Locking/unlocking the charging
door
CHARGING THE PLUG-IN HYBRID VEHICLE (CONT.)
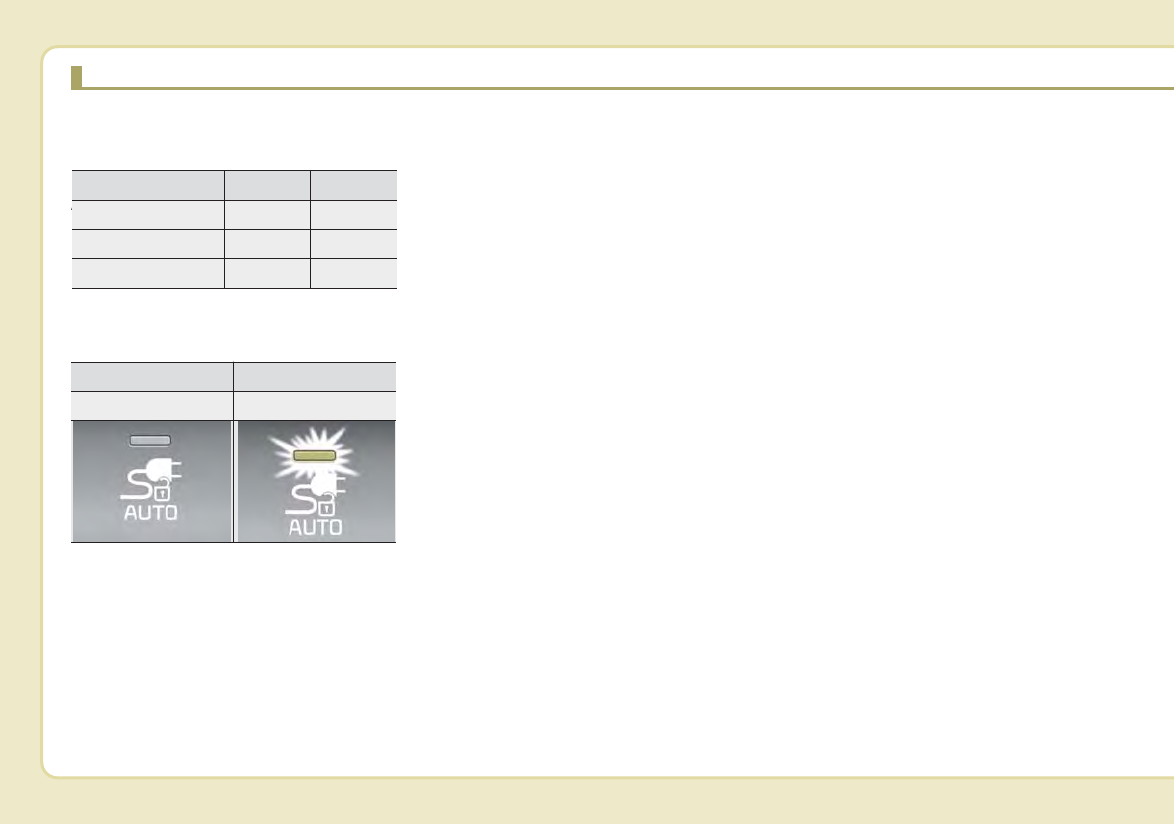
LOCK AUTO
Before charging O X
While charging O O
Finished charging O X
LAMP OFF LAMP ON
LOCK mode AUTO mode