manuals.online logo
Brands
  1. Home
  2. •
  3. Brands
  4. •
  5. Kidco
  6. •
  7. Indoor Furnishing
  8. •
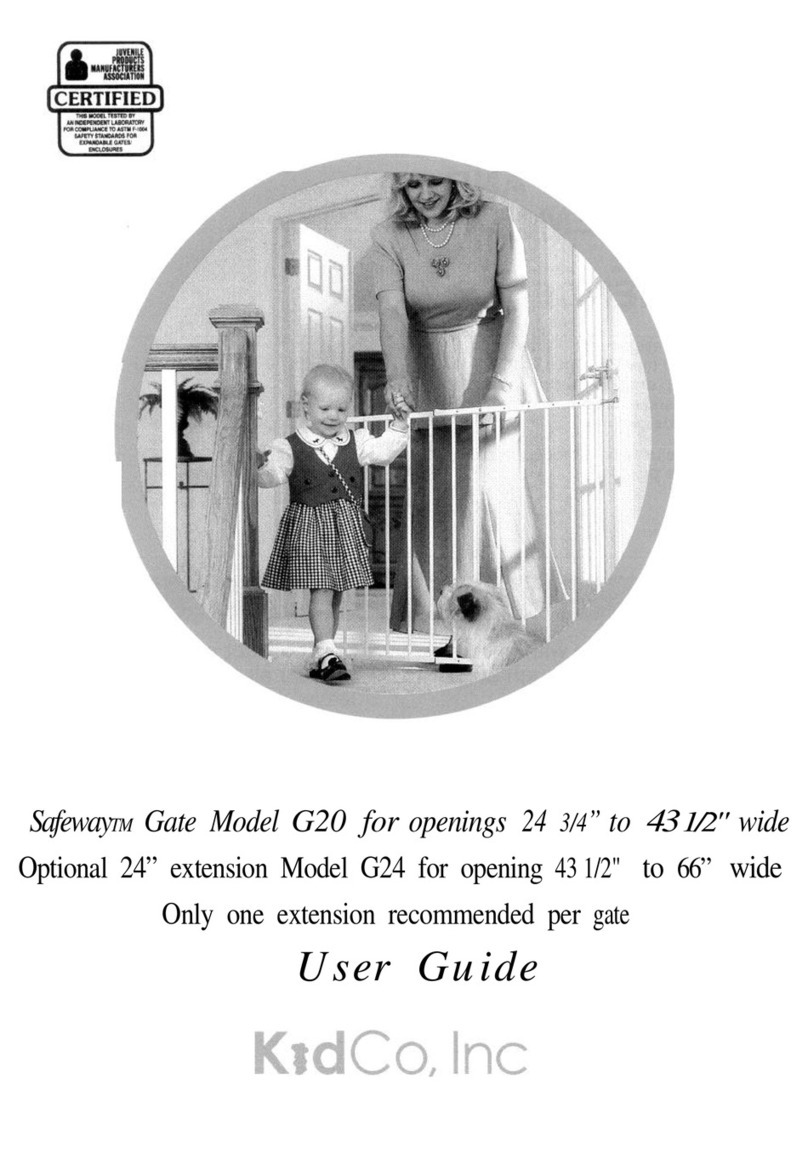
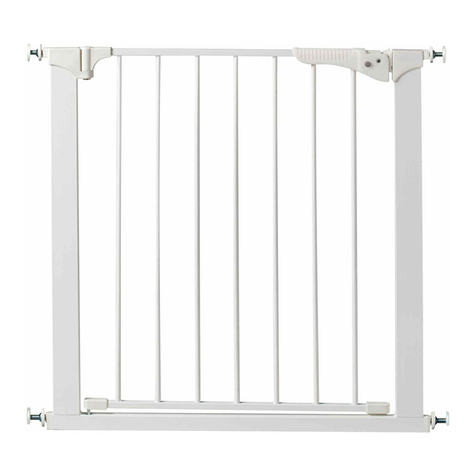
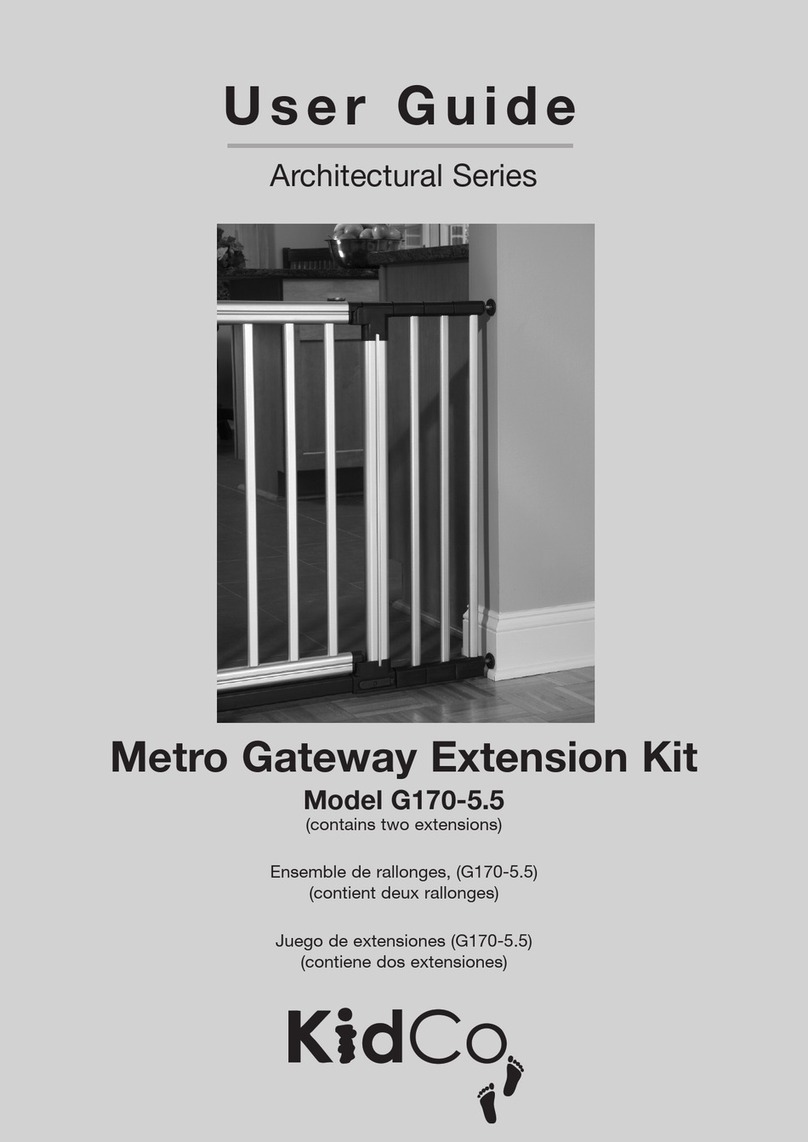
  9. Kidco Elongate G24 User manual

Kidco Elongate G24 User manual

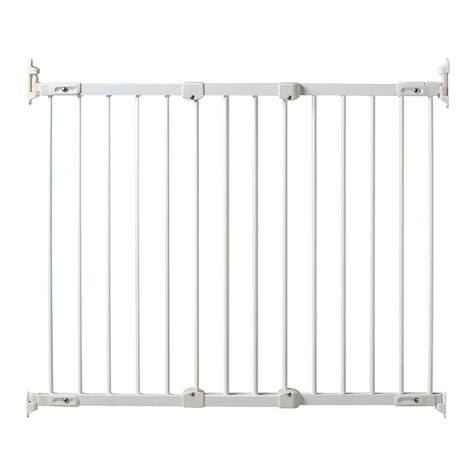
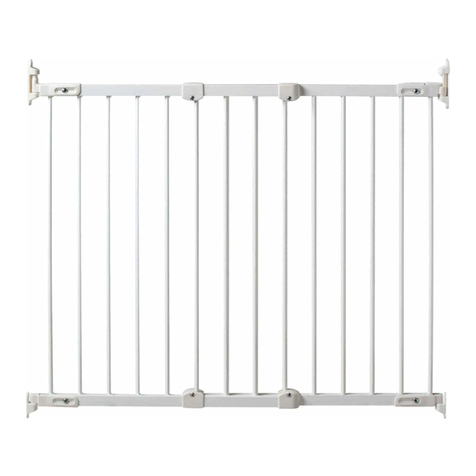
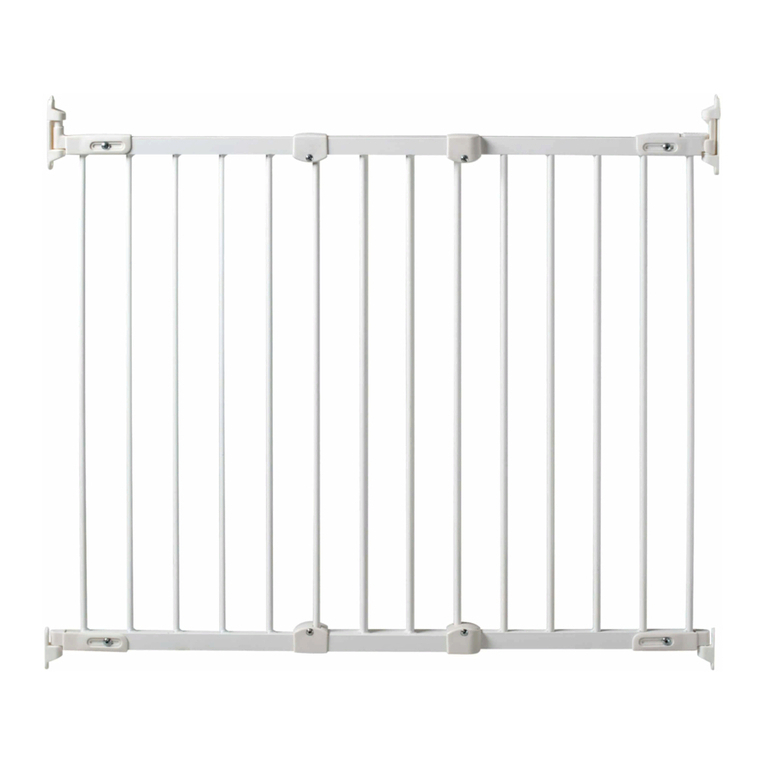
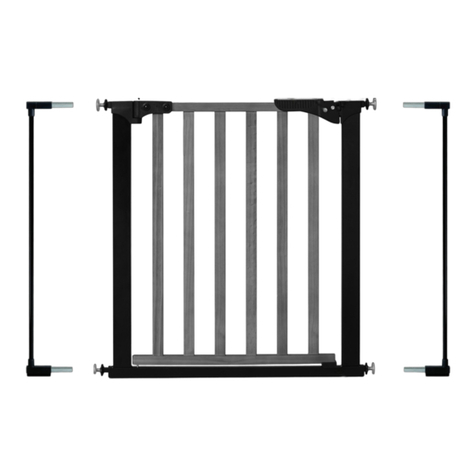
Elongate Model G60 for openings
45”
to 60” wide
Use
1
optional 24” extension (Model G24) when opening is 5’ to 7’ wide
Use 2 optional 24” extension (Model G24) when opening is 7’ to 9’ wide
Use 3 optional 24” extension (Model G24) when opening is 9’ to 11' wide
Use 4
optional
24” extension (Model
G24)
when opening is 11' to 13’ wide
Maximum 4 extensions per gate.
User Guide
~s#lq-J+J
E
.+
.k
ej$
:Irc;’
_*
I
FOLLOW THESE
INSTRUCTIONS
CAREFULLY AND
KEEP THEM FOR
FUTURE
REFERENCE
This gate is designed for children from 6
months to 36 months. Since each child’s
skills develop at different ages, these age
parameters should be monitored against your
child’s own development.
Intended for use with children
from 6 months through 36
months.
Check and tighten all hardware
and mountings regularly.
To prevent serious injury or
death, securely install gate or
enclosure and use according
to manufacturer’s instructions.
Never use with a child able to
climb over or dislodge/open the
gate or enclosure.
Never use if gate is 3/4 child’s
height.
Do not use if any part of gate is
broken or missing.
This product will not neccessarily
prevent all accidents. Never leave
child unattended.
Use only spare parts from
KidCo.
Never allow child to climb or
swing on gate.
Use only with the locking/latching
mechanism securely engaged.
Closely supervise child when
gate is installed at the top of the
stairs.
Hinge Side Hardware Locking Side Hardware
2 Hinge bottoms (c)
0
P
2 Locking latches (e)
If
2 Hinge spindles with locknuts (I)
2 Locking latch brackets
(f) I!!8
2 Springs (k)
I
1 Bottom latch spindle 61/4" (m)
2 Hinge caps (d)
b
General Hardware
8 Wood screws (g)
1 Protective plastic cover (h)
c
1 Main gate section
with door opening (n)
4 Expansion screw sockets (i) u
1 Second Section
(o)
4 Expansion screws
(j)
f
1 Stabilizing foot (p)
1 Wrench (q)
Hinge
Latch spindle
already fitted (q)
1
Hinge
side
template (a)
1 1
Templates are precise. Due to size
they are not intemet reproducible.
Please contact customer service
j
’
-”
for replacement templates.
*-a
,,,
1 Locking side template (b) .
)
4
important: Gate must be installed in a struc-
turally sound opening. Hinge side of gate
must be mounted to a rigid surface.
Ensure mounting surface (wall, door frame,
stairpost etc.) is strong, rigid and has an even
surface.
If using gate on a
stairway
it must be placed
either on top stair or on lowest stair at bot-
tom.
If using on a top step, use of an optional step
plate is recommended to reduce tripping
potential.
Mounting Hinge Side
Screws provided are for mounting directly
into wood. If mounting into brick, drywall
or other surfaces, use appropriate hard-
ware. If installing into hardwood (i.e. oak),
drilling a pilot hole may be necessary.
Hold template (a) against mounting surface,
making sure end marked
“i”
is even with
floor.
Mark 4 screw hole positions.
Remove template.
Using 2 wood screws (g) and only lower
screw holes, mount hinge bottoms (c) with
posts pointing up. Top screw holes will be
used later.
Screw hinge spindles (I) into top and bottom
rails of second section (o) until they are
extended equally. These will be adjusted to
correct length at a later stage so do not
tighten.
Mounting Locking Side
Screws provided are for mounting directly
into wood. If mounting into brick, drywall
or other surfaces, use appropriate hard-
ware. If installing into hardwood (i.e. oak)
drilling a pilot hole may be necessary.
Hold template (b) against mounting surface in
line with opposite hinges, making sure end
marked
“1”
is even with floor.
Mark 4 screw hole positions.
Remove template.
Fit a locking latch (e) into locking latch brac-
ket
(f)
and using 2 screws, screw into lower
set of screw holes.
Fit remaining locking latch (e) into remaining
locking latch bracket
(f).
Determine which direction gate should open.
For stairways, gate should never open out
over stairs.
As an added safety measure, a stop pin has
been provided. Inset-t stop pin (r) from behind
locking latch bracket into hole opposite gate
opening direction.
Using 2 wood screws,screw into upper set of
screw holes.
Push bottom latch spindle (m) into lower rail
of main gate section (n).
5

This manual suits for next models

1

Other Kidco Indoor Furnishing manuals

Kidco RTA2043 User manual

Kidco

Kidco RTA2043 User manual

Kidco Elongate G60c User manual

Kidco

Kidco Elongate G60c User manual

Kidco Gateway G1001 User manual

Kidco

Kidco Gateway G1001 User manual

Kidco HearthGate User manual

Kidco

Kidco HearthGate User manual

Kidco The Metro Gateway G170 User manual

Kidco

Kidco The Metro Gateway G170 User manual

Kidco Safeway G2000 Manual

Kidco

Kidco Safeway G2000 Manual

Kidco Safeway G20 User manual

Kidco

Kidco Safeway G20 User manual

Kidco G10 User manual

Kidco

Kidco G10 User manual

Kidco Angle Mount Safeway Gate G22a User manual

Kidco

Kidco Angle Mount Safeway Gate G22a User manual

Kidco BR203 User manual

Kidco

Kidco BR203 User manual

Kidco Premier Gateway G150 User manual

Kidco

Kidco Premier Gateway G150 User manual

Kidco Center Gateway G15d User manual

Kidco

Kidco Center Gateway G15d User manual

Kidco Architectural Series User manual

Kidco

Kidco Architectural Series User manual

Kidco Wood Center Gateway G35d User manual

Kidco

Kidco Wood Center Gateway G35d User manual

Kidco Premier Gateway Series User manual

Kidco

Kidco Premier Gateway Series User manual

Kidco BR202 User manual

Kidco

Kidco BR202 User manual

Kidco Auto Close Hearth Gate G3100 User manual

Kidco

Kidco Auto Close Hearth Gate G3100 User manual

Kidco Auto Close Heart Gate G3111 User manual

Kidco

Kidco Auto Close Heart Gate G3111 User manual

Kidco Angle Mount Safeway G22a-C User manual

Kidco

Kidco Angle Mount Safeway G22a-C User manual

Kidco G15d-C User manual

Kidco

Kidco G15d-C User manual

Kidco Retractable Safeway G2500 User manual

Kidco

Kidco Retractable Safeway G2500 User manual

Kidco Angle Mount Wood Safeway G2300 User manual

Kidco

Kidco Angle Mount Wood Safeway G2300 User manual

Kidco Designer Gateway G1010 User manual

Kidco

Kidco Designer Gateway G1010 User manual

Kidco Angle Mount Safeway Series User manual

Kidco

Kidco Angle Mount Safeway Series User manual

Popular Indoor Furnishing manuals by other brands

Regency LWMS3015 Assembly instructions

Regency

Regency LWMS3015 Assembly instructions

Furniture of America CM7751C Assembly instructions

Furniture of America

Furniture of America CM7751C Assembly instructions

Safavieh Furniture Estella CNS5731 manual

Safavieh Furniture

Safavieh Furniture Estella CNS5731 manual

PLACES OF STYLE Ovalfuss Assembly instruction

PLACES OF STYLE

PLACES OF STYLE Ovalfuss Assembly instruction

Trasman 1138 Bo1 Assembly manual

Trasman

Trasman 1138 Bo1 Assembly manual

Costway JV10856 manual

Costway

Costway JV10856 manual
moss DESIGN Caisson Credenza Assembly instructions

moss DESIGN

moss DESIGN Caisson Credenza Assembly instructions

Aquaglide FULL DECK 15.0 owner's manual

Aquaglide

Aquaglide FULL DECK 15.0 owner's manual

AREBOS AR-HE-SW30 user manual

AREBOS

AREBOS AR-HE-SW30 user manual

Till-Hilft Fulda 87005.330 Assembly instructions

Till-Hilft

Till-Hilft Fulda 87005.330 Assembly instructions

Twoey Outside 2010 quick start guide

Twoey Outside

Twoey Outside 2010 quick start guide

Hettich Easys 200 operating instructions

Hettich

Hettich Easys 200 operating instructions

The bedboss RELAX 404 Series owner's manual

The bedboss

The bedboss RELAX 404 Series owner's manual

Oeseder Möbelindustrie Bern 991 720 Assembly instructions

Oeseder Möbelindustrie

Oeseder Möbelindustrie Bern 991 720 Assembly instructions

Costway HW68469 user manual

Costway

Costway HW68469 user manual

Next ALIX A27743 Assembly instructions

Next

Next ALIX A27743 Assembly instructions

BROSA Hans Assembly guide

BROSA

BROSA Hans Assembly guide

Prodigg MINIKA PBA015T-FUR installation manual

Prodigg

Prodigg MINIKA PBA015T-FUR installation manual

manuals.online logo
manuals.online logoBrands
  • About & Mission
  • Contact us
  • Privacy Policy
  • Terms and Conditions

Copyright 2025 Manuals.Online. All Rights Reserved.