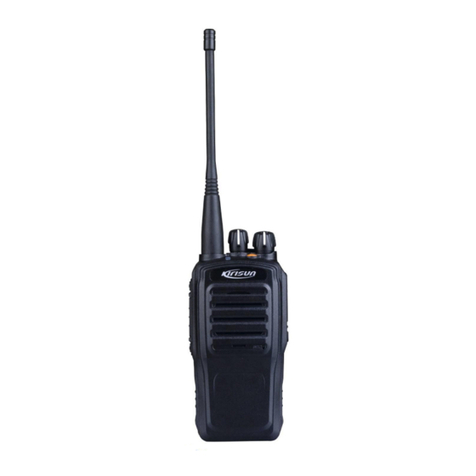
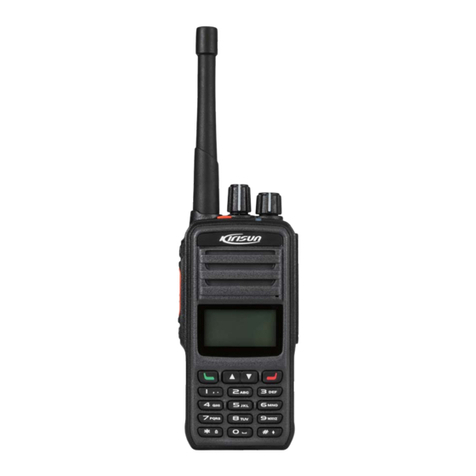
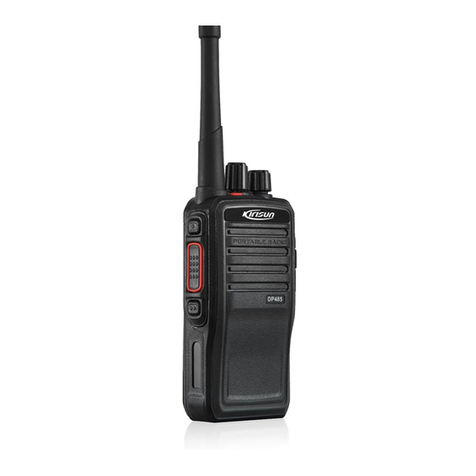
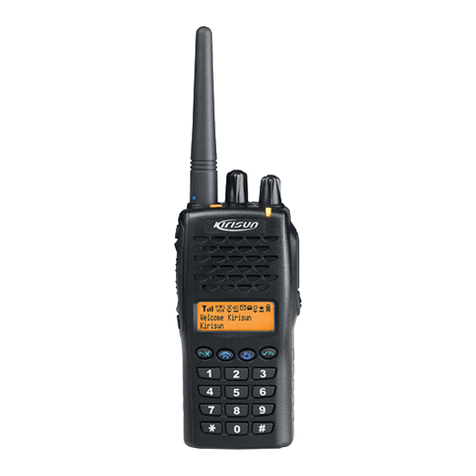
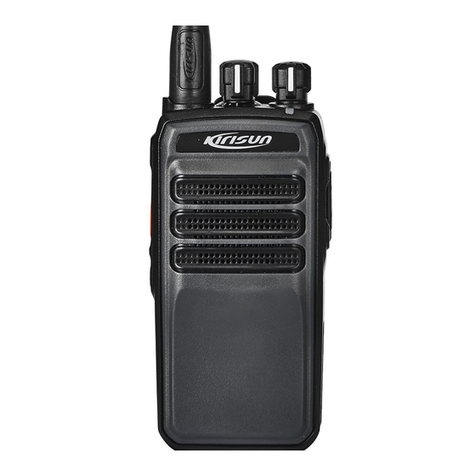
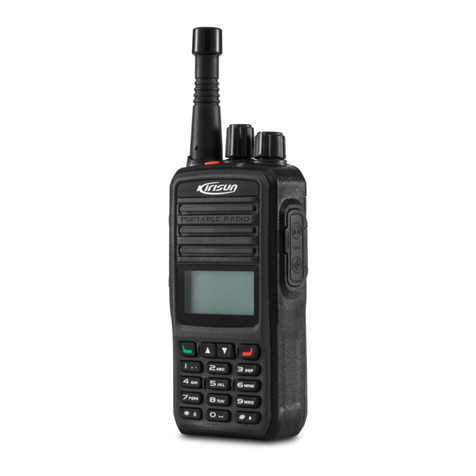
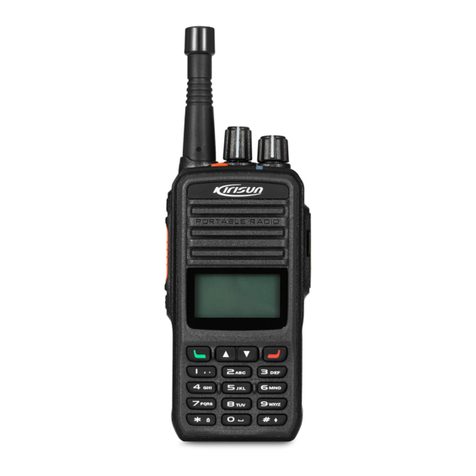
Kirisun DP585 User manual

DP585 DMR Two Way Radio User Guide
User Guide
DP585
DMR Two Way Radio
We are very grateful for your purchasing Kirisun brand two-way radio produced by Kirisun
Communications Co., Ltd.
We believe Kirisun two-way radio, which always incorporates the latest technology, can
bring gr eat c onvenience t o your l ife and w ork. We al so bel ieve t hat t he qual ity and
function of Kirisun two-way radio can meet your demands for reliable communication.
III

DP585 DMR Two Way Radio User Guide
Notice
◆ Please carefully read this instruction manual before using the product f or your easy operation. We will
consider that you have read this manual when you use the product.
◆ Please carefully keep the manual for future reference.
◆ In order to protect your legal rights from infringement, please carefully fill in the warranty card and claim
valid receipt.
◆Kirisun and our authorized partners own the intellectual property of all the parts of this product (including
accessories). Any design an d m aterials m ay not b e modified, c opied, extracted o r translated w ithout
authorization of Kirisun or its authorized parities.
◆This product may involve update or modification in future, and Kirisun owns the right to change the
specifications of software and hardware described in this manual without further notice. Specifications and
information contained in this manual are for reference only.
◆ All the contents are carefully proofread, but mistake may be inevitable. The rights of final explanation are
preserved by Kirisun.

DP585 DMR Two Way Radio User Guide
Safety Precaution
◆The radio can only b e repaired or m aintained by professional technicians. The user must not
disassemble the radio at liberty.
◆In order to avoid problems caused by electromagnetic interference or electromagnetic incompatibility,
please turn off the radio in the place such as hospital, plane and other health care centers where there is a
sign such as “Turn off Your Radio”.
◆In the car with air bags, please do not keep your radio at the place within possible reach of the air bag
spread.
◆Please turn off your radio before entering flammable or explosive environment.
◆ Do not change or charge the battery in flammable or explosive environment.
◆ Please turn off your radio when getting closer to the blast zone or thunder zone.
◆Do not use any radio with damaged antenna, which may cause slight burning to the skin in contact.
◆Please make sure that the antenna is properly attached when using the radio.
◆Please keep the radio vertical when it is transmitting, and also keep the microphone 5 cm away from your
mouth.
◆Please make sure that the antenna is 2.5cm away from your body when the radio is transmitting.
2

DP585 DMR Two Way Radio User Guide
Battery
◆If the conductive substance on human body makes contact with the exposed battery terminal,
it may damage your belongings, and/or do harm, such as burning, to human body. Conductive
material i ncludes jewelry, keys or bead -like necklace. They can f orm a l oop ( it causes short
circuit) with battery and c ause skin burn af ter t he r apid t emperature r ise. Be c autious when
managing a charged battery, especially when you put it in the pocket, wallet or container with
metallic objects. To decrease the risk of being harmed, the battery cannot be e xposed in the
file, disassembled or squeeze.
◆ The hi ghest envi ronment t emperature ar ound t he pow er s upply devi ce or vol tage
transformer must not be higher than 40°C (104°F).
◆ Please turn off the radio attached with battery when charging. Using radio during charging
will affect its charging process.
◆ Please do not put t he r adio and bat tery i nto t he c harger w hen t hey ar e not i n nee d of
charging, and constant charging will shorten the battery life. Do not use the charger as a store
to radio.
◆ To achieve optimal performance, we recommend changing battery after one-year use.

DP585 DMR Two Way Radio User Guide
Brief Introduction
1.Attaching the antenna: put the antenna into the antenna interface, and rotate the antenna clockwise to fix
it.
2.Powering on: rotate the power/volume knob to power on the radio.
3.Channel Selection: rotate the channel selection knob to select channel.
4.Powering off: rotate the power/volume knob clockwise to power off the radio

DP585 DMR Two Way Radio User Guide
Contents
1 UNPACKING AND CHECKING ...............................................................................10
2 BATTERY INFORMATION ......................................................................................10
3 ATTACHING THE ACCESSORIES .........................................................................10
4 INTRODUCTION......................................................................................................18
5 PROGRAMMABLE KEYS ........................................................................................20
6 BASIC OPERATION ................................................................................................23
7 FEATURES AND OPERATION ...............................................................................26
8 TROUBLESHOOTING .............................................................................................30
9 MAJOR TECHNICAL SPECIFICATION ..................................................................31
10 RESTRICTIONS ARE VALID FOR THE EUROPEAN COUNTRY .........................37
11 CAUTION .................................................................................................................38
12 FCC STATEMENT ...................................................................................................39
13 IC STATEMENT .......................................................................................................40
6

DP585 DMR Two Way Radio User Guide
Strip
Power Adaptor
Antenna
1 Unpacking and Checking
Please carefully open the box, and check if the accessories listed below are contained in the package. For any
missed or damaged item, please contact your local dealer for solution.
1.1 Supplied Accessories
Material
Quantity
Radio
1
Charger
1
Power Adaptor
1
Battery
1
Belt Clip
1
Antenna
1
Strip
1
User Manual
1
2 Battery Information
Charger
Battery
Belt Clip+ screw

DP585 DMR Two Way Radio User Guide
2.1 Notice
The battery is not charged before delivery, so please charge the battery for your first use. If the battery is
not used for a long time or the battery is used up, please charge it before use. Charge/discharge for twice
or three times alternately to achieve its optimal performance. For low battery, please charge it or replace it.
Note:
◆Do not cause any short circuit on the battery or throw the battery into fire.
◆When attaching t he bat tery t o t he r adio f or c harging, pl ease m ake s ure t he r adio i s pow ered of f t o
guarantee it can be fully charged.
◆Do not leave the radio or battery on the charger after it is fully charged. Unnecessary constant charging
will shorten the battery life.
◆Do not put the fully-charged battery back to the charger for re-charging, or it may shorten the battery life.
◆Please try to keep the battery in an indoor environment at around 25℃. The battery may get easily
spoiled after being kept in the environment below -10℃ for a long time.
◆In temperature higher than 35℃ or below -10℃, the dischargeable power of the battery may decrease
due to the physical property of lithium battery.
8

DP585 DMR Two Way Radio User Guide
2.2 Battery Charging
(1) Plug the power adaptor in the proper socket of AC power.
(2) Plug t he cable of the power adap tor at the back of the socket, and
the green indicator glows.
(3) Plug the battery or radio in the charger.
(4) Make sure that the battery is in proper contact with the
charger terminal, and the red indicator glows.
(5) After the ba ttery i s charged f or 6 hours, the r ed l ight
goes out, indicating that the battery is fully charged.
(6) When the green indicator glows, keep the battery on the
charger f or 1 -2 hour s bef ore t aking i t ou t so a s t o
achieve the optimal performance.
(7) Take out the pow er adapt or f rom t he socket o f A C
power output.
Note:
The battery is not charged before delivery from the factory, so please charge the battery before your first
use.

DP585 DMR Two Way Radio User Guide
Kirisun KB-75A lithium-ion can be used for this radio.
If the battery which is stored for over 2 months or a new battery is charged for the first time, it should be
charged repeatedly t o gai n f ull battery c apacity. The battery s hould be at l east charged onc e ev ery
three months.
When the ba ttery i s f ully charged or the bat tery power i s abov e the l evel of l ow power al ert, do not
charge the battery, or it may affect the battery life and performance. Please take out the battery from
the charger after it is fully charged.
When the radio enters the state of low voltage alarm, please charge the battery before using it and do
not force to power on the radio in case that the battery life and performance is impaired.
There is protection circuit inside KB-D415 lithium battery. The power supply will be cut off in state of low
power, and when you charge it in the charger, the indicator will glow after 1-5 minutes.
3 Attaching the Accessories
3.1 Attaching/Detaching the Battery
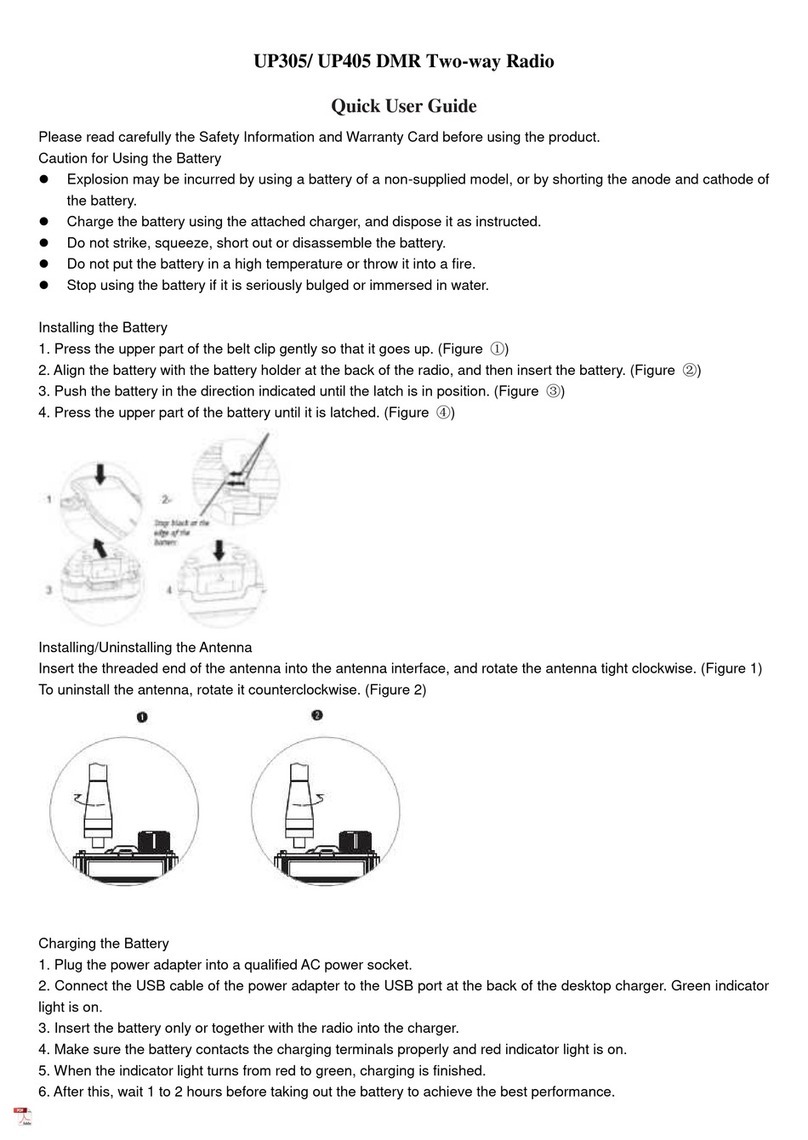
◆Attaching the Battery
(1) Slightly press the top of the belt clip as shown in ①;
10

DP585 DMR Two Way Radio User Guide
(2) Align the battery with the battery installation base
at the back and insert the battery as shown in ②.
(3) Slide t he bat tery al ong the di rection as shown in
③ until the battery is fit into the right position.
(4) Slightly press the battery top as shown in ④ until
the battery is locked by the latch.
◆Detaching the battery
(1) For detaching the battery, please first turn off the
radio.
(2) Slide the bat tery l atch al ong the di rection as
shown in ①to bounce the bat tery as shown in
②.
(3) Slide to take out the battery along the direction as shown in ③. If there is belt clip, slightly press the belt
clip top as shown in ④ and slide the battery along the direction as shown in ③ to take out the battery.
Note:
Do not throw the battery terminals with short circuit or battery into fire.
Do not remove the battery case without permission.

DP585 DMR Two Way Radio User Guide
3.2 Attaching/Detaching the Antenna
For at taching t he ant enna, put the antenna’s end w ith screw t hread into t he
antenna port.
Turn the antenna clockwise until it is fixed.
For detaching the antenna, turn it counter-clockwise.
3.3 Attaching/Detaching the Belt Clip
Align t he two s crews on t he bel t clip w ith t he screw hol es at the back o f t he
radio.
Use two 2.5x6.5 machine screws.
When detaching, loosen the two screws on the belt clip and remove the belt clip.
12

DP585 DMR Two Way Radio User Guide
3.4 Attaching the Microphone
Open t he ear phone c over pl ate on t he r ight and connect the
earphone cable to the port.

DP585 DMR Two Way Radio User Guide
4 Introduction

DP585 DMR Two Way Radio User Guide
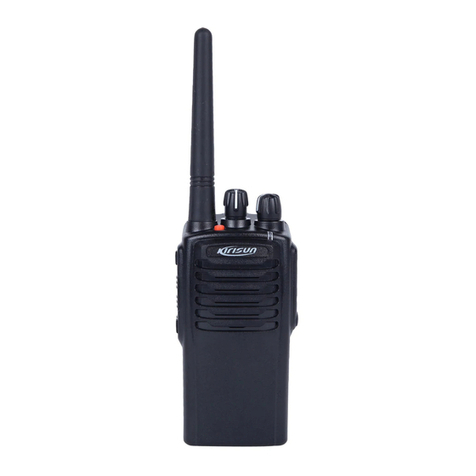
No. Part Name No. Part Name
1 Antenna 7
Power/Volume Knob
Turn it clockwise to turn on the radio. For
turning of f the r adio, t urn i t
counter-clockwise until a click is heard.
When the radio is on, rotate the knob to
adjust the volume.
2
PTT key
Press this key to initiate a call and talk 8
LED Indicator
Red indicator means the radio is
transmitting, green means receiving and
when the red indicator flashes, it means
power shortage.
3
Side key (programmable key)
This key c an be s et w ith di fferent
features by dealer. Please refer to “5
Programmable Keys” for further details
9
Microphone
Voice input
2

DP585 DMR Two Way Radio User Guide
4 Alarm Key 10
External port
Open the cover plate and connect the
external speaker and microphone
5 Speaker
Voice output。 11 Belt Clip
6
Channel Knob
Rotate the knob to select channel 1-16.
12 Battery Latch
5 Programmable Keys
5.1 Programmable Keys
To suit the operation habits of customer, programmable keys (side keys) are available and can be set
by dealer as shortcut key.
Note:
Short Press: press and release quickly.
Long Press: press and hold for a while (press duration can be set by programming software)
No. Programmable Application

DP585 DMR Two Way Radio User Guide
Feature
1 None No feature
2 High/Low Power Switch to high and low power
3 Monitor
If the current anal ogue c hannel has C TCSS, pr ess this k ey and
switch to carrier squelch mode to cancel CTCSS; press it again to
go back to the original state.
4 Emergency
Starts the emergency feature. Used for seeking help in
emergency.
5 Emergency Exit Exits the emergency state.
6 Squelch on/off
Enable/Disable squelch feature. U sed f or r eceiving t he w eak
signals on the analogue channel.
7 Squelch Level Adjusts the signal strength required when receiving.
4

DP585 DMR Two Way Radio User Guide
8 Scan
Enable/Disable s can feature and listens t o t he c ommunication
activities on other channels.
9 Alert Tone on/off Enable/disable all the alert tones.
10 Zone Selection
Press t his k ey to switch a mong different z ones. The z ones ar e
programmed by programming software.
11
Repeater/Talk
around Enable/disable Repeater feature.
12 Nuisance Delete Deletes the channel which is useless from the scan list.
5.2 LED Indication
State Operation
Glows red Transmitting

DP585 DMR Two Way Radio User Guide
Glows green Receiving
Flashes red Low battery
Flashes green
Channels are being scanned
Flashes orange Digital call hang time and it will exit when the hang time is up
Glows orange Blank channel which is not available. Switch to other channel to exit.
Flashes red quickly The programming software is reading the parameters available for configuration
Flashes green
quickly
The pr ogramming software i s w riting the par ameters w hich i s a vailable f or
configuration into the radio.
6 Basic Operation
6

DP585 DMR Two Way Radio User Guide
6.1 Powering on/off the Radio
When the radio is off, rotate the power/volume knob clockwise until a click is heard to power on the radio.
When the radio is on, rotate the power/volume knob counter-clockwise until a click is heard to turn off the
radio.
6.2 Selecting the Channel
When the radio is on, rotate the channel selector knob to select channels.
6.3 Adjusting the Volume
When t he r adio i s on, r otate t he pow er/volume knob clockwise t o increase the volume and
counter-clockwise to decrease the volume.
6.4 Initiating a Call
Press PTT button to initiate a call to the default contact on the current channel when it is digital channel.
The default contact on the current channel can be programmed by dealer.
Table of contents
Other Kirisun Two-way Radio manuals

Kirisun
Kirisun DP485 User manual

Kirisun
Kirisun FP520 User manual

Kirisun
Kirisun TM84001 User manual

Kirisun
Kirisun PT4200 User manual

Kirisun
Kirisun PT6500-02 User manual

Kirisun
Kirisun DP770 User manual

Kirisun
Kirisun DP485 User manual

Kirisun
Kirisun GP700 User manual

Kirisun
Kirisun DP580 User manual

Kirisun
Kirisun T60 User manual

Kirisun
Kirisun DP586 User manual

Kirisun
Kirisun DP580 User manual

Kirisun
Kirisun UP405S Instruction manual
Kirisun
Kirisun DP77001 User manual

Kirisun
Kirisun DP480 User manual

Kirisun
Kirisun FP520S User manual

Kirisun
Kirisun Omni Pro T65 User manual

Kirisun
Kirisun DP990 User manual

Kirisun
Kirisun PT4208 User manual

Kirisun
Kirisun PT7200-02 User manual