manuals.online logo
Brands
  1. Home
  2. •
  3. Brands
  4. •
  5. Kistler
  6. •
  7. Measuring Instrument
  8. •
  9. Kistler 9211B Series User manual

Kistler 9211B Series User manual

3. Hole
The force sensor measures the cavity pressure via an enjector
pin. The sensor is installed in a hole with a thrust washer as
described in Chapter 3.1.
In a multi-cavity application where the sensor layout is sym-
metrical, sensors are held within in a machined spacer plate.
This allows for an easier and very accurate installation. De-
scription in Chapter 3.2
• Hole and channel free of debris and shavings
3.1 Sensor Seating
3.1.1 Sensor in Ejector Base Plate
Machine H7 hole and channel in ejector base plate. Check
depth of blind hole to hold thrust washer Type 9411; Sensor
shoulder must lie clear of channel. Check centering and
alignment. Centerline of ejector pin must be at right-angles
to sensor face.
Quick Start Installation
6 mm Force Sensor for Indirect Cavity Pressure Measure-
ment
Type 9211B… (–4,4 pC/N, 2,5 kN for up to 3 000 bar, 200 °C)
1. General Notes
• Sensor ø6 mm and end faces may not be machined
• Front of sensor must be clean and without notches
• Do not use cable to pull sensor out of hole
9211B_002-414e-10.15
Content
Front Page: Machining the Mold
1. General Notes
2. Important Areas of Sensor Hole
3. Hole
3.1 Sensor Seating
3.2 Enjector Pin and Guide Hole
4. Cable Channeling and Connector
4.1 Single-Wire Cable Technique
4.2 Coaxial cable
Rear Page: Sensor Installation, Service and Repair
5. Installing Sensor
6. Installing Cable and Connector
6.1 Single-Wire-Technique
6.2 Coaxial Cable
7. Installing Identification Plate
8. Functional Test
9. Service and Repair
Foreword
Information in this document is subject to change without
notice. Kistler reserves the right to change or improve its
products and make changes in the content without obliga-
tion to notify any person or organization of such changes or
improvements.
© 2008...2015, Kistler Group. All rights reserved.
1. Hole with H7 tolerance to center sensor
2. Sensor contact surface blind hole shown must be flat and
perpendicular
3. Sensor must clear this surface
4. Surface higher than or level with sensor end face
• Always use thrust washer Type 9411
3.1.2 Sensor in Spacer Plate
Machine H7 hole and slot in spacer plate. Spacer plate and
base plate must be machined flat. Centerline of ejector pin
must be at right-angles to sensor face. Sensor contact surface
must be flat.
2. Important Areas of Sensor Hole
Note the following critical installation criteria:
3.2 Ejector Pin and Guide Hole
Use ejector pin with tolerance class g6 and machine H7 hole.
Pin guide-length h as per drawing. Reduce friction with a
tribological finish or DLC (diamond-like coating).
Keep edges of rectangular ejector pin sharp and use radii
in hole. Do not engrave or mark the bearing surface of the
ejector head.
• Use guide length of twice pin diameter d1
• Do not engrave or mark the ejector pin bearing
surface
• Pin diameter ød1 ≥1,6 mm
• Treat pin with tribological finish or DLC
• Ejector pin head d3smaller or same size as sensor
ø6 mm
4. Cable Channeling and Connector
• Fixed cable reduces mounting
• Chamfer all sharp edges
• Cover open channels/slots
4.1.2 Multi-channel Single-wire Connectors
Recess for 4-channel connector Type 1708...
Recess for 8-channel connector Type 1710...
4.2 Coaxial Cable
Machine cable channel and recess for mounting plate.
• Observe radii
• Cover open channels/slots
4.1 Single-wire technique
The single-wire technique uses the tool steel of which the
mold is made to ensure an electrical shielding of the sensor
signal. Thus the wiring is run through drilled holes.
• Single-wire cable must be completely enclosed in the
mold
• Single-wire cable must not be run together with
power cables
• Refer to Chapter 4.2 for machining of channels
4.1.1 Single-wire Cut and Grip Connector Type 1839
Machine cable channel and recess for mounting plate.
Example shown: Drilled hole
5. Installing Sensor
• Ensure all sensor hole and threads are clean
• A chamfered cable channel or cable hole prevents
damaged cables
D* = 0,5 mm larger than head
of ejection pin
D* = 0,5 mm larger than
head of ejection pin
• Do not exceed maximum pressure
6.2 Coaxial cable
6.2.1 Installation of coaxial connector
Install connector and mounting plate in recess. Attach cap
using one of the screws. Place cap on open connector.
7. Installing Identification Plate
Rivet plate to mold or secure with four M2,5 screws.
Kistler Group
Eulachstrasse 22
8408 Winterthur, Switzerland
Tel. +41 52 224 11 11
Fax +41 52 224 14 14
info@kistler.com www.kistler.com
6.1.2 Installing Single-Wire Connector
Install connector and mounting plate in recess. Attach cap
using one of the screws. Place cap on open connector.
9211B_002-414e-10.15 Kis400 ©2008...2015, Kistler Group
5.3 Ejector Pin Clearance
The ejector pin is used to record the force transmitted during
molding. The ejector plate assembly must not preload the sen-
sor. Check that the sensor has a clearance of 0,03 ... 0,05 mm.
Test by lifting the ejector pin; it should turn smoothly.
• Do not preload sensor
• For multi-cavity installations only mark the side of
the pin head
Installation of Multi-Channel Connector
Example: Type 1708...
Installation of Connector Type 1839 and Mounting Plate
8. Functional Test
Check sensor insulation and functionality after mold assem-
bly is complete.
• Ensure that connector is dry
• Use cleaning spray Type 1003
8.1 Insulation Test
Use insulation tester Type 5495 to check sensor insulation.
Resistance >1013 Ω.
8.2 Sensor Functional Test
Effective pressure sensitivity by referring to actual front ejec-
tor pin diameter. Do trial run on molding machine to obtain
actual measurement data.
8.3 Securing Extension Cable
Cable must be restrained to prevent measurement errors.
Attach cable to ejector plate or moving platen.
9. Service and Repair
Piezoelectric sensors are maintenance-free. Insulation and
function of installed sensor should, however, be checked
before each molding run.
• Ensure that connector is dry
• Cover sensor hole during cleaning
• Use cleaning spray Type 1003
9.1 Insulation Test
Use insulation tester Type 5495 to check sensor insulation.
Resistance >1013 Ω.
9.2 Sensor Functional Check
Sensor is tested in its measuring position on the molding
machine. Use the effective sensitivity as described in Chapter
8.2 above.
9.3 Removing Sensor
Carefully disassemble ejector plate and use a magnet to lift
sensor from hole.
• Do not use penetrating spray before sensor is
removed
• Do not remove sensor by pulling on cable
• Use magnet to lift sensor out of hole
9.4 Cable Installation
Fix Sensor and unscrew cable with open-end wrench Type
5.210.164.
9.5 Single-wire repair
Slightly damaged cables can be repaired using the Repair
Kit Type 1207. Solder severed single-wire cables, slide over
Teflon tube and cover with shrink tube.
• Do not overheat sensor and cable with hot air blower
9.6 Repairs at Kistler
Factory repairs at Kistler are arranged by the local sales office
Info www.kistler.com
9.7 Disposal Instructions for Electrical and
Electronic Equipment
Do not discard old electronic instruments
in municipal trash. For disposal at end of
life, please return this product to an autho-
rized local electronic waste disposal service
or contact the nearest Kistler Instrument
sales office for return instructions.
• Ensure strain relief of extension cable
Diameter
[mm]
Sensitivity
[pC/bar]
Max. Pressure
[bar]
1,6 −0,88
>3 000
2 −1,38
2,5 −2,16
3 −3,11
4 −5,53 2 000
5 −8,64 1 250
SP= A x SFx 0,1 SPPressure sensitivity [pC/bar]
A Area of ejector pin d1
A = (d1/2)2 x π [mm2]
SFForce sensitivity [pC/N], as per
identification plate
• Always use thrust washer Type 9411
5.2 Sensor Installation in Spacer Plate
Install sensor in machined opening in spacer plate. Spacer
plate must lie flat on the base plate. Sensor face should stand
proud. Installed sensor must be at right angles and lie flat.
5.4 Machining Ejector Pins
To avoid side forces and force shunts on the pin, a maxi-
mum angle of 7° at the front is permitted.
6. Installing Cable and Connector
• Check again that edges of cable channel and hole
are chamfered
• Use a metal plate to cover open channels/slots
• Attach cap and place on connector
6.1 Single-Wire Technology
• Ensure electrical shielding; Enclose Single-wire cable
completely in mold
• Single-wire cable may not be run with power cables
• Ensure that all contact surfaces and threads are clean
and dry
6.1.1 Cut & Grip Connection
Cut the single-wire cable to length and do not strip the
insulation. Loosen the knurled connector by hand without
removing the rear section.
5.1 Sensor Installation in Ejector Plate
Insert thrust washer Type 9411 into blind hole and install sen-
sor on top. Sensor face should stand proud. Installed sensor
must be at right angles and lie flat.
Winterthur Switzerland
Kistler Instrumente AG
Made in Switzerland
Force Sensor
Type
SN
Sensitivity pC/N
Measuring range bar
Measuring pin Ø mm
interne und externe Fertigung
55147987
b
100009961 12.10.2015
12.10.2015 Hs
Hoh 100.239.050
9223A__
551456213.0255
12.10.2015
Bl.
Typenschild 75x25x0,5 mit Beschriftung
A4 1 / 1
1:1
measure. analyze. innovate.
Erstmals verwendet
Erste Proj.-Nr.
Werkstoff
Änderung Datum Massstab
Ersatz für Kopie Datum
gez.
gepr.
ges.
Hs
12.10.2015
Beo12.10.2015
Zeichnungs-Nr.
Material-Nr.
KIWAG-SWX_A4h
Ver.
Das Urheberrecht an dieser Zeichnung, die dem Empfänger
persönlich anvertraut wird, verbleibt unserer Firma.
Ohne unsere schriftliche Genehmigung darf die Zeichnung
weder kopiert noch vervielfältigt, noch an Drittpersonen
mitgeteilt oder zugänglich gemacht werden.
Other Kistler Measuring Instrument manuals

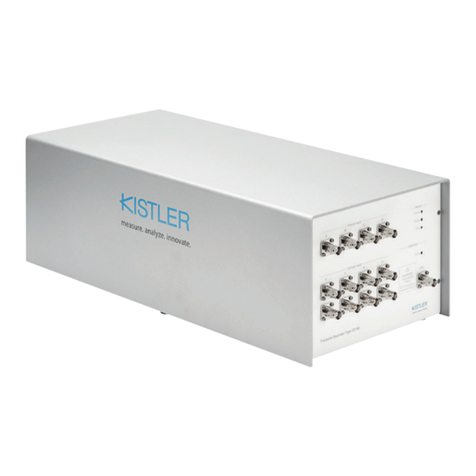
Kistler 4703B User manual

Kistler

Kistler 4703B User manual

Kistler 9212 User manual

Kistler

Kistler 9212 User manual

Kistler 8316A Series User manual

Kistler

Kistler 8316A Series User manual

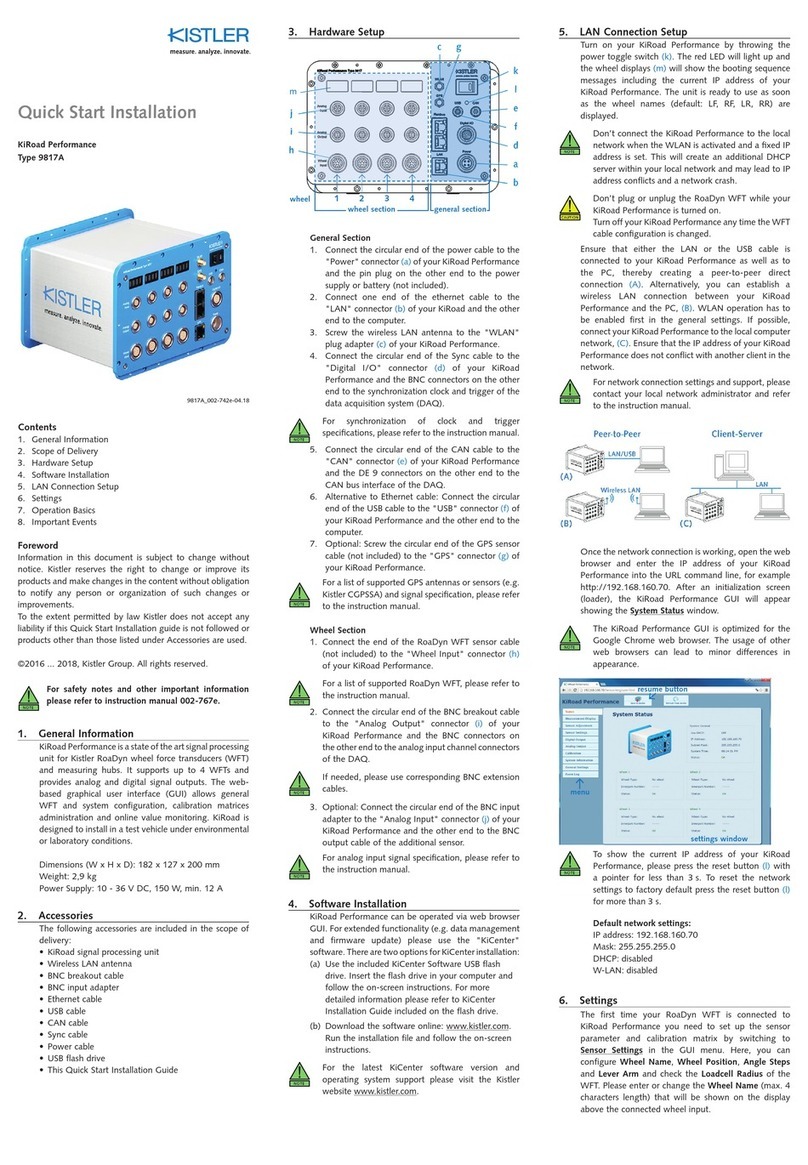
Kistler KiRoad Performance 9817A User manual

Kistler

Kistler KiRoad Performance 9817A User manual

Kistler 9287C Series User manual

Kistler

Kistler 9287C Series User manual

Kistler 2519A Series User manual

Kistler

Kistler 2519A Series User manual

Kistler dmf-p a300 User manual

Kistler

Kistler dmf-p a300 User manual

Kistler 9240A Series User manual

Kistler

Kistler 9240A Series User manual

Kistler KiBox2 User manual

Kistler

Kistler KiBox2 User manual

Kistler 2519A Series User manual

Kistler

Kistler 2519A Series User manual

Kistler 4021B Series User manual

Kistler

Kistler 4021B Series User manual

Kistler 9317C User manual

Kistler

Kistler 9317C User manual

Kistler KiTorq 4542A Series User manual

Kistler

Kistler KiTorq 4542A Series User manual

Kistler 6113C Series User manual

Kistler

Kistler 6113C Series User manual

Kistler 9272 User manual

Kistler

Kistler 9272 User manual

Kistler K-SHEAR 8702B Series User manual

Kistler

Kistler K-SHEAR 8702B Series User manual

Kistler 9366CD User manual

Kistler

Kistler 9366CD User manual

Kistler 9813C Series User manual

Kistler

Kistler 9813C Series User manual

Kistler 5612A Series User manual

Kistler

Kistler 5612A Series User manual

Kistler 8743A Series User manual

Kistler

Kistler 8743A Series User manual

Kistler 8714B Series User manual

Kistler

Kistler 8714B Series User manual

Kistler 8205B Series User manual

Kistler

Kistler 8205B Series User manual

Kistler 5015A Series User manual

Kistler

Kistler 5015A Series User manual

Kistler 2549A User manual

Kistler

Kistler 2549A User manual

Popular Measuring Instrument manuals by other brands

POSEIDON Salinity Pen Plus+ user guide

POSEIDON

POSEIDON Salinity Pen Plus+ user guide

Megger LCR131 user manual

Megger

Megger LCR131 user manual

Macherey-Nagel NANOCOLOR Advance quick start guide

Macherey-Nagel

Macherey-Nagel NANOCOLOR Advance quick start guide

Transfer Flow TRAX3 owner's manual

Transfer Flow

Transfer Flow TRAX3 owner's manual

Honeywell SmartLine RMA801 user guide

Honeywell

Honeywell SmartLine RMA801 user guide

Implen NanoPhotometer NP80 user manual

Implen

Implen NanoPhotometer NP80 user manual

TECPEL DTM-322 instruction manual

TECPEL

TECPEL DTM-322 instruction manual

Interacoustics Affinity2.0 Instructions for use

Interacoustics

Interacoustics Affinity2.0 Instructions for use

Esam E1200 user guide

Esam

Esam E1200 user guide

PEWA WIKA CPH6300 operating instructions

PEWA

PEWA WIKA CPH6300 operating instructions

wtw LR 325/001 operating manual

wtw

wtw LR 325/001 operating manual

Trotec BG30 manual

Trotec

Trotec BG30 manual

UEi EAGLE C125 quick start guide

UEi

UEi EAGLE C125 quick start guide

KROHNE IFC 090 Supplementary installation & operation instructions

KROHNE

KROHNE IFC 090 Supplementary installation & operation instructions

L&T Electrical & Automation 1 Phase DIN Rail Meter user manual

L&T Electrical & Automation

L&T Electrical & Automation 1 Phase DIN Rail Meter user manual

Fluke 377 Calibration manual

Fluke

Fluke 377 Calibration manual

TPS miniCHEM-pH Handbook

TPS

TPS miniCHEM-pH Handbook

Sealey VS0566 instructions

Sealey

Sealey VS0566 instructions

manuals.online logo
manuals.online logoBrands
  • About & Mission
  • Contact us
  • Privacy Policy
  • Terms and Conditions

Copyright 2025 Manuals.Online. All Rights Reserved.