manuals.online logo
Brands
  1. Home
  2. •
  3. Brands
  4. •
  5. KiWi Lighting
  6. •
  7. Controllers
  8. •
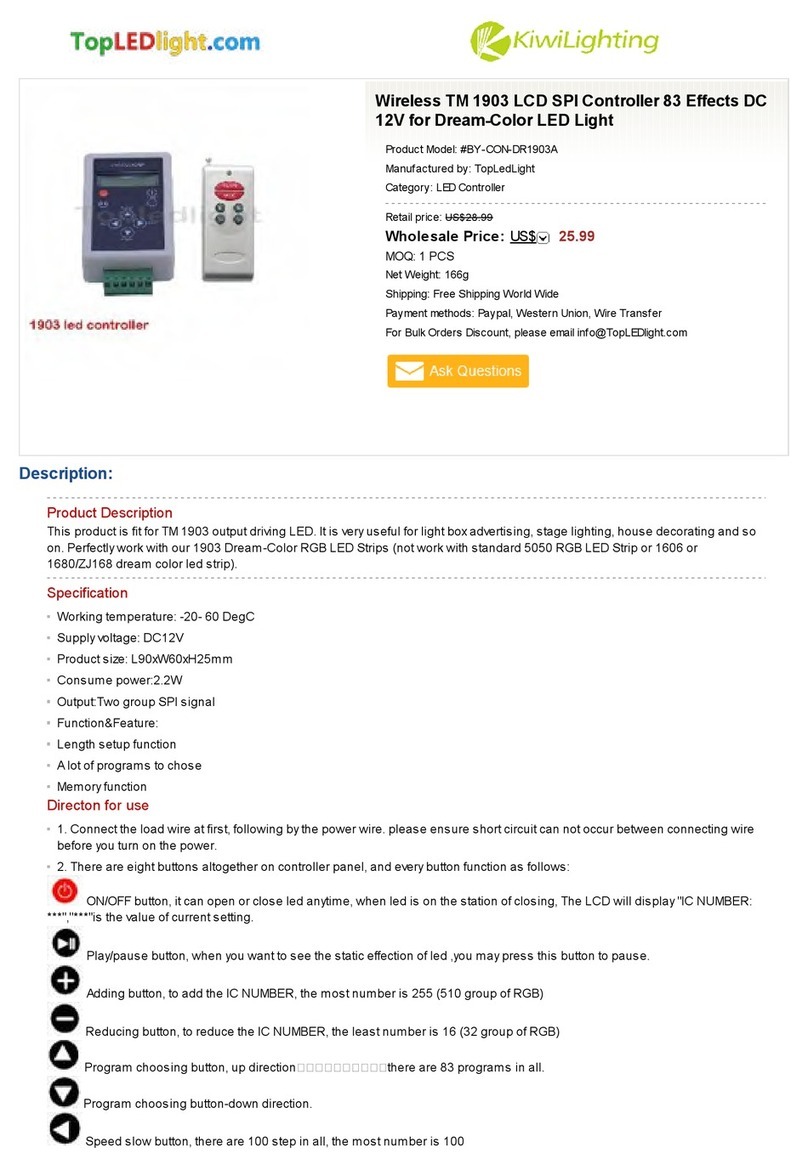
  9. KiWi Lighting TopLedLight BY-CON-DR1903A User manual

KiWi Lighting TopLedLight BY-CON-DR1903A User manual

LED Digital Controller for 1809 1903 IC Dream Color
LED Light With 133 Effects
Product Model: #BY-CON-DR1903A
Manufactured by: TopLedLight
Category: LED Controller
Retail price: US$30.99
MOQ: 1 PCS
Net Weight: 166g
Shipping: Free Shipping World Wide
Payment methods: Paypal, Western Union, Wire Transfer
For Bulk Orders Discount, please email info@TopLEDlight.com
Description:
I. Specifications:
? Working temperature: -20- 60 ?
? Supply voltage: DC12V
? Product size: L130W70H25mm
? Weight: 280g
? Current?<60mA
? Effects model: 133
? Maximum control points: 1024 (Low-speed) points, 2048 (High-speed) points
? The distance of the first point to controller: Low-speed mode<40m; High-speed mode<20m. (When more than 5 meters, you
should use the
shielded to connect.) If it is more than the distance, you must add a "TTL level to 485 level" module.
II. Connecting diagram
1. Stand-alone work
Note: Power port1 and Power port2 are shared in the controller, you can connect each one of them.
2. Application synchronization ?Each controller can be individually powered, can also share power?
III.
Controller menu settings
: (Defaulting boot when power is on, the controlled IC are 50 points and high-speed mode)
(1).Connect the light bar well before taking power according to "wiring diagram". After power controller has been at work. It is a
normal
phenomenon that the light bars may be not bright. Because the following steps must be set by before the light bars are bright.
(2).Please press the "On / off" button to take the controller off before setting the menu.
(3).Press the "up", "down" button one time at the time, and LED would be bright at this moment. Then press the "Mode / Speed"
button to get into
the menu settings screen.
(4).The first setting screen is for "High-speed, low-speed settings", and the LED would display "S-HI" or "S-LO". Then press the
"up" and "down"
button to select the mode. (If the IC on the light bar is high-speed mode, you should choose "S-HI", and choose "S-LO" when
low-speed.) The factory
default is for the high-speed mode.
(5). Continue to press the "Mode / Speed" button to enter the second screen-"Control points setting". The LED display 4-digit is
for the number of
Wholesale Price: 27.99US$
control points. To plus or minus the number by pressing the "up" and "down" button. (Long pressing can adjust quickly)?The
factory default
is for 50.
(6). After setting well, press the "On / off" button to save and exit.
IV.
Function of button
(Controller is in playing state):
(1).ON/OFF: ON/OFF button?it can open or close output.
(2). UP: Mode + / Speed +
(3).DOWN: Mode -1/ Speed -
(4).Mode/Speed: Mode adjustment / speed adjustment function switch (The first LED displays H for model adjustment, shows S
for the speed
adjustment.)
Note: After powering, the red light would bright. And each press, the green light flash one time.
V. Synchronous controller system description
Synchronous control system can be made of any number of controller connections. Each of the sub-controller would follow to the
first master controller to achieve a permanent synchronous change. And there is not delay. After connecting the wiring diagram, the
sub-controller need not be set. It will be in accordance with the master to controlling the speed and mode change. (That would be
not synchronous when powering. You could close and open to be synchronous) When master is working, and the sub-control
working well, the green signal light of sub-control would flick. The digital LED display the mode in operation.
VI.
The operating instructions of editable mode
(133rd mode): (The symbol * indicates an unknown number) This mode is a combination mode of editing, you can edit scenes
from 2 to 20 (1 to 132 mode) into a circular pattern. Each pattern can be set individually for each change of speed. It can
automatically identify the set of patterns and automatically loop the pattern.
(1). Press the "Mode / Speed" and "Up" button once at the same time to enter the edit menu. LED is lit and display "-01-"."-**-"
screen indicates
the scene number of current editor. At this point you can select the number you want to edit a scene by the "+","-" keys.
(2). After selecting the scene you want to edit, press the "Mode / Speed" key and display "H ***".That is the setting current scene
mode. Then you
can press "+","-" key to choose the scene mode, and observe the current results through the light bar. While the LED displaying
"H000", that is to
say the scene is not set patterns.
(3). After choosing a mode, press "Mode / Speed" key once and display "S0**".It is the speed of the current scene mode. Then
you can change the
speed of the scene mode by the "+","-" keys. And you can observe the effect of the current mode through the light bar.
(4). After choosing the speed, press the "Mode / Speed" key to return to the selection screen "-**-". At this point you can select the
next need to
edit the scene by the "+","-" key. Or press the "On / Off" key to exit and save settings.
Note: When the setting scene is less than 20, it must start from the first number (Because the 133 rd model starts running from
the scene "01"), and need to set the no setting scene mode for "H000". For example, setting up five scenes and combine into
133rd mode. Enter the editable menu, and edit "01"to"05"scene modes and their speed (Can not follow the order). After editing
well, you should check whether the "06" scene mode is the "H000". If not, change it by "+"and"-" key.
VII. Program Description:
NO. Function Description NO. Function Description
1 Static red 2 Static green
3 Static blue 4 Static yellow
5 Static cyan 6 Static purple
7 Static white 8 Three color jumpy change
9 Seven color jumpy change 10 Seven color stroboflash
11 Red horse race lamp to right direction 12 Purple horse race lamp to left direction
13 Blue horse race lamp to right direction 14 Cyan horse race lamp to left direction
15 Seven color cycling horse race lamp to right direction 16 Seven color cycling horse race lamp to left direction
17 Seven color horse race lamp back-for-ward direction 18 Seven color horse race lamp to left direction
19 Seven color jumping horse race lamp to right direction 20 Three color gradually change
21 Seven color gradually change 22 Red background scan lamp back-for-ward direction
23 Green background scan lamp back-for-ward direction 24 Blue background scan lamp back-for-ward direction
25 Yellow background scan lamp back-for-ward direction 26 Cyan background scan lamp back-for-ward direction
27 Purple background scan lamp back-for-ward direction 28 White background scan lamp back-for-ward direction
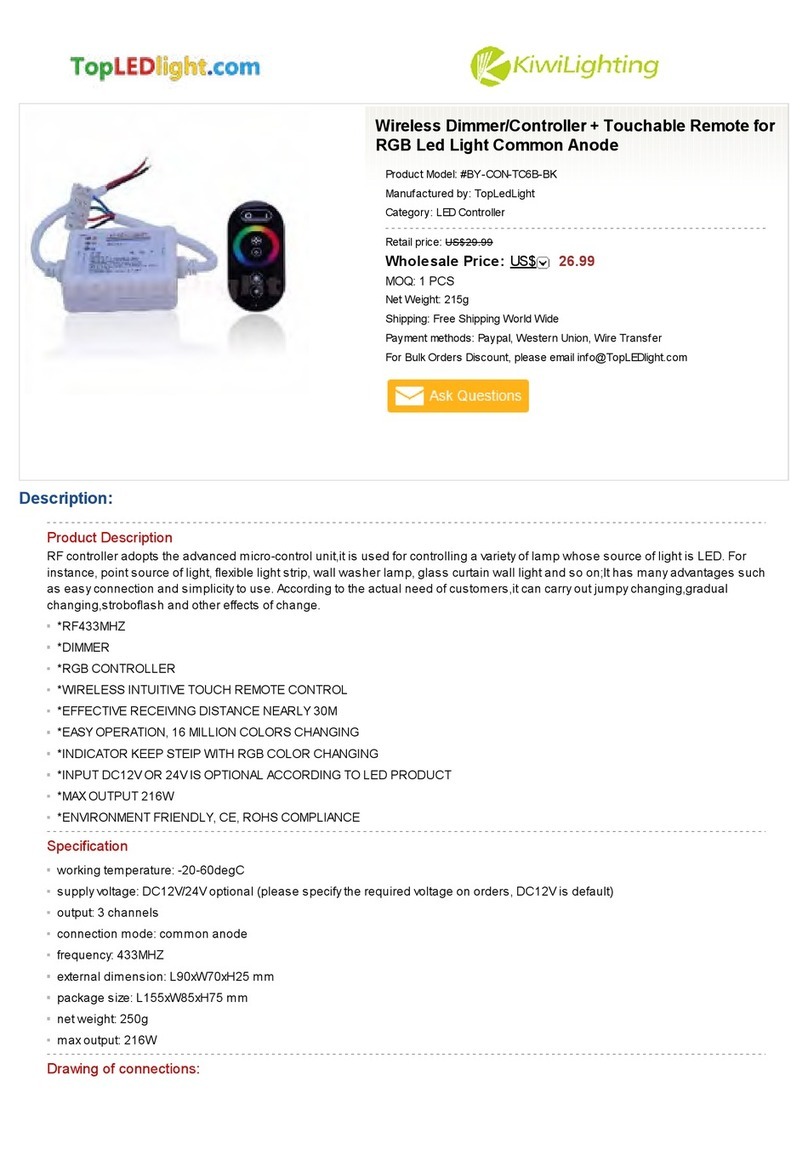
29 Seven color scan lamp back-for-ward direction 30 Red water move to right direction
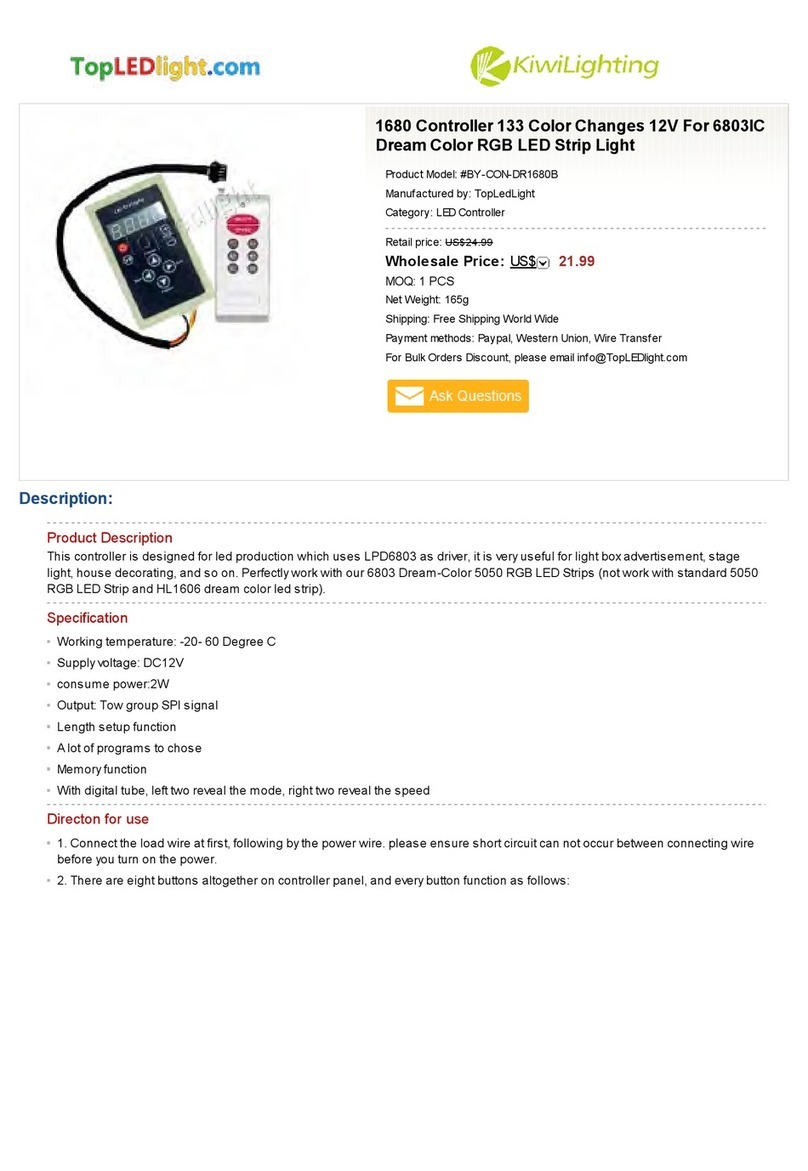
31 Red water move to left direction 32 Green water move to right direction
33 Green water move to left direction 34 Blue water move to right direction
35
Full Page: http://www.topledlight.com/led-digital-controller-for-1809-1903-ic-dream-color-led-light-with-133-effects_p897.html
TopLEDlight ® is a leading China based LED lighting products wholesaler: LED lights, strips, drivers, controllers, power supplies and more.

Other KiWi Lighting Controllers manuals

KiWi Lighting TopLedLight BY-CON-DR1903A User manual

KiWi Lighting

KiWi Lighting TopLedLight BY-CON-DR1903A User manual

KiWi Lighting TopLedLight BY-CON-TC6B-BK User manual

KiWi Lighting

KiWi Lighting TopLedLight BY-CON-TC6B-BK User manual

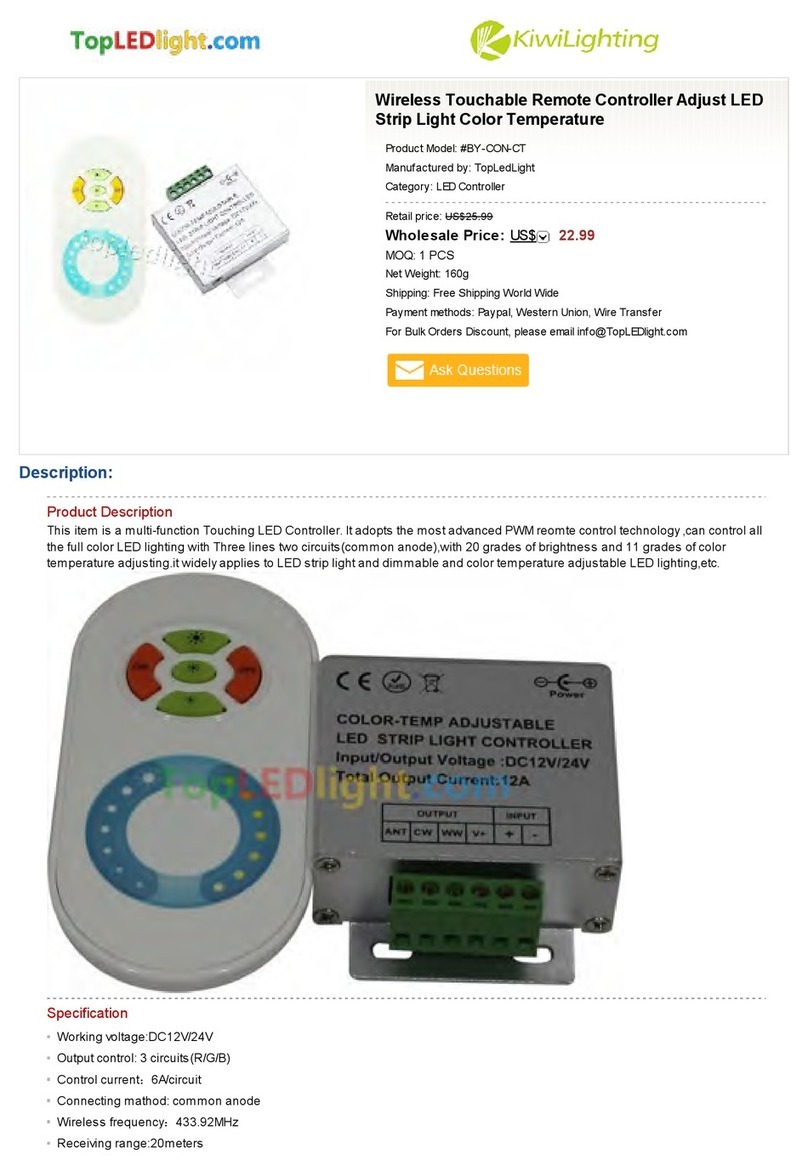
KiWi Lighting TopLedLight BY-CON-CT User manual

KiWi Lighting

KiWi Lighting TopLedLight BY-CON-CT User manual

KiWi Lighting TopLedLight BY-CON-DR1680B User manual

KiWi Lighting

KiWi Lighting TopLedLight BY-CON-DR1680B User manual

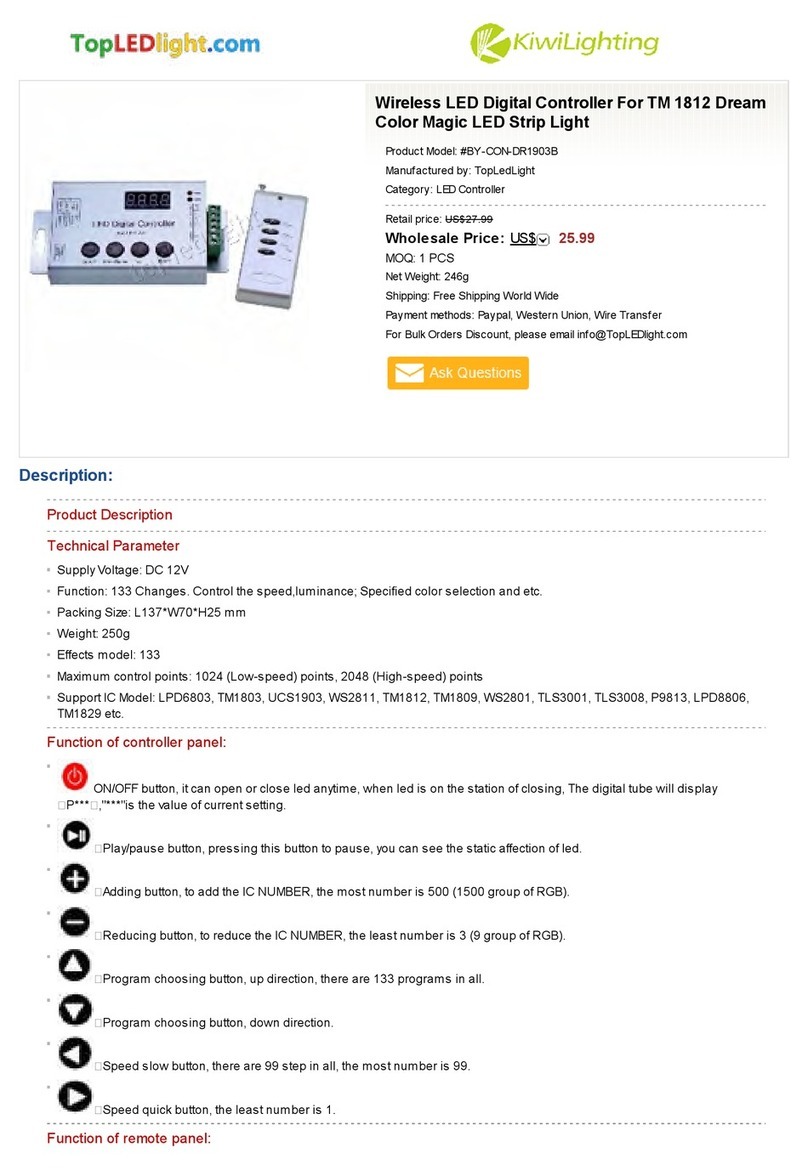
KiWi Lighting TopLedLight BY-CON-DR1903B User manual

KiWi Lighting

KiWi Lighting TopLedLight BY-CON-DR1903B User manual

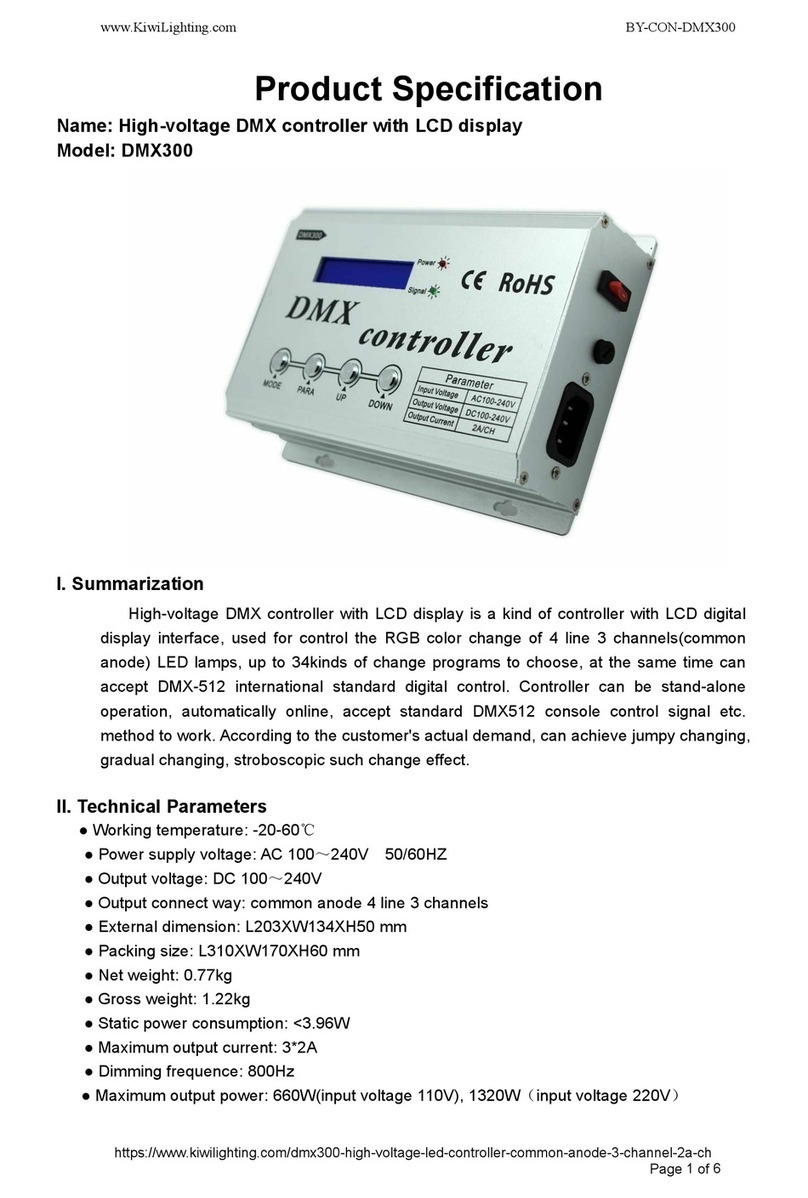
KiWi Lighting DMX300 Owner's manual

KiWi Lighting

KiWi Lighting DMX300 Owner's manual

Popular Controllers manuals by other brands

Paratec Mini 25A user manual

Paratec

Paratec Mini 25A user manual

Saftronics SH6 Series manual

Saftronics

Saftronics SH6 Series manual

Carel c.pCOMini quick start guide

Carel

Carel c.pCOMini quick start guide

AMX NetLinx Integrated Controller NI-2100 Hardware reference guide

AMX

AMX NetLinx Integrated Controller NI-2100 Hardware reference guide

FSIP FS Series Instruction & installation manual

FSIP

FSIP FS Series Instruction & installation manual

PDK Red 4 quick start guide

PDK

PDK Red 4 quick start guide

Allen-Bradley FlexPak 3000 Quick reference guide

Allen-Bradley

Allen-Bradley FlexPak 3000 Quick reference guide

Raindrip WeatherSmart RSC600i Installation & programming

Raindrip

Raindrip WeatherSmart RSC600i Installation & programming

sirea MicroARM-A4 user manual

sirea

sirea MicroARM-A4 user manual

LG V-Net AC Smart II owner's manual

LG

LG V-Net AC Smart II owner's manual

Elesys 5450 Reference manual

Elesys

Elesys 5450 Reference manual

VSI VSN-104Z instruction manual

VSI

VSI VSN-104Z instruction manual

DINGO D4040P user guide

DINGO

DINGO D4040P user guide

Daikin Intelligent Touch Manager DCM601A71 user manual

Daikin

Daikin Intelligent Touch Manager DCM601A71 user manual

ARIS Linearis N+ Original declaration of incorporation with manual

ARIS

ARIS Linearis N+ Original declaration of incorporation with manual

STR Electronics Talon SRX user guide

STR Electronics

STR Electronics Talon SRX user guide

Controlli NC7311 user manual

Controlli

Controlli NC7311 user manual

Aube Technologies DVR-320 installation instructions

Aube Technologies

Aube Technologies DVR-320 installation instructions

manuals.online logo
manuals.online logoBrands
  • About & Mission
  • Contact us
  • Privacy Policy
  • Terms and Conditions

Copyright 2025 Manuals.Online. All Rights Reserved.