manuals.online logo
Brands
  1. Home
  2. •
  3. Brands
  4. •
  5. KMC Controls
  6. •
  7. Controllers
  8. •
  9. KMC Controls MCP-1040 Series User manual

KMC Controls MCP-1040 Series User manual

MCP-1040/1140 Series 1 Installation Guide
Installation Guide
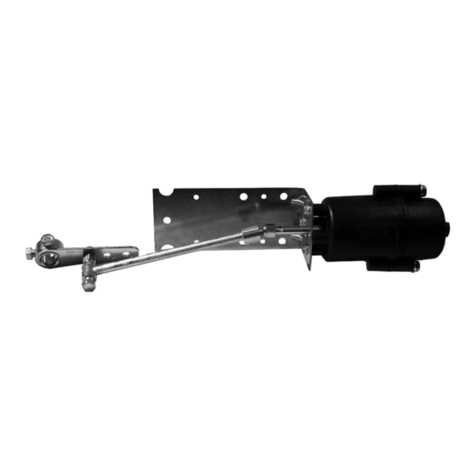
4" Pneumatic Damper Actuator
MCP-1040/1140 Series
Mounting
Post
NOTE: Post mounting is typically used for internal
duct mounting.
1. Position the damper for its “normal” position.
2. Connect the damper’s blade clip or drive arm
with the clevis pin and coer pin.
3. Mount the oset bracket to either the damper
frame or the duct.
4. Check that the linkage will not bind as the shaft
extends and retracts.
Right Angle
NOTE: Right-angle mounting is typically used for
external duct mounting.
1. Slide the crank arm over the damper shaft.
2. Determine whether the damper shaft must rotate
clockwise (CW) or counterclockwise (CCW).
3. Locate the half-circle cutouts on the outside
corners of the bracket.
4. Place the appropriate half circle cutout over
(for clockwise rotation) or under (for counter
clockwise rotation) the damper shaft).
CAUTION
Pneumatic
devices must
be supplied
with clean,
dry control
air. Any other
medium (e.g.,
oil or moisture
contamination)
will cause the
device to fail.
MCP-1040/1140 Series 2 Installation Guide
Connections
NOTE: Use 1/4" (6 mm) O.D. FR polyethylene
tubing and only clean, dry control air.
NOTE: Models ordered with CMC-1001 positioners
are factory-piped between the positioner
and the actuator.
NOTE: If the application requires operation near
the maximum temperature and maximum
pressure, add a tubing restraint to the
actuator connection.
1. Connect the input control signal to the actuator
port (if no positioner is used) or to the positioner
(CMC-1001 input) Port 2 (see the diagram).
2. Connect the main air (20 psi) to the positioner
(CMC-1001 center) port.
3. If a positioner is not factory-piped to the actuator,
connect the actuator input port to positioner
(CMC-1001 output) Port 1.
4. Slowly apply supply pressure to fully stroke the
actuator and linkage.
5. Check for any binding. Fine tuning can be
accomplished by adjusting the balljoint on the
pushrod.
© 2017 KMC Controls, Inc. 010-019-01B
KMC Controls, Inc.
19476 Industrial Drive
New Paris, IN 46553
574.831.5250
www.kmccontrols.com; [email protected]
Adjustments and Calibration
DANGER
The actuator contains a large powerful spring.
Exercise extreme caution if disassembly is required.
The actuator shaft MUST be restrained to prevent
the spring from expanding.
Actuators with positioners contain an 8–13 psi
spring. A positioner allows the unit to operate over
any 5 psi span with the start-point adjustable from
3–10 psi. Replace the 5 psi spring with a 10 psi spring
to widen the span.
To change the positioner start-point:
1. Apply the desired signal pressure.
2. Rotate the start-point adjuster until the actuator
starts to stroke.
Important Notices
The material in this document is for information pur-
poses only. The contents and the product it describes
are subject to change without notice. KMC Controls,
Inc. makes no representations or warranties with respect
to this document. In no event shall KMC Controls, Inc.
be liable for any damages, direct or incidental, arising
out of or related to the use of this document.
Maintenance
No routine maintenance is required. However,
care should be taken during any installation or
maintenance due to the power of the actuator. Each
component is designed for dependable, long-term
reliability, and performance. Careful installation will
also ensure long-term reliability and performance.
More Information
For specications and other information about the
actuators, see the MCP-1040/1140/04xx Series Data
Sheet on the KMC web site. For information about
the positioner, see the CMC-1001 Data Sheet.
5. Loosely mount the actuator externally on the duct
or air handling unit.
6. Leave sucient room for adjusting and servicing
the unit.
7. Position the damper for its “normal” position.
8. Tighten the crank arm set screws.
9. Check that the linkage will not bind as the shaft
extends and retracts.
10. Firmly anchor the bracket to the duct. The
actuator assembly is positioned for 90° rotation.

This manual suits for next models

1

Other KMC Controls Controllers manuals
KMC Controls CEE-3009 User manual

KMC Controls

KMC Controls CEE-3009 User manual

KMC Controls CSC-1001 User manual

KMC Controls

KMC Controls CSC-1001 User manual

KMC Controls BAC-5901C-AFMS User manual

KMC Controls

KMC Controls BAC-5901C-AFMS User manual

KMC Controls BAC-4000 series User guide

KMC Controls

KMC Controls BAC-4000 series User guide

KMC Controls FlexStat BAC-120063CW-ZEC Operator's manual

KMC Controls

KMC Controls FlexStat BAC-120063CW-ZEC Operator's manual

KMC Controls BAC-7302 Operating instructions

KMC Controls

KMC Controls BAC-7302 Operating instructions

KMC Controls MEP-5062 User manual

KMC Controls

KMC Controls MEP-5062 User manual

KMC Controls BAC-7001 User manual

KMC Controls

KMC Controls BAC-7001 User manual

KMC Controls AppStat User manual

KMC Controls

KMC Controls AppStat User manual

KMC Controls CSC-3501 User manual

KMC Controls

KMC Controls CSC-3501 User manual

KMC Controls CSC 3000 Series User guide
KMC Controls

KMC Controls CSC 3000 Series User guide

KMC Controls KMD-7001 Original operating instructions

KMC Controls

KMC Controls KMD-7001 Original operating instructions

KMC Controls BAC-9001CE User manual

KMC Controls

KMC Controls BAC-9001CE User manual

KMC Controls KMDigital KMD-5290E Operating instructions

KMC Controls

KMC Controls KMDigital KMD-5290E Operating instructions

KMC Controls CSP-4702 User manual

KMC Controls

KMC Controls CSP-4702 User manual

KMC Controls CSC-2000 Series User manual

KMC Controls

KMC Controls CSC-2000 Series User manual

KMC Controls MEP-4201 User manual

KMC Controls

KMC Controls MEP-4201 User manual
KMC Controls FlexStat BAC-12 63 Series User manual

KMC Controls

KMC Controls FlexStat BAC-12 63 Series User manual

KMC Controls KMD-5290 User manual

KMC Controls

KMC Controls KMD-5290 User manual

KMC Controls MEP-4 Series User guide

KMC Controls

KMC Controls MEP-4 Series User guide

KMC Controls MCP-1060 Series User manual

KMC Controls

KMC Controls MCP-1060 Series User manual

KMC Controls SimplyVAV BAC-8001 User manual

KMC Controls

KMC Controls SimplyVAV BAC-8001 User manual

KMC Controls MEP-3001 Operating instructions

KMC Controls

KMC Controls MEP-3001 Operating instructions

KMC Controls MCP-1160 Series User manual
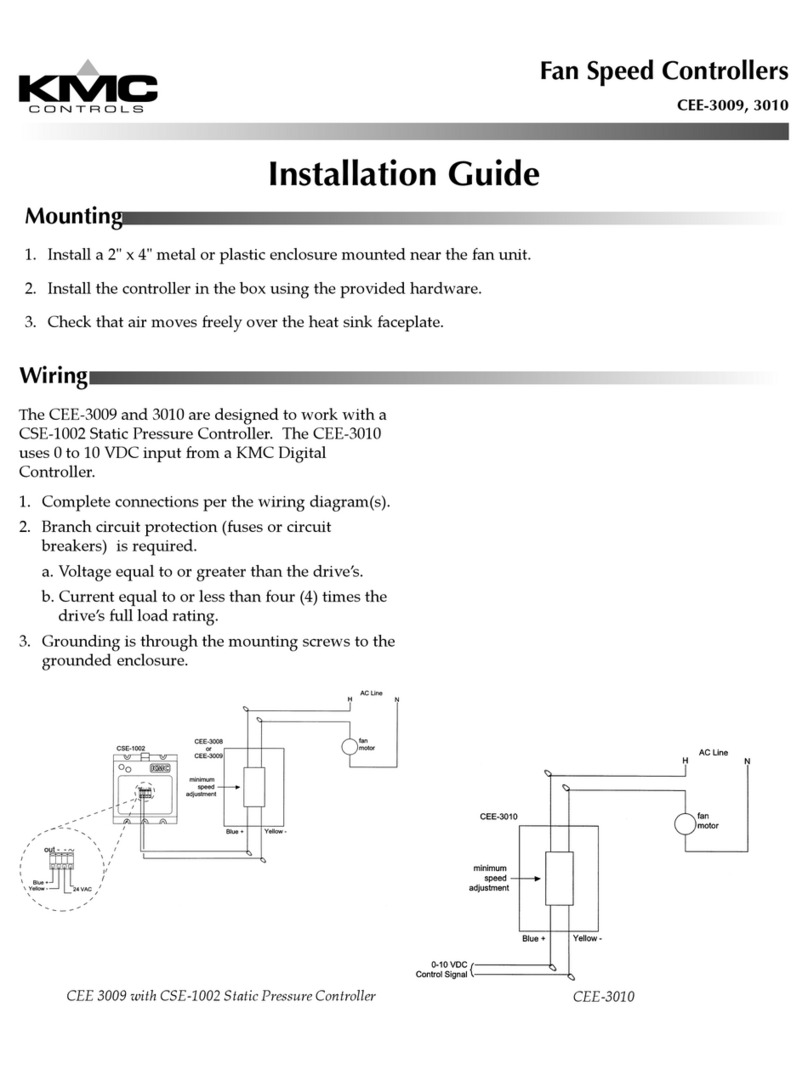
KMC Controls

KMC Controls MCP-1160 Series User manual

Popular Controllers manuals by other brands

Bosch DSA-N2E8XG-12AT Quick installation guide

Bosch

Bosch DSA-N2E8XG-12AT Quick installation guide

LOVATO ELECTRIC RGK700 installation manual

LOVATO ELECTRIC

LOVATO ELECTRIC RGK700 installation manual

Sunricher SR-2820 quick start guide

Sunricher

Sunricher SR-2820 quick start guide

Virtualfly TQ6+ user manual

Virtualfly

Virtualfly TQ6+ user manual

OmniMetrix Cummins PCC2100 installation guide

OmniMetrix

OmniMetrix Cummins PCC2100 installation guide

AirCom R039 operating manual

AirCom

AirCom R039 operating manual

Heatit Z-WATER installation guide

Heatit

Heatit Z-WATER installation guide

Omega CNiS32 quick start guide

Omega

Omega CNiS32 quick start guide

Shinko DCL-33A-R/M instruction manual

Shinko

Shinko DCL-33A-R/M instruction manual

S&P Envirosense ES24V Installation & operation manual

S&P

S&P Envirosense ES24V Installation & operation manual

SWS 77501 manual

SWS

SWS 77501 manual

Ledj VersiLED 6 Wireless DMX Controller user manual

Ledj

Ledj VersiLED 6 Wireless DMX Controller user manual

SOFTSTARTUK LV-AP manual

SOFTSTARTUK

SOFTSTARTUK LV-AP manual

LU-VE CBG 30AV instructions

LU-VE

LU-VE CBG 30AV instructions

KAN R 0203 Series quick start guide

KAN

KAN R 0203 Series quick start guide

Nice PLUTO PL 4000 Instruction manual and spare parts catalogue

Nice

Nice PLUTO PL 4000 Instruction manual and spare parts catalogue

Dive Rite XT1 Service manual

Dive Rite

Dive Rite XT1 Service manual

Rockwell Automation Reliance SP500 Installation and operation manual

Rockwell Automation

Rockwell Automation Reliance SP500 Installation and operation manual

manuals.online logo
manuals.online logoBrands
  • About & Mission
  • Contact us
  • Privacy Policy
  • Terms and Conditions

Copyright 2025 Manuals.Online. All Rights Reserved.