Kneader PK660DW User manual

Kneader for Bread
User’s Manual
Model Number:PK660DW
Consumer Use
Thank you for purchasing this product. Please carefully store this User’s Manual so that
it is possible to retrieve it immediately when necessary. Please use this Kneader for
Bread after thoroughly reading and understanding this User’s Manual.
This was designed only for AC220V and shouId not be used in other countries where
the voltage and frequency vary. After sales-service for this appliance is not available.


1
Contents
Safety Precautions: Please Always Follow
Marks Used in This User’s Manual
Warnings
Cautions
Usage Requests
Names and Functions of Parts
Names of the Main Parts
Operation Unit
Before You Begin Making Bread Dough
Features of the Kneader for Bread
The basic knowledge of bread baking
Bread Making Tools
Kneader for Bread Preparation
How to Use
A simple way to use it
How to adjust the speed
The order to exchange the Pot housing
Maintenance
Detaching
Body of the Kneader
Pot, Pot Cover and Blade
Troubleshooting
After-sales Service
Specifications
2
4
6
8
12
14
15
16

2
Warnings indicate there is a possibility of a serious injury or death in the event
of the incorrect usage of this product
Cautions indicate there is a possibility of an injury or physical damage
in the event of the incorrect usage of this product
Marks Used in this User’s Manual
If you use a power cord that has been damaged or processed,
it may cause electric shocks or fires.
Do not insert the plug with wet hands
If the power cord becomes damaged, it may cause electric shocks
or fires.
Using the plug with dust stuck to it may cause electric shocks or fires.
Please do not route the power cord in locations where people frequently come and go. If the power cord becomes damaged, it may cause
electric shocks or fires.
Remove dust from the plug Do not damage or process the power
cord
Do not insert the plug with wet hands
Do not forcibly bend or pull out
the power cord
Do not place things on the power cord or step on it
Caution
Warnings
The precautions given here contain important safety information to prevent harm or damage to you and
other people, so please make sure to always follow these.
Please aim to avoid the occurrence of accidents by following what is written on the warnings and
cautions when using this product. Moreover, users/managers of this product should please not let anyone
who does not understand this product use it.
• We have divided the information relating to what will occur in the event of the incorrect usage of this
product as below.
• The meaning of the marks (pictures) used in this User’s Manual is as below.
Warning
Please do not touch with
your hands.
Please never do. Please always unplug the
plug from the outlet.
Please do not insert plugs
with wet hands.
Please avoid using this
product in places with
spraying water.
Please always operate this
product in accordance with
the instructions.
Repairs should not be
carried out by anyone other
than repair technicians.
Furthermore, please never
remodel this product.
Please avoid using this
product near fires.
Safety Precautions:
Please Always Follow

3
Cautions
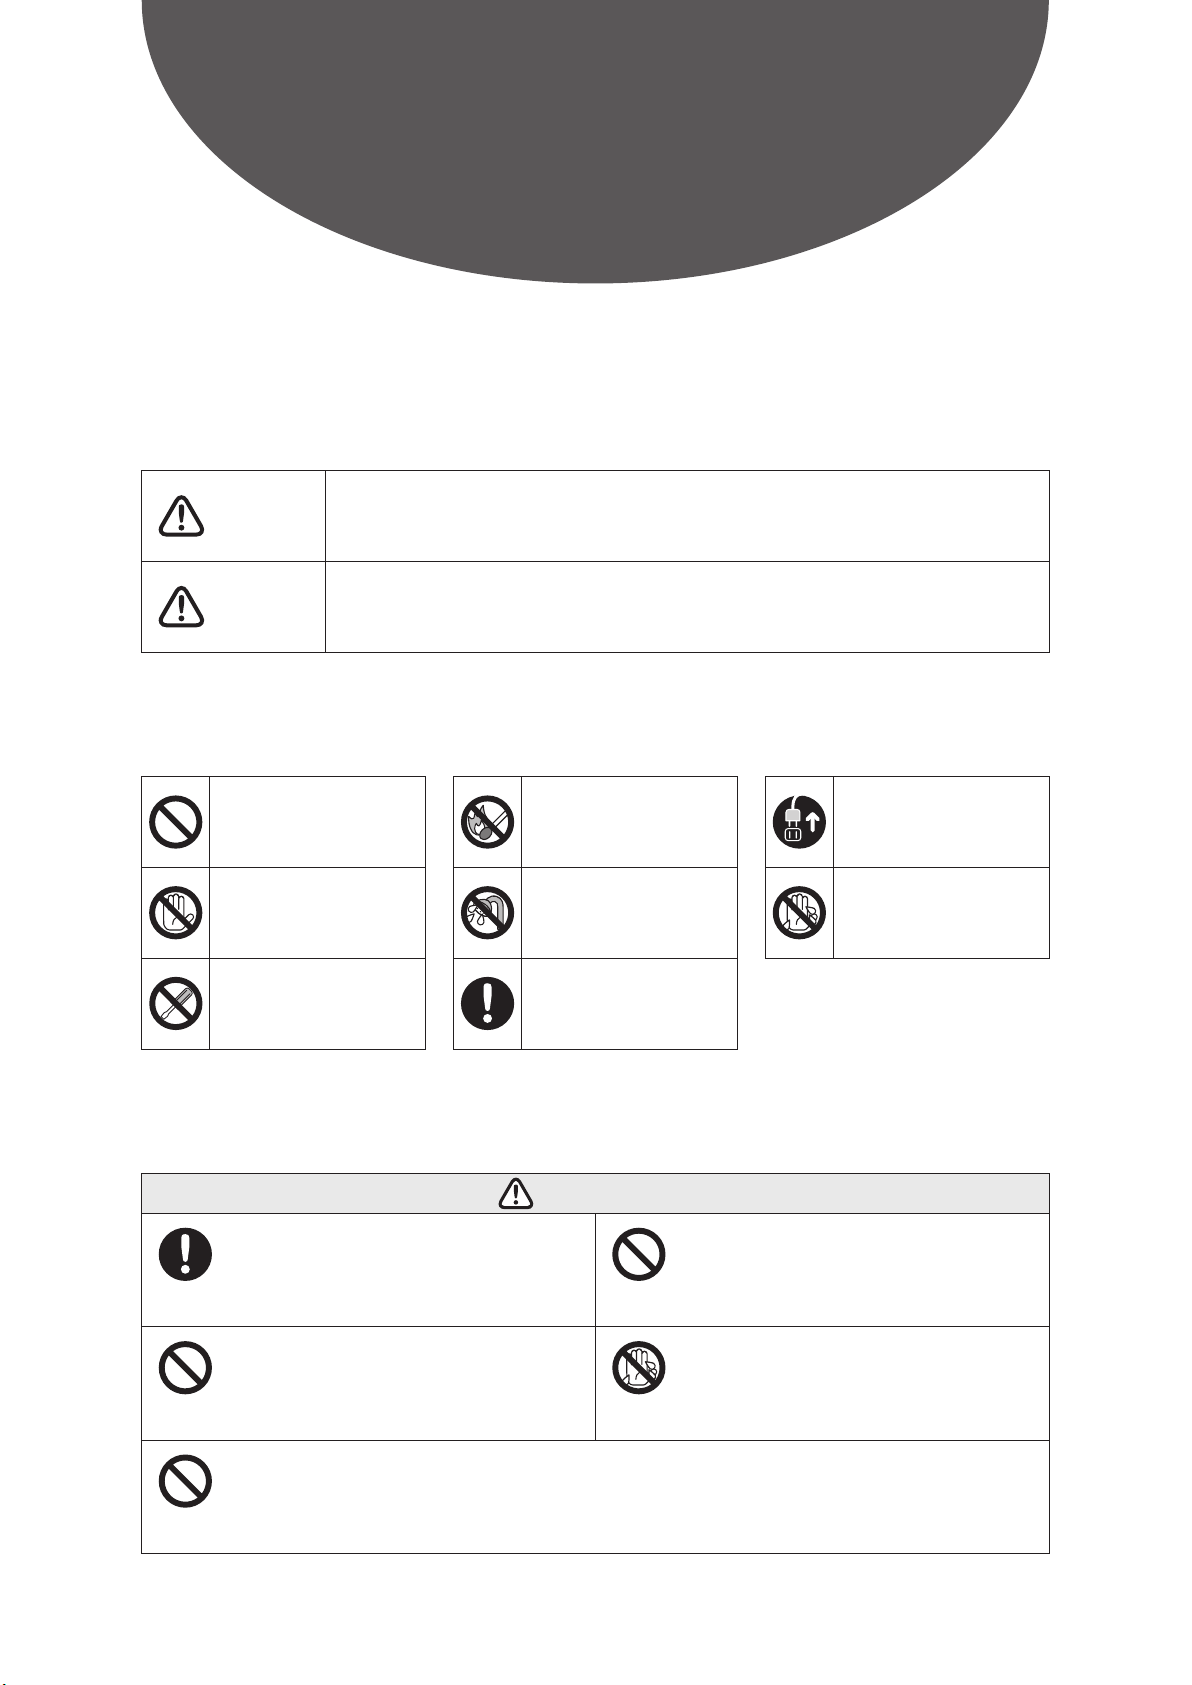
Never wash the body of the kneader
with water
Do not touch the blade during rotation
Do not overload electrical outlets
Do not disassemble or modify
Use an AC 220V-only outlet for
the power supply
Do not use this product in unstable locations or
on tables dirty with flour/oil
Do not use this product near
fires or spraying water
Do not use this product near walls and furniture
Do not let children use this product by
themselves; do not use this product
within the reach of infants
Do not use amounts of ingredients
greater than those specified
Do not get water on the operation panel
Do not place anything on top of the pot
cover
◆Please immediately turn off the power switch, unplug the plug
and then inquire at shop where purchased in the situations
below.
- If the breaker frequently turns “OFF”
- If the kneader does not operate even when you press the button
- If the power cord or plug becomes damaged or frayed
- If the kneader becomes deformed due to falling over
- If a liquid gets into the body (frame) of the kneader
- If it was exposed to wind and rain for an amount of time
- If there is smoke, an abnormal smell or the kneader does not
operate properly even though you are operating it in accordance
with this User’s Manual
- If a danger arises, such as a hand or foreign substance getting
caught up in the blade
◆Important information for safety is described on the
warning labels attached to this product, so please use
while following the points below.
- Please use this product in a state in which it is possible to
read the labels affixed to it at all times. Moreover, please do
not cover these labels with other equipment.
- Do not remove or alter these labels.
- If these labels become dirty or damaged, we recommend
replacing them with new ones. Please inquire at shop where
purchased if you need new labels.
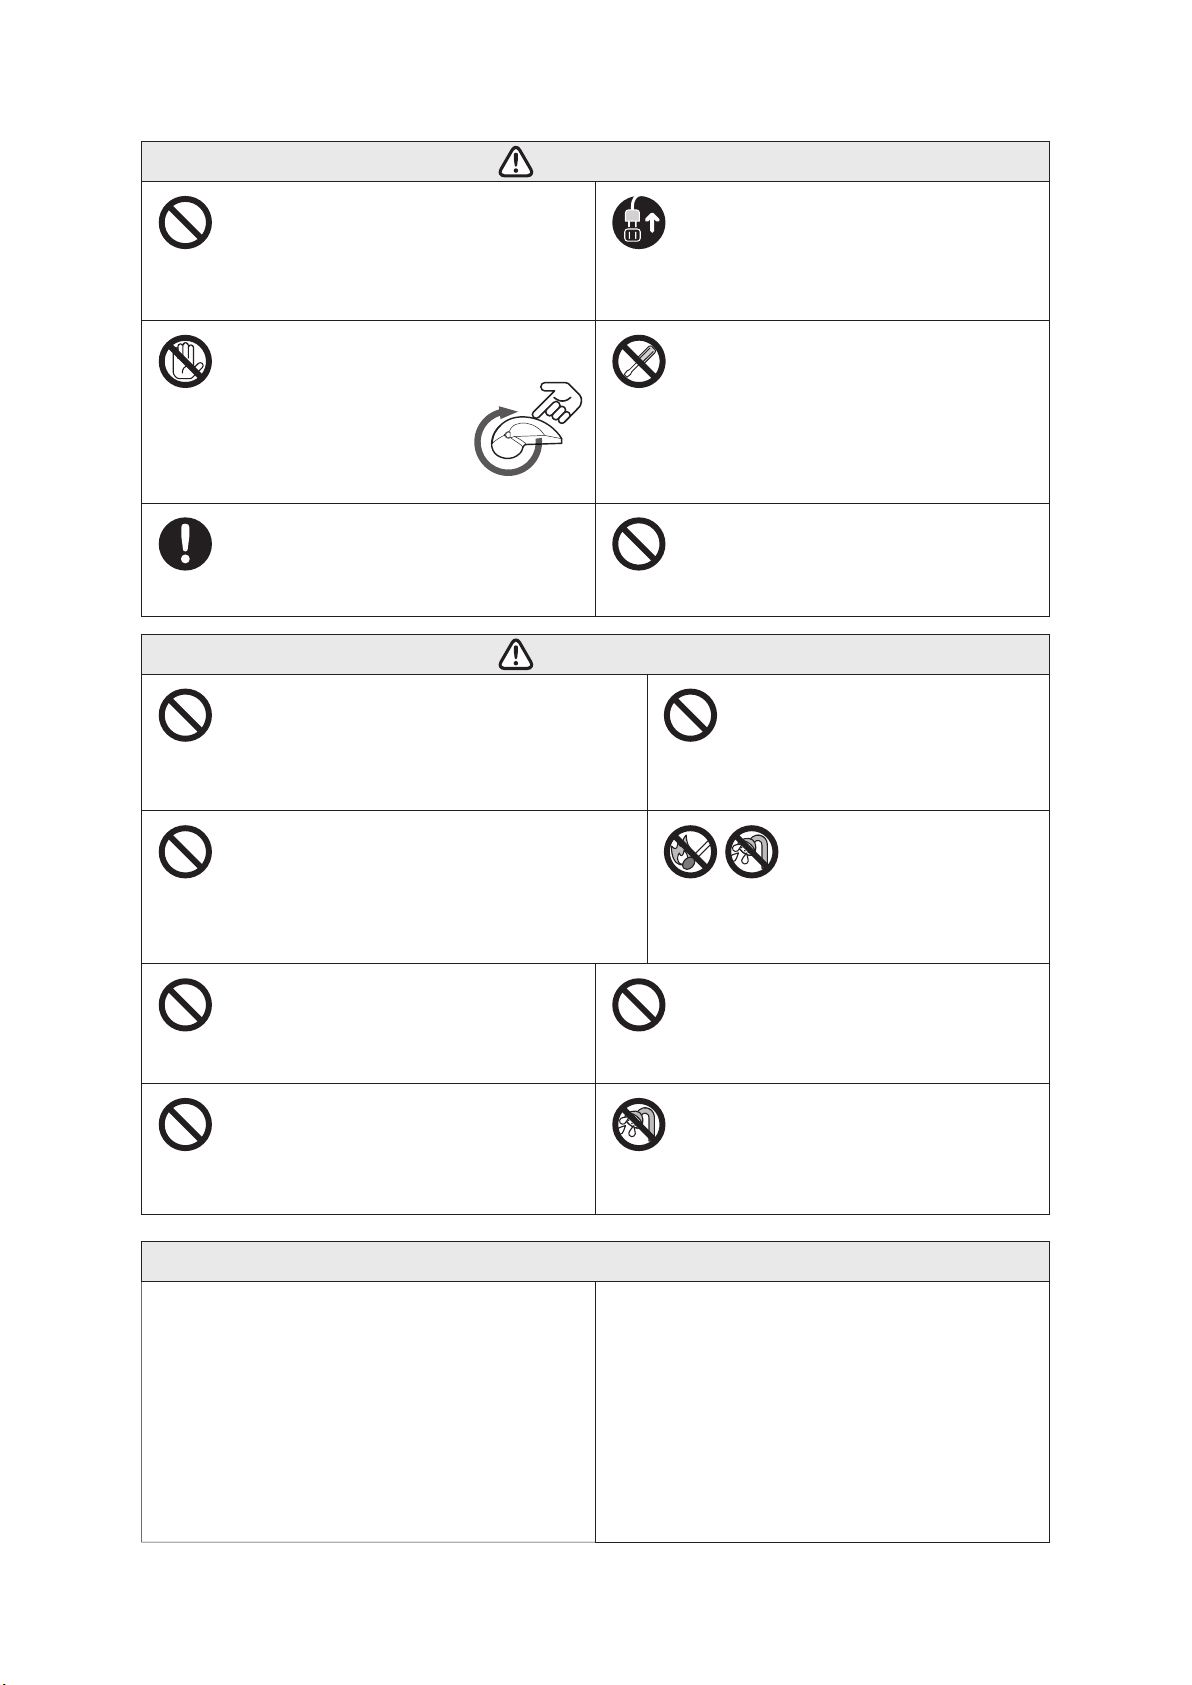
Warnings
If water gets into the body of the kneader, it may cause electric shocks
or malfunctions.
Failure to do so may cause electric shocks or malfunctions.
This will be a great burden on the motor and so may cause
malfunctions.
Going over the allowable electric current may cause electric shocks
or malfunctions.
Unplug the plug except when in use
(including during mounting, detaching
and maintenance)
Usage Requests
Disassembling or modifying this kneader may cause abnormalities or
fires. Moreover, there are parts with a high voltage for which there is a
danger of electric shocks and other dangerous parts in this product,
so there is a risk this may cause injury or death. Please inquire at
shop where purchased for internal inspections, adjustments and
repairs other than those described in this User’s Manual.
Failure to do so may cause an injury. If you need to perform
maintenance on the body of the kneader, please do so after
unplugging the plug from the outlet.
This may cause a malfunction in the electrical circuits. Please
immediately wipe with a dry cloth if the operation panel gets wet.
Things placed on the top of the pot cover may fall down due to the
vibrations during operation and this may cause damage or an injury.
This may cause an injury. Please refrain from
using this kneader in places in the reach of
infants and young children especially. If you need
to put your hands into the pot, please only do so
after stopping the rotation of the blade.
If this product falls over or down, it may cause an injury. Please always use this
kneader in a horizontal and stable state. In addition, we recommend you wipe
the bottom of the legs of this product prior to use.
If you use this product in close contact with walls or furniture, the motor will
not be cooled sufficiently and this may cause overheating or malfunctions.
There is also a possibility of deformation or discoloration to walls or furniture,
so please use this product at least 5cm away from the surface of walls.
If this product gets caught on fire or water gets into its body,
it may lead to electric shocks.
Please use pot cover when
putting ingredients over 60℃
It may cause a burn from boiling over.

4
Names of the Main Parts
• Plug
- It can be purchased and exchanged.
(P10)
• Pot housing (consumable)
• Power Cord
• Kneading Blade
• Operation unit
• Power Switch
• Body of the kneader
Names and Functions
of Parts
The small lid in the center can
also be opened and closed.
(Plastic PMP)
(Plastic PMP)
(Plastic ABS)
(Plastic PP)
(Plastic PA66)
• Domed pot cover
• Pot
(Please use an outlet with a current of 220V / 7A or greater)
Accessories
• User’s Manual (This document)
• Refrigerant
(It is not possible to heat this
refrigerant up in a microwave)

5
Operation Unit
You can adjust the speed.
(The speed could also be adjusted while
operating)
*0 to 390 rotations per minute (No-load)
SPEED knob
①You can adjust the timer.
(It can also be adjusted while operating.)
②You can start or stop by pushing the
knob
TIMER knob

6
Features of the Kneader for Bread
e basic knowledge of bread baking
(1) The blade was made for bread dough
This product makes delicious bread dough by kneading it perfectly by the
"special blade(patented)" that is attached to the Pot.
(2) Pot placement which considered temperature control
The pot is placed outside the main part to be able to control the
temperature. Which is most important in baking bread.
It is possible to adjust the dough temperature with a special refrigerant.
Please wrap the refrigerant around the pot when you want to adjust
the dough temperature by cooling in a refrigerator beforehand.
(This cannot be heated up in a microwave, so please warm up in hot
water and then use.)
(3) Timer control of the dough baking process
You can arrange the baking process.
(4) Simple maintenance
The pot and blade can be completely washed because they can
be removed.
(5) Amounts that can be made at a time
Wheat flour 250〜600g
Please be sure to keep the amount written above. It may cause some
difficulties to knead and cause it to break.
Refrigerant
(1) Bread dough is sensitive to the temperature
The room temperature and water temperature has an impact on the fermentation and affects the finish to the
bread.
[Guide to the ideal water temperature] Summer: 15-20°C / Winter: 30-35°C
(2) Restore ingredients to room temperature
In particular, if you use butter, milk and eggs while they are still cold, the dough temperature will lower and this will
have an impact later on the fermentation and maturation.
(3) Accurately weight ingredients
If you make a mistake with the weighing, this will have an effect on the finish – the dough will be too hard or too
soft.
Before You Begin Making
Bread Dough
How to Attach the Refrigerant
Please firmly hold in place with
the hook and loop fastener

7
Bread Making Tools
Kneader for Bread Preparation
Dough scraper Baking panLame
Attach the blade to the pot
Place the blades hole to the peg in the center of the Pot.
Axis
Slots on the body of the kneader
1
Be sure to check if the power plug is
disconnected from the outlet, then attach
the pot to the body of the kneader
Insert the plug into the outlet,
turn on the power switch.
2
3
1
1
2
2
Lock
Free
•The tools you need to have at the minimum
(1) Dough making: Scales, rubber spatula and thermometer
(2) Separating and molding: Rolling Pin and dough scraper
• Other desirable tools
Spray, brush, lame and baking pan (loaf pan, etc)
Please insert the bottom of the pot into the pot mounting slots
on the body of the kneader and then firmly turn until it is set in
place in the “LOCK” direction (see the label affixed to the body of
the kneader).
Spin 90 degrees
clockwise
Lock
Free

8
A simple way to use it
Turn on the power switch.
Set the timer.
(Can also be set while progressing)
Place it on a stabled surface.
1
2
3
Start by pushing the TIMER knob.
(LED flickers)
Push it again and the rotation will stop.
4
The alarm will beep when the
progress is finished.
5
* Turn the TIMER knob and set the time.
* The LED light at the setting time will light up.
TIMER knob
How to Use

9
How to adjust the speed
SPEED knob
Fast
Slow
You can adjust the speed with the SPEED knob.
(Can also be adjusted while operating.)
Becomes fast when you turn the knob to the right, becomes slow when turned left.
It will stop when you turn the knob to the left end.
(It can still be used as a timer.)

10
Disassembly method
e order to exchange the Pot housing
Pot-housing (consumable)
Pot-housing
Unscrew 4 screws and remove the Pot-housing.
Exchange Pot-housing when water or dough leaks from the pot.
You can purchase the Pot-housing separately with an optional purchase.

11
Assembly method
Fix the Pot-housing with 4 screws as shown below:
Pot-housing
Pot
Screws

12
Maintenance
11
44
3
32
2
Detaching
Remove the pot cover, pot and blade in that order.
How to Detach the Blade
Please carry out maintenance frequently each time you use this product.
Cautions
• Please only ever carry out maintenance after unplugging the plug from the outlet.
• Please do not use benzene, thinner or polish because they will damage the surface of the
kneader. In particular, if the blade becomes damaged, it will not be possible to carry out
kneading properly and this will interfere with the finish to the bread dough, so please pay
attention to this.
• Please do not throw the washed dough leftovers directly into sinks. Flour that has solidified is
not very soluble in water, so this may lead to clogging in the pipes.
• After using the kneader, please be sure to detach the blade from the axis of the pot. If you leave
it as it is, the dough will harden and it may become difficult to detach the blade.
• Please remove flour that has accumulated in the body-pot installation unit with a brush, dish
cloth or cleaner
*If you leave the pot for a long time after use, the flour
will harden and it may become difficult to detach the
blade. Please detach the blade from the pot as
soon as possible after use.
You can remove the blade by turning the blade
anti-clockwise while holding the rotating part on the
bottom of the pot.
the rotating part on the bottom of the pot

13
Pot, Pot Cover and Blade
Body of the Kneader
Please lightly wipe away dirt on the surface of the body of the
kneader with a soft and dry cloth.
When very dirty, wet a soft cloth with water, wipe the surface after firmly wringing the
cloth and then polish with a dry cloth.
Please wash the pot, pot cover and blade with cool or lukewarm
water.
When very dirty, please soak a sponge or cloth in dishwashing detergent, lightly scrub
and then rinse with cool or lukewarm water.
• When it is not possible to remove the blade, leave for a few minutes in lukewarm
water and then detach after the dough stuck to the blade softens up.
• Please remove dough that has clogged up the holes of the blade with a soft
brush.
Cautions for the Blade
• Please do not leave the pot with water inside of it for a long time. This may cause
corrosion or the blade mounting axis to stop rotating.
• When there is dirt which is difficult to clean away, please dilute dishwashing
detergent with water, spray with a spray or similar, leave for 15-20 minutes and
then thoroughly rinse with water.
• Please do not use rock salt. There is a danger this may damage the pot.
Cautions for the Pot
- Pot-housing is consumable (See p10).
●Storage
• Please wipe away dirt and moisture.
• Please thoroughly dry the pot, pot cover and blade.

The light keeps flickering as
shown on the right figures.
14
The buttons do not work
The kneader makes an
unusual sound while operating
Is the blade rotating?
→
→
→
→
If it does not go back to normal by turning the power switch OFF
and to ON, please contact our support desk for repairment.
All the LED lights come on. One or two lights come on.
Is the plug unplugged from the outlet?
Is the power switch off?
The body of the kneader
is hot when touched
Please check the following before making a repair request.
Problem
The kneader is not rotating Is the SPEED knob at the left end?
Things to Check
Is this directly after use?
The body of the kneader becomes warm during and
directly after use. However, if there is smoke or an abnor-
mal smell, stop operations immediately, unplug the plug
and inquire at shop where purchased.
Sometimes it makes a high pitch sound while the blade is
rotating but there is no malfunction.
Model number: This is listed on the operation unit and the cover of this User’s Manual
Serial number: This is listed on the label on the bottom of the body of the kneader
Operation unit display: When there is a display on the operation unit
If the kneader does not improve despite following the above table, please inquire at shop where
purchased for consultations.
When making an inquiry, we may ask for the model number, serial number and the details displayed
on the operation unit, so please check these in advance.
Insert the plug into the outlet and turn on the power switch.
Try turning the speed knob to the right.
Troubleshooting

15
After-sales Service
Please inquire at shop where purchased for consultations about repairs, handling and
the purchase of parts, etc.
SER#
Serial number
Date of purchase
MEMO
daymonth year
/ /

16
Specifications
Model number: PK660DW
The main specifications of this product are as below.
Body of the Kneader
Power supply
Power consumption
Drive
Rotation range (No load)
External dimensions (W X D X H)
Weight
Cord length
Country of origin
AC 220V 50/60Hz shared
80W
DC motor
0〜390 rotations per minute
230×365×175mm
4.8kg
1.5m
Japan
Pot (Including the Pot Cover and Blade)
External dimensions (W X H)
Weight
Country of origin
220×236mm
0.7kg
Japan
この製品は交流 220V 専用に設計されています。電源電圧や電源周波数の異なる外国では
使用できません。また、アフターサービスもできません。
This appliance was designed only for use in where the local voltage supply is AC220V
and should not be used in other countries where the voltage and frequency vary. After
sales-service for this appliance is not available.
이 제품은 교류 220V전용으로 설계되어 있습니다. 전압이나 전원 주파수가 상이한 외국에서는
사용할 수 없습니다. A/S 또한 불가능합니다.
此產品為交流電壓 220V所設計。由於各國所使用電壓或電源頻率不同,請勿於其他
地區使用。另亦無法對此提供售後維修服務。
本产品专为220V 交流电而设计。由于各国所使用电压或电源频率不同,请勿使用于其
它地区。另亦无法对此提供售后维修服务。

367mm
365mm
230mm
*Please note that the specifications and appearance of this product may change without notice
due to improvements.
External Dimensions Figure
Pot
303mm
220mm
236mm
17
175mm

- The unauthorized reproduction of part or all of the content of this User’s Manual is prohibited.
- The content of this User’s Manual may change without notice in the future.
- If you notice any errors or omissions in regards to the content of this User’s Manual, please
contact us.
602A50610
http://kneader.jp
Japan Kneader Co., Ltd.
Table of contents
Popular Kitchen Appliance manuals by other brands

Marta
Marta MT-4317 user manual

La Sommeliere
La Sommeliere SLS32DZBLACK User instructions

Unold
Unold 48845 Instructions for use

Bosch
Bosch MCP30 series instruction manual

West Bend
West Bend STIR CRAZY 4 OZ. THEATER-STYLE POPPER instruction manual

CDA
CDA DUAL FUEL COOKERS RC 9021 Installation and user manual