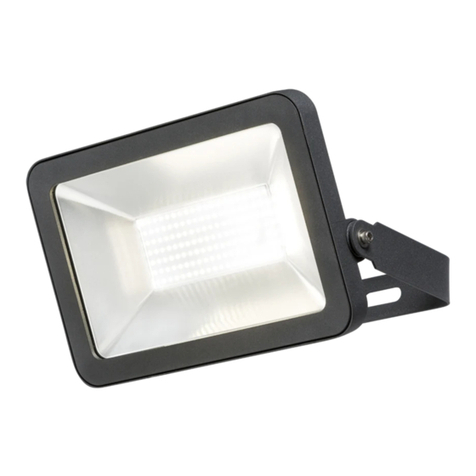
Knightsbridge FLRxxP series Instruction Manual

1
INSTALLATION & MAINTENANCE MANUAL
FLRxxP
IP
65
230V
50Hz
42

2
These instructions should be read carefully and retained after installation by the end user for
future reference and maintenance.
These instructions should be used to aid installation of the following products:
FLR10P/FLR20P/FLR30P/FLR50P
GENERAL INSTRUCTIONS
SAFETY
INSTALLATION
• Installation of this luminaire should only be carried out by a qualified electrician or competent
person to the latest Building and current IEE Wiring Regulations (BS7671)
• Please isolate mains prior to installation/maintenance
• Check the total load on the circuit (including when this load is fitted) does not exceed the rating
of the circuit cable, fuse or circuit breaker
• Please note the IP (Ingress of Protection) rating of this product when deciding the location for
installation
• This product series is IP65 rated
• This product is Class I and must be earthed
• This product is non-dimmable
• Outdoor electrical installations should be protected by an earth leakage circuit breaker such as a
residual current device (RCD). This will cut the power supply should it detect a leakage of current
to earth which is potentiality dangerous
• Provide power to the required point of installation
• This product has an angled bracket for ease of
installation and does not need to be removed
(see Fig 1)
Fig 2
Fig 1
FLRXX
These instructions should be read carefully and retained after installation by the end user for future reference and
maintenance.
These instructions should be used to aid installation of the following products:
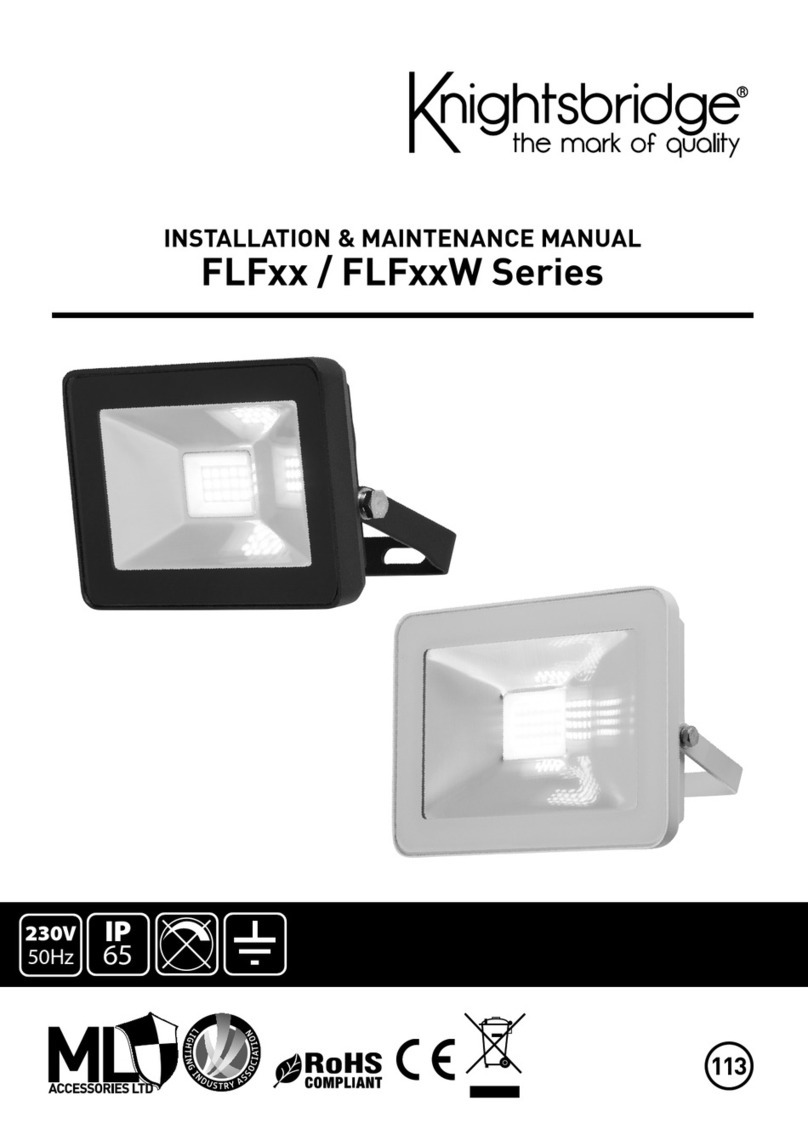
FLR10/ FLR20/FLR30/FLR50 Floodlight series
SAFETY
•Installation of this driver should only be carried out by a qualified electrician or competent person to the
latest Building and current IEE Wiring Regulations (BS7671)
•Please isolate mains prior to installation/maintenance
•Check the total load on the circuit (including when this load is fitted) does not exceed the rating of the
circuit cable, fuse or circuit breaker
•Please note the IP (Ingress of Protection) rating of this product when deciding the location for installation
•This product series is IP65 rated
•This product is Class I and must be earthed
•This product is non-dimmable
INSTALLATION
•Provide power to the required point of installation
•Using the angled bracket as a template, mark the location of the fixing holes and drill the holes ensuring not to
infringe with any gas/water pipes or electrical cables
•Remove the four screws on the access plate at the rear of the fitting to expose the terminal block (see Fig 1)
Screws
Fig 1
•Feed the cable through the compression gland on the rear of the access plate. Ensuring correct polarity is
observed, carefully wire as shown in Fig 2
Fig 2
•Replace the access plate, gasket and screws then tighten the compression gland ensuring a tight seal to maintain
the IP rating
•Switch on power supply and check for correct operation
• Using the angled bracket as a template, mark
the location of the fixing holes, and drill the holes
ensuring not to infringe with any gas/water pipes
or electrical cables
• Remove the four screws on the access plate at the
rear of the fitting to expose the terminal block
(see Fig 2)

• Feed the cable through the compression gland on the rear of the access plate. Ensuring correct
polarity is observed, carefully wire as shown in Fig 3
3
SENSOR OPERATION
MANUAL OVERRIDE
• Replace the access plate, gasket and screws then tighten the compression gland ensuring a
tight seal to maintain the IP rating
• Switch on power supply and check for correct operation
• Remove the dial cover on the rear of the sensor to access the sensor controls (see Fig 3)
To operate the manual override function when light is on switch OFF, ON, OFF, ON within
3 seconds for the light to stay on.
• Dial 1 controls the desired lux level, turn fully anti-clockwise to the moon icon to select
night mode. Turn fully clockwise to the sun icon to select day mode
• Dial 2 controls the time, turn fully clockwise for the maximum 10 minutes or anti-
clockwise for the minimum of 10 seconds
• Dial 3 controls the detection range, turn fully anti-clockwise for the minimum range of
4M, turn clockwise for the maximum range of 8M (based on a mounting height of 2.5M)
FLRXX
These instructions should be read carefully and retained after installation by the end user for future reference and
maintenance.
These instructions should be used to aid installation of the following products:
FLR10/ FLR20/FLR30/FLR50 Floodlight series
SAFETY
•Installation of this driver should only be carried out by a qualified electrician or competent person to the
latest Building and current IEE Wiring Regulations (BS7671)
•Please isolate mains prior to installation/maintenance
•Check the total load on the circuit (including when this load is fitted) does not exceed the rating of the
circuit cable, fuse or circuit breaker
•Please note the IP (Ingress of Protection) rating of this product when deciding the location for installation
•This product series is IP65 rated
•This product is Class I and must be earthed
•This product is non-dimmable
INSTALLATION
•Provide power to the required point of installation
•Using the angled bracket as a template, mark the location of the fixing holes and drill the holes ensuring not to
infringe with any gas/water pipes or electrical cables
•Remove the four screws on the access plate at the rear of the fitting to expose the terminal block (see Fig 1)
Screws
Fig 1
•Feed the cable through the compression gland on the rear of the access plate. Ensuring correct polarity is
observed, carefully wire as shown in Fig 2
Fig 2
•Replace the access plate, gasket and screws then tighten the compression gland ensuring a tight seal to maintain
the IP rating
•Switch on power supply and check for correct operation
SENSOR OPERATION
•Remove the dial cover on the rear of the sensor to access the sensor controls (see Fig 3)
Fig 3
•Dial 1 controls the desired lux level, turn fully clockwise to the moon icon to select night mode. Turn a fully anti-
clockwise to the sun icon to select day mode
•Dial 2 controls the time, turn fully anti-clockwise for the maximum 10 minutes or clockwise for the minimum of
10 seconds
•Dial 3 controls the detection range, turn fully clockwise for the minimum range of 4M, turn anti-clockwise for the
maximum range of 8M (based on a mounting height of 2.5M)
Manual override
To operate the manual override function when light is on switch OFF, ON, OFF, ON within 3 seconds for the light to stay on.
WARNING
This product must be disconnected from the circuit if it subjected to any high voltage or insulation resistance testing.
Irreparable damage will occur if this instruction is not followed.
GENERAL
Ensure appropriate fixing screws are used with this product.
The product should be recycled in the correct manner when it reaches the end of its life. Check local authorities for where
facilities exist.
Clean with a soft dry cloth only, do not use aggressive cleaning products or solvents which may damage the product.
This product is not suitable for installation in or near a coastal or marine environment.
Warranty

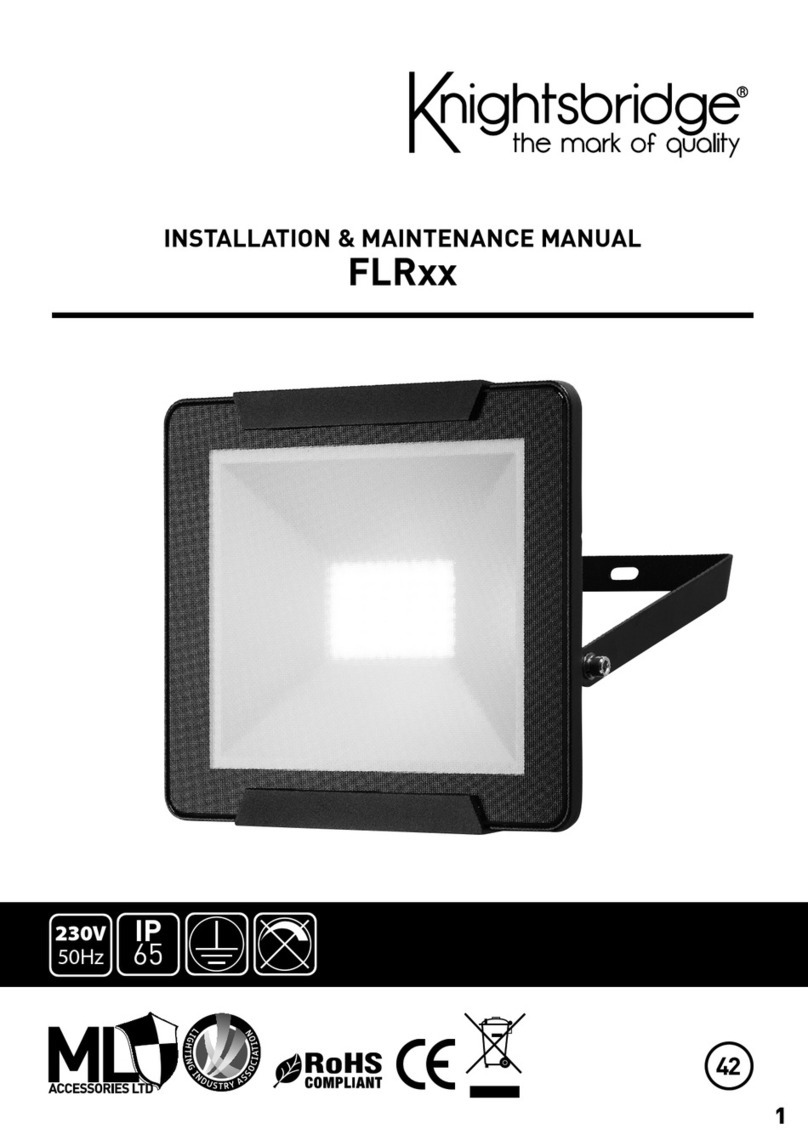
Fig 3
Fig 3

4
ML Accessories Limited
LU5 5TA
www.mlaccessories.co.uk SBAPR18_V1
GENERAL
PIR
WARNING
WARRANTY
Ensure appropriate fixings are used for mounting surface.
The product should be recycled in the correct manner when it reaches the end of its life. Check
local authorities for where facilities exist.
Clean with a soft dry cloth only, do not use aggressive cleaning products or solvents which may
damage the product.
This product is not suitable for installation in or near a coastal or marine environment.
Before choosing a mounting point, please note the following:
PIR sensors are activated more easily by sources crossing their path, rather than approaching
directly. Avoid positioning the PIR sensor facing trees, shrubbery, moving traffic, swinging
objects, bright lights or sources of heat. Avoid positioning in direct sunlight as this may affect
the sensitivity of the sensor. Changes in air temperature and weather can affect the sensor and
occasional adjustments may be required.
This product must be disconnected from the circuit if it subjected to any high voltage or insulation
resistance testing. Irreparable damage will occur if this instruction is not followed.
This product has a warranty of 3 years from date of purchase. Failure to install in accordance with
the current edition of the IEE Wiring Regulations, improper use, or removal of the batch codes will
invalidate the warranty. If this product should fail within its warranty period it should be returned
to the place of purchase for a replacement. ML Accessories does not accept responsibility for any
installation costs associated with the replacement product. Your statutory rights are not affected.
ML Accessories reserve the right to alter product specification without prior notice. Warranty valid
in UK and Ireland only
This manual suits for next models
4
Table of contents
Other Knightsbridge Floodlight manuals

Knightsbridge
Knightsbridge FLP Series Instruction Manual

Knightsbridge
Knightsbridge FLF Series Instruction Manual

Knightsbridge
Knightsbridge AMLEDBS Instruction Manual

Knightsbridge
Knightsbridge SL20CCTW Instruction Manual

Knightsbridge
Knightsbridge FLR Series Instruction Manual

Knightsbridge
Knightsbridge FLS15BK Instruction Manual