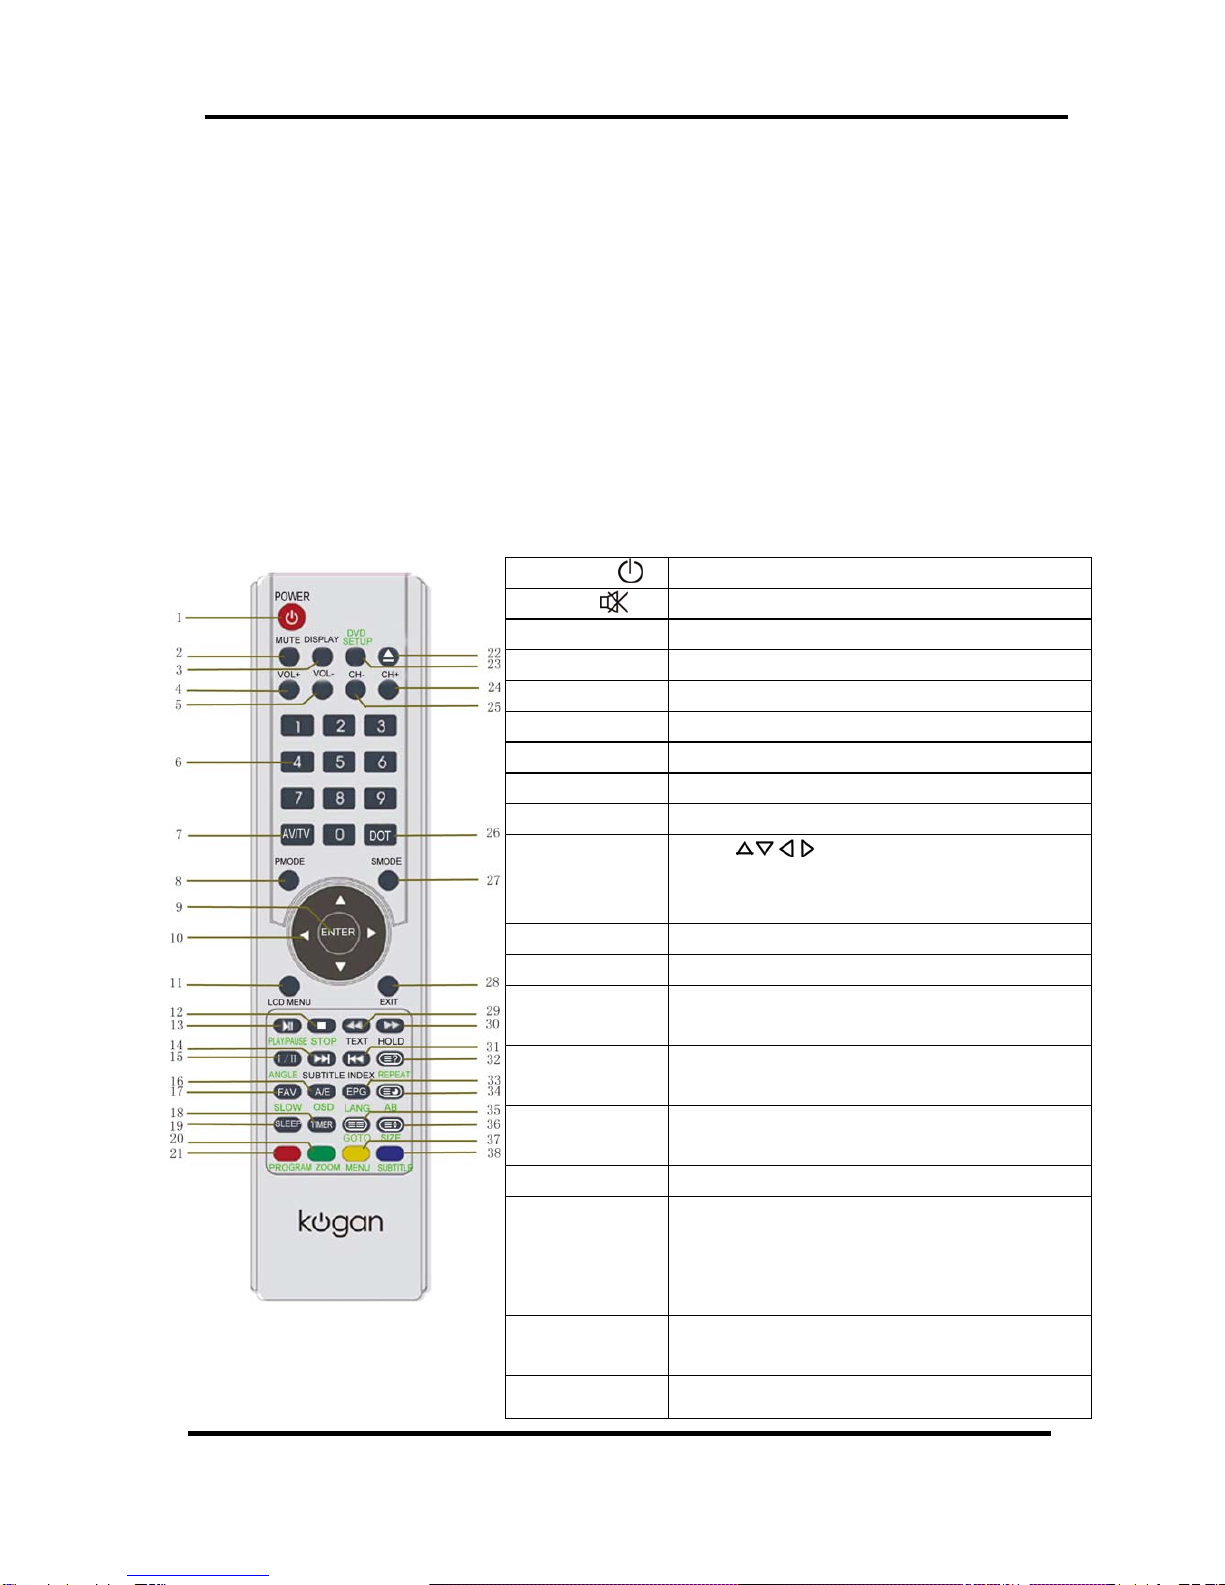
Kogan HDMI KEVIN37 User manual

Kogan KEVIN37
Full High Definition LCD TV
USER MANUAL

1
Safety information
To ensure reliable and safe operation of this equipment, please read carefully all of the
instructions in this user guide, especially the safety information below.
Electrical safety
·The TV set should only be connected to a mains power supply which matches that stated
on the label on the mains power adaptor.
·To prevent overload, don’t share the same mains power supply socket with too many
other items of equipment.
·Be careful to route the mains power cable away from areas where people can trip
over it.
·Unplug the TV when it is not going to be used for a long time. Disconnect both the
aerial and the main power cable.
·Take care not to expose the TV set or the remote control to water or moisture.
·Pull the plug out immediately, and seek professional help if:
- the mains power plug or cable is damaged
- liquid is spilt onto the TV set, or if it is accidentally exposed to water or moisture
- anything accidentally penetrates the ventilation slots
- the TV set doesn’t work normally.
·Never remove the cover, there are no user-serviceable parts inside. Allow only
qualified service personnel to repair this equipment.
·To avoid leakage, take out the remote control batteries when:
- the batteries are exhausted
- you are not going to use the remote control for a long time.
·Batteries should be recycled or disposed of in a proper manner.
Physical safety
·Make sure the set is positioned at least 5cm (2inch) from the wall or furniture.
·Never tap or shake the screen for any reason.
·Take care not to drop or sit on the remote control.
·Clean the set using only a soft, clean, dry cloth. Do not use any solvents.

2
OPERATING INSTRUCTIONS
Contents
Safety information--------------------------------------------------------------------------------------- 1
Electrical safety ----------------------------------------------------------------------------------------- 1
Physical safety ------------------------------------------------------------------------------------------ 1
In the box -------------------------------------------------------------------------------------------------- 3
Connection ------------------------------------------------------------------------------------------------ 4
Rear connection panel -------------------------------------------------------------------------------- 4
Getting Started ------------------------------------------------------------------------------------------- 5
Front panel controls ------------------------------------------------------------------------------------ 5
The Remote control ------------------------------------------------------------------------------------- 6
Using the remote control for normal TV functions ---------------------------------------------- 6
Initial Setup Instruction Guide ---------------------------------------------------------------------- 8
Power ON/OFF: Standby mode -------------------------------------------------------------------- 8
Selection of Input Mode ------------------------------------------------------------------------------ 8
On Screen Display (OSD) Menu -------------------------------------------------------------------- 9
Navigating the OSD Menu--------------------------------------------------------------------------- 9
Video Page Menu -------------------------------------------------------------------------------------- 10
Audio Page Menu -------------------------------------------------------------------------------------- 13
TV Page Menu (Only for TV) ------------------------------------------------------------------------ 14
Setup Page Menu -------------------------------------------------------------------------------------- 17
Parental Page Menu ---------------------------------------------------------------------------------- 19
Troubleshooting ------------------------------------------------------------------------------------------ 22
Maintenance ----------------------------------------------------------------------------------------------- 23
Features and Specifications-------------------------------------------------------------------------- 24

3
In the box
TVSet
Powersupplycable Remotecontrol
- If any of the accessories are missing, then please contact Kogan Technologies.
- Keep all the original packaging in case you need to return the TV to Kogan Technologies.

4
Connection
Rear connection panel
Number Name Function Description
1 HDMI (1,2) HDMI input jacks (audio and video)
2 VGA VGA (D-sub) computer input
3 VGAAudio IN VGA audio input (3.5mm stereo)
4 YPbPr (1,2) IN YPbPr inputs
5 YPbPr (1,2) Audio IN YPbPr Audio input
6 S-VIDEO S-Video input
7 COAX OUT Audio signal (digital) coaxial output
8 CVBS IN AV analogue video input
9 CVBS Audio IN AV analogue audio input (also S-Video audio IN)
10 CVBS OUT This port is not functional on this model
11 CVBS Audio OUT This port is not functional on this model
12 RF Connect to TV cable/antenna or DVB-t antenna
13 AC Connect to the supplied PowerAdaptor
14 TEST USB slot for testing and upgrade
DC
DC

5
Getting Started
1. Connect the aerial or input source to the appropriate input socket at the rear of
the TV set (see page 4).
2. Connect the small round plug on the power adaptor cable to the power input
socket at the rear of the TV set.
3. Connect the power cable between the power adaptor and the mains supply.
4. Turn on the TV Power switch under the right hand speaker.
5. Switch the TV on by pressing the POWER button on the front panel or the
remote control (the LED will show green).
6. Use the AV/TV button on the front panel or the remote control to select which
input source to use : TV-AV-SVIDEO-YPBPR1-YPBPR2-VGA-HDMI1-HDMI2
7. You can use the front panel controls to adjust the volume or select a channel as shown
below, or you may use the remote control for these functions.
8. To switch the set off for a short time, press the POWER button, the set will go into
standby and the LED will show red. If you are not going to use the set for some
time, switch the power off completely by unplugging the mains cable.
Front panel controls

6
The Remote Control
Using the remote control for normal TV functions
1. Insert two AAA batteries, making sure that the polarity is correct as marked
inside the compartment.
2. Aim the remote control at the IR sensor just below the green light (see
page 5 for diagram). Keep this area clear at all times.
3. Do not press the buttons on the remote too quickly – allow the TV time to
respond.
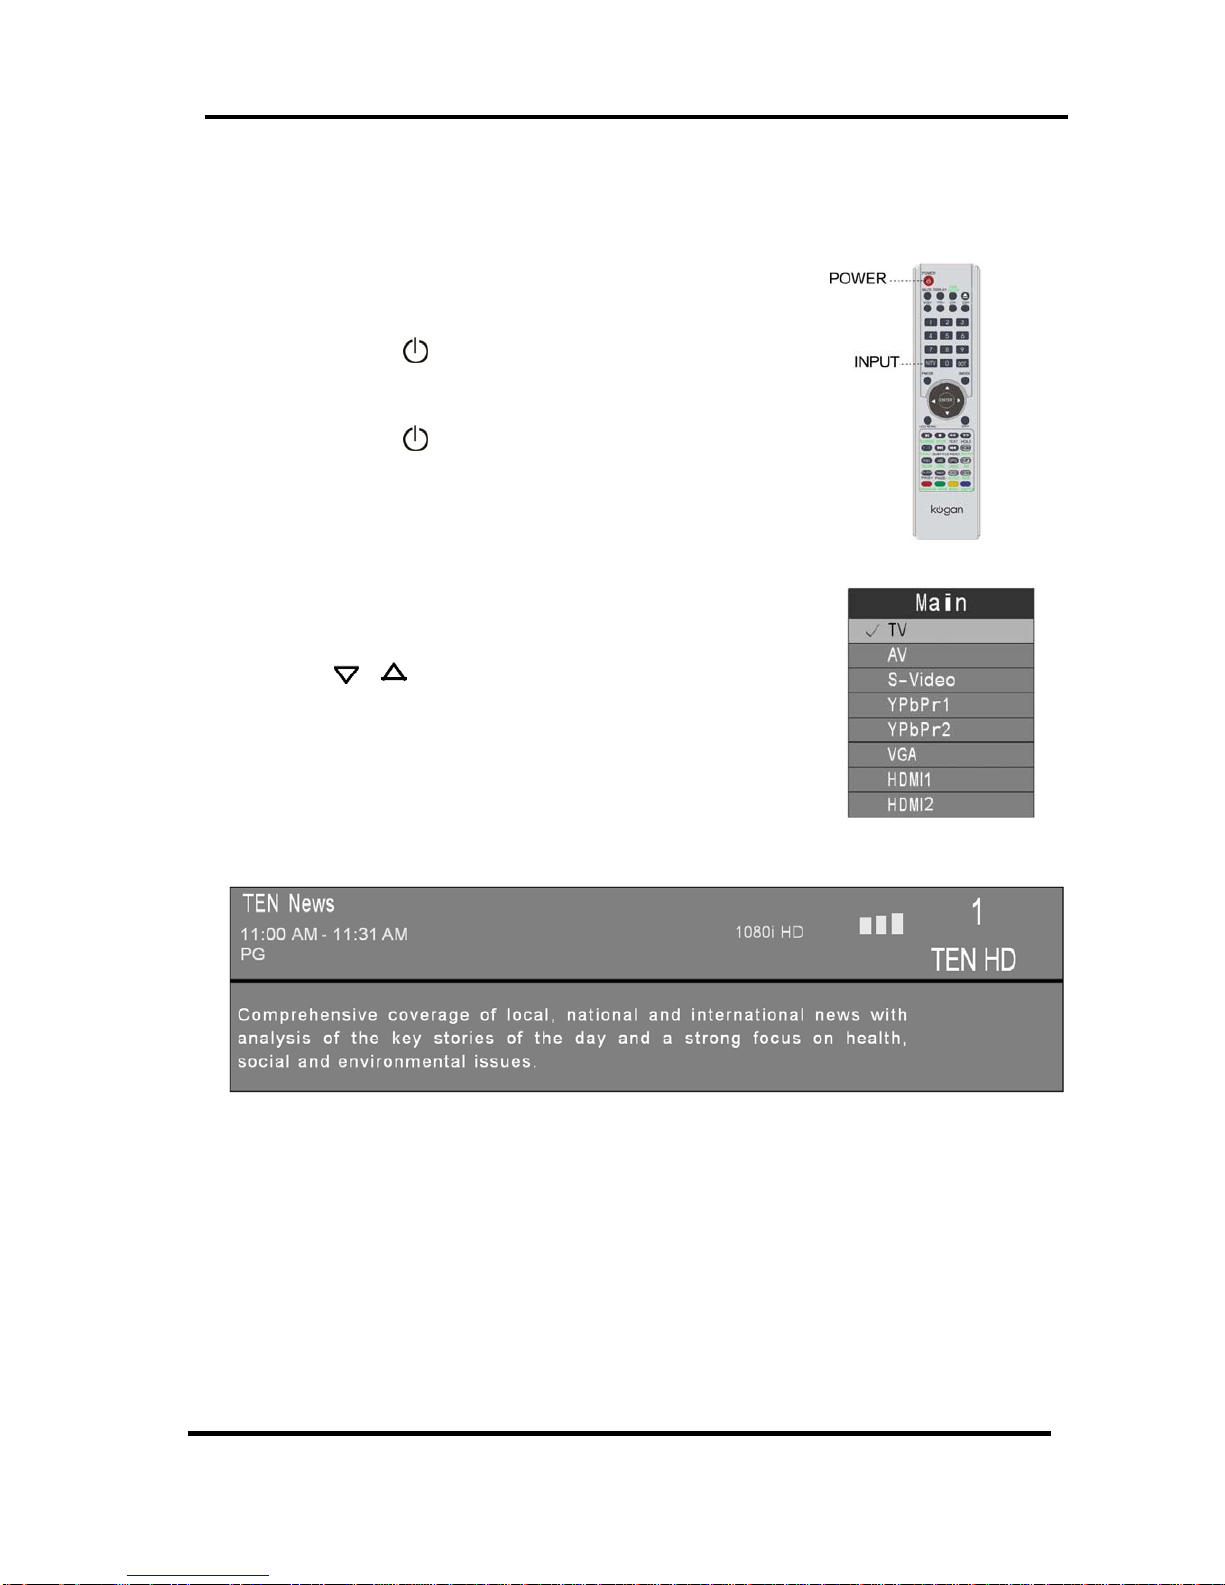
01. POWER : Press to enter or exit the standby mode
02. MUTE : Press to turn on or off speaker output
03. DISPLAY: Press to show or remove status display
04. VOL+: Press to increase volume
05. VOL-: Press to decrease volume
06. Numbers: Press to select a channel
07. AV/TV: Press to select input source
08. PMODE: Press to select picture display mode.
09. Enter: Press to confirm your selection
10. Directions: Press to Select up (Page+ for TV
teletext), down (Page- for teletext), left, and right
in menu screens.
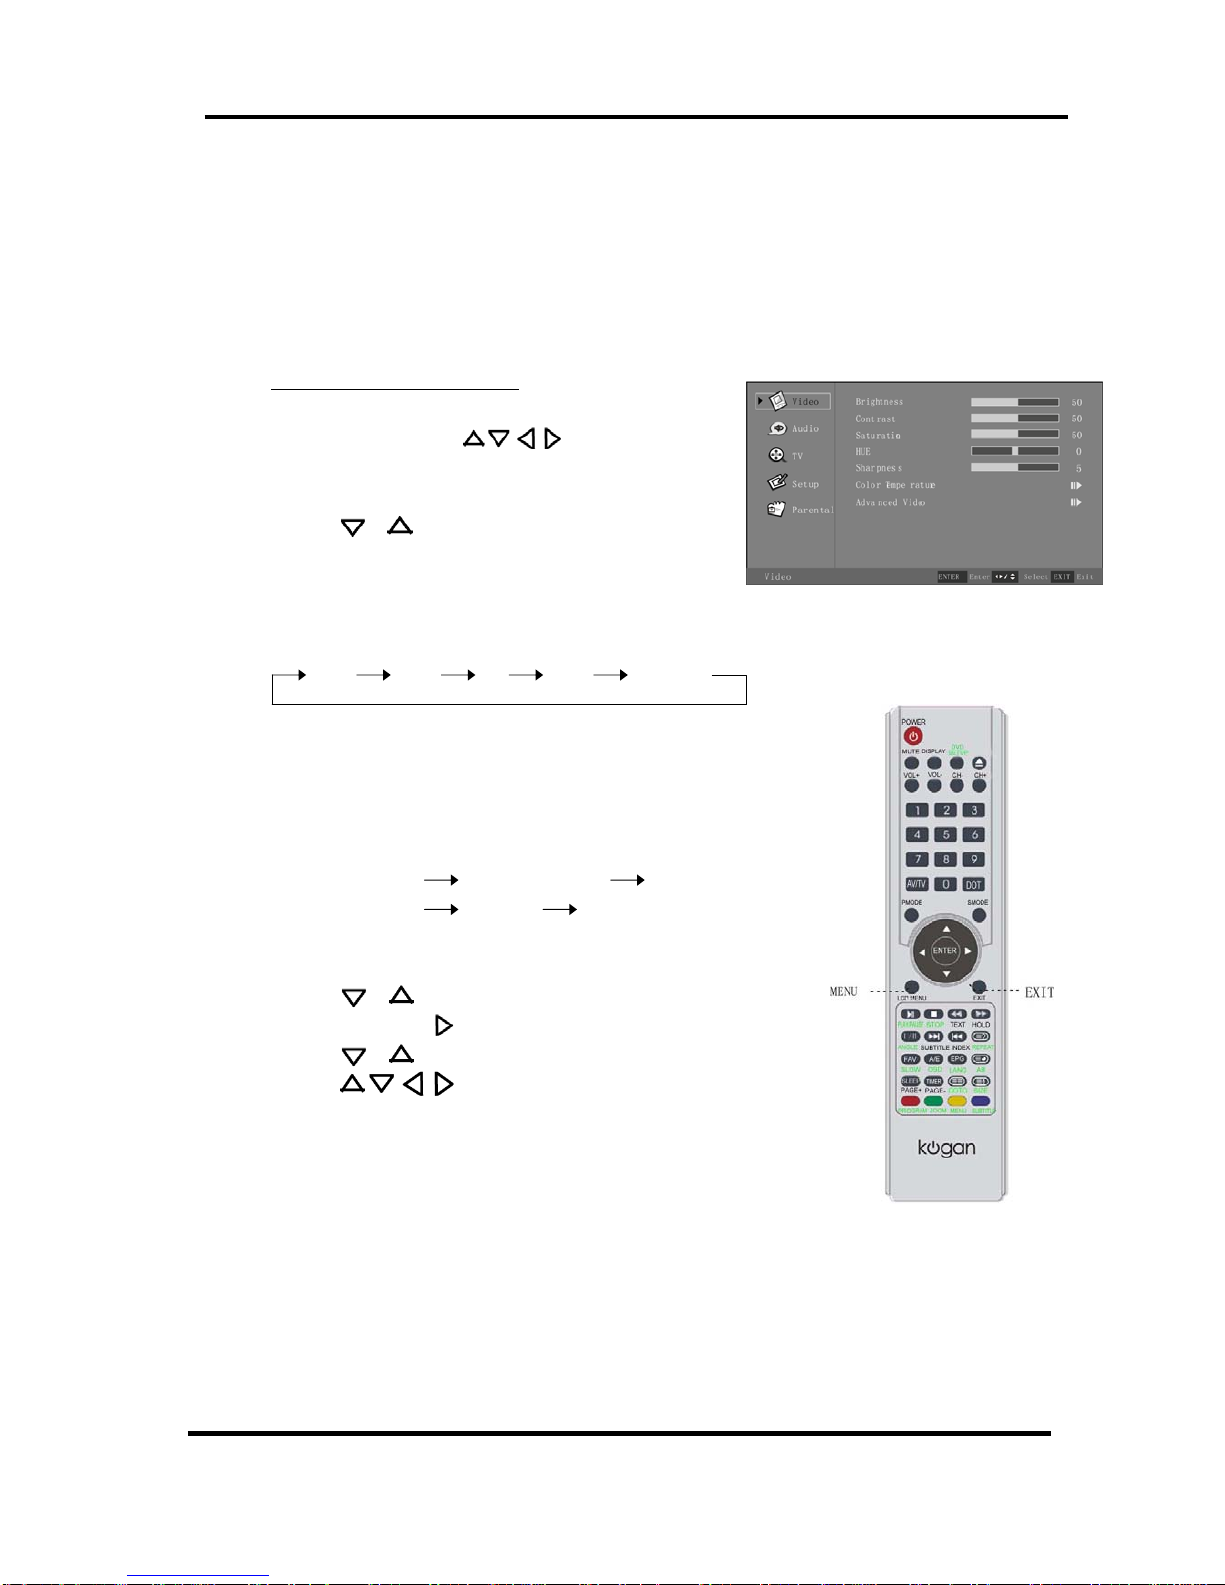
11. LCD Menu Press to display the LCD Menu system (see p.9)
12, 13, 15.: These buttons are unused on this model
14. SUBTITLE Press this button to activate subtitles for Digital
TV programs where available.
16. A/E Press this button in TV mode to make the
current channel a Favourite
17. FAV: Press this button to enter the Favourites menu
directly
18. TIMER: Press to display the time
19. SLEEP: Press to enter Sleep mode, where the TV will
automatically enter standby mode after a set
time (press to toggle between “Off” and up to
240 minutes in 15 minute increments)
20. GREEN Press to activate the “GREEN” function in
teletext
21. RED Press to activate the “RED” function in teletext

7
22-23.: These buttons are unused on this model
24. CH+ Press to select TV channel (see p.15 “Channel
Skip”)
25. CH- Press to select TV channel (see p.15 “Channel
Skip”)
26. DOT Press the number buttons with this to select
channels directly (i.e. channel 108-1 would
need the DOT button pressed after the 8).
27. SMODE Press this button to toggle between preset
sound modes for different echoing effects.
28. EXIT Press this button to exit in a menu.
29. TEXT Press to enter or exit teletext mode for
TV/DVB
30-32.: These buttons are unused on this model
33. EPG In TV/DVB mode, press to display the
Electronic Programming Guide
34. Press to access subpages for teletext
35. This button is not used on this model
36. Press to toggle between available display
aspect ratios for the current input.
37. YELLOW Press to activate the “YELLOW” function in
teletext
38. BLUE Press to activate the “BLUE” function in
teletext
Note: The TV will return to TV mode when any of the buttons for changing
channels are used, i.e. the Number buttons, CH+ and CH-

8
Initial Setup Instruction Guide
Power ON/OFF: Standby mode
- Press POWER ( )button on the remote control or on
the side panel to turn on the unit.
[The power indicator changes from red to green]
- Press POWER ( ) button on the remote control or on
the side panel again to return the display to standby mode.
[The power indicator changes from green to red]
Selection of Input Mode
- Press the Input (AV/TV) button to display the signal source menu.
- Press or button to select the signal source you desire,
then press the Enter button to confirm.
When selecting the input source, the screen will display the information
of the selected input source. For example:
TVmode
- When there is no signal from the selected source or channel, a warning message will be displayed.
- If you see the “No Signal!” warning, you can select a different channel or press the Input (AV/TV)
button to change the selected source.
- When you first receive your new TV, it is advisable to perform a new “Channel Scan” to setup your
set to receive all of the channels available in your area. Follow the section “Using Channel Scan”’
on page 15.

9
On Screen Display (OSD) Menu
After you have installed the batteries in the remote control, you can set setting preferences on
the TV using the OSD menu system.
Navigating about the OSD menu:
- The buttons used in the OSD menu include:
’MENU’ (LCD MENU), , ‘ENTER’ and ‘EXIT’.
- Whatever input source is currently selected, press
the Menu button to open the OSD Menu for that source,
then or to select the sub menu pages
The sub menu pages are displayed in the following sequence
(circular display):
Video Audio TV Setup Parental
Note: The TV sub menu page will only appear for the TV mode OSD Menu.
When pressing the Menu button on the remote control or on
the side panel, it will change in the following sequence:
Main Menu Press Menu or Exit Exit
Sub Menu Press Exit Previous Menu
1. Press the Menu button to display the menu system.
2. Press or button to select the menu pages.
3. Press the Enter or button to enter.
4. Press or button to select an item.
5. Press button to select or adjust a setting.
6. If you do not make a selection within several
seconds, the main menu will close automatically,
7. Press the Menu or Exit button exit the OSD menu.

10
On Screen Display (OSD) Functions
Video Page Menu
Adjustment of “Brightness” or “Contrast”
1. Press the Menu button, and the “Video” menu
appears.
2. Press orEntertoenterthe“Video”submenu .
3. Press or to highlight your selection.
4. Press or to adjust.
5. Press the Menu button to exit the OSD Menu, or
press Exit to select another OSD submenu.
Adjustment of “Saturation” (inactive for VGA)
1. Press the Menu button, and the “Video” menu
appears.
2. Press orEntertoenterthe“Video”submenu .
3. Press or to highlight “Saturation”.
4. Press or to adjust.
5. Press the Menu button to exit the OSD Menu, or
press Exit to select another OSD submenu.
Adjustment of “Hue” (only for NTSC)
1. Press the Menu button, and the “Video” menu
appears.
2. Press orEntertoenterthe“Video”submenu .
3. Press or to highlight “Hue”.
4. Press or to adjust.
5. Press the Menu button to exit the OSD Menu, or
press Exit to select another OSD submenu.
Adjustment of “Sharpness” (inactive for VGA)
1. Press the Menu button, and the “Video” menu
appears.
2. Press orEntertoenterthe“Video”submenu .
3. Press or to highlight “Sharpness”.
4. Press or to adjust.
5. Press the Menu button to exit the OSD Menu, or
press Exit to select another OSD submenu.

11
Selection of “Color Temperature”
1. Press the Menu button, and the “Video” menu
appears.
2. Press orEntertoenterthe“Video”submenu .
3. Press or to highlight “Color Temperature”.
4. Press or Enter to enter the Color Temperature
submenu.
5.Press or to select one of:
“Cool”, “Standard”, “Warm” or “User”
6. Press the Menu button to exit the OSD Menu, or
press Exit to make another selection.
If you adjust one item of “R Gain”, “G Gain”, or
“B Gain”, the color temperature selection will change
to “User” automatically. Other settings can be selected
but not changed.
Selection of “Advanced Video” (Inactive for VGA)
1. Press the Menu button, and the “Video” menu
appears.
2. Press orEntertoenterthe“Video”submenu .
3. Press or to highlight “Advanced Video”.
4. Press or Enter to enter the Advanced Video
submenu.
5. Press or to highlight your selection
(see table on next page for details)
6. Press or to adjust.
7. Press the Menu button to exit the OSD Menu, or
press Exit to make another selection.

12
Table of Advanced Video Adjustment Settings
Setting Options Description
DNR Off, Low, Medium,
Strong, Auto
Select to control the sharpness
and noise reduction.
CTI Off, Low, Medium, Strong Select to improve the dynamic color level.
Flesh Tone On, Off Select “On” to correct the flesh
tone automatically.
Adaptive
Luma
Control
On, Off
When this is on, this feature will set
the contrast and brightness levels
for optimum performance.
Selection of “VGA” (only for VGA)
1. Press the Menu button, and the “Video” menu
appears.
2. Press orEntertoenterthe“Video”submenu .
3. Press or to highlight “VGA”
4. Press or Enter to enter the VGA submenu.
Selection of “Auto Adjust”
After entering the “VGA” menu:
1. Press or to highlight “Auto Adjust”
2. Press or Enter to confirm your selection.
3. Press the Menu button to exit the OSD Menu, or
press Exit to make another selection.
Note: This item will auto-adjust the picture display.
Selection of “H. Position”, “V. Position”, “Phase”, “Clock”.
After entering the “VGA” menu:
1. Press or to highlight your selection
2. Press or to adjust.
3. Press the Menu button to exit the OSD Menu, or
press Exit to make another selection.

13
Table of VGA Display Adjustment
Items Description
H. Position Use or button to select it.
Use or button move the display left or right.
V. Position Use or button to select it.
Use or button to move the display up or down.
Phase Use or button to select it.
Use or button to adjust.
Clock Use or button to select it.
Use or button to adjust.
Audio Page Menu
Adjustment of “Balance”, “Bass” or “Treble”
1. Press the Menu button, and then press or
until the “Audio” menu appears.
2. Press or Enter button to enter the “Audio” menu.
3. Press or to highlight your selection.
4. Press or to adjust.
5. Press the Menu button to exit the OSD Menu, or
press Exit to make another selection.
Selection of “Sound Surround”
1. Press the Menu button, and then press or
until the “Audio” menu appears.
2. Press or Enter button to enter the “Audio” menu.
3. Press or to highlight your “Surround Sound”
4. Press or to select “On” or “Off”
5. Press the Menu button to exit the OSD Menu, or
press Exit to make another selection.

14
Selection of “SPDIF Type”
1. Press the Menu button, and then press or
until the “Audio” menu appears.
2. Press or Enter button to enter the “Audio” menu.
3. Press or to highlight “SPDIF Type”.
4. Press or to select “Dolby Digital”,
“PCM” or “Off”.
5. Press the Menu button to exit the OSD Menu, or
press Exit to make another selection.
TV Page Menu (Only for TV)
Setting the “Country Region”
1. Press the Menu button, and then press or
until the “TV” menu appears.
2. Press or Enter button to enter the “TV” menu.
3. Press or to highlight “Country Region”.
4. Press or to select “NSW/ACT”, “VIC”,
“QLD”, “SA”, “WA”, “TAS”, “NT”.
5. Press the Menu button to exit the OSD Menu, or
press Exit to make another selection.
Using the “Audio channel” (Analogue TV OSD Menu only)
1. Press the Menu button, and then press or
until the “TV” menu appears.
2. Press or Enter button to enter the “TV” menu.
3. Press or to highlight “Audio Channel”.
4. Press or to select Mono, Stereo, Dual1 or
Dual2.
5. Press the Menu button to exit the OSD Menu, or
press Exit to make another selection.

15
Using the “Channel Scan”
1. Press the Menu button, and then press or
he “TV” menu appears.
2. Press or Enter button to enter the “TV” menu.
3. Press or to highlight “Channel Scan”.
4. Press or Enter button to start the channel search.
5. Press the Menu button to exit the OSD Menu, or
press Exit to make another selection.
Note:
- This may take a few minutes to complete a full scan
- The channels found will store automatically.
- This TV will scan for Analogue and Digital channels
- All previously stored channels, as well as channel
related information (eg. Channel Block, Channel Skip),
is deleted when performing this scan.
Using the “Channel Skip”
This feature allows you to choose which channels will be
part of the normal channel rotation when using the
CH+ and CH- buttons. Channels chosen to be skipped
will still be accessible by entering it's channel number
directly, eg. 20 for HDTV ABC.
1. Press the Menu button, and then press or
until the “TV” menu appears.
2. Press or Enter button to enter the “TV” menu.
3. Press or to highlight “Channel Skip”.
4.Press or Enter button to enter the submenu.
5.Press or to choose a channel, then press
Enter to confirm or cancel your selection.
6. When you select , this channel will be skipped.
7. Press the Menu button to exit the OSD Menu, or
press Exit to make another selection.

16
Selection of “Channel Edit”
1. Press the Menu button, and then press or
until the “TV” menu appears.
2. Press or Enter button to enter the “TV” menu.
3. Press or to highlight “Channel Edit”.
4.Press or Enter button to enter the submenu.
5. Press or to choose a channel, then press
Enteror to enter the Edit Submenu (below)
7. When finished, press the Menu button to exit the
OSD Menu, or press Exit to make another selection.
Channel Edit Submenu
Note: for digital channels, only Channel Number and
Channel Name information can be changed.
- Channel Number: use the number buttons to assign
a new channel number. This may be up to 4 digits.
- Channel Name: use the Number buttons to enter
letters or numbers in the Channel Name
(1 = ABC, 2=DEF, etc. eg. Press 1 twice to enter B).
- See table below for a list of options for the other
Channel Edit settings. These can be edited for
analogue channels only.
Settings Options
Frequency 0~999. Use DOT button for decimal point.
Color system Auto, PAL, SECAM, NTSC
Sound system BG, A2 BK, L, L’, I, DK, DK, A2 DK, A2 DK1
“Analog channel Fine Tune”
Please note that this function has been by replaced by the “Channel Scan” option, which will search for
both analogue and digital channels. Manual changes to analogue channel tuning can be made from
the Channel Edit menu.

17
Setup Page Menu
Use of the “Time Setup” menu
1. Press the Menu button, and then press or
until the “Setup” menu appears.
2. Press or Enter button to enter the “Setup” menu.
3. Make sure “Time Setup” is highlighted, press
or as required.
4.Press or Enter button to enter the submenu.
5. Press or to choose “Time Zone”,
“Time” or “Sleep Timer”.
6. When finished, press the Menu button to exit the
OSD Menu, or press Exit to make another selection.
Time Setup Submenu
Selection of “Time Zone”
After entering the “Time Setup” submenu:
1. Make sure "Time Zone" is highlighted, press
or as required.
2. Press or to select your timezone.
AustralianTimezonesareasfollows:
-GMT+8:00Perth
- GMT+9.30 Darwin and Adelaide
- GMT+10:00 Canberra, Melbourne, Sydney, Brisbane, Hobart
3. Press the Menu button to exit the OSD Menu, or
press Exit to make another selection.
”Time” Options
After entering the “Time Setup” submenu:
1. Press or to highlight “Time”.
2. Press or Enter button to enter the “Time” submenu.
- When “Auto Synchronisation” is set to “Off”, Date and
Time information can be changed using the Number buttons.
- When “Timer” is set to “On”, the TV will turn On and Off from
Standby mode every day at the “Power On/Off Timer” times.
Use the Number button to edit these times.
Note: If the unit is unplugged, or main power is otherwise
disrupted, the memory for all Time settings will be lost.

18
“Sleep Timer” Option
This option is replaced by use of the SLEEP button on the remote control. See Page 6, button 19 for
more details.
“Reset Default”
Selecting this option will return items in the setup
menu to factory default (Note: this will not reset the
Parental password)
1. Press the Menu button, and then press or
until the “Setup” menu appears.
2. Press or Enter button to enter the “Setup” menu.
3. Press or to highlight “Reset Default”.
4. Press or Enter button and the “Are you sure”
Popup menu will appear.
5. Press or to choose between “OK” and
“Cancel”. Choose “OK” to reset default.
6. Press the Menu button to exit the OSD Menu, or
press Exit to make another selection.

19
Parental Page Menu
Some programs and movies include signals
that classify the content of the program (dialog,
language, sex, violence). The “Parental” control
feature in this detects the signals and blocks the
programs according to your selections. To use this
feature, perform the following.
1. Press the Menu button, and then press or
until the “Parental” option is highlighted.
2. Press or Enter button to enter.
3. Use 0-9 buttons input the password, and the
Parental Control menu will appear.
Note: The initial password for the system is “0000”.
If you have changed the password and forgotten it,
please contact Kogan Technologies.
It is advised that the password be changed the first
time the Parental Menu is accessed. Do not forget your
new password!
Using the “Change Password” function
1. After entering the “Parental” menu, press or
to highlight “Channel Password”.
2. Press or Enter button to confirm.
3. Using 0-9 Number buttons, enter your new password
in the “New Password” blank.
4. Using 0-9 Number buttons, enter your new password
again in the “Confirm Password” blank.
5. When this is complete, the previous menu will be
displayed.
Table of contents
Other Kogan LCD TV manuals

Kogan
Kogan KGNHD16VAA User manual

Kogan
Kogan HDMI 1080p32 User manual

Kogan
Kogan KGNPRO19VBA User manual

Kogan
Kogan KGNF1080P46VAB User manual

Kogan
Kogan HDMI HD32 User manual

Kogan
Kogan HDMI HD37 User manual

Kogan
Kogan KGN1080P37VAA User manual

Kogan
Kogan KGNPRO16VBA User manual

Kogan
Kogan KGNPRO19VAA User manual

Kogan
Kogan PRO19 User manual

Kogan
Kogan KGN1080P47VAA User manual

Kogan
Kogan KGN1080P-PRO32VAA User manual

Kogan
Kogan KALCD423DXA User manual

Kogan
Kogan KALED19DVDA User manual

Kogan
Kogan KGN1080P32VBA User manual

Kogan
Kogan KGNPRO16VAA User manual

Kogan
Kogan KALED48XXXZA User manual

Kogan
Kogan KGNHD19VAA User manual

Kogan
Kogan KGN1080P42VCA User manual

Kogan
Kogan KGN1080P42VAA User manual