Kogan KALCD22DVDAA User manual

KALCD22DVDAA
USER MANUAL
USB.....................................................................
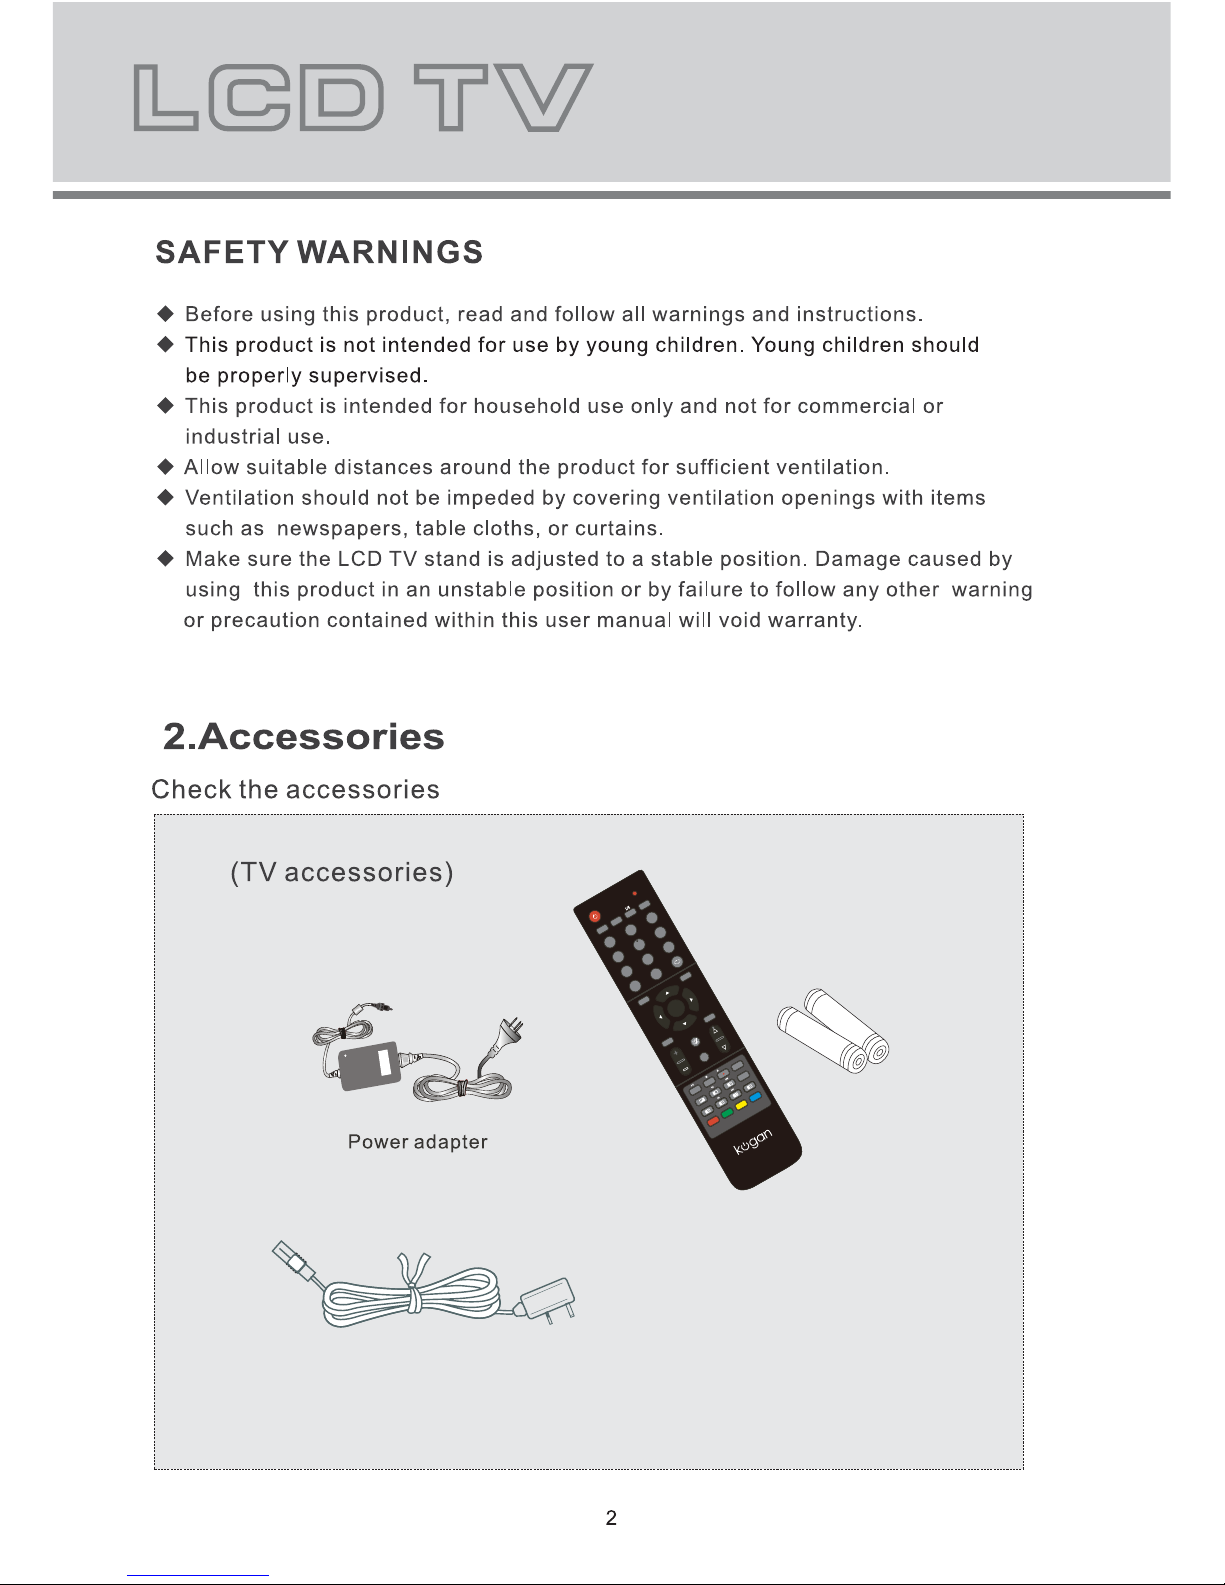
Power cord
Remote control/batteries
0
123
456
789
A/DTV
+
RC-TFG019
0
123
456
789
OK
P.MODE S.MODE SLEEP
SOURCE MENU
INFO EXIT
MUTE
VOL CH
ASPECT
X
SUBTITLE
TTX
DV
/AUTO D.SETUP
EPG
D.MENU
ZOOM/REC.LIST
FAV
USB/SD
AUDIO
TITLE
GOTO SLOW A-BREPEAT

Sound mode button
Media/DVD: Stop button
Mute button
USB/SD Card function select
/ Favorite program button
Sleep function button
NICAM function button /
Audio language select button
Information display button
Numeric buttons
Confirm button
DVD A-B repeat / BLUE button
DVD repeat playback / YELLOW button
Media/DVD: Previous / Teletext size button
Teletext on/off / mix button
Media/DVD: Rewind / Teletext cancel button
Volume adjusting button Channel select button
0
123
456
789
A/DTV
+
RC-TFG019
0
123
456
789
OK
P.MODE S.MODE I/II SLEEP
SOURCE MENU
INFO EXIT
MUTE
VOL CH
ASPECT
SUBTITLE
TTX
DVD.SETUP
D.MENU
ZOOM/REC.LIST
USB/SD TITLE
FAV
/AUTO
AUDIO
Power/Standby button
Picture mode button
Remote control indicator
DVD title / Return channel button
Menu button
Signal source select button
Navigation buttons (Up, Down, Left, Right)
Menu exit button
DVD setup menu /
Electronic program guide button
Display mode select button
DVD open/close / Auto adjust button in
PC mode / Recording button
DVD disc menu / Teletext hold button
DVD goto / RED button
DVD slow / GREEN button
Media/DVD: Play/pause button
Media/DVD: Forward / Teletext reveal button
Subtitle button
Media/DVD: Next / Teletext subpage button
Zoom in/out / Recorded list /
Teletext index button
GOTO SLOW REPEAT A-B
X
EPG
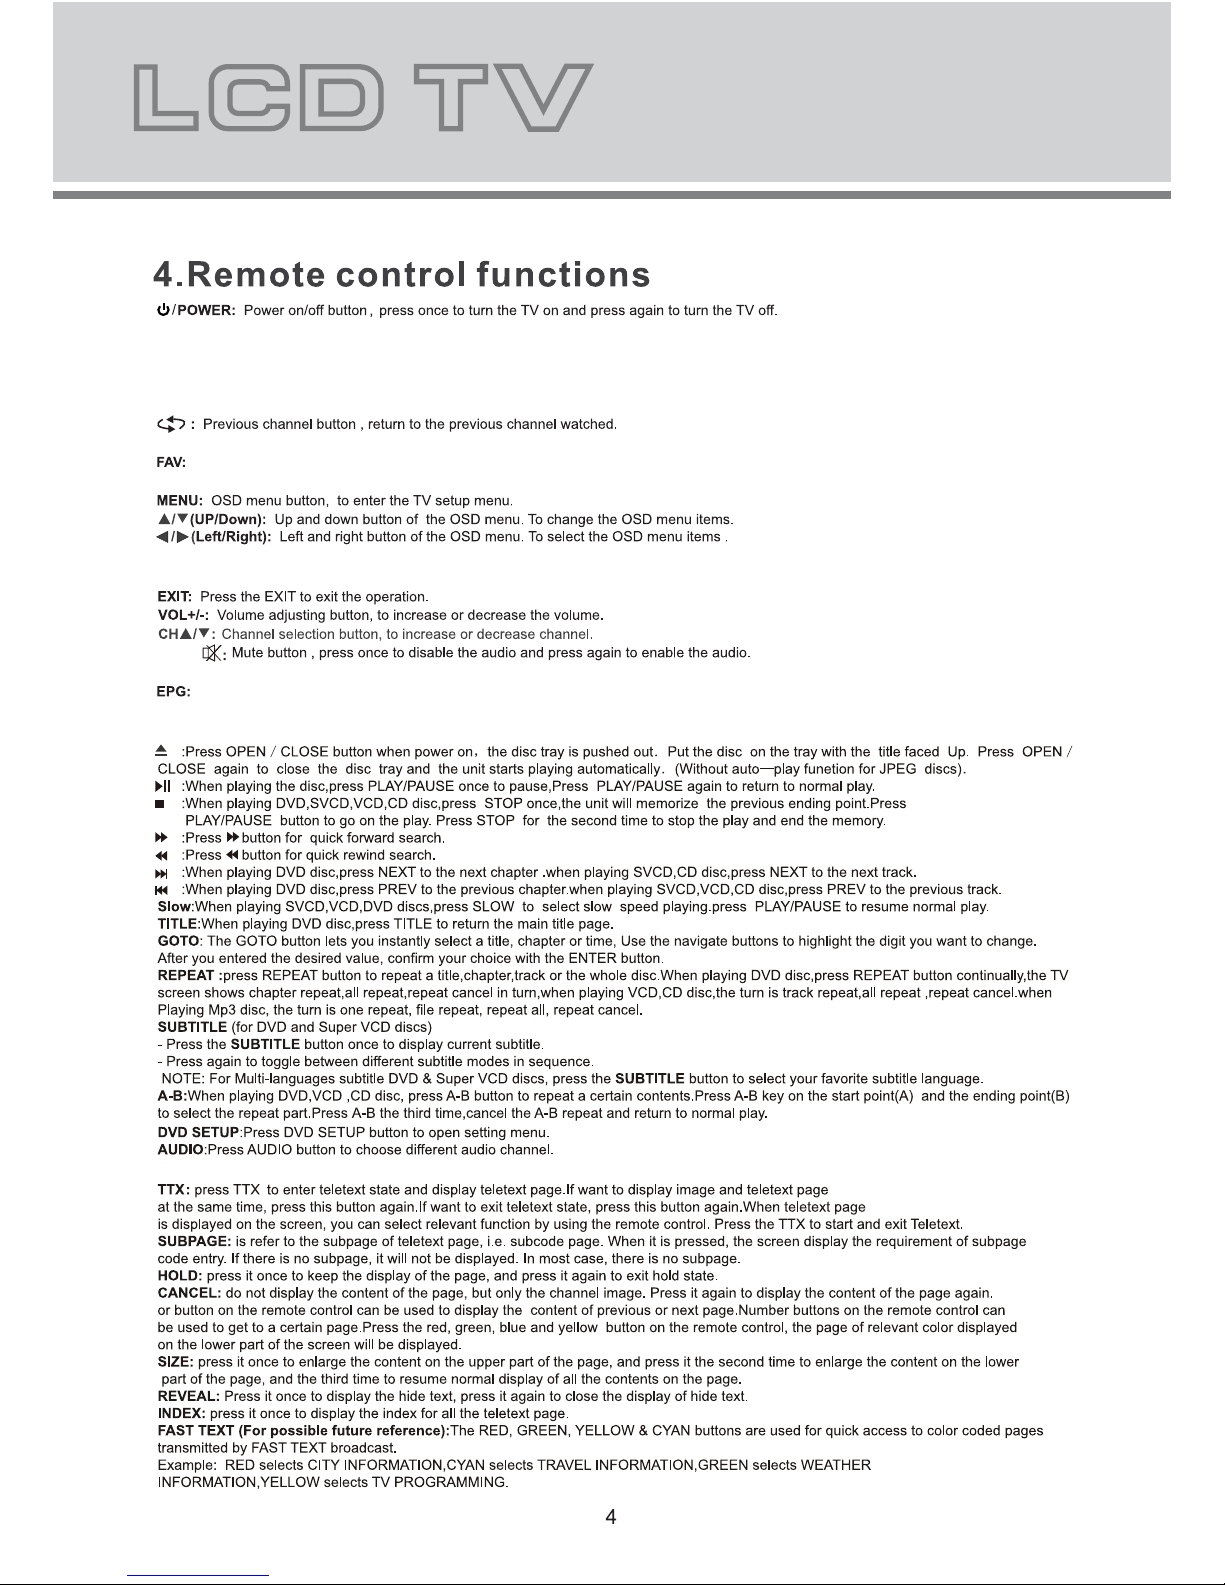
S.MODE: Sound mode button, setting the sound mode.
P.MODE: Picture mode button, setting the picture mode.
SLEEP: Sleep button, setting TV power off time.
I/II: Press the I/II button to choose a different audio channel.
ASPECT:
AUTO:
Press the ASPECT button to select the picture display ratio: Auto / 4:3 / 16:9 / Zoom 1 / Zoom 2 / Just Scan.
INFO:
MUTE
Press the INFO button for information.
0,1-9: TV channel selection button.
SOURCE: Signal source selection button (ATV/DTV/Media/AV/PC/Component/DVD/HDMI).
OK: Confirm button, confirm all the changes and settings.
Press the EPG button for detailed information about the channel.
USB/SD: Press the USB/SD button to choose USB or SD card function.
Press the FAV button to start the “Favorite List” for selecting your favorite program.
Press the AUTO button to auto adjust items in PC mode.
Remote sensor.
Power indicator.
Power on/off button.
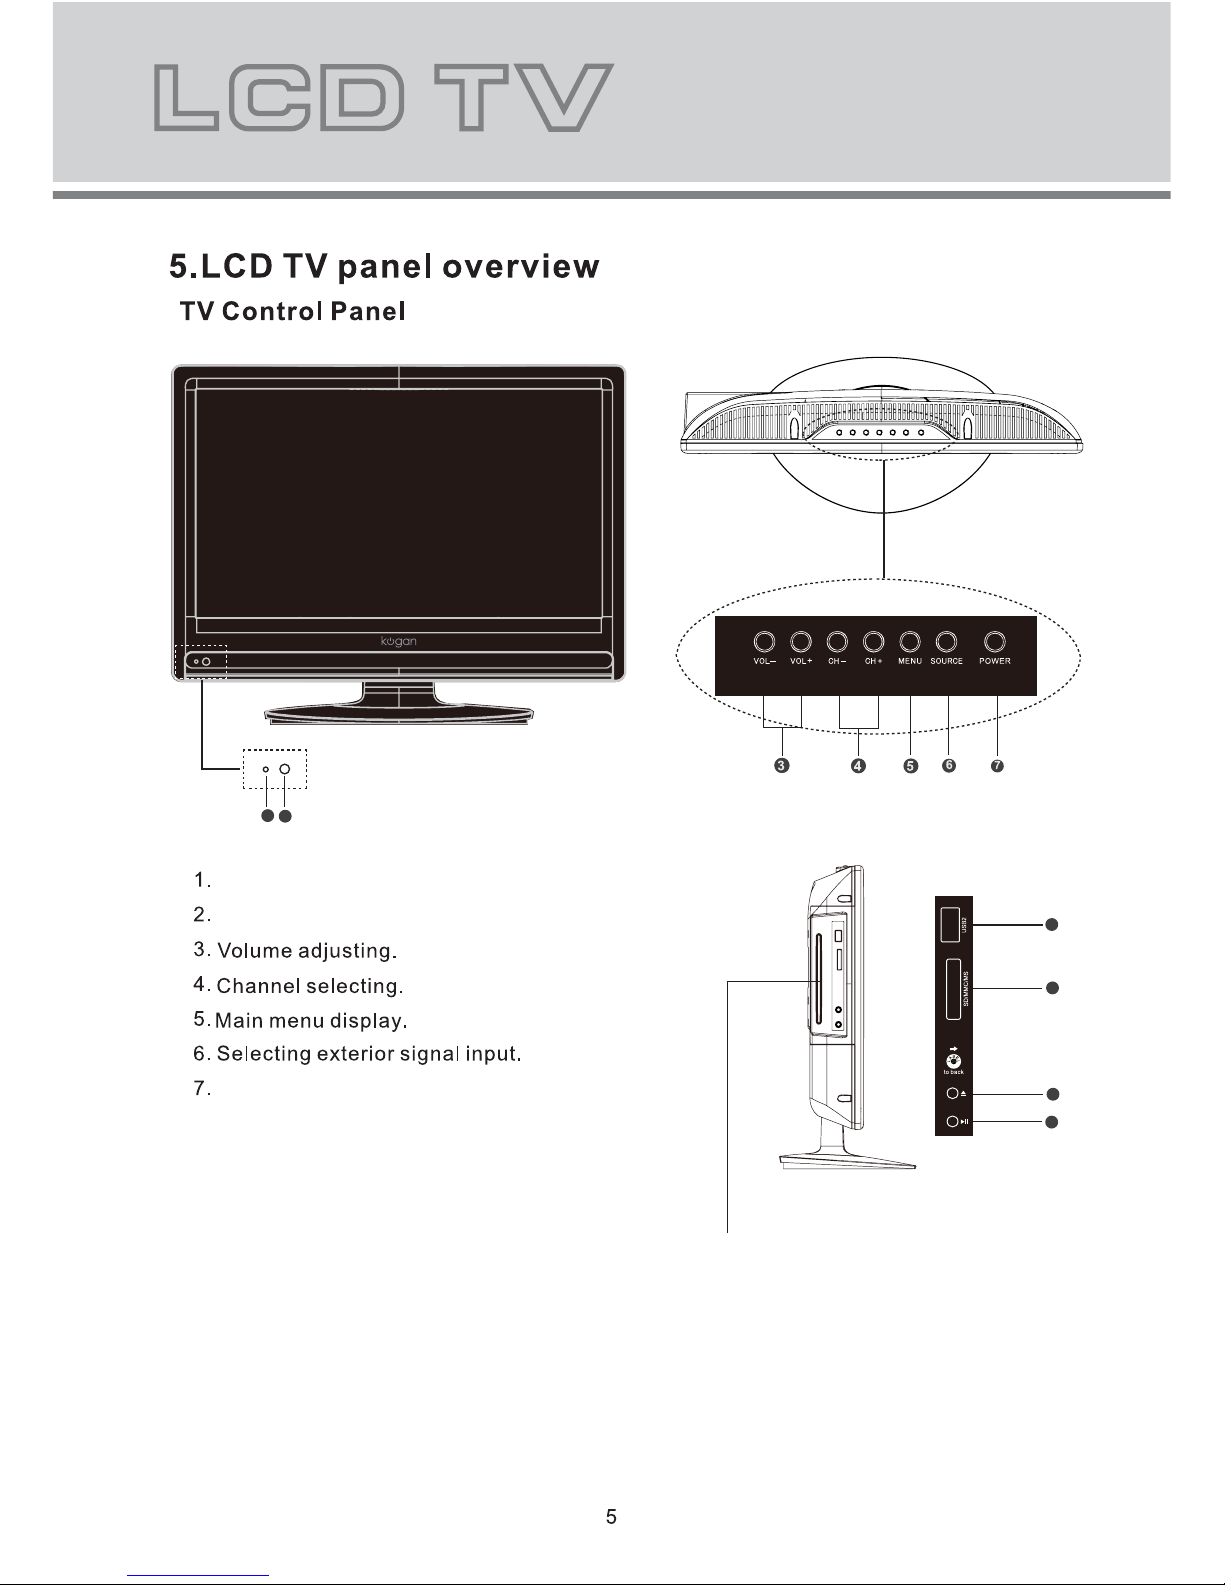
12
8
9
10
11
Insert DVD with Label to the Back
11. PLAY/PAUSE button.
10. OPEN/CLOSE button.
9. SD/MMC/MS card slot.
8. USB2 port (Only available in DVD mode).

YVIDEO RL
Pr/Cr
Pb/Cb
USB1
DC IN HDMI
USB1 input (Available for performing Media or PVR function).
Component video input terminals (Y Pb/Cb Pr/Cr).
Composite video & audio input terminals (AV).
RF(75 )
COAXIAL
OUT
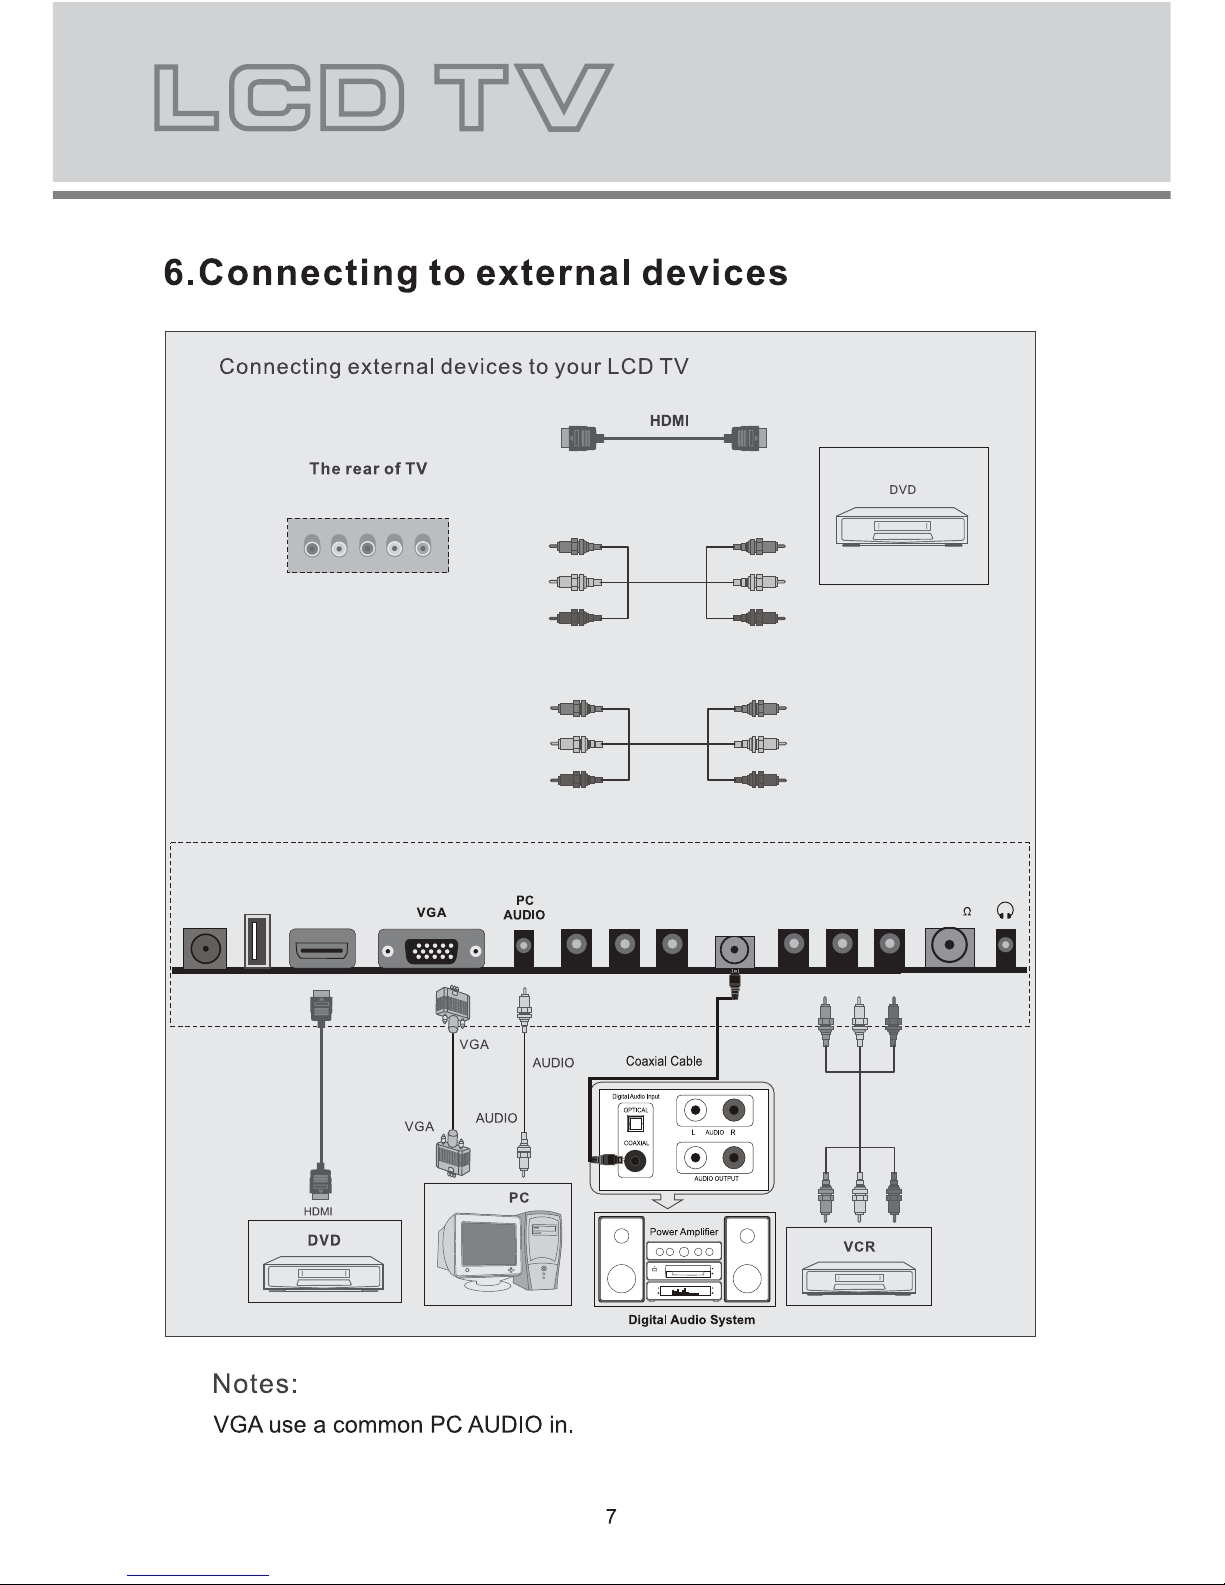
YPbPr
AV
YVIDEO RL
Pr/Cr
Pb/Cb
USB1
DC IN HDMI RF(75 )
COAXIAL
OUT
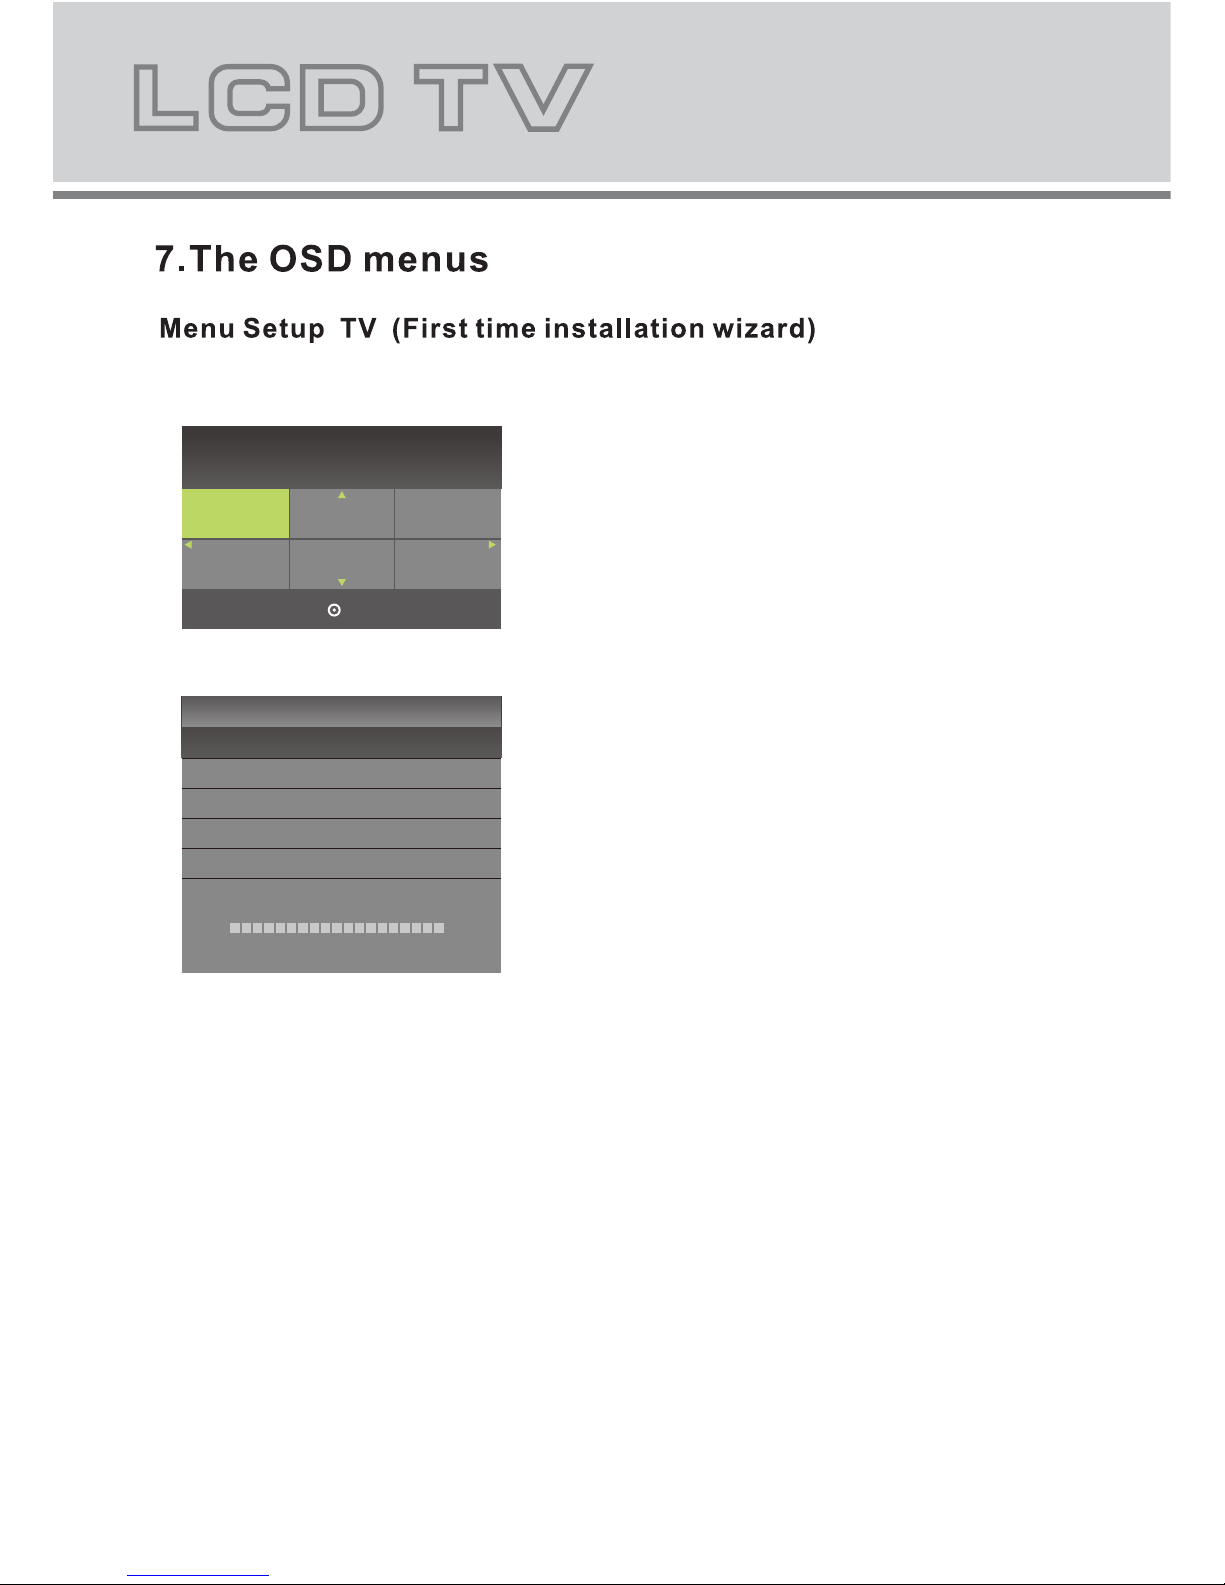
If this is the first time switch on, the First time installation
menu will appear on the display.
Language
Press o/p/b/abutton to select the desired language,
then press OK button to enter the “Channel Tuning”
screen. The original language of this TV is English.
Channel Tuning
The TV will start searching channels automatically from
the lowest frequency. When it finds a station, it will store
this in the first location and move to the next. When auto
tuning is completed, the TV will display the first station
found.
Press MENU or EXIT button to skip or cancel the tuning
process.
Please select an OSD Language
OK
English Español Italiano
FrançaisDeutsch
TV :
DTV :
Radio :
0 %
Please press MENU key to exit
(TV)
0 Programme
0 Programme
0 Programme
Channel Tuning
8
Table of contents
Other Kogan LCD TV manuals

Kogan
Kogan KALCD19DVDAA User manual

Kogan
Kogan HDMI 1080p22 User manual

Kogan
Kogan KGN1080P40VAC User manual

Kogan
Kogan KALED423DSMTZA User manual

Kogan
Kogan PRO19 User manual

Kogan
Kogan KGNHD19VAA User manual

Kogan
Kogan HDMI 1080p47 User manual

Kogan
Kogan KALED55XX1A User manual

Kogan
Kogan KALED24DVDZD User manual

Kogan
Kogan KGN1080P-PRO32VAA User manual

Kogan
Kogan KALCD46FHDXA User manual

Kogan
Kogan KGN1080P46VAA User manual

Kogan
Kogan KGN1080P42VBA User manual

Kogan
Kogan KALED19DVDA User manual

Kogan
Kogan KGN1080P42VBA User manual

Kogan
Kogan KGN1080PPRO22VDA User manual

Kogan
Kogan KGN1080PBD32VAA User manual

Kogan
Kogan KGNHD16VAA User manual

Kogan
Kogan KGN1080P24 User manual

Kogan
Kogan KALCD423DXA User manual


